 This install guide is intended to help with the installation of the Vivid Racing Intercooler upgrade on the 2017-2020 Ford Raptor 3.5L V6 EcoBoost.

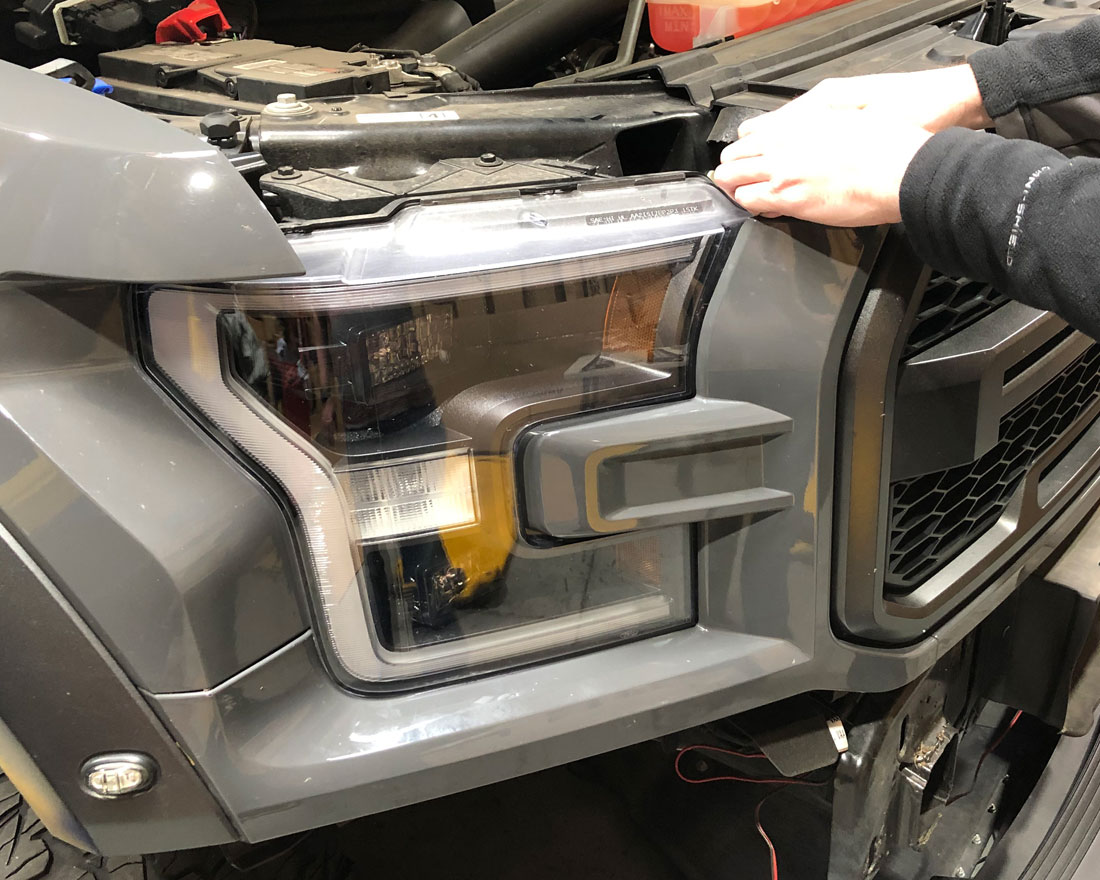
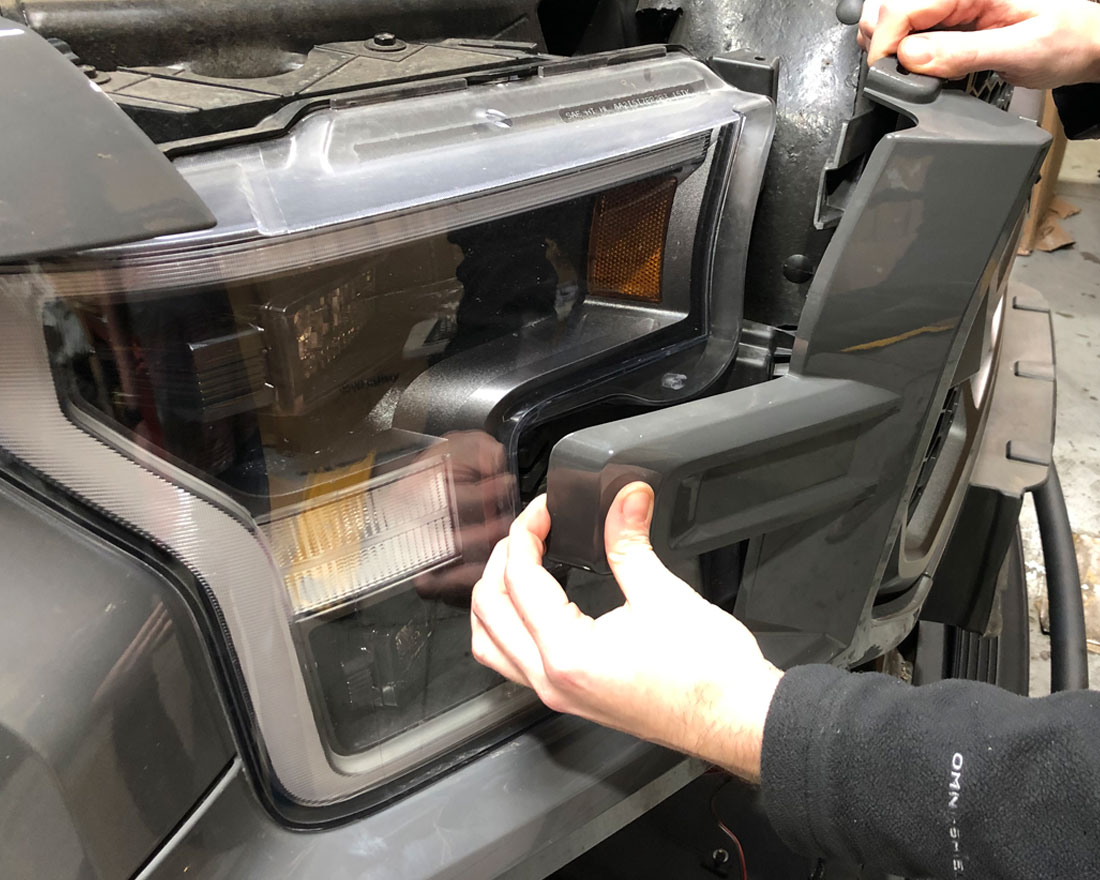
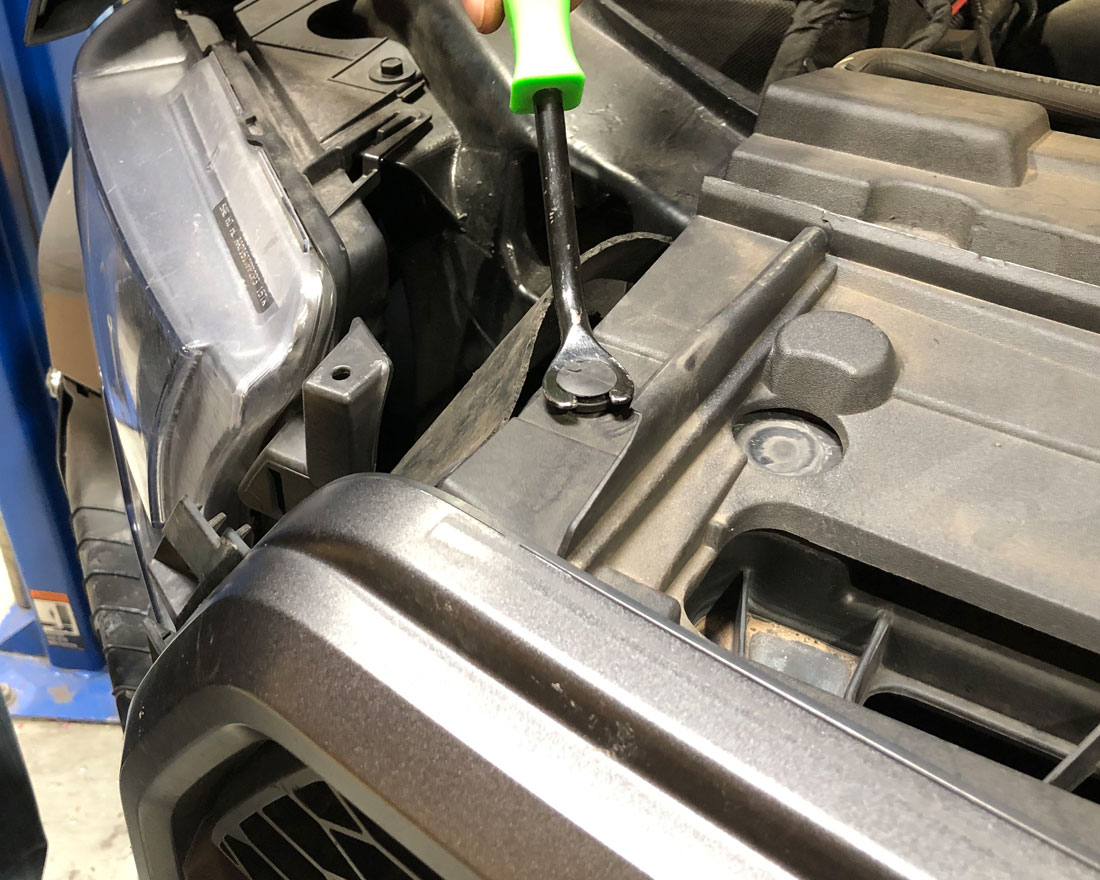
Step 1: Remove clips that hold in headlight bezels.

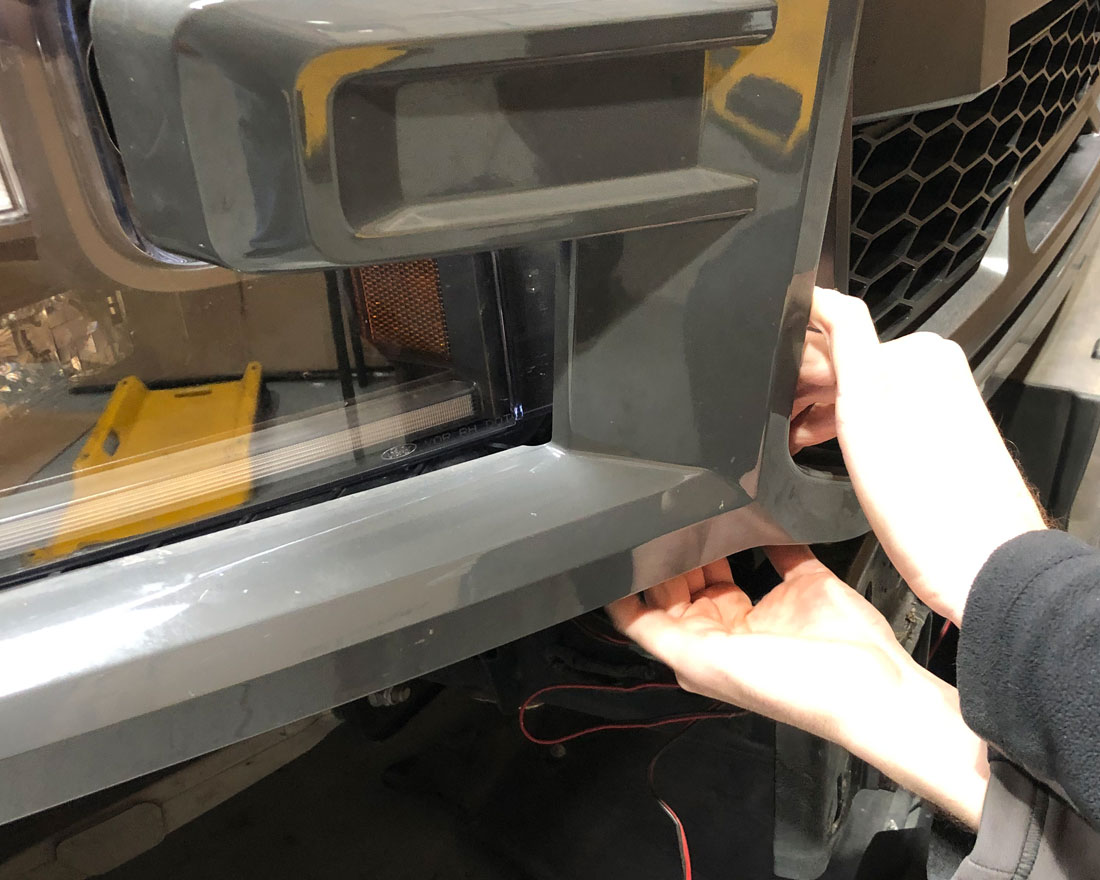
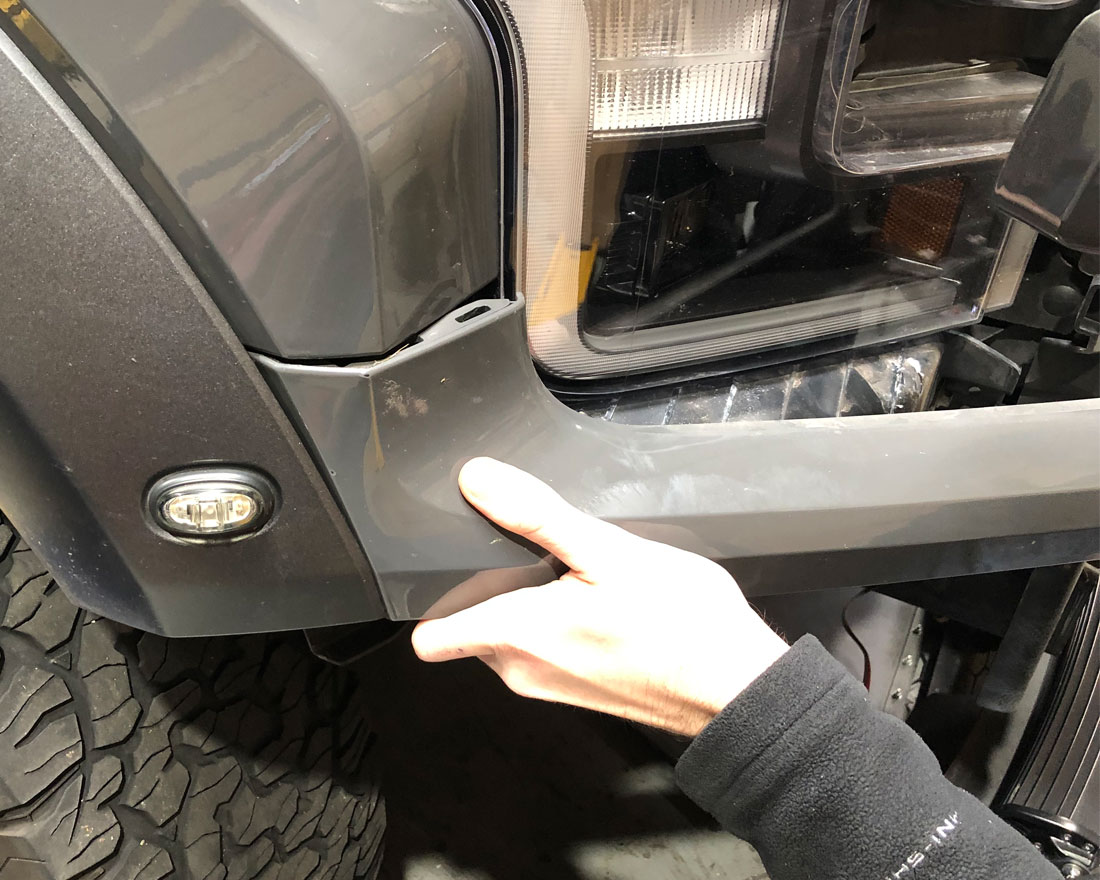
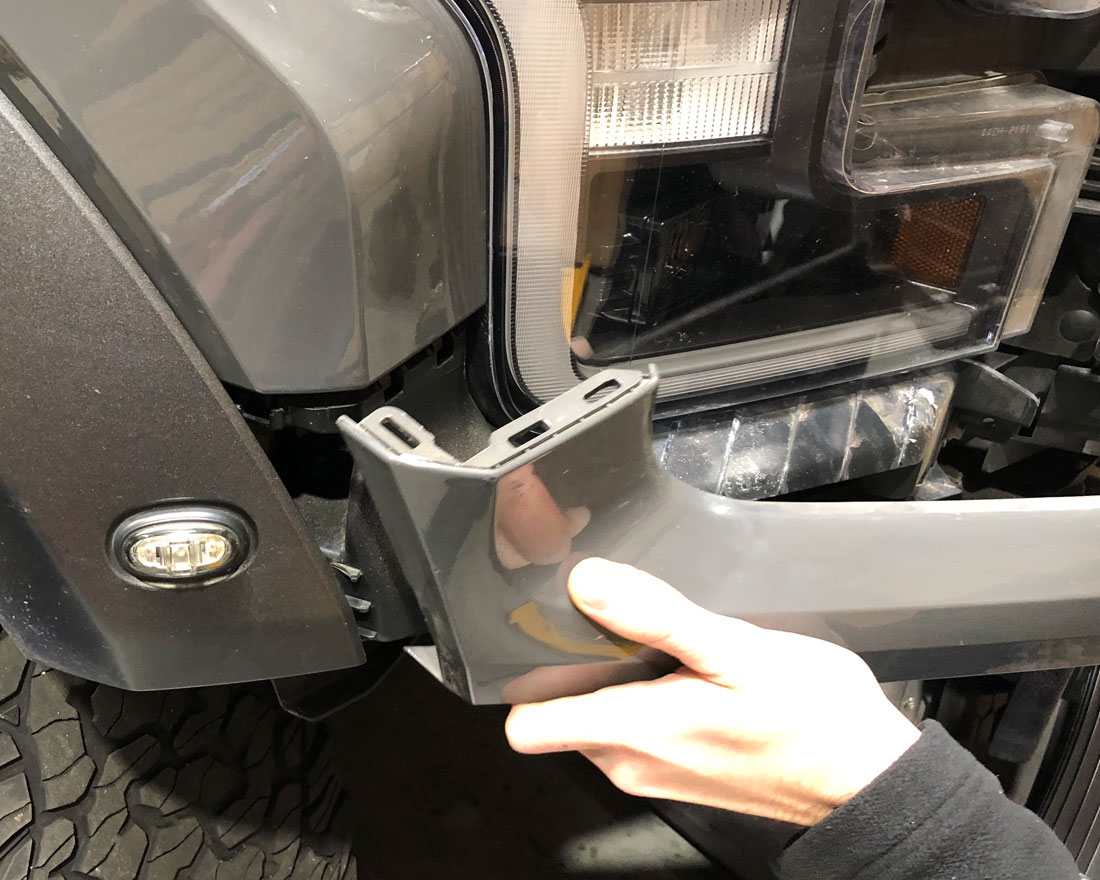
Step 2: Unclip headlight bezels on both sides.
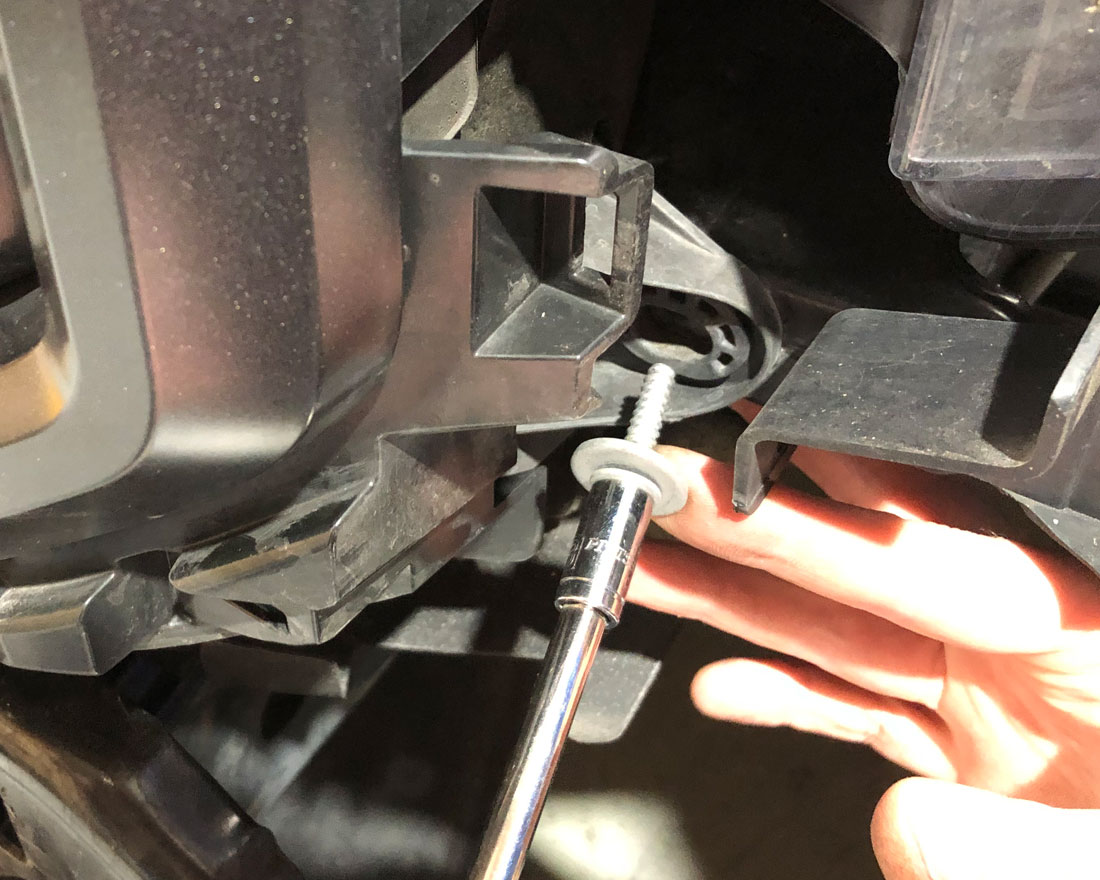
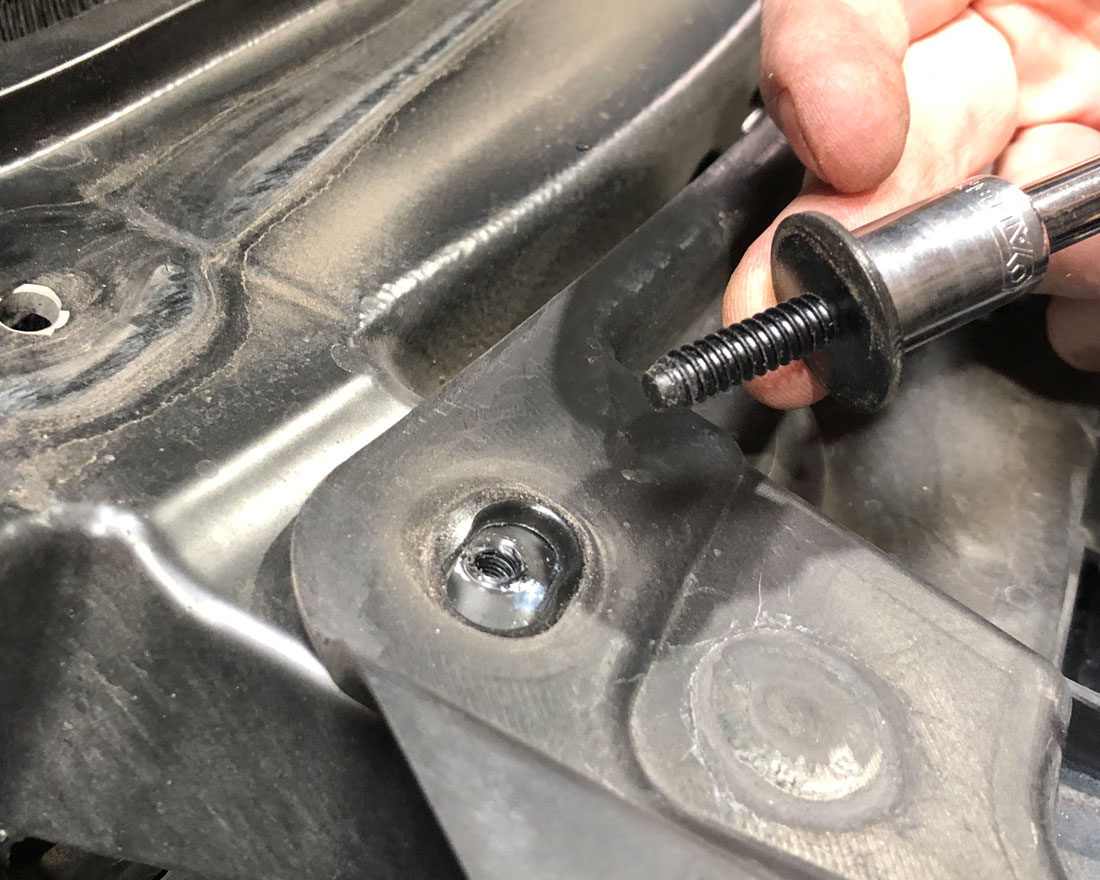
Step 3: Remove the bolts on each side that hold the bottom of the grille in place.
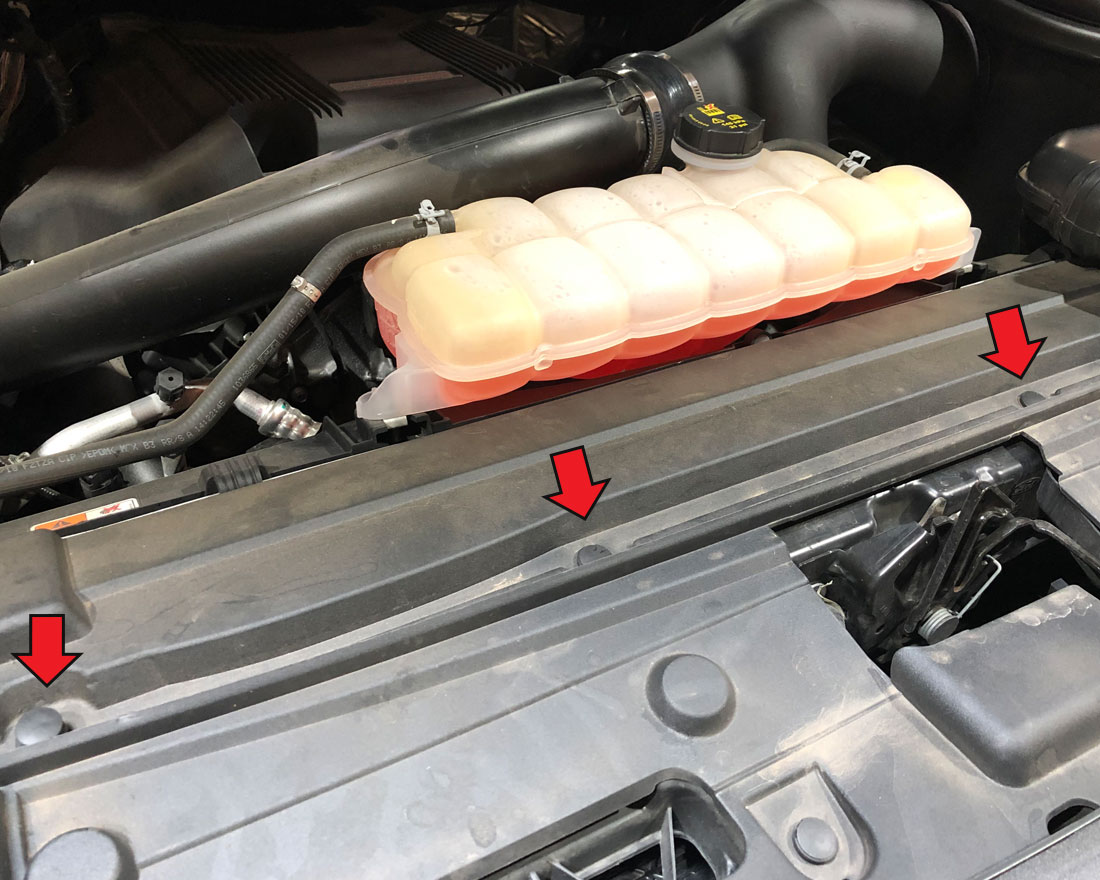
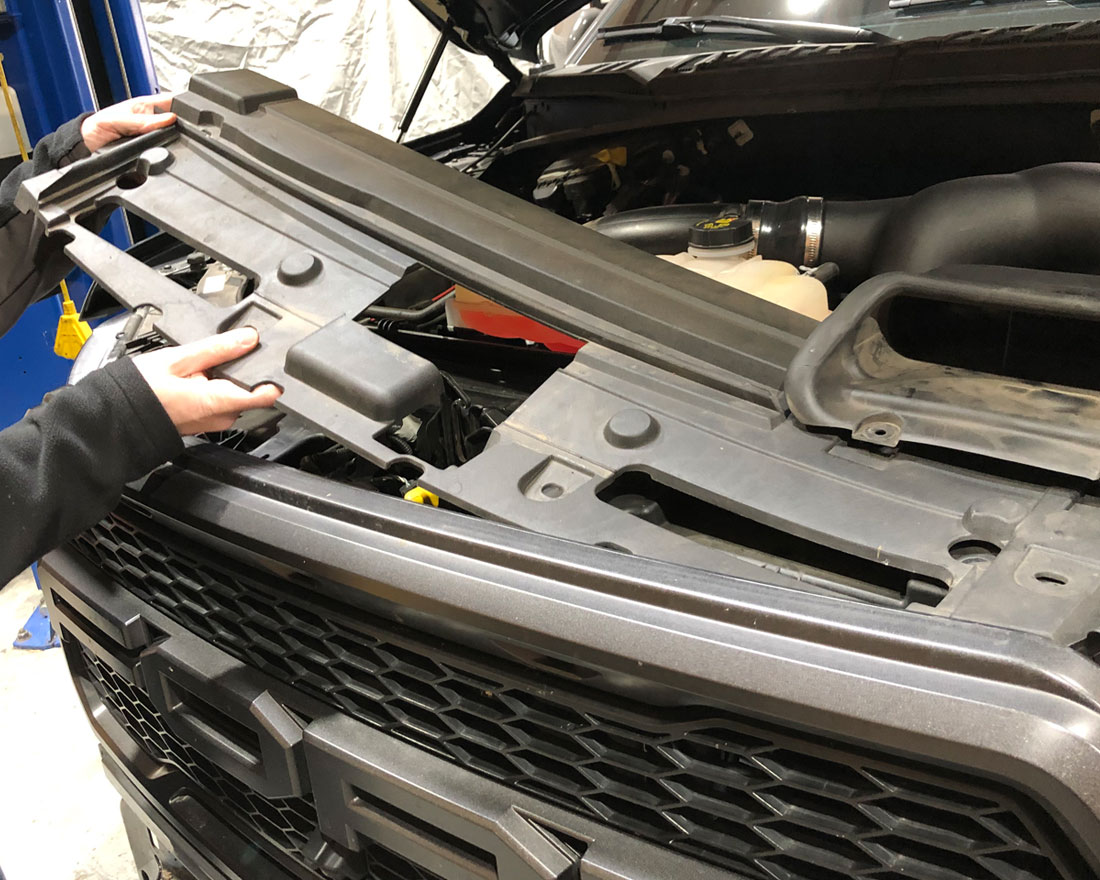
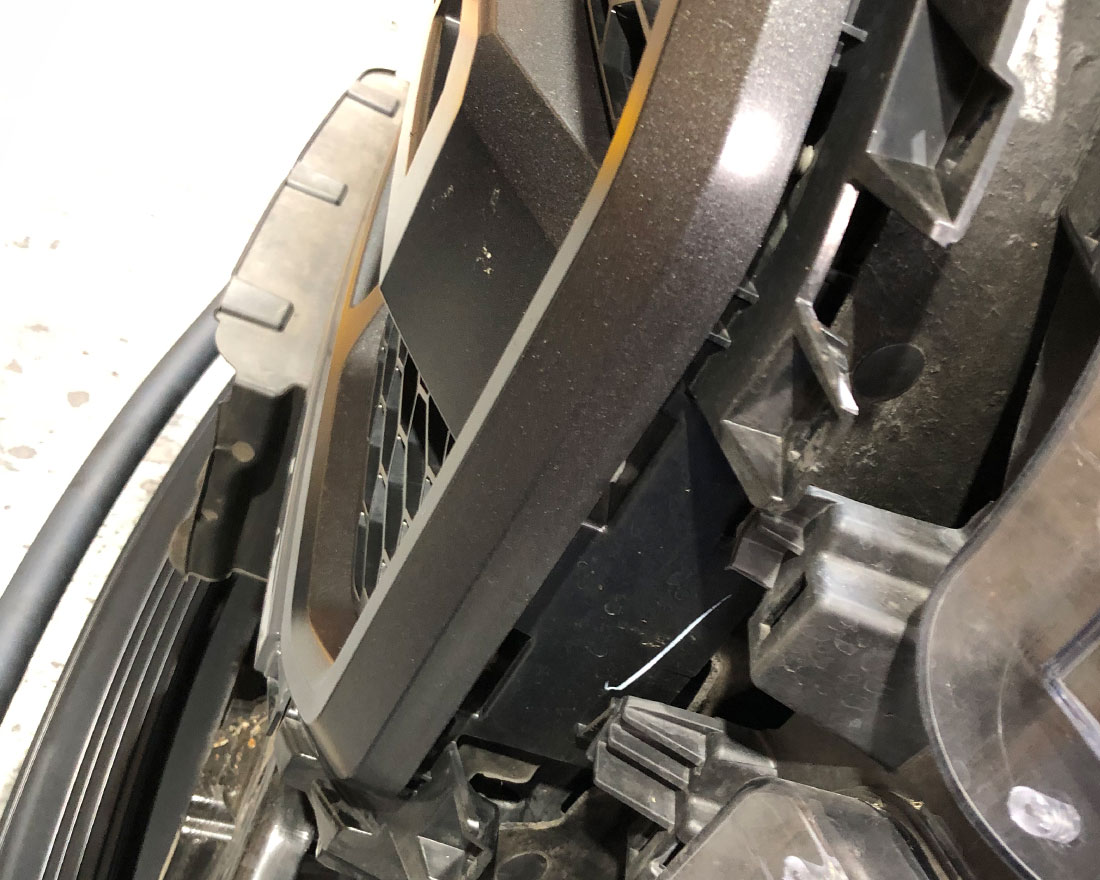
Step 4: Unclip the tabs holding the plastic radiator shroud and remove.

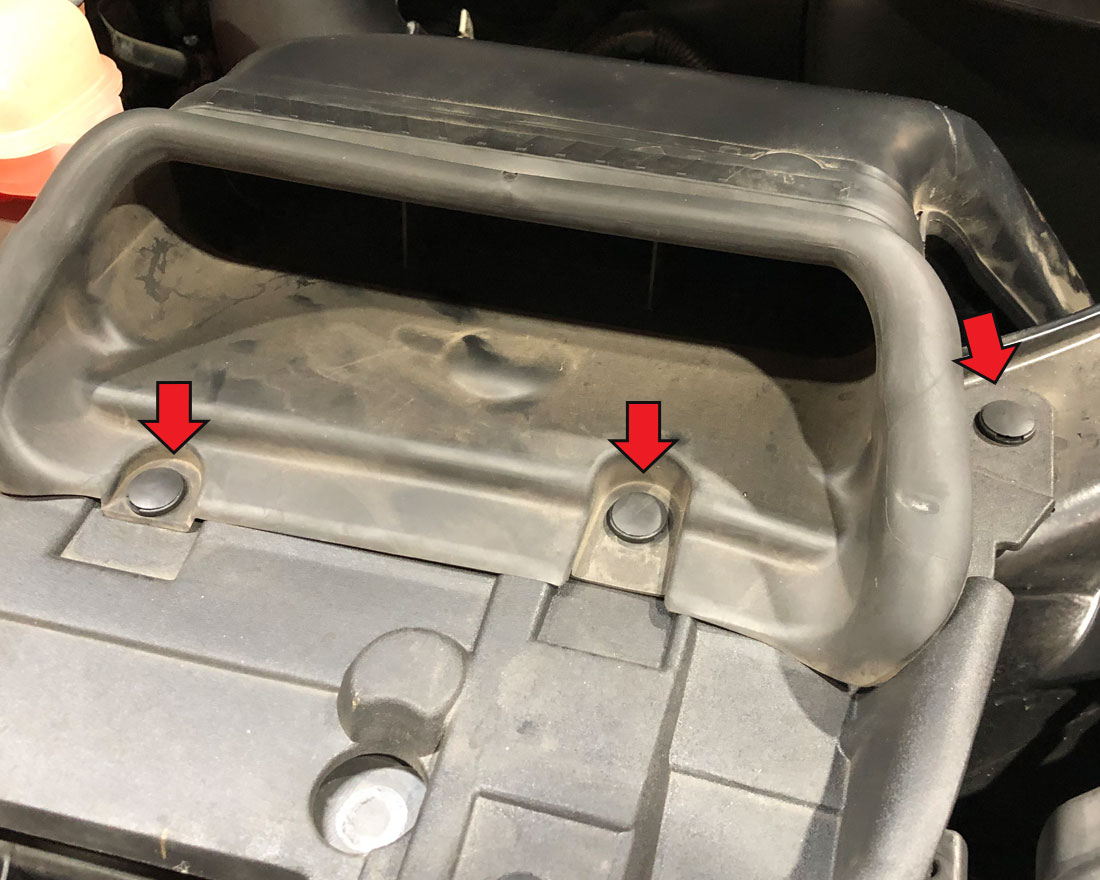
Step 5: Unclip the 3 tabs on each side of the grille.
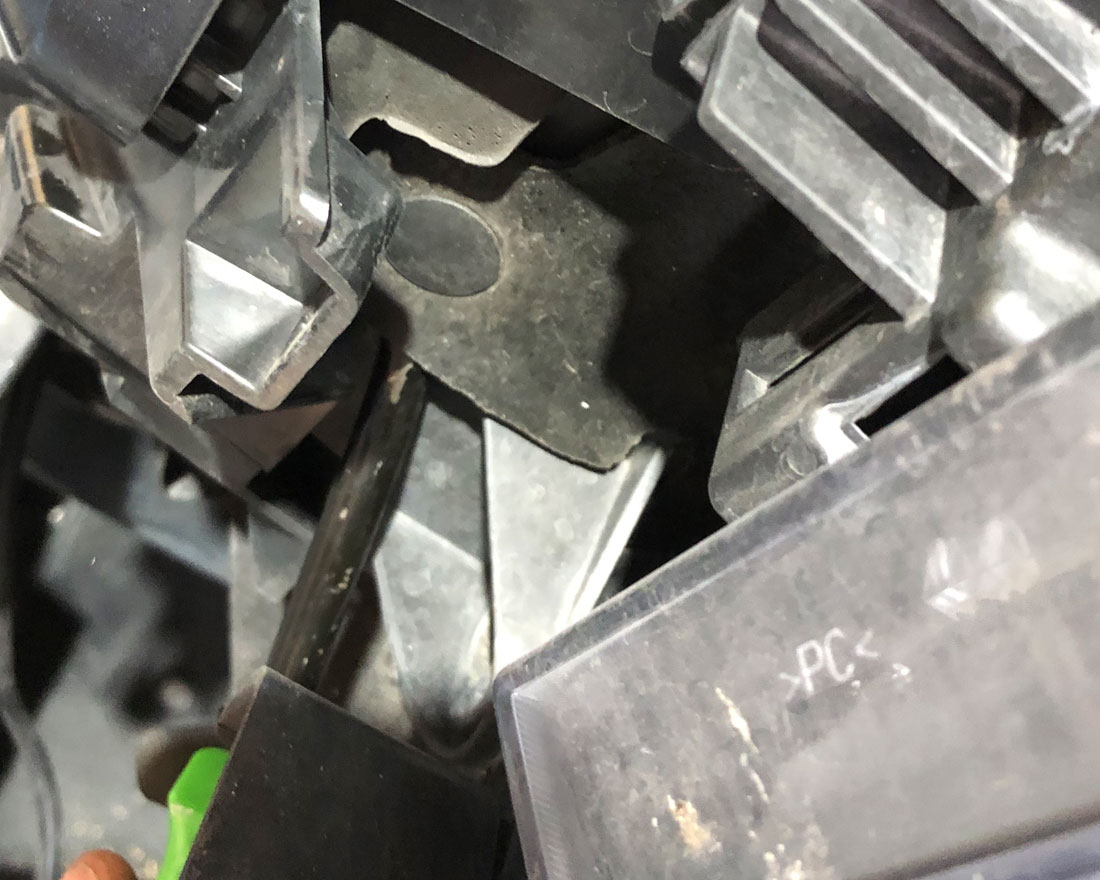
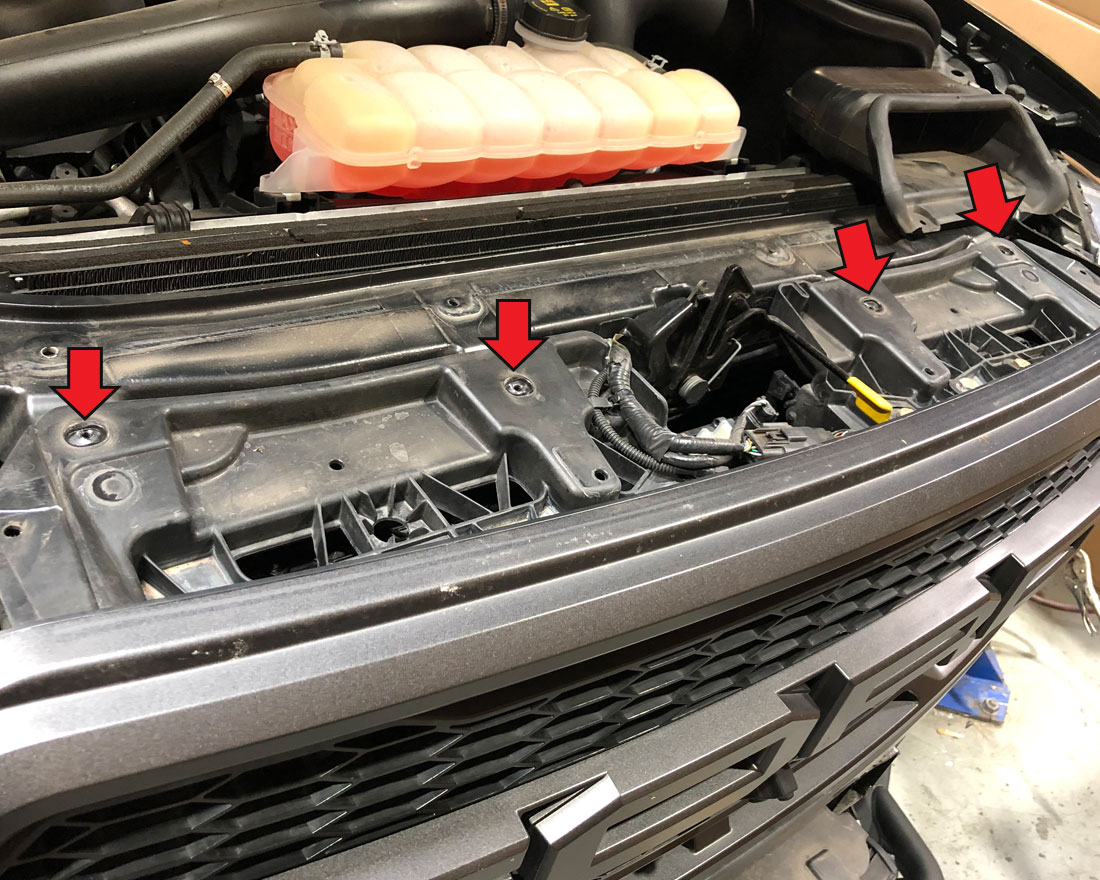
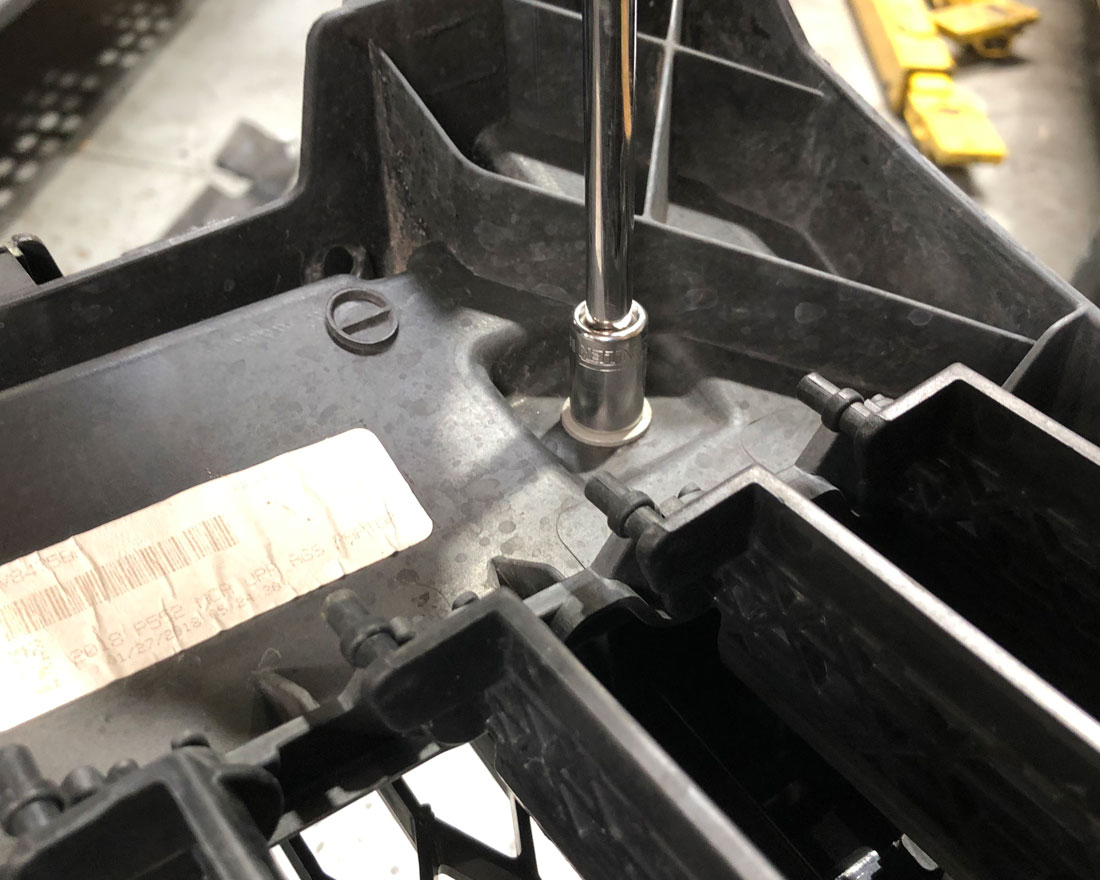
Step 6: Unbolt the 4 bolts to allow the grille to be removed.

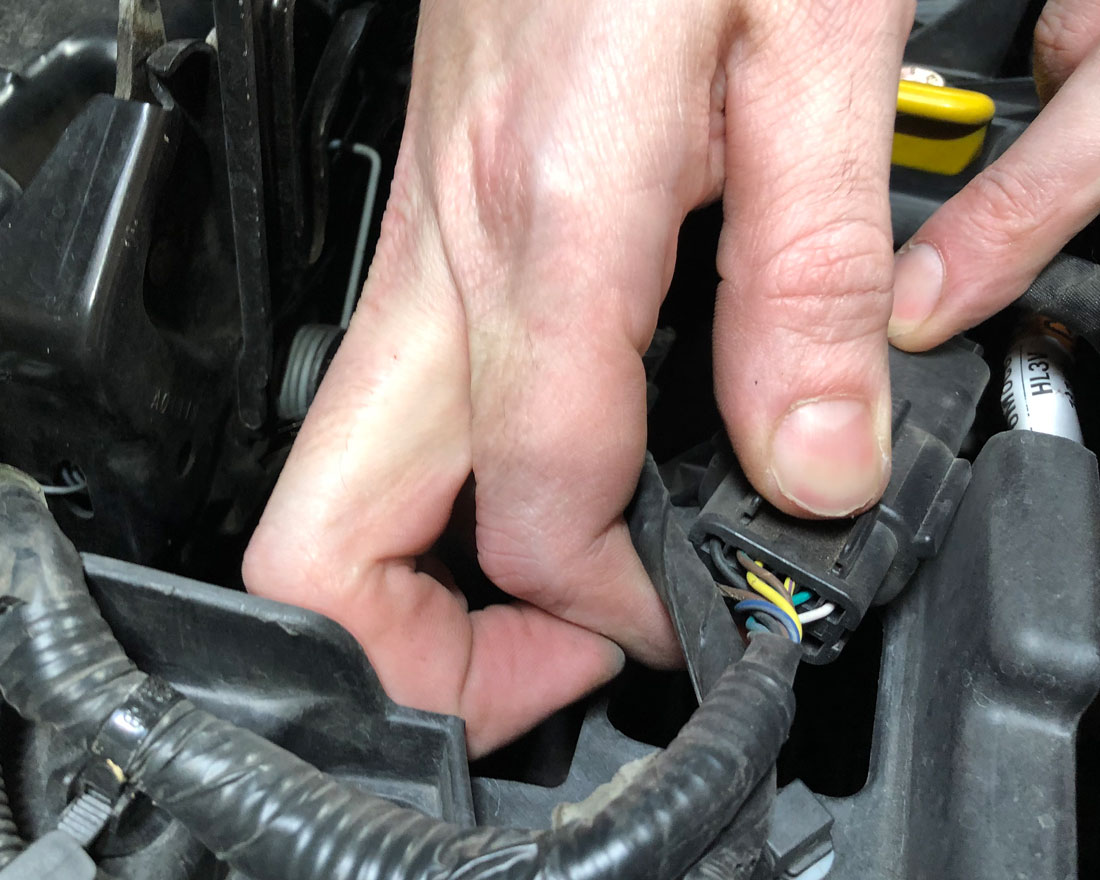
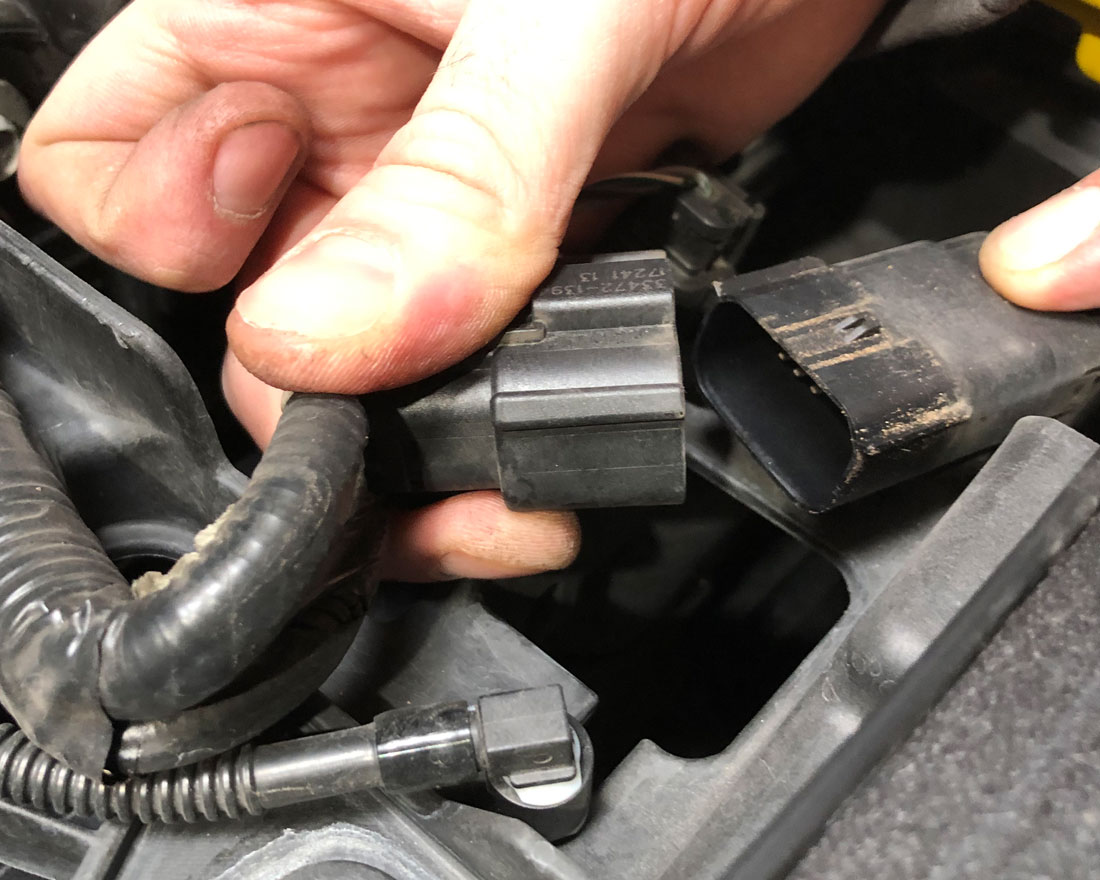
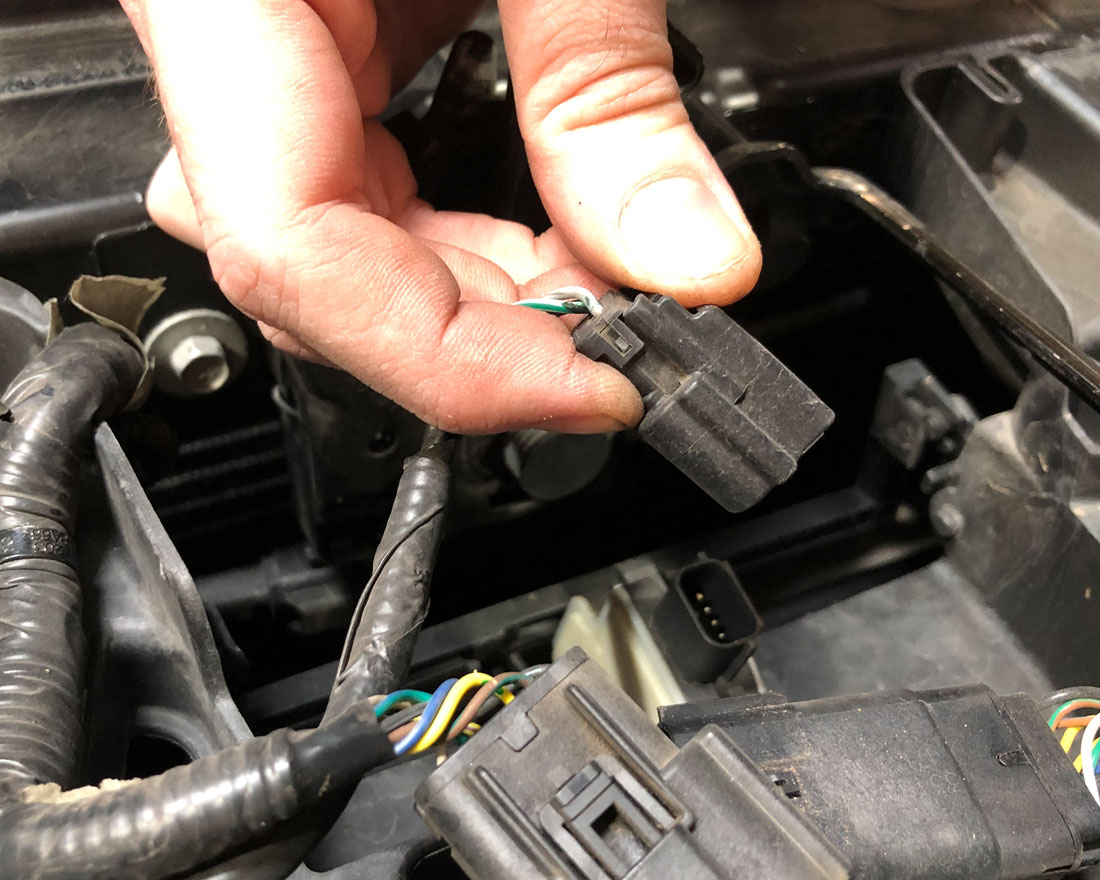
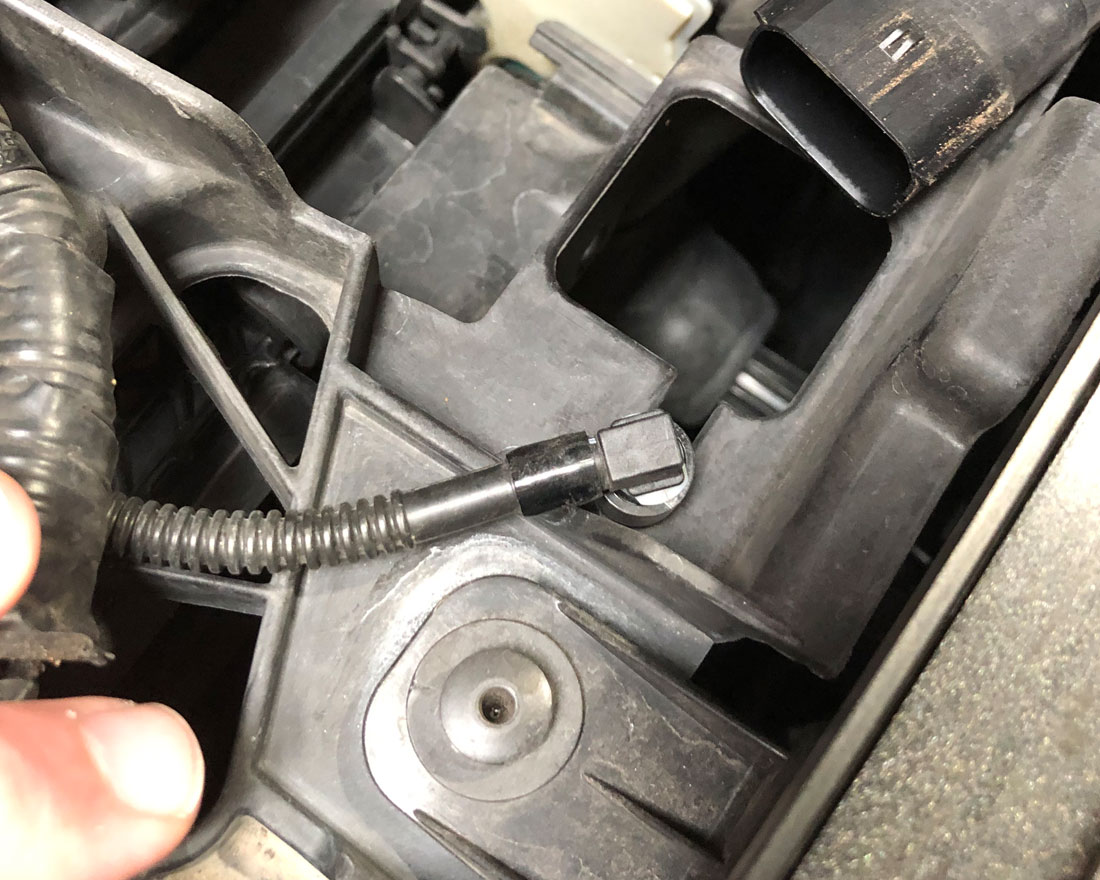
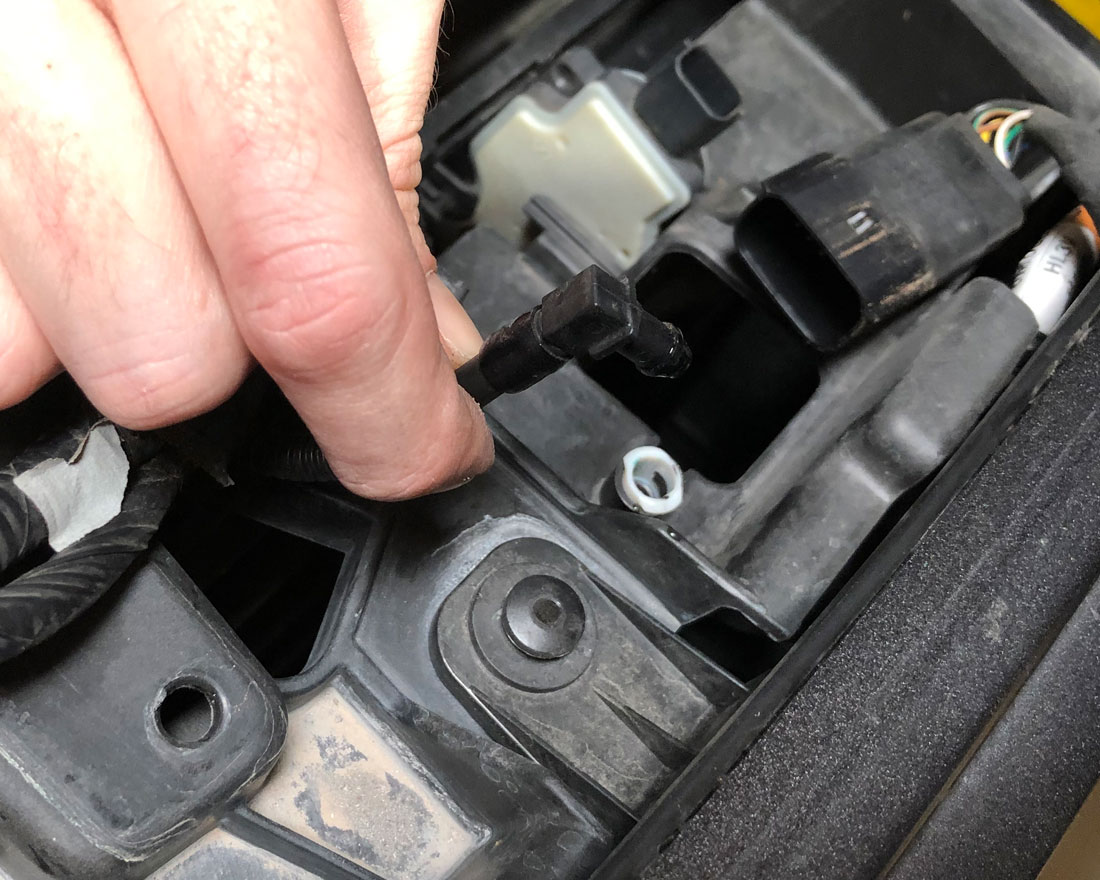
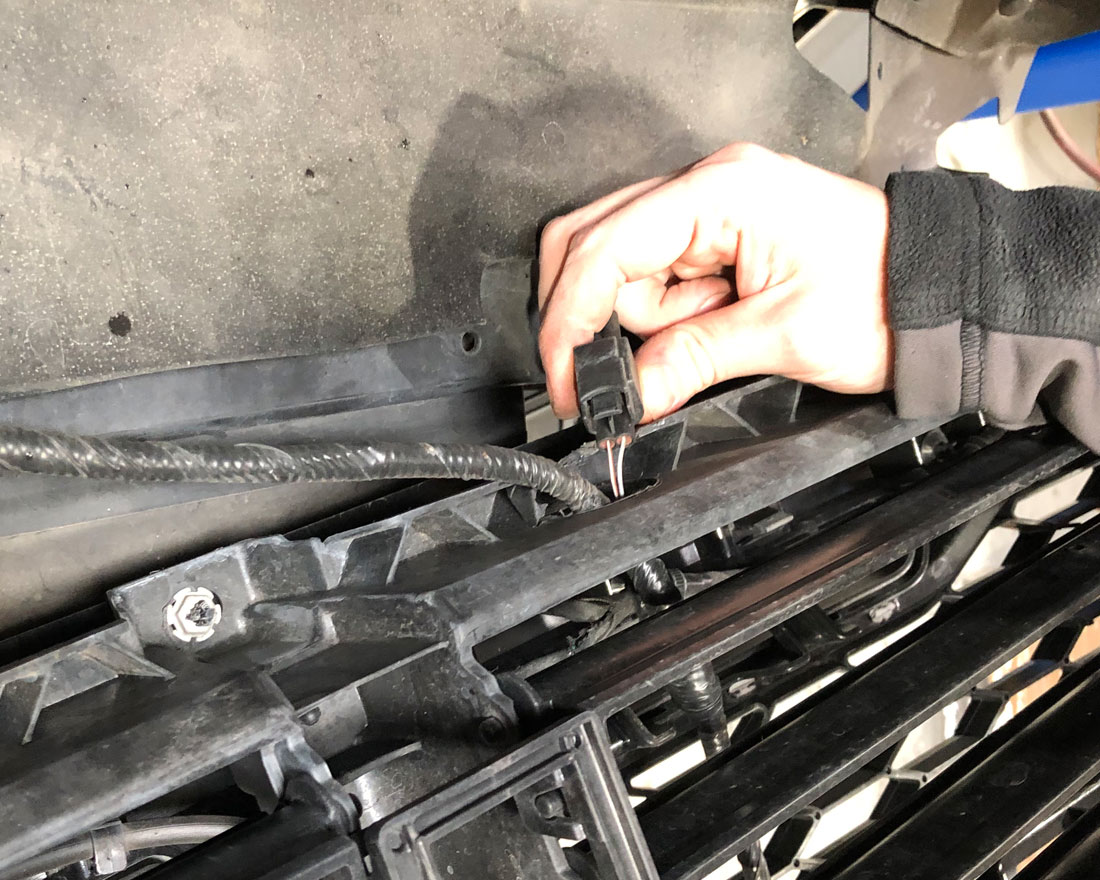
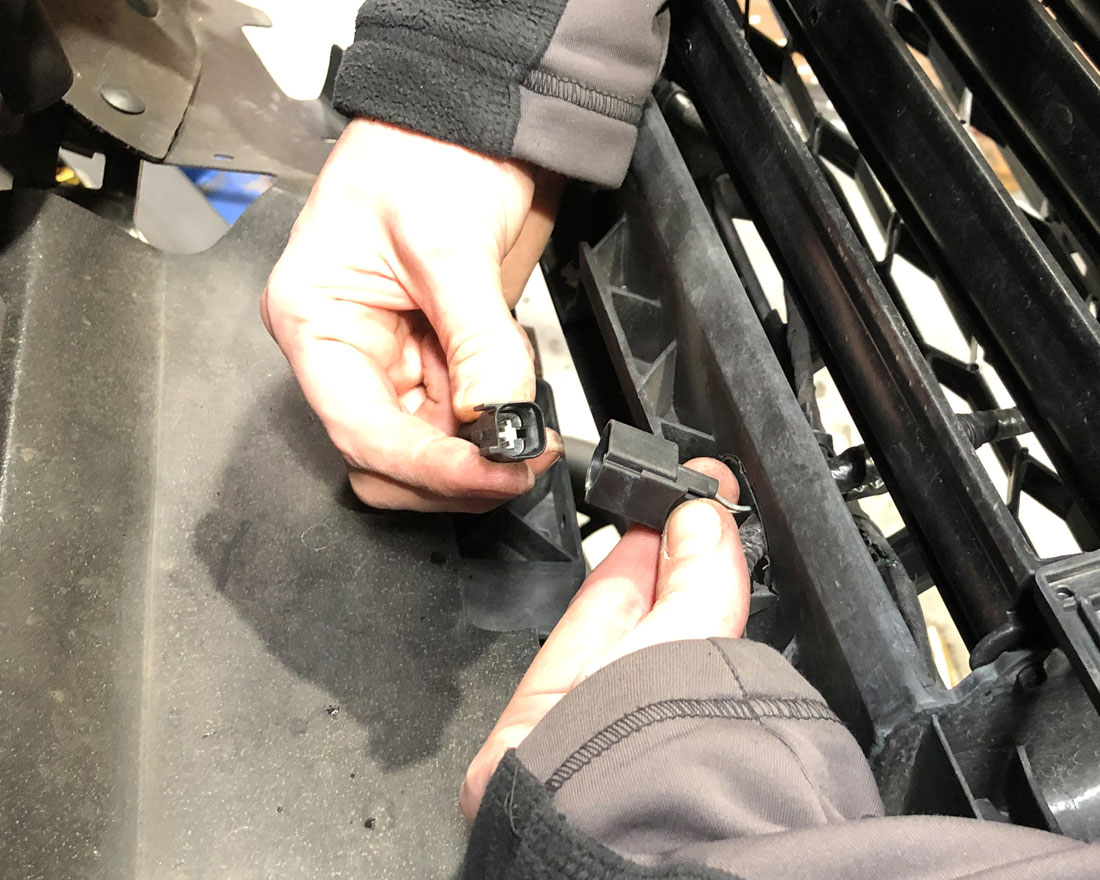
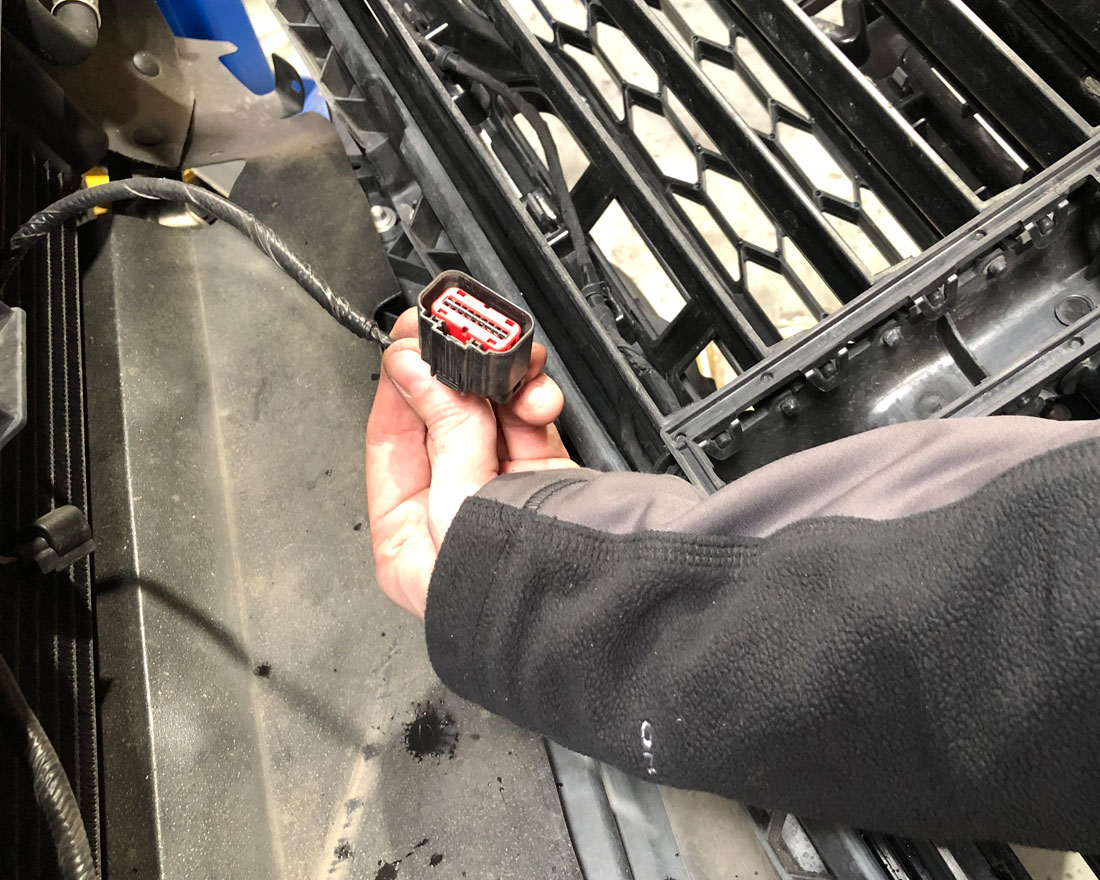
Step 7: Before removing the grille. Unclip all harnesses and cable pins. Be careful a few clips will be behind the grille that will need to be unclipped before the grille can be removed.
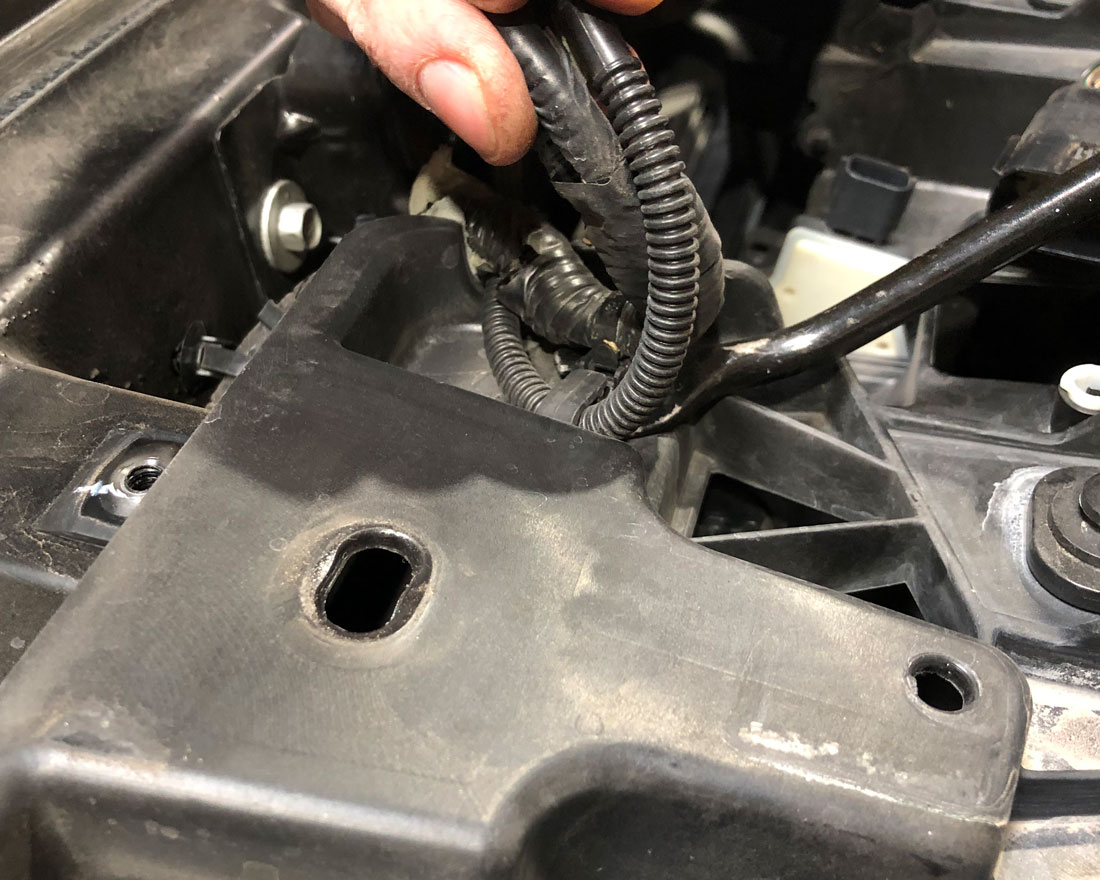
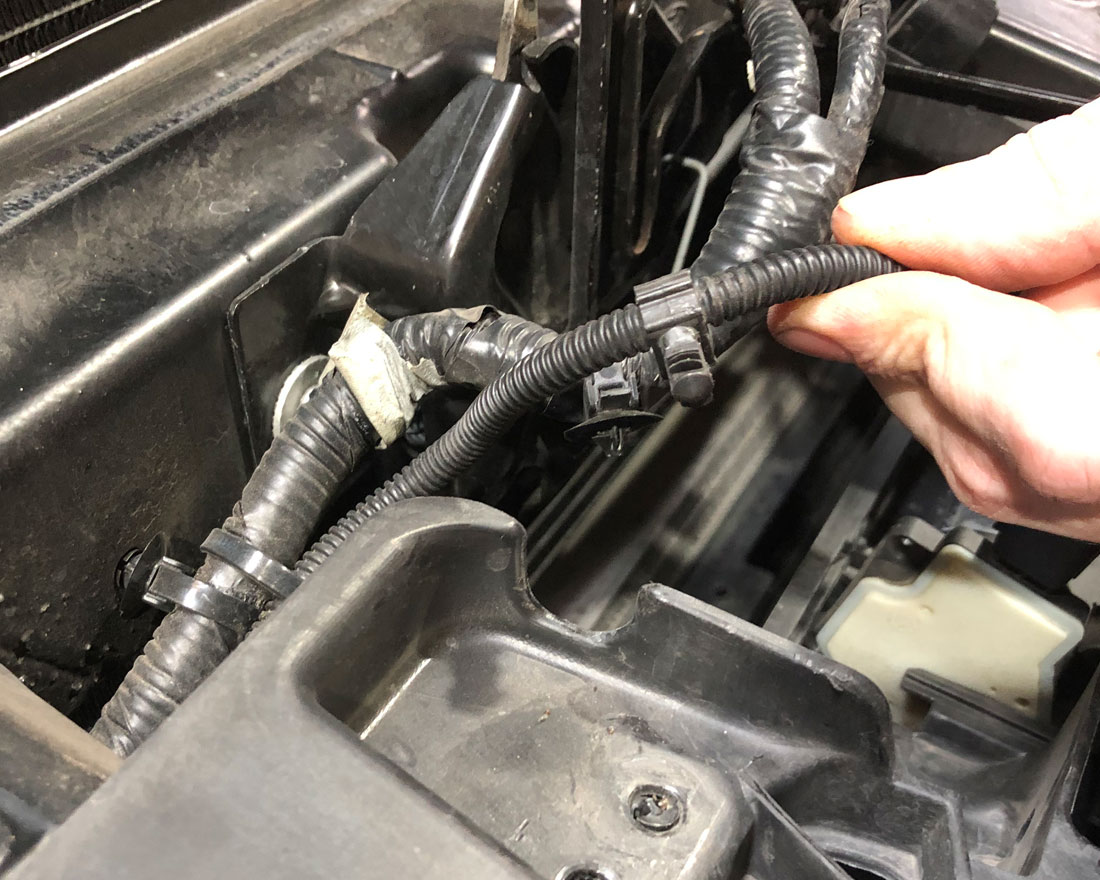
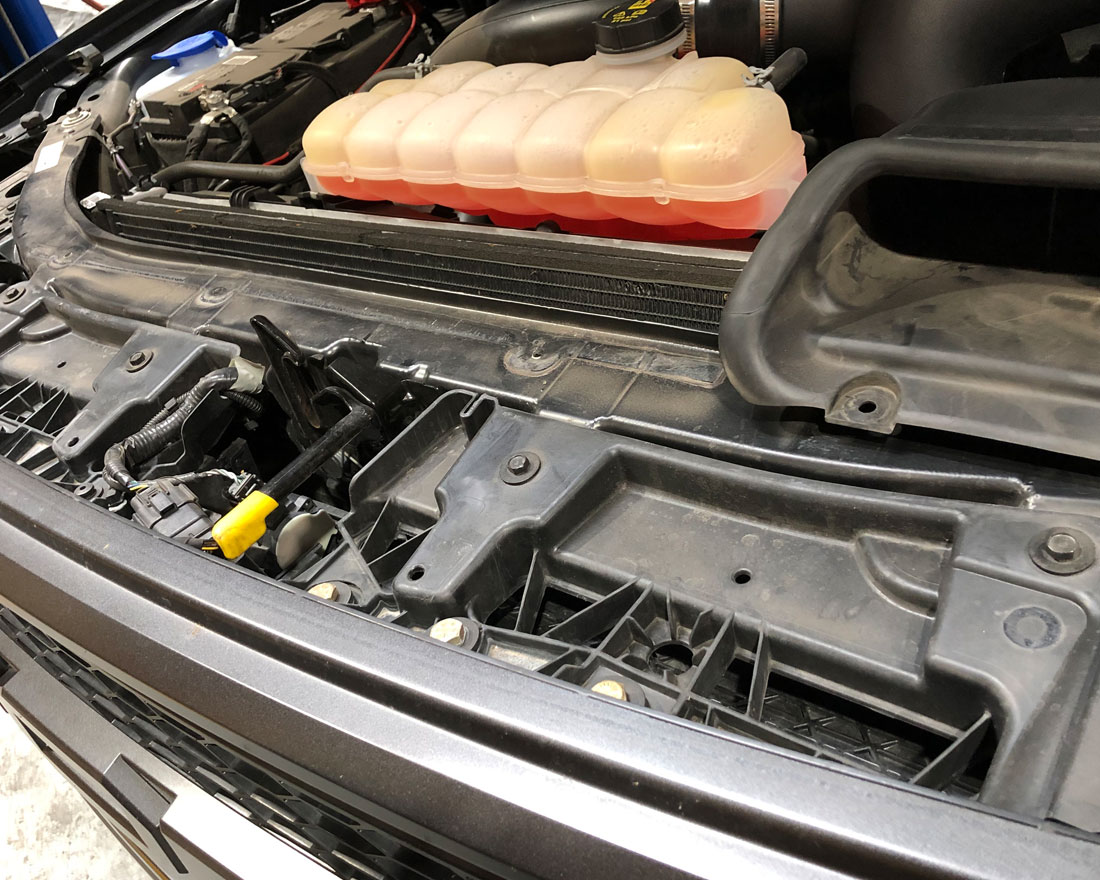
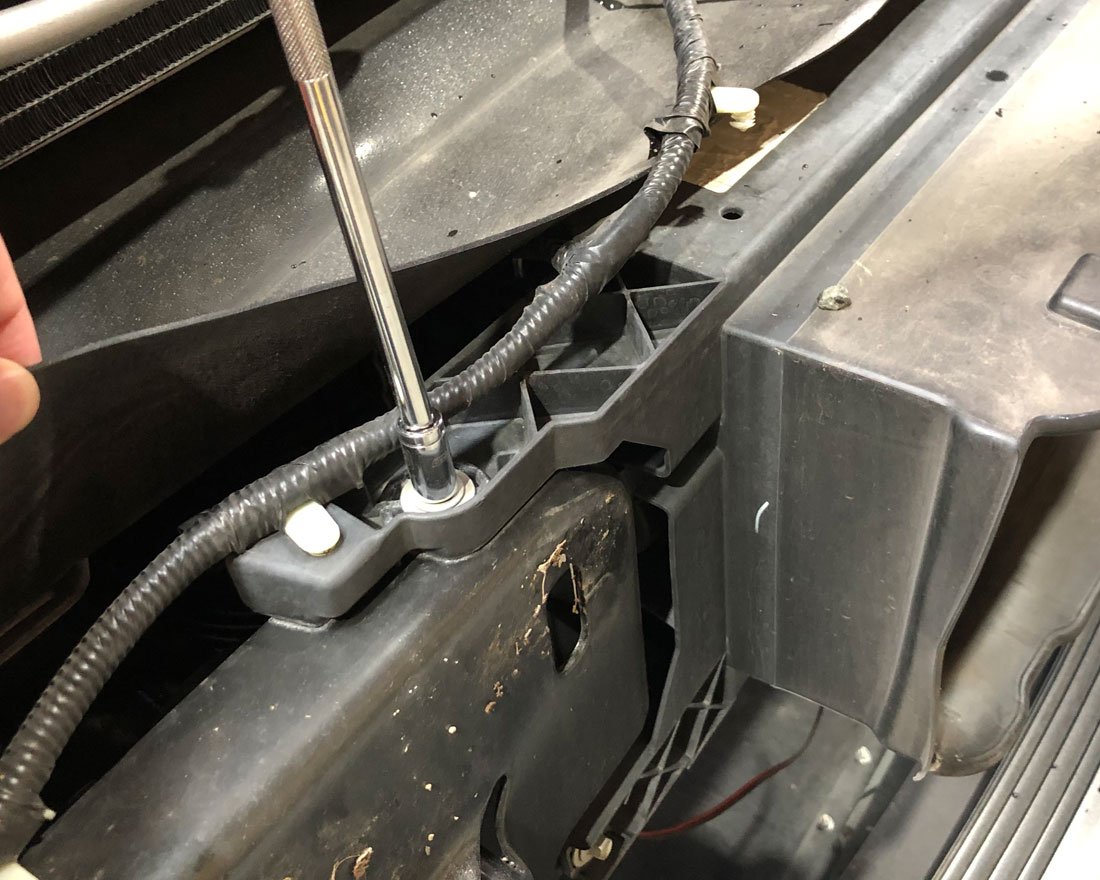
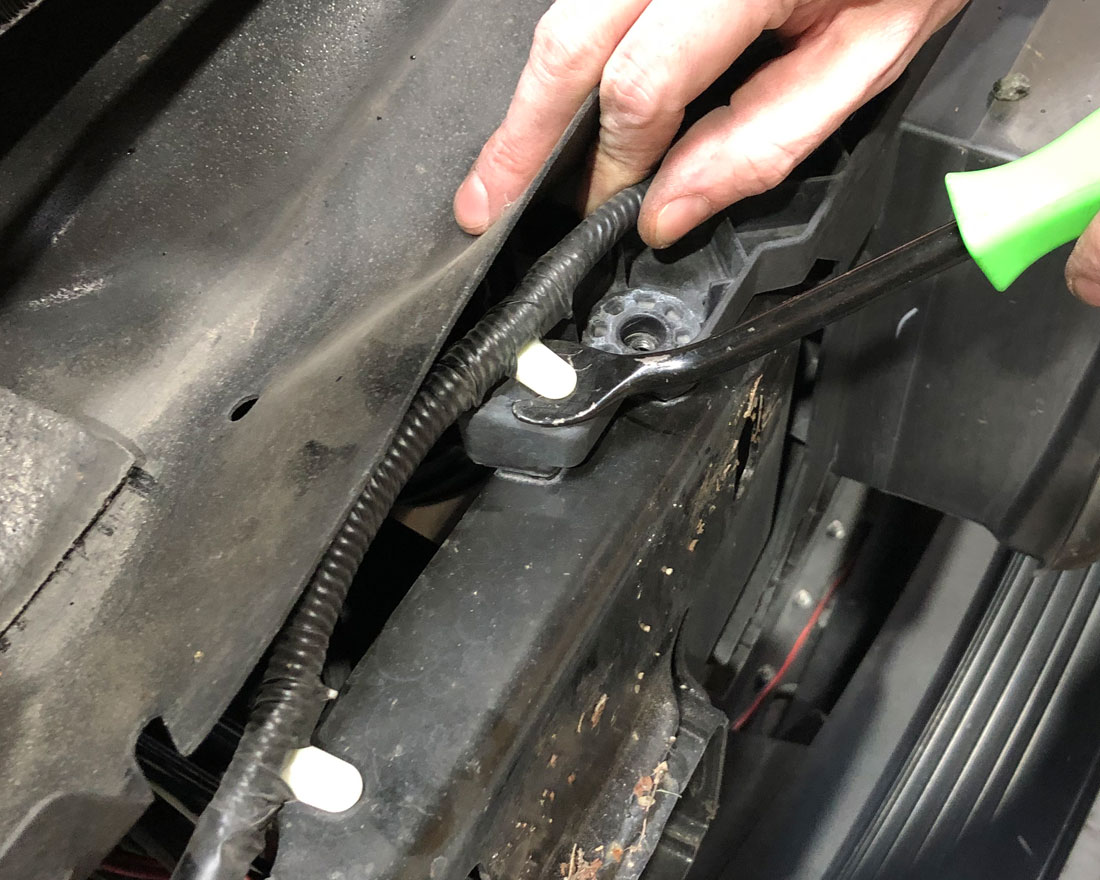
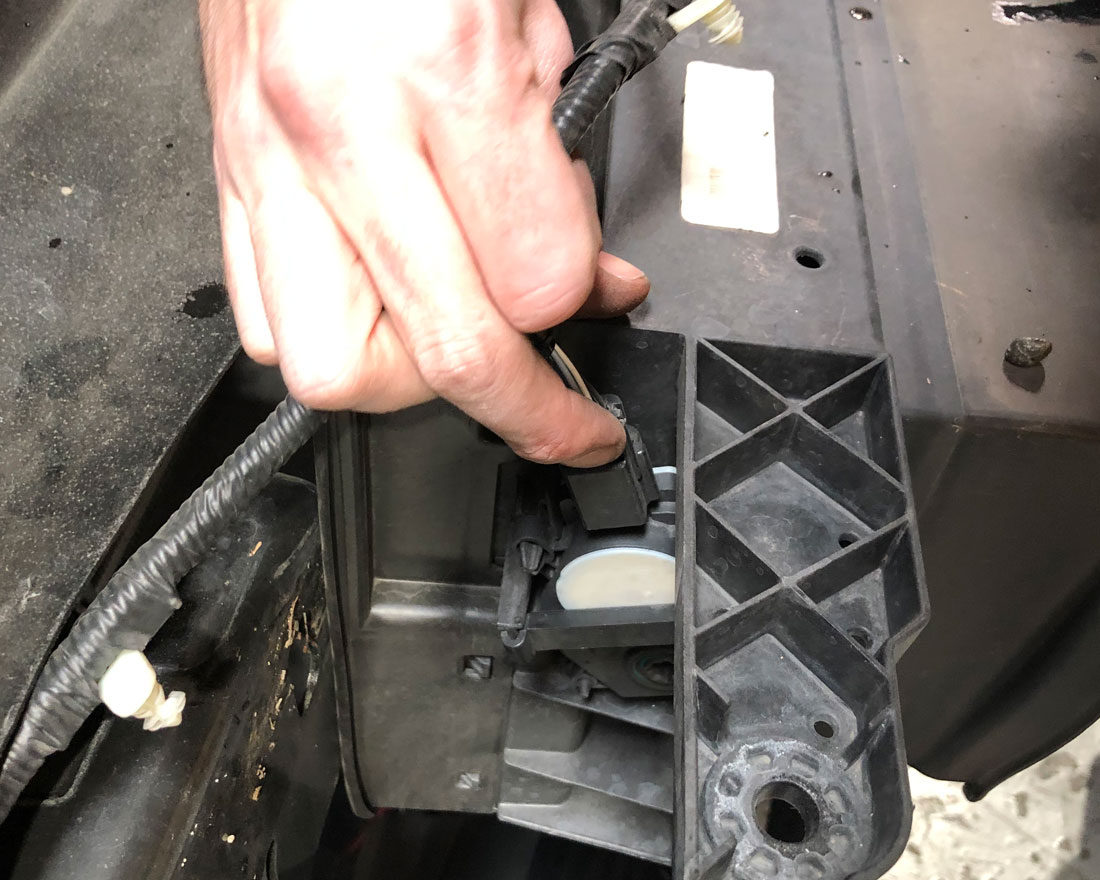
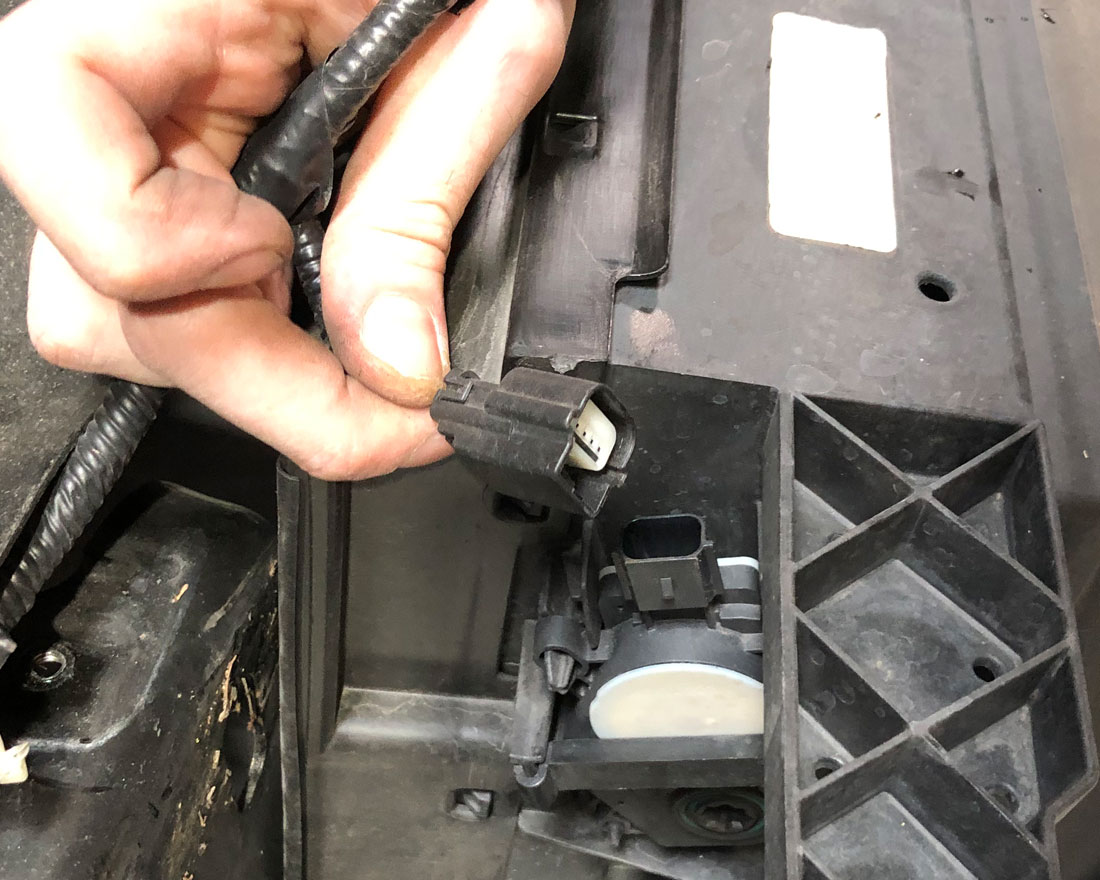
Step 8: Unbolt the 4 bolts holding the intercooler shroud and unclip the wire harness holder along with unplugging the shutters. Then remove the intercooler shroud.


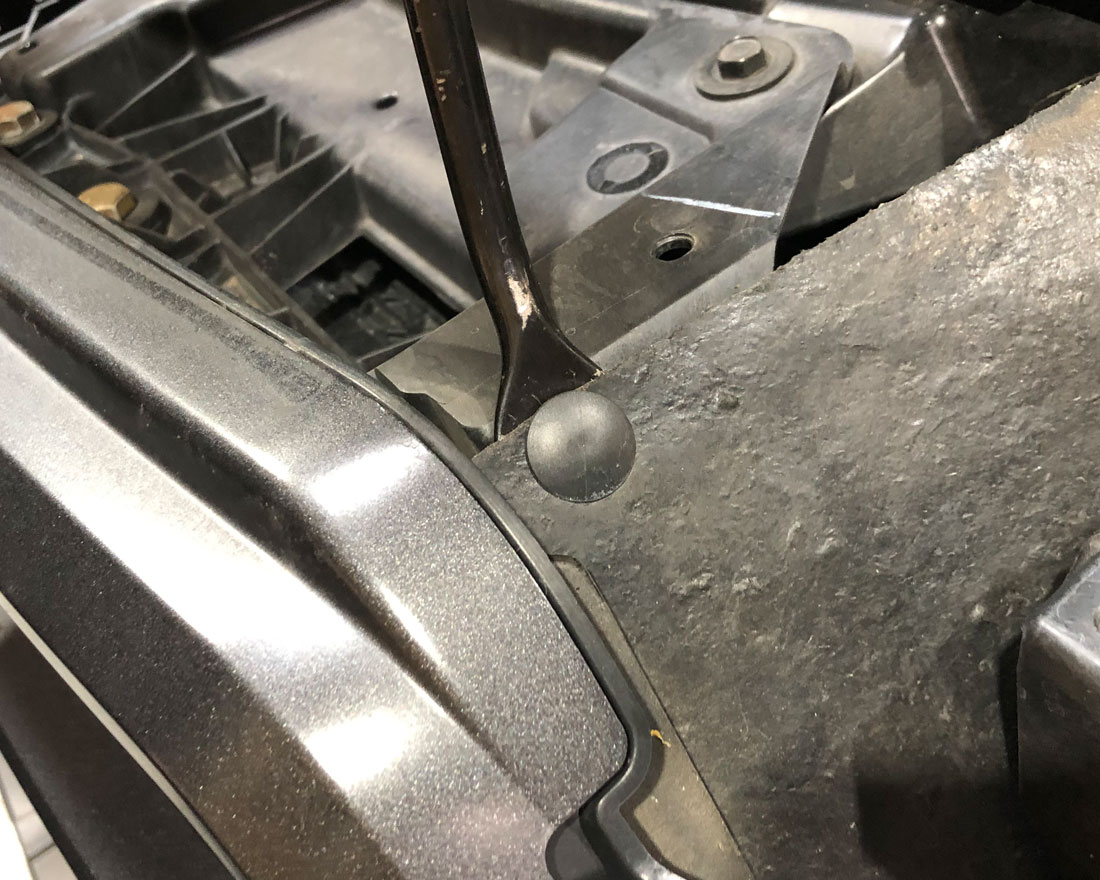
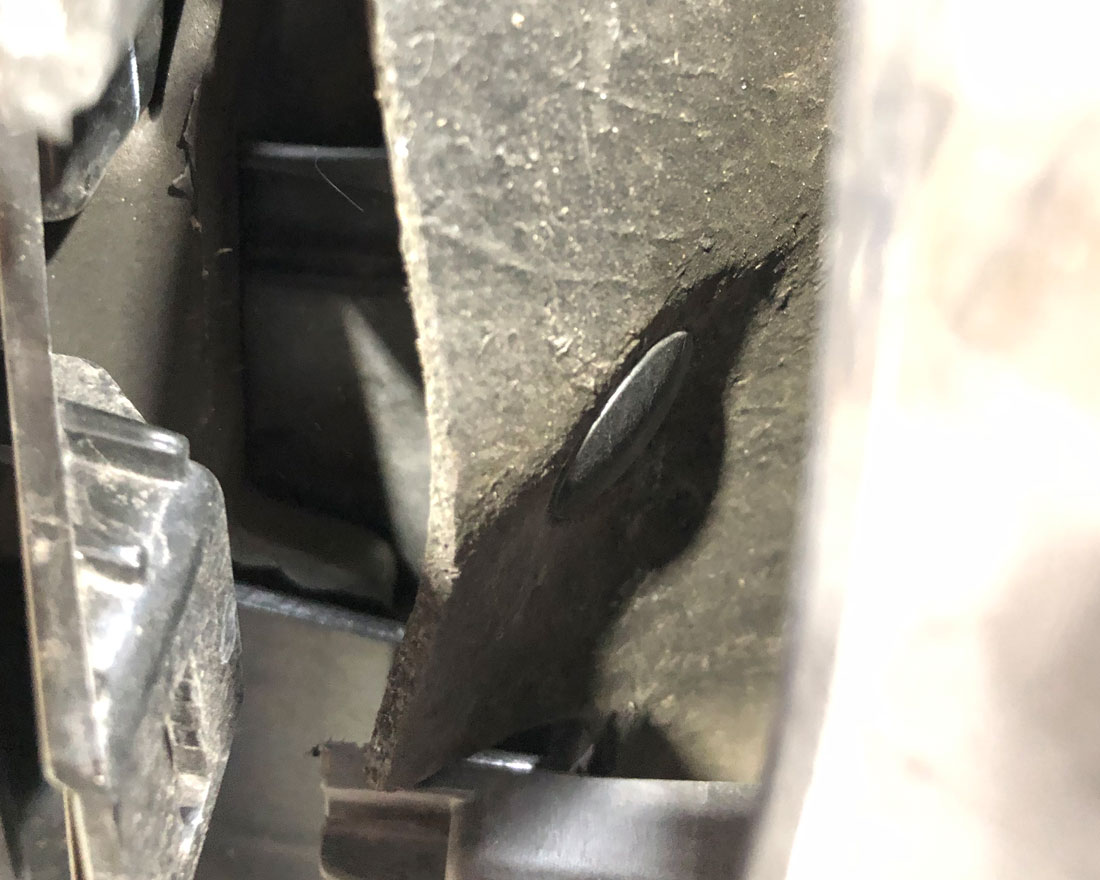
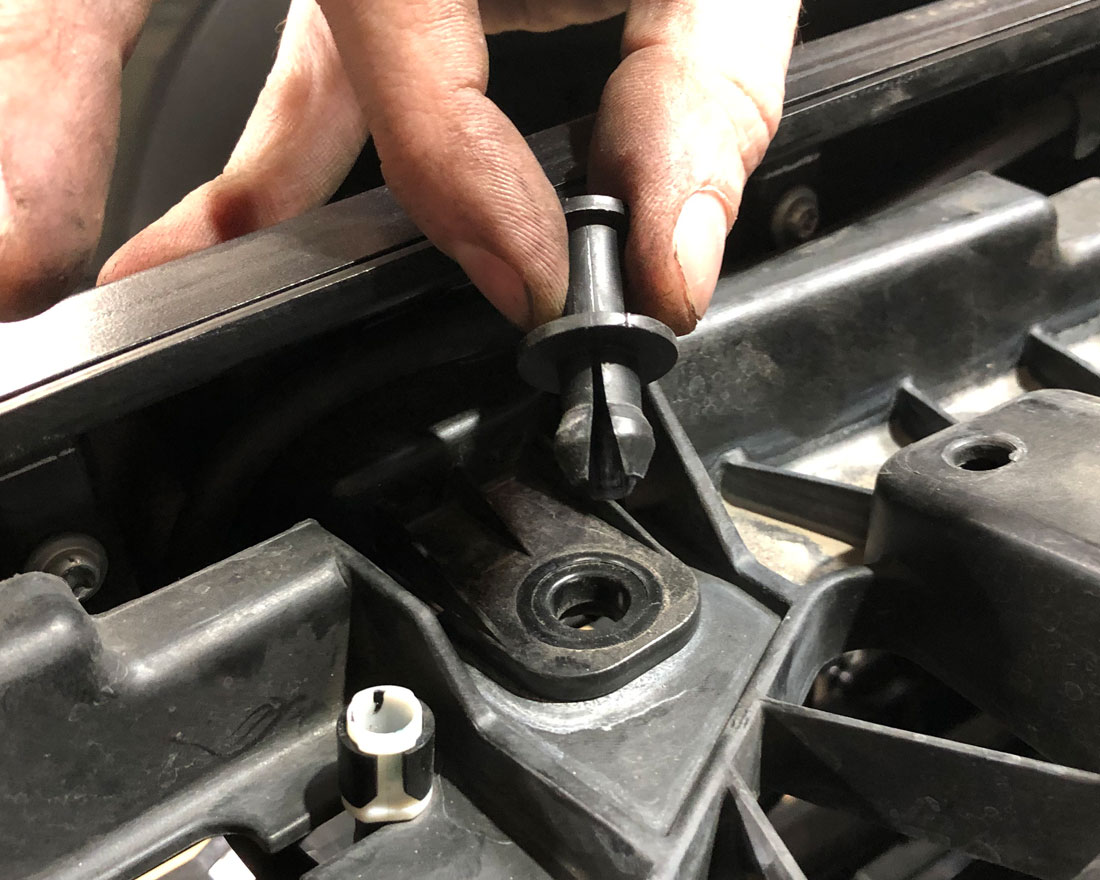
Step 9: (Optional) Remove the 4 push pins.
Step 10: Cut and remove the front section of the rubber liner.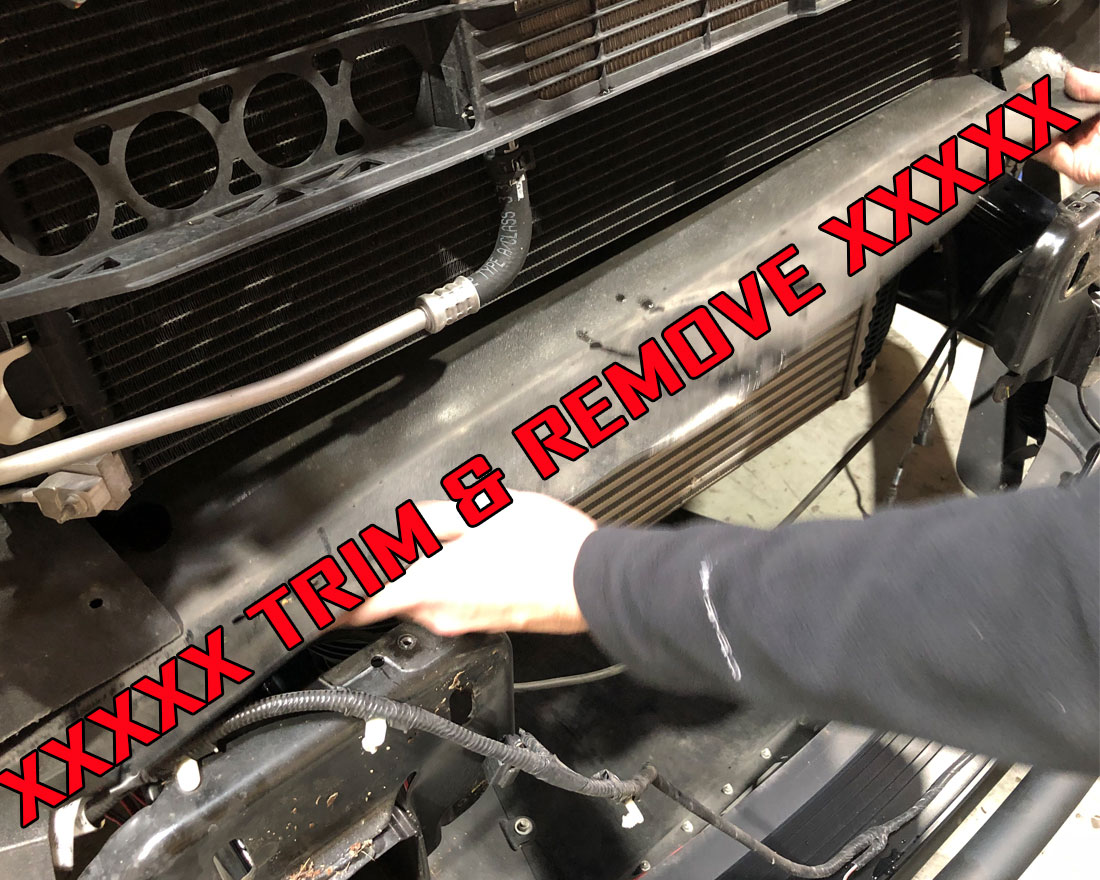
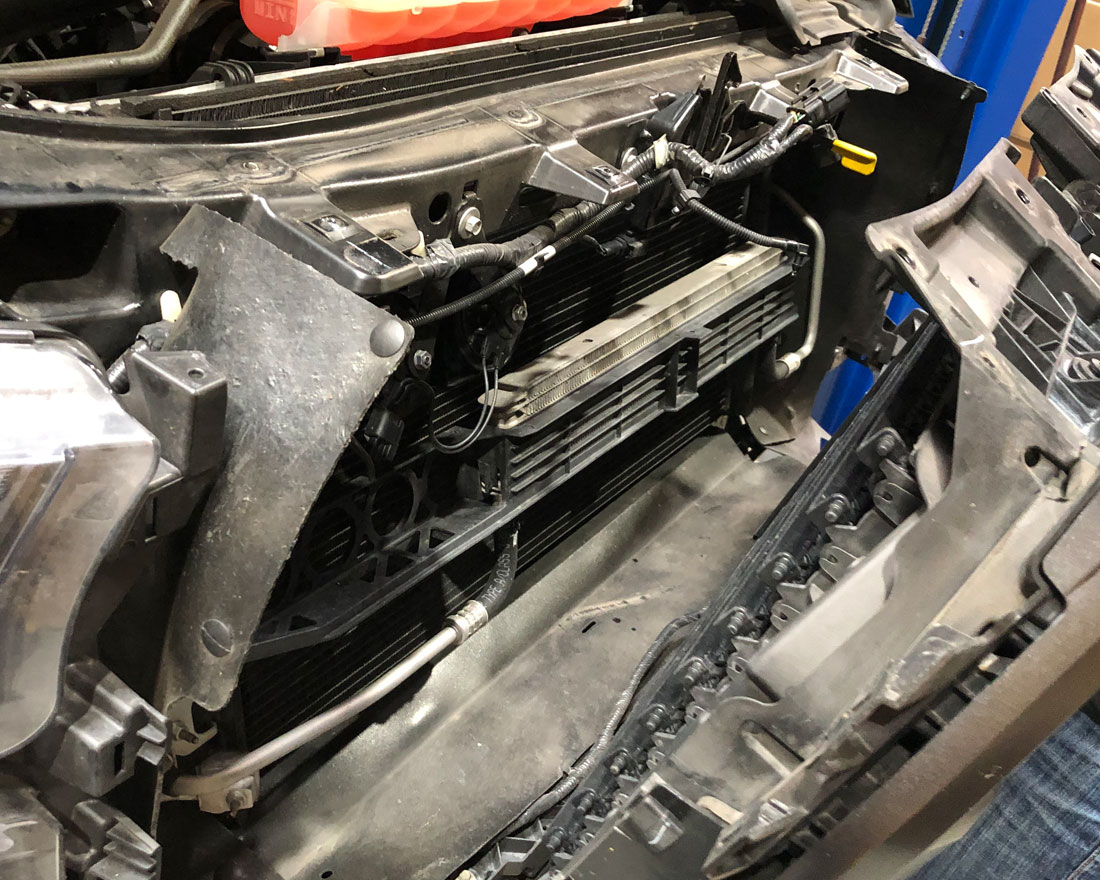
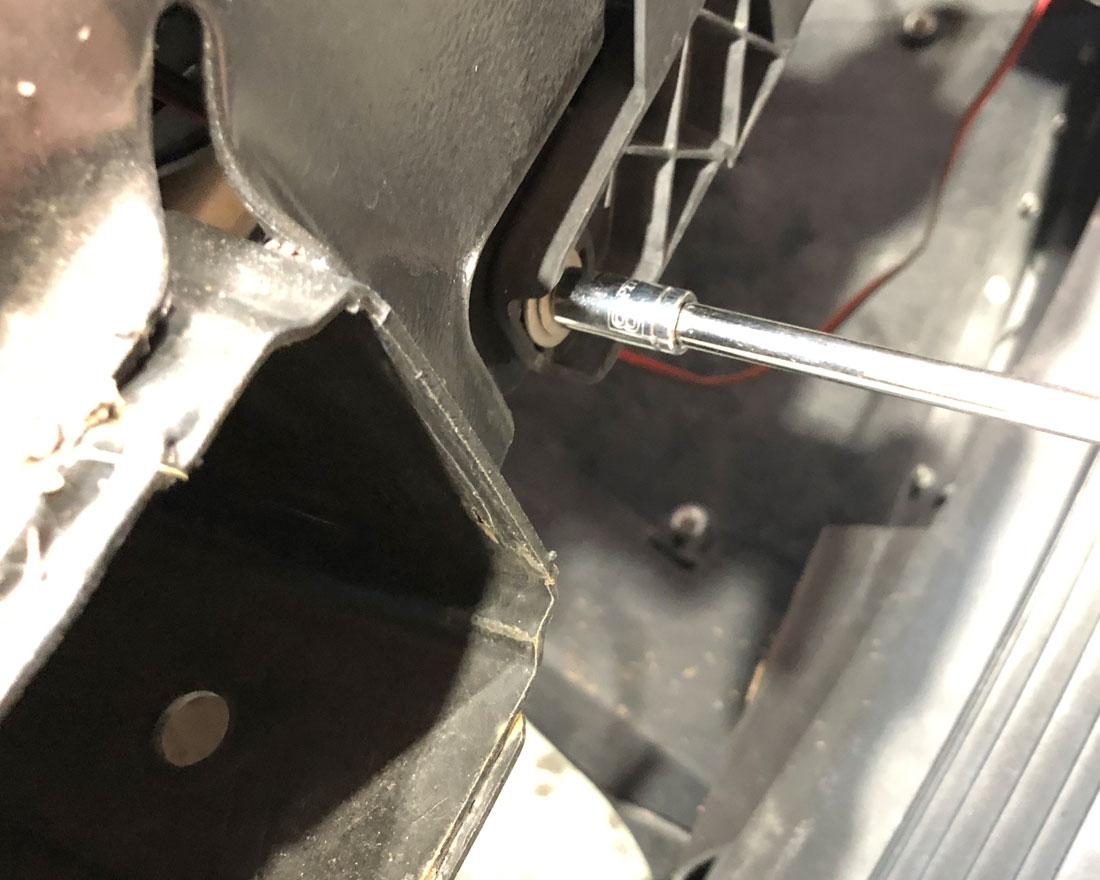
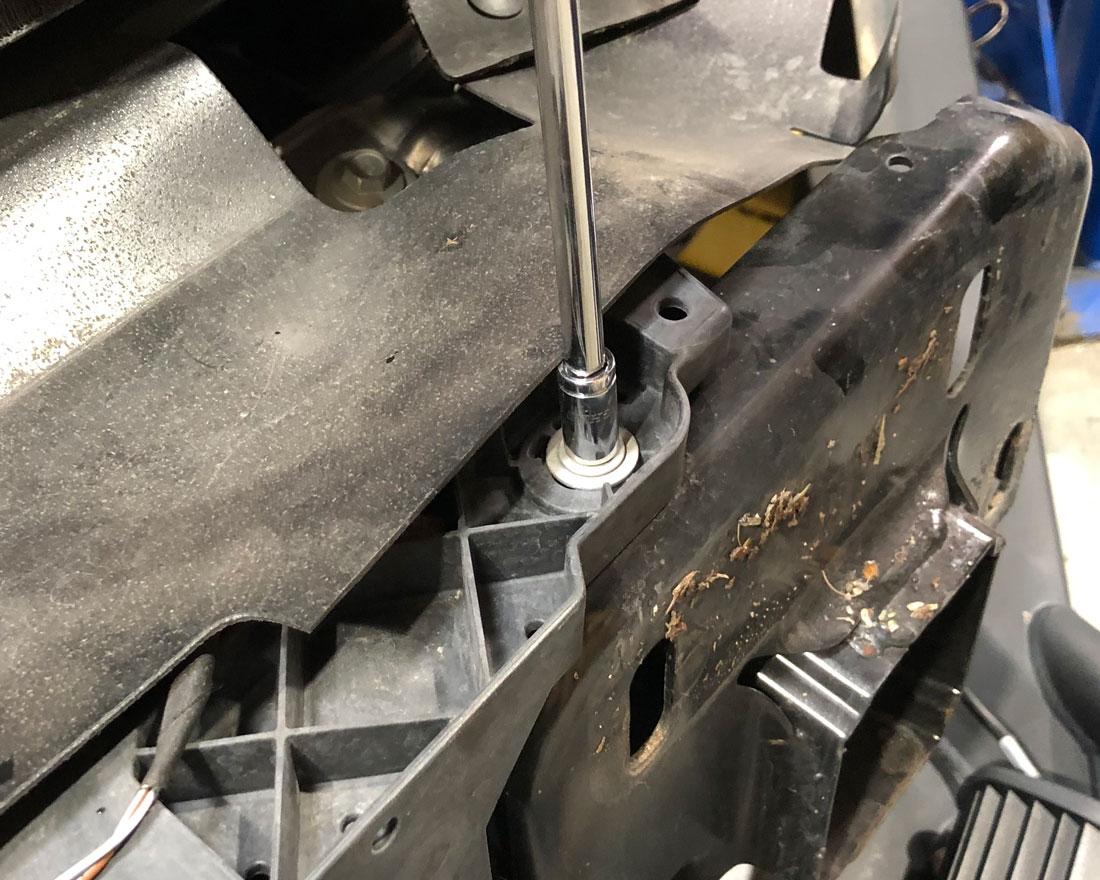
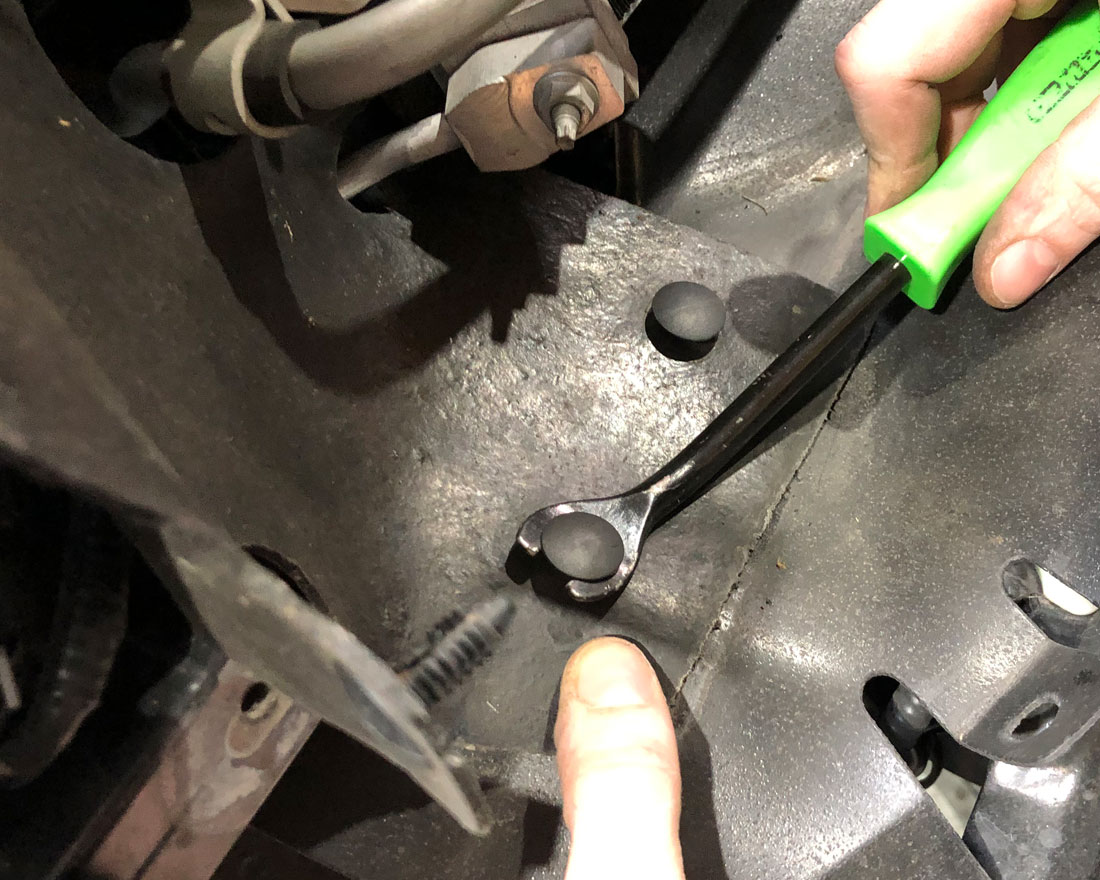
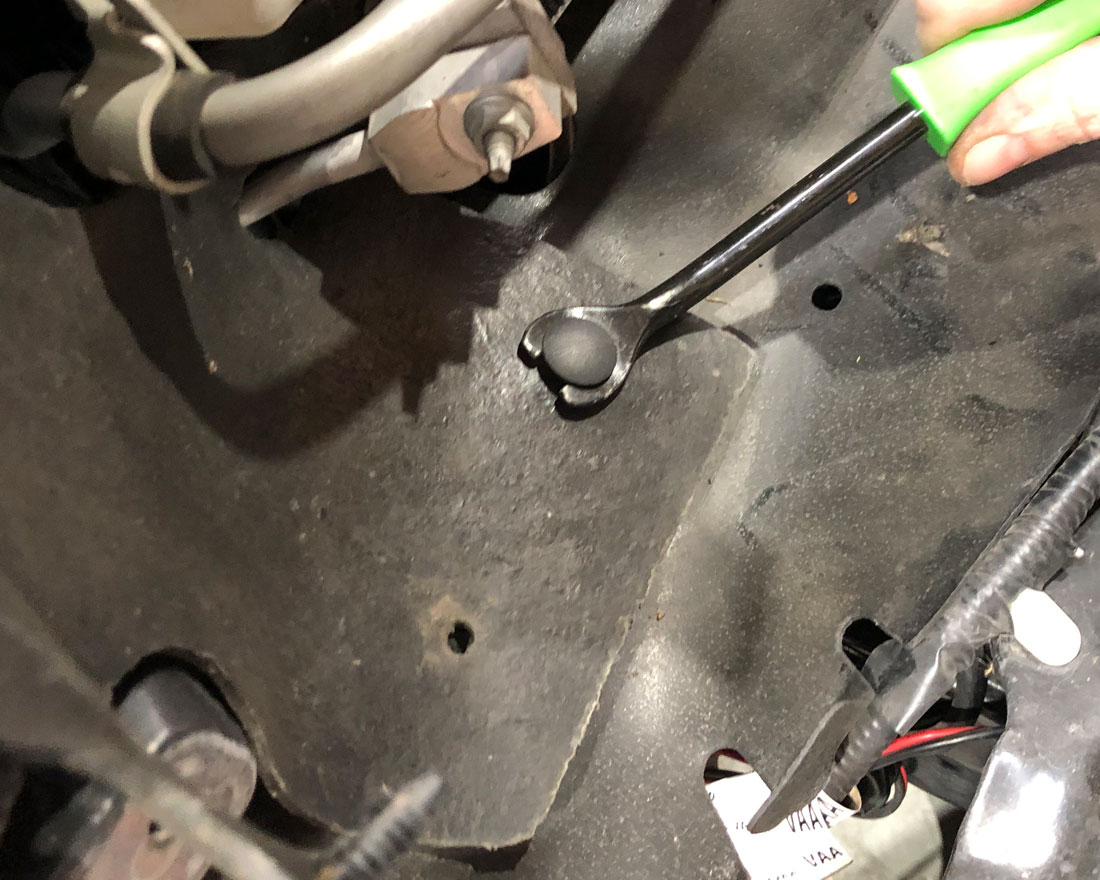
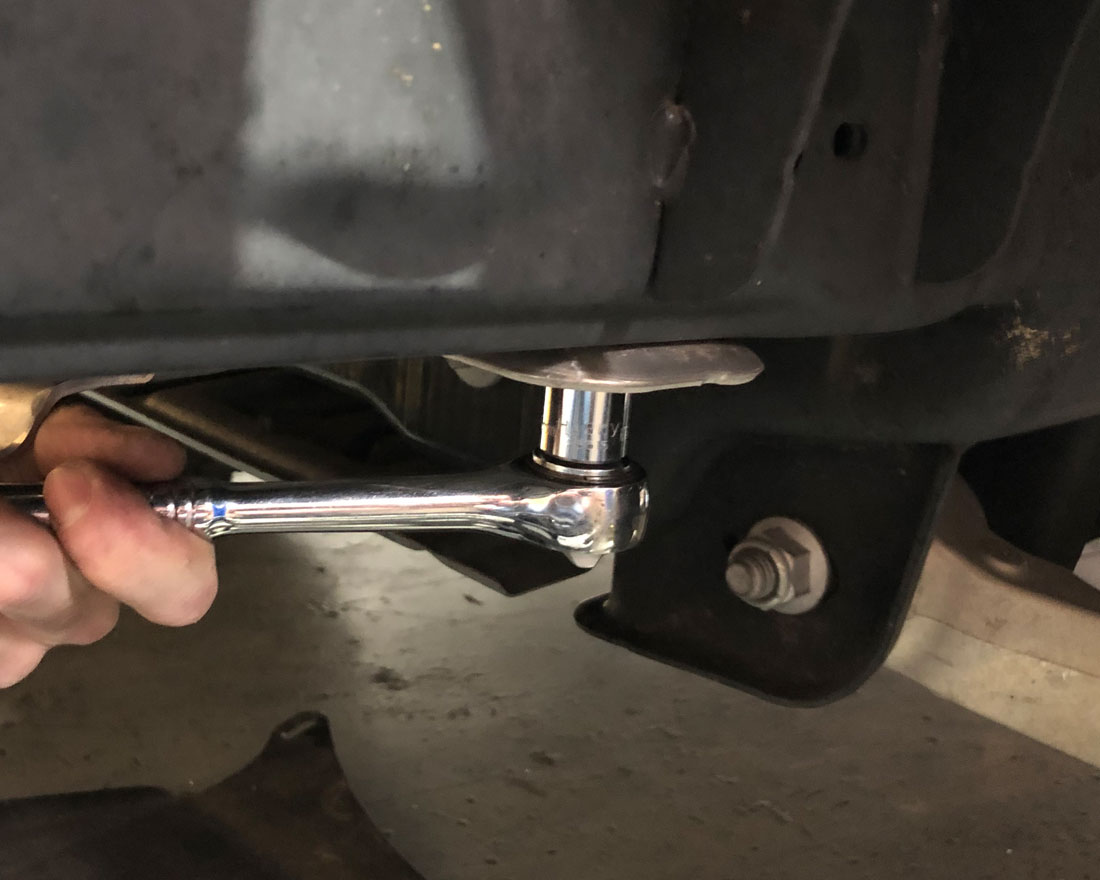
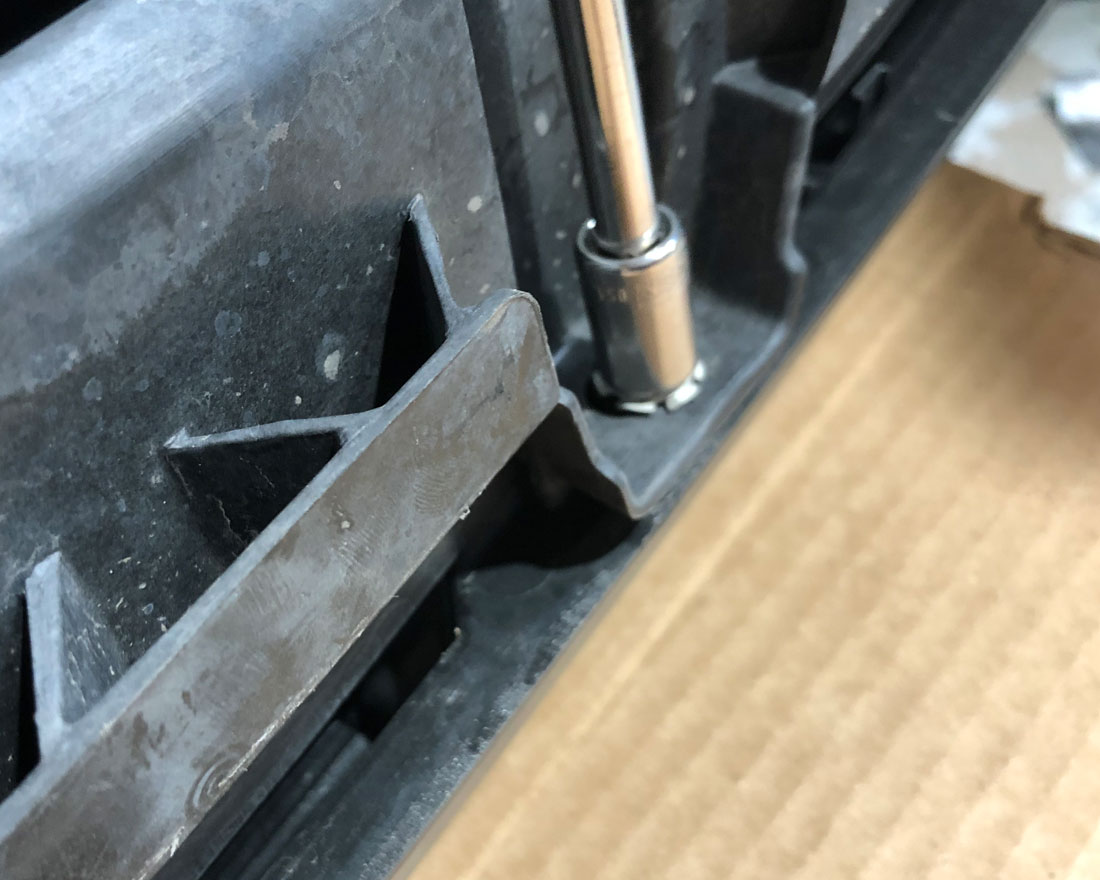
Step 11: Unbolt the 2 bolts holding the intercooler top bracket and remove the brace.
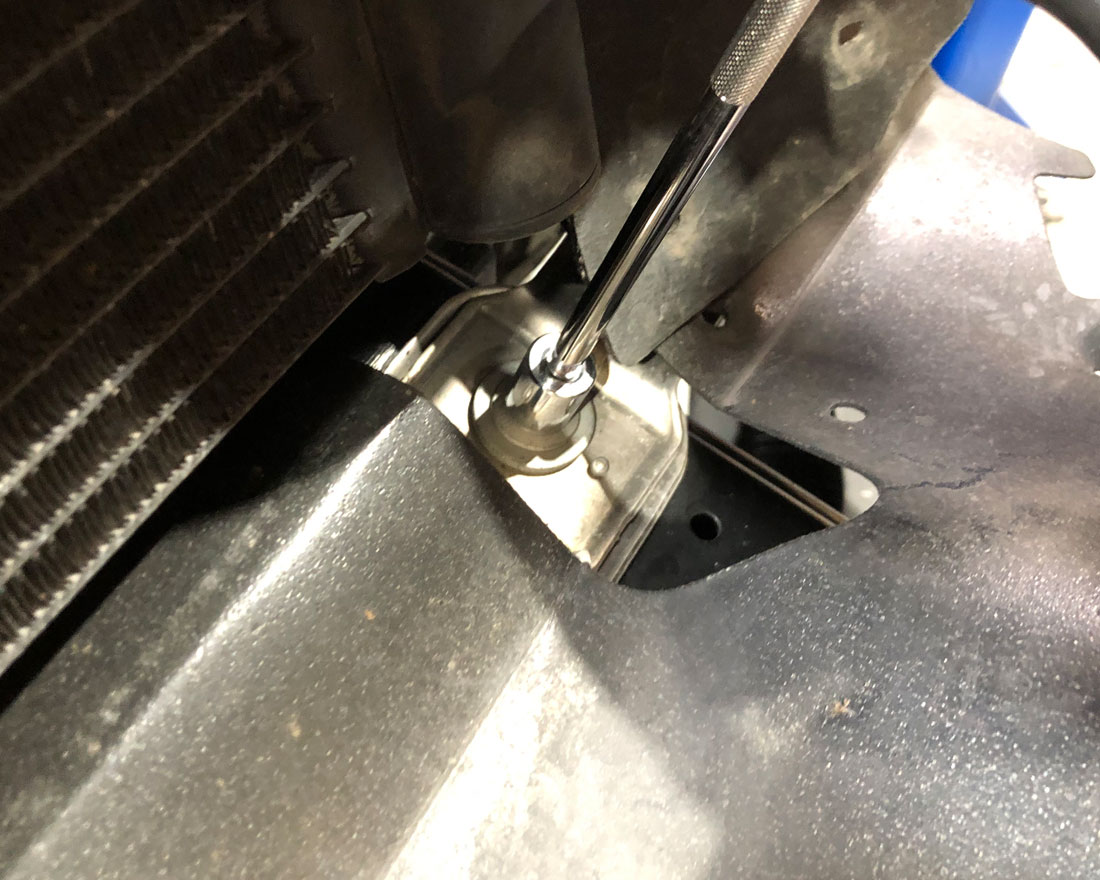
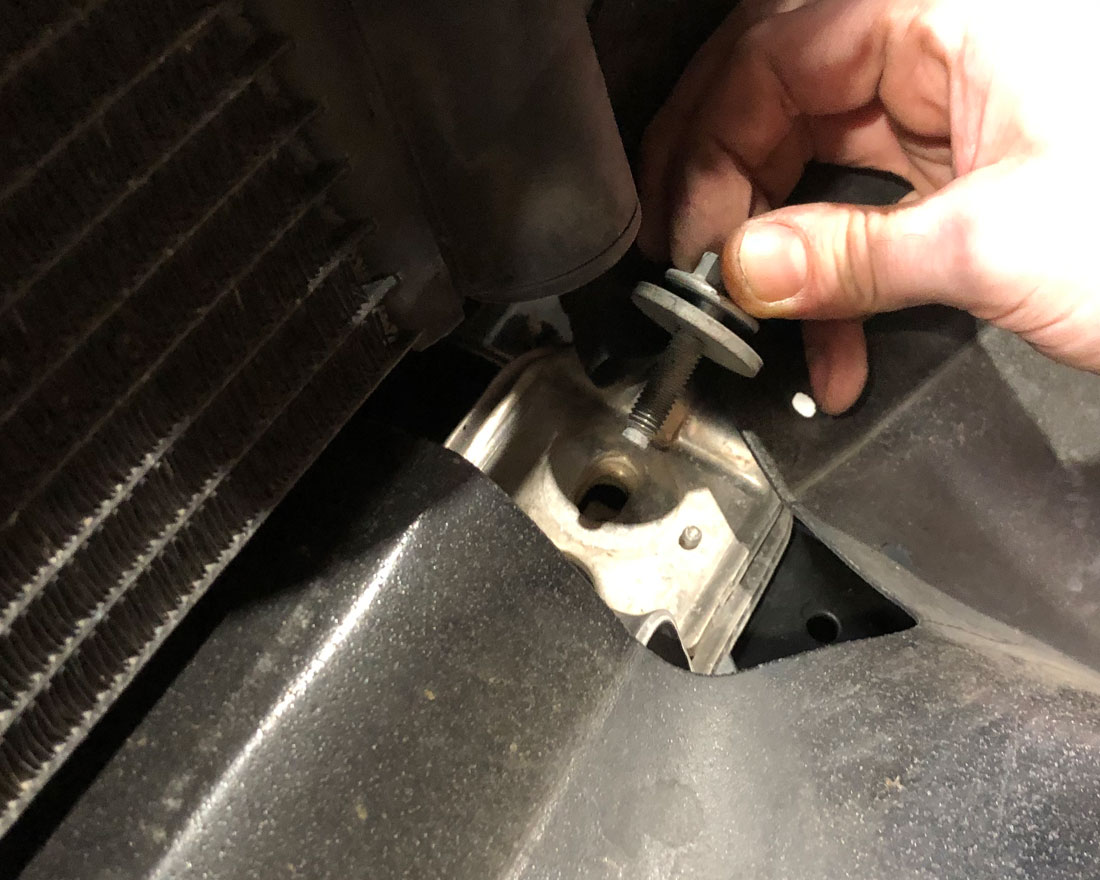

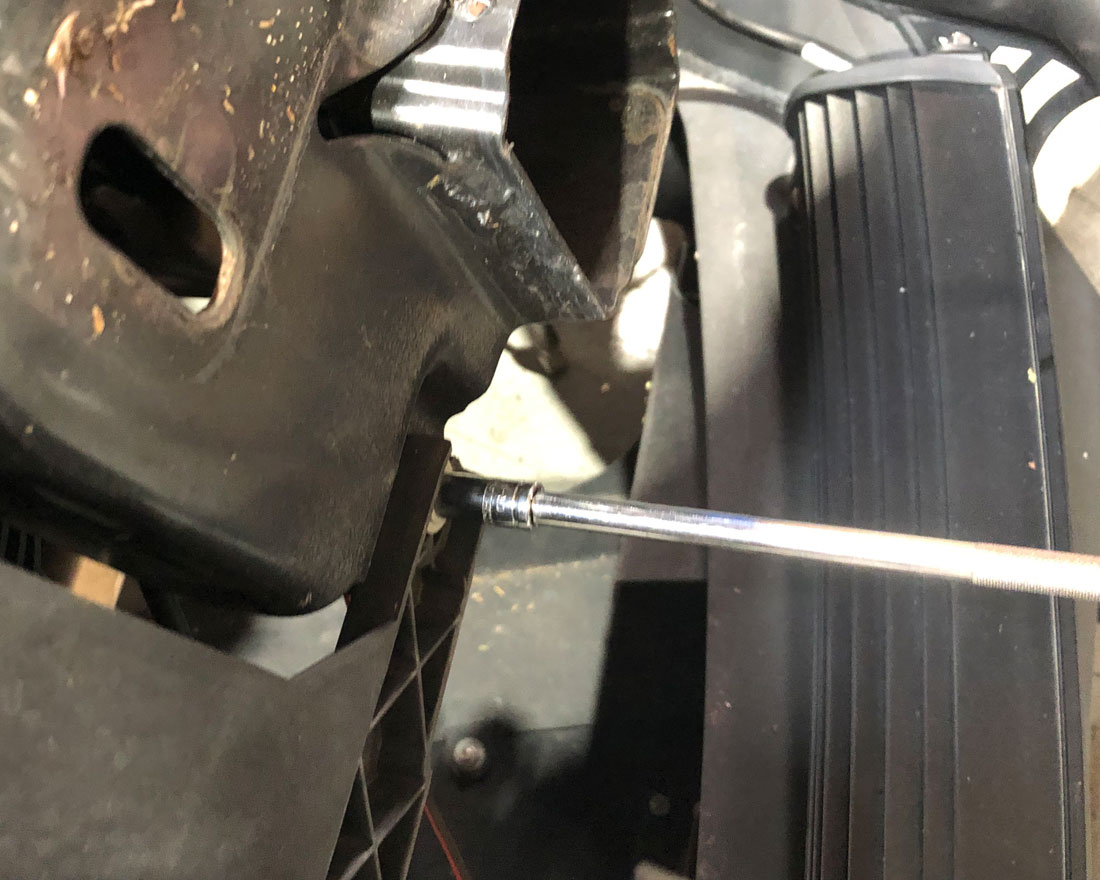
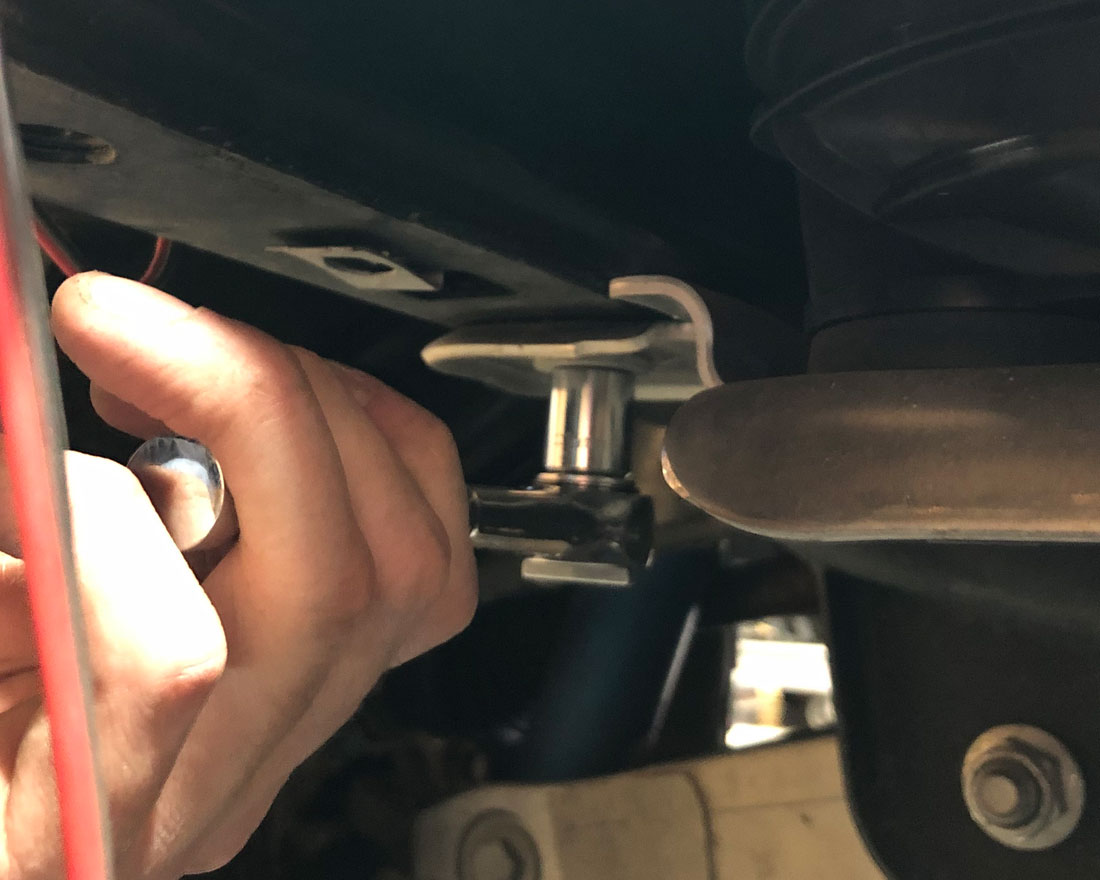
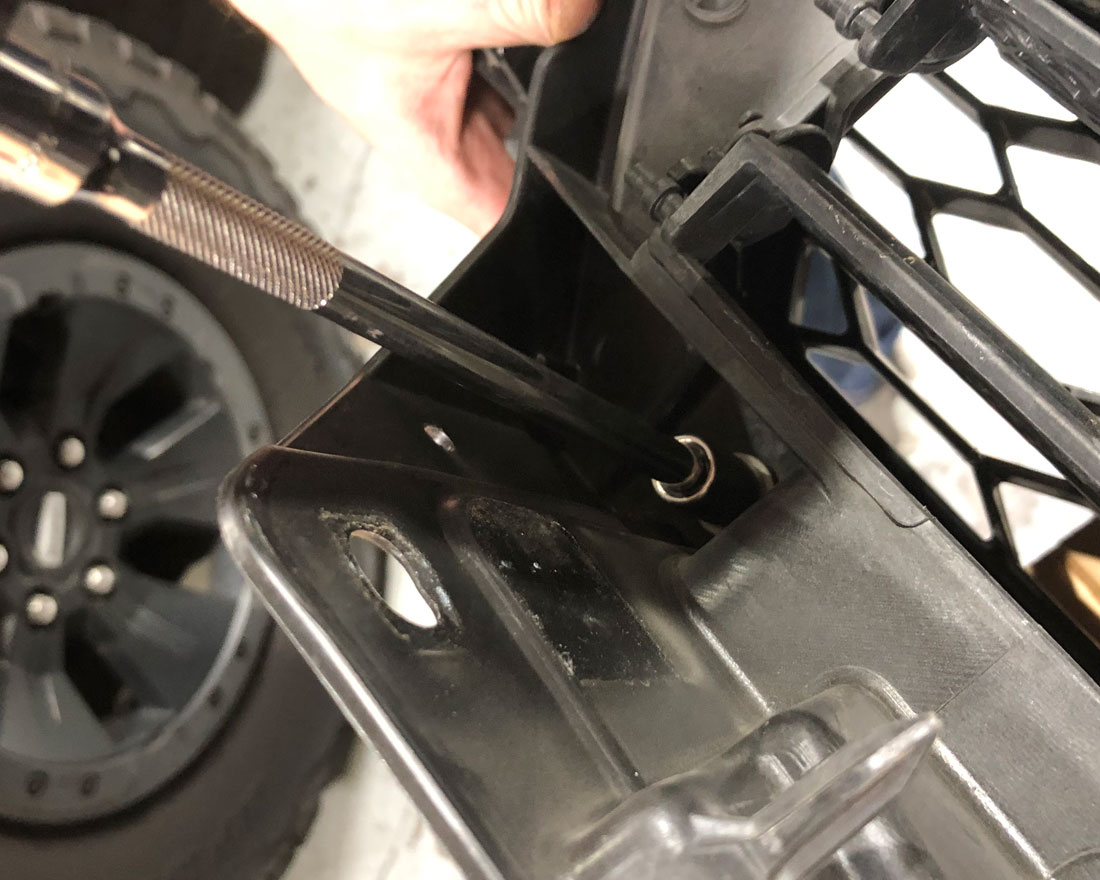
Step 12: Unbolt the 2 bolts holding the intercooler lower bracket and remove them.
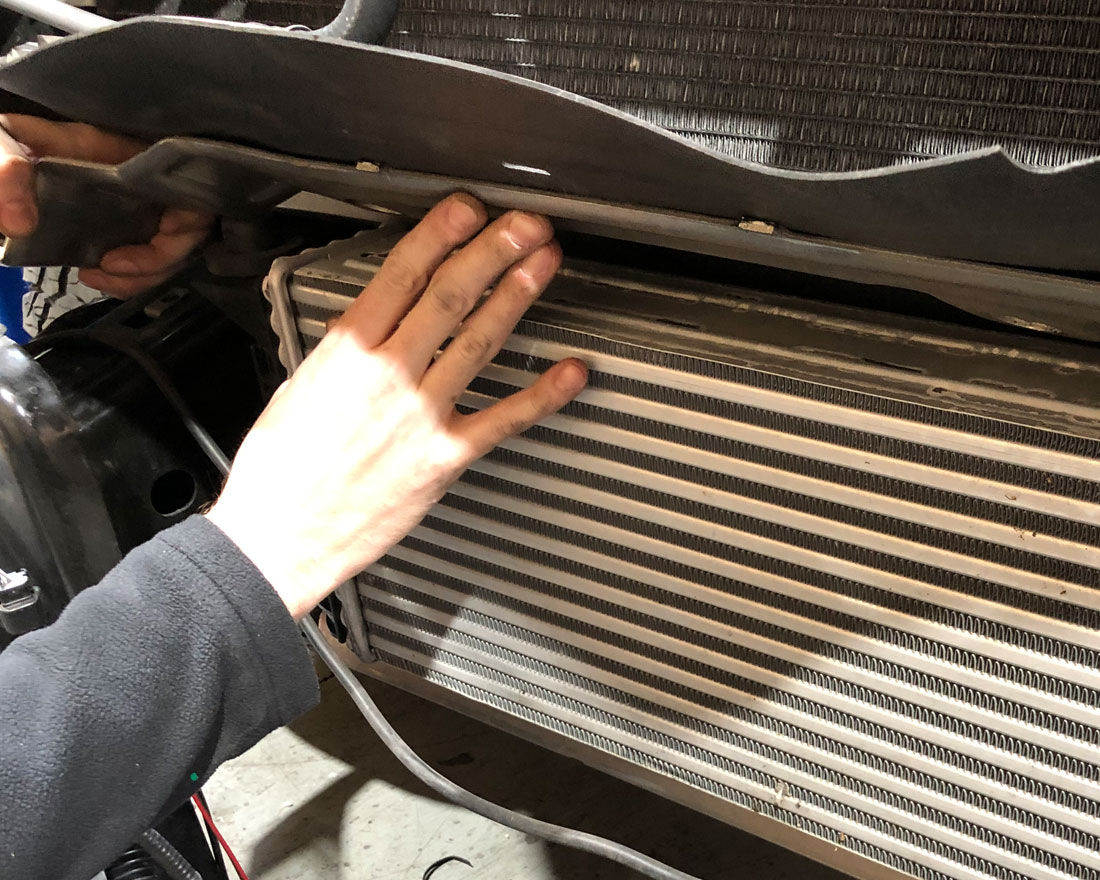
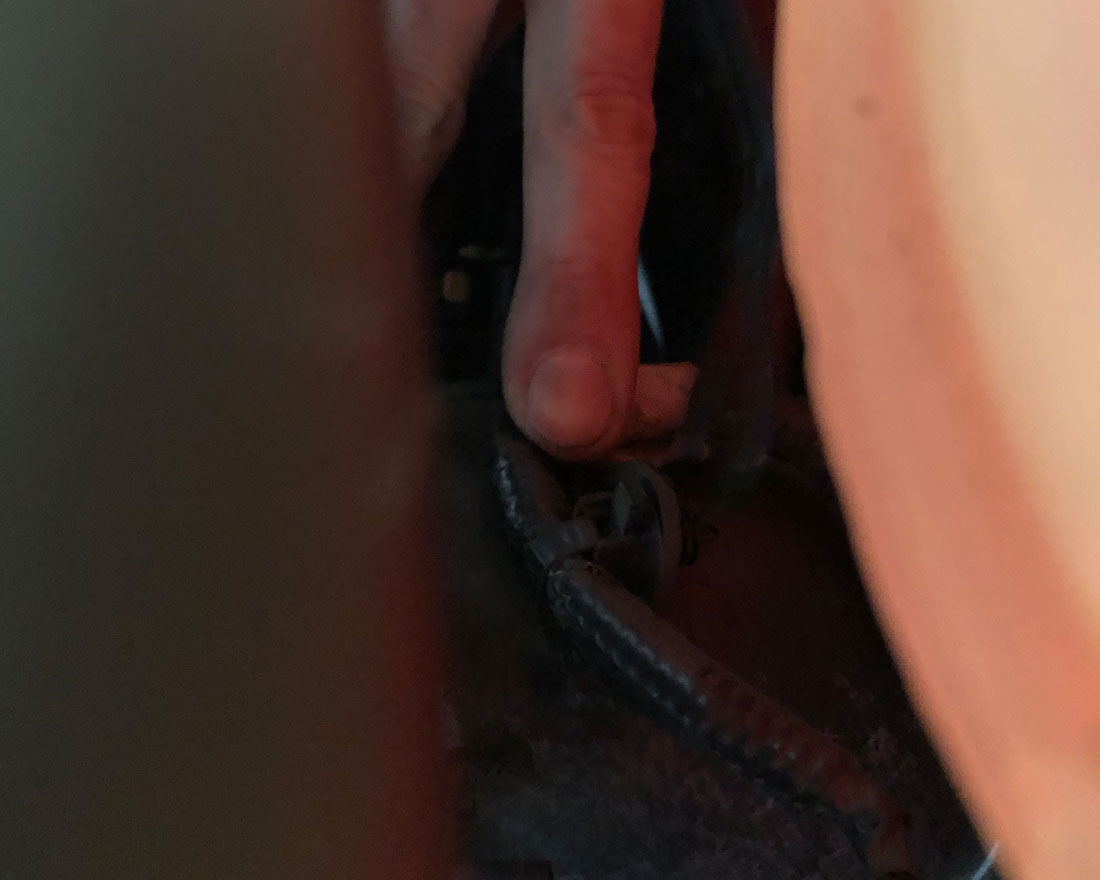
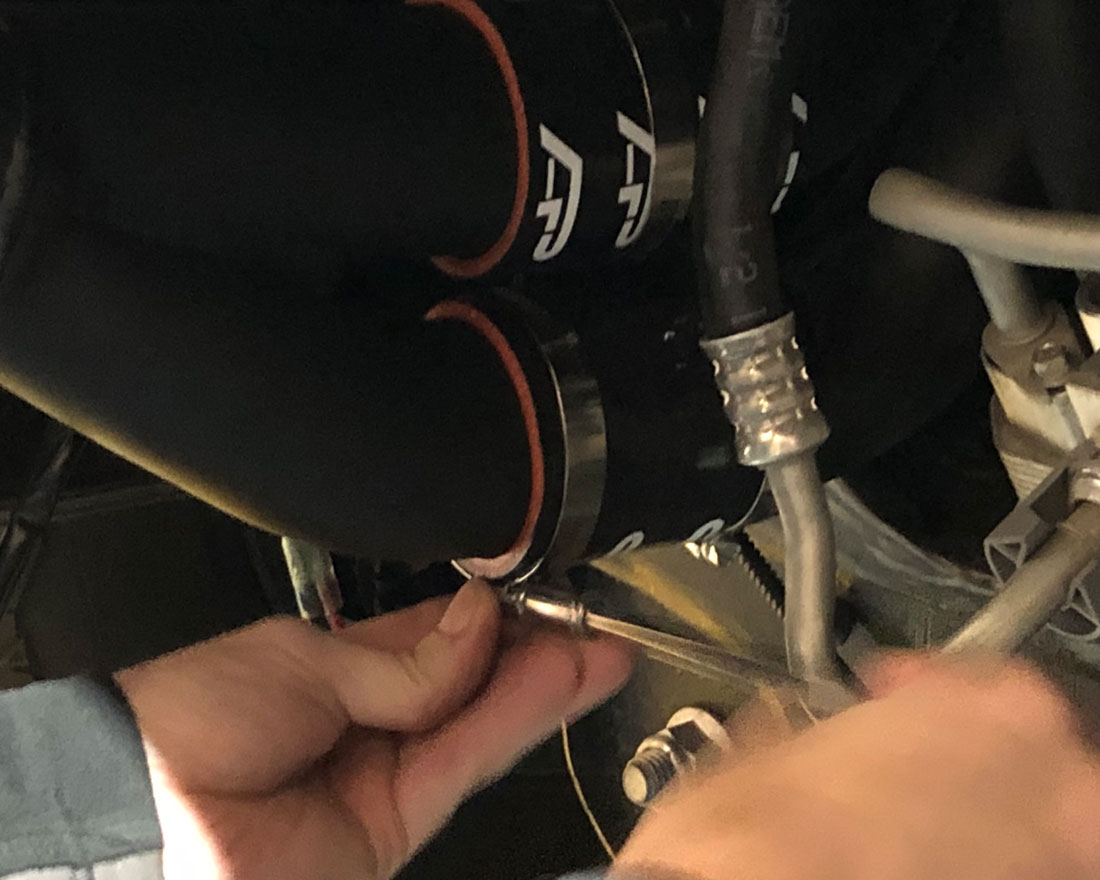
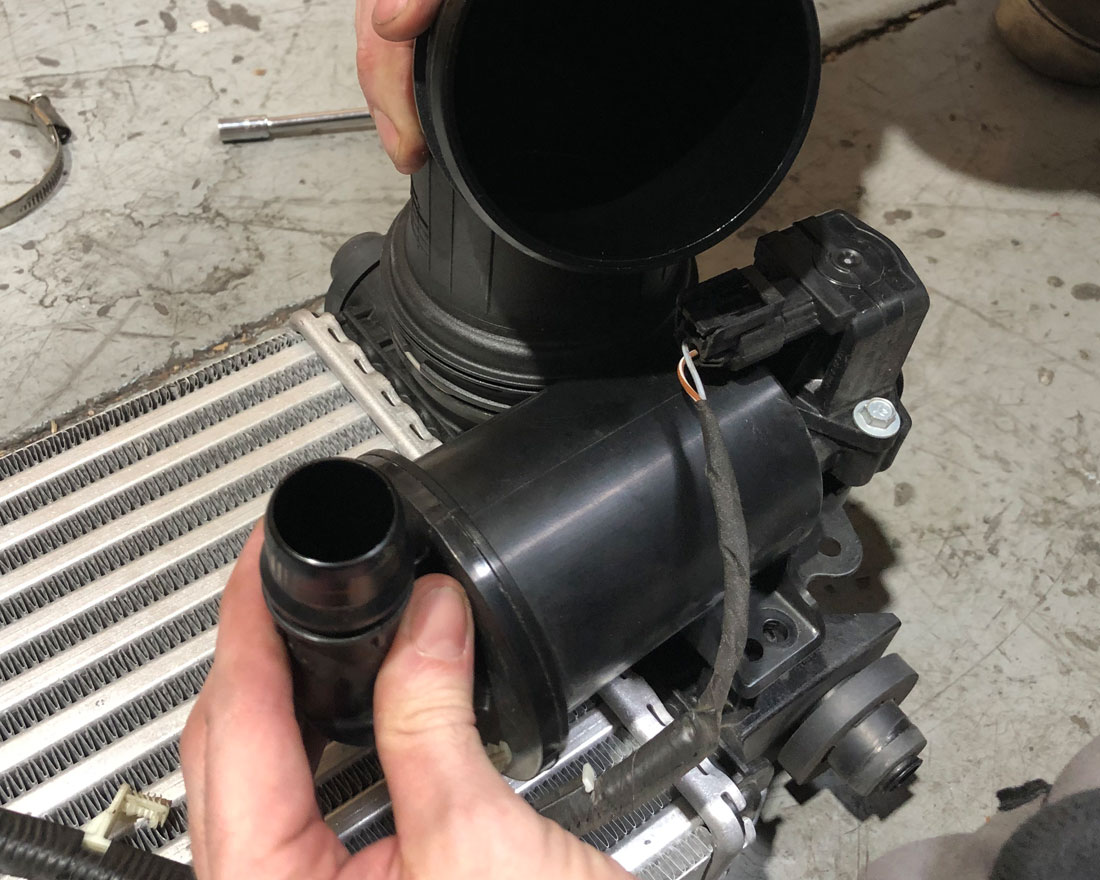
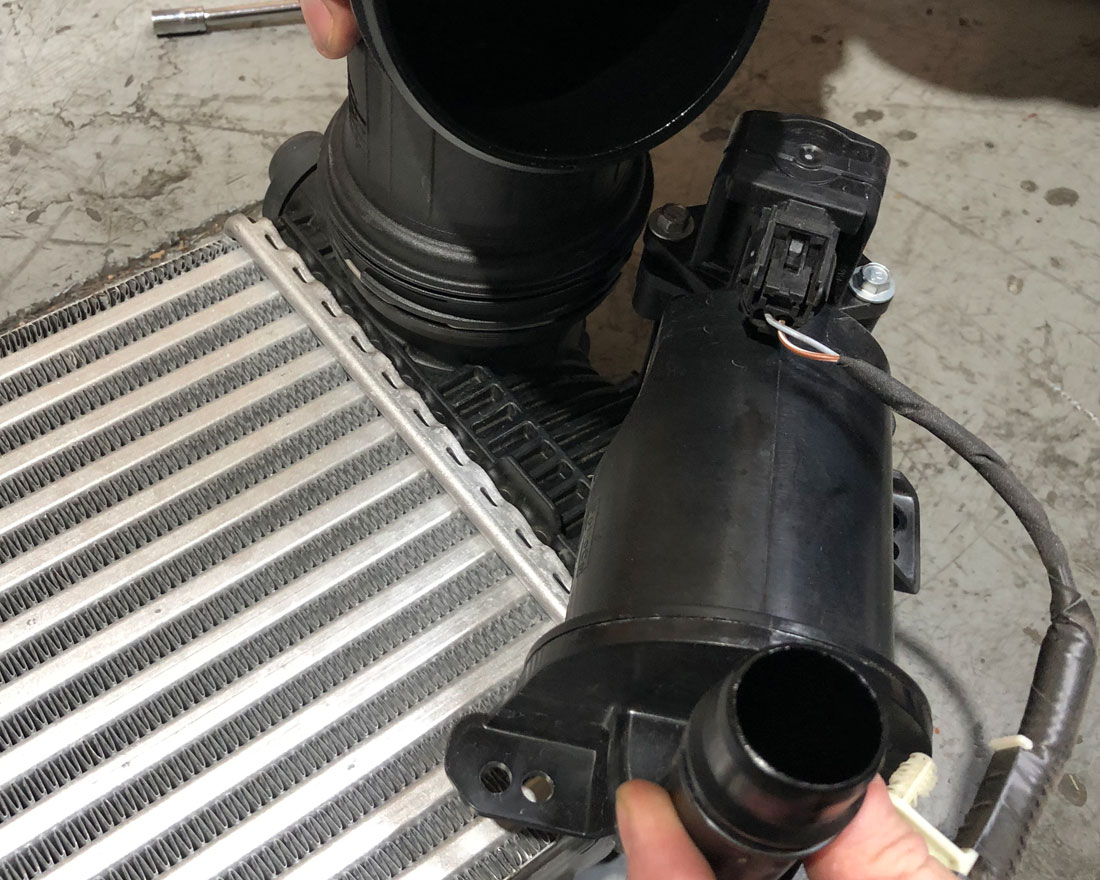
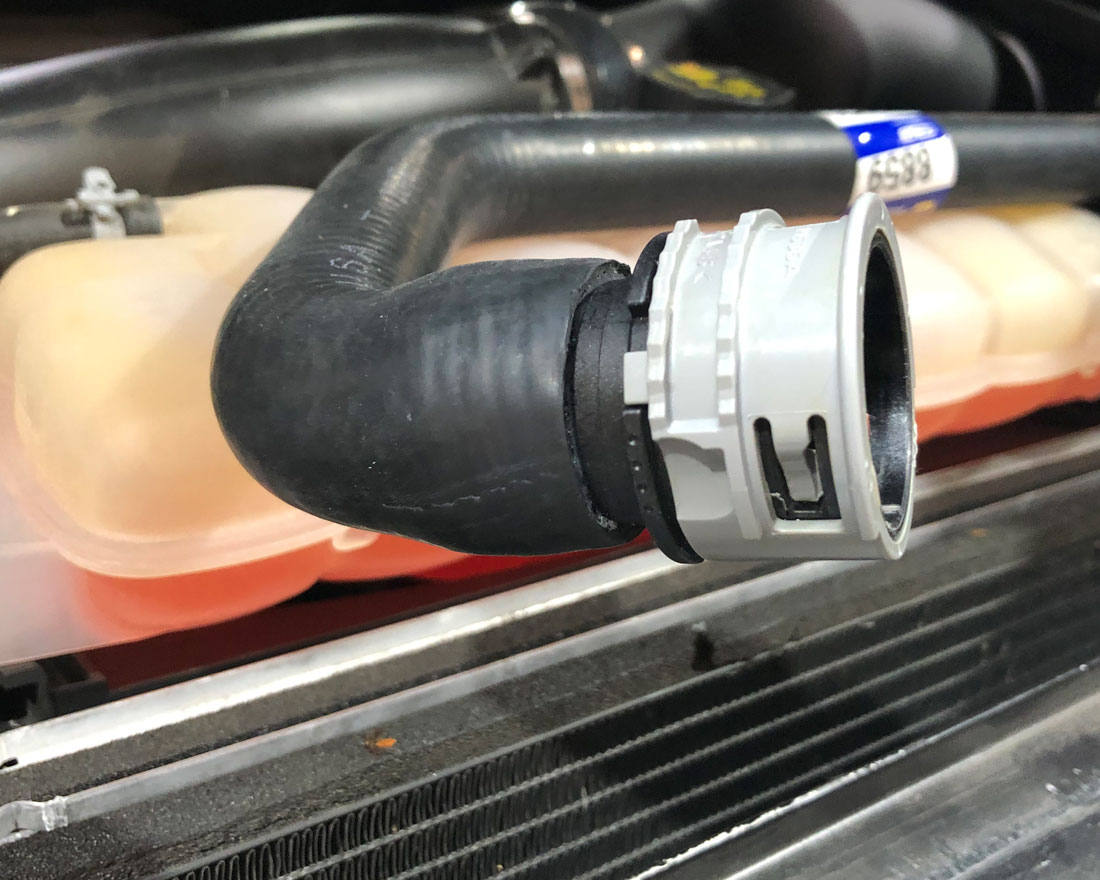
Step 13: Loosen the hose clamps on the couplers and unclip the tube on the electronic blow-off valve. Remove the factory intercooler.
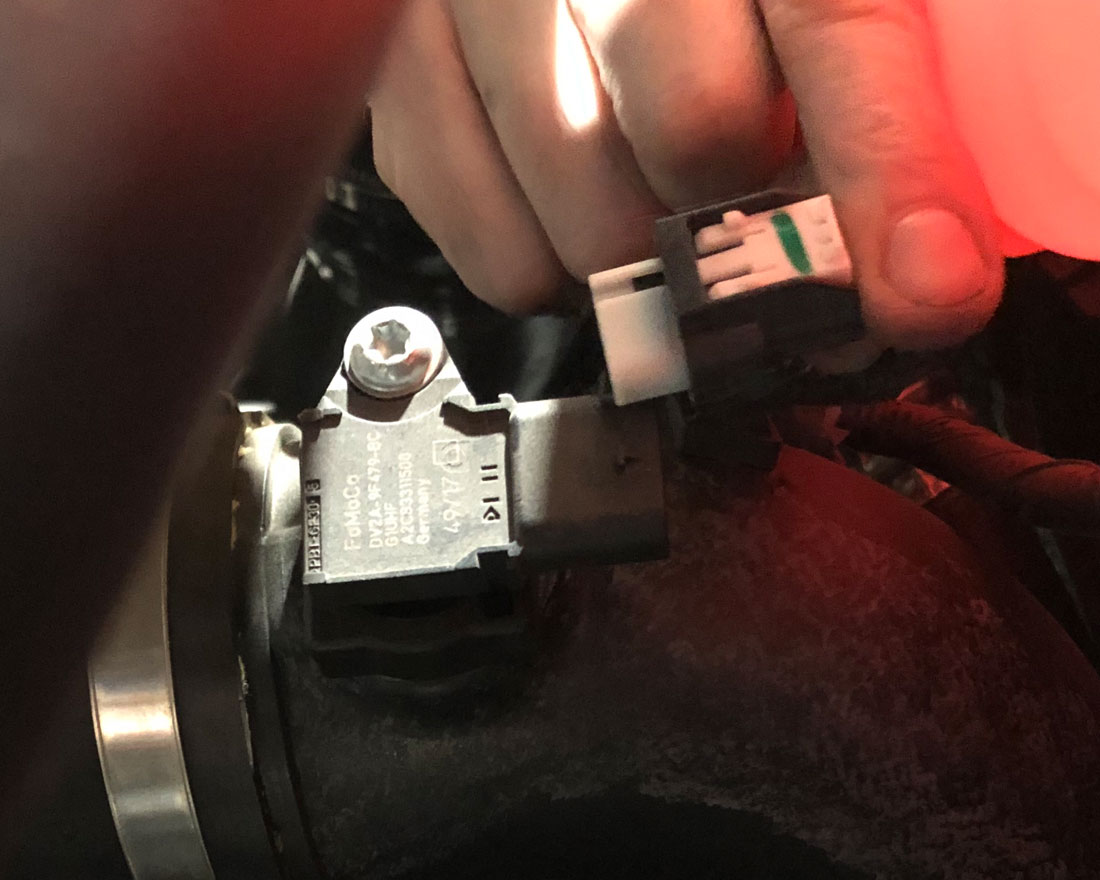
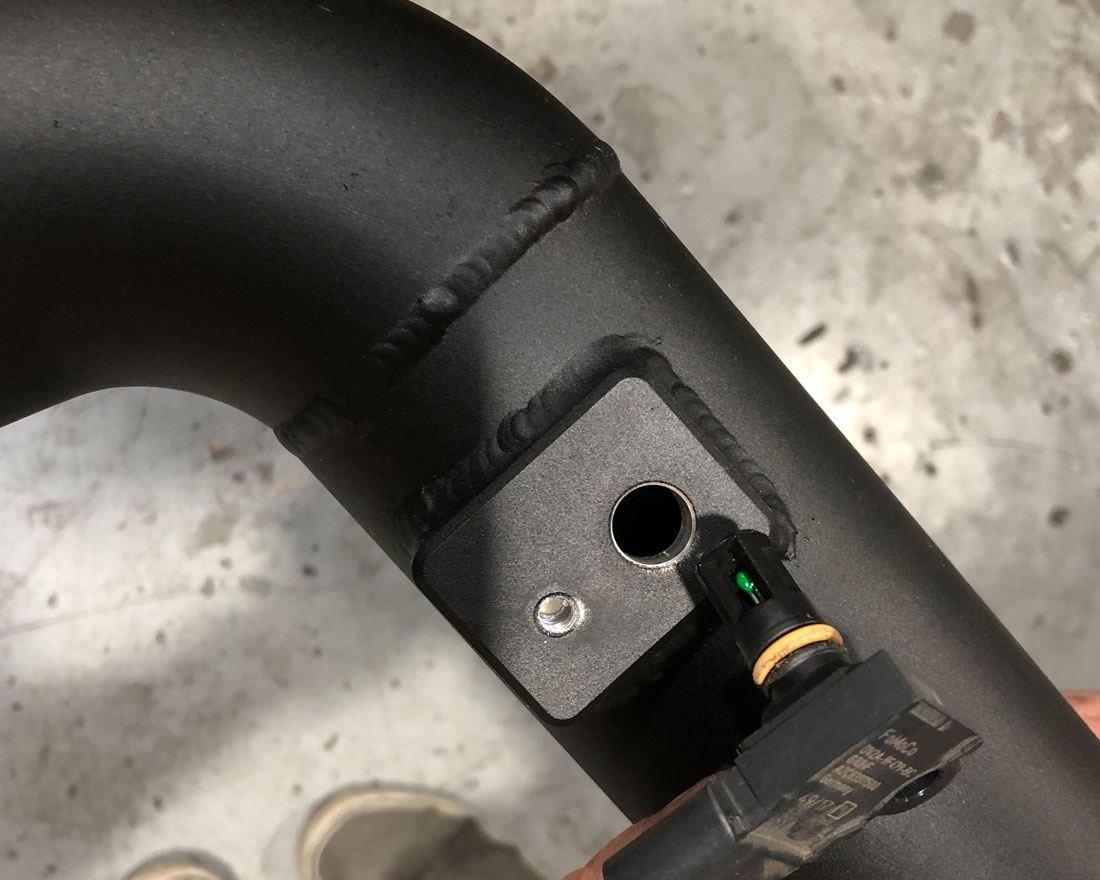
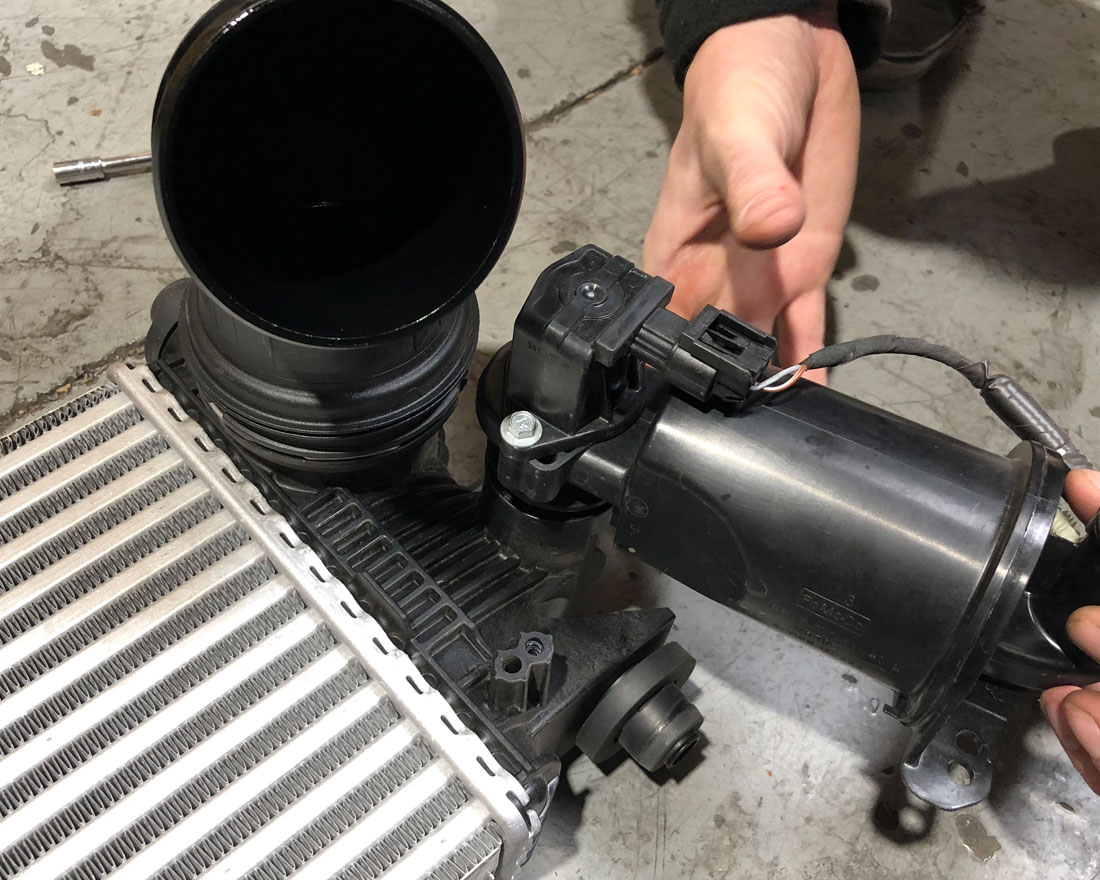
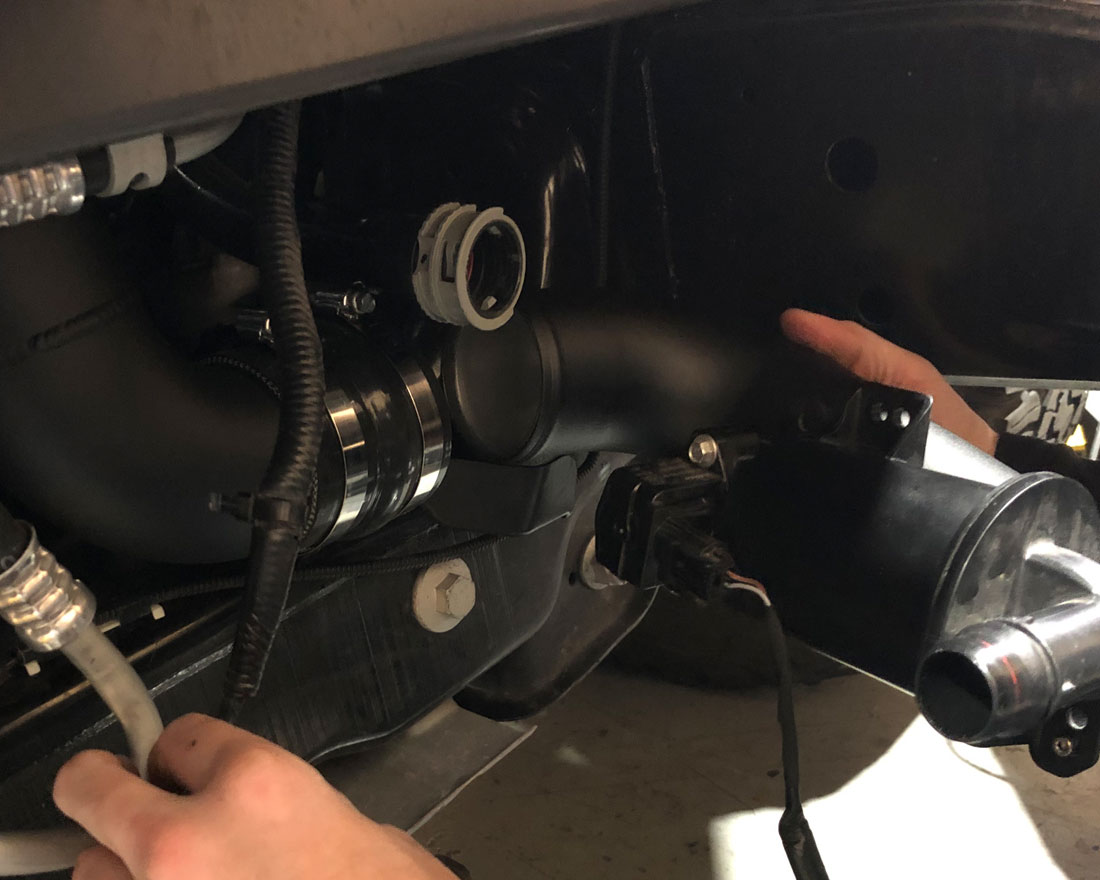
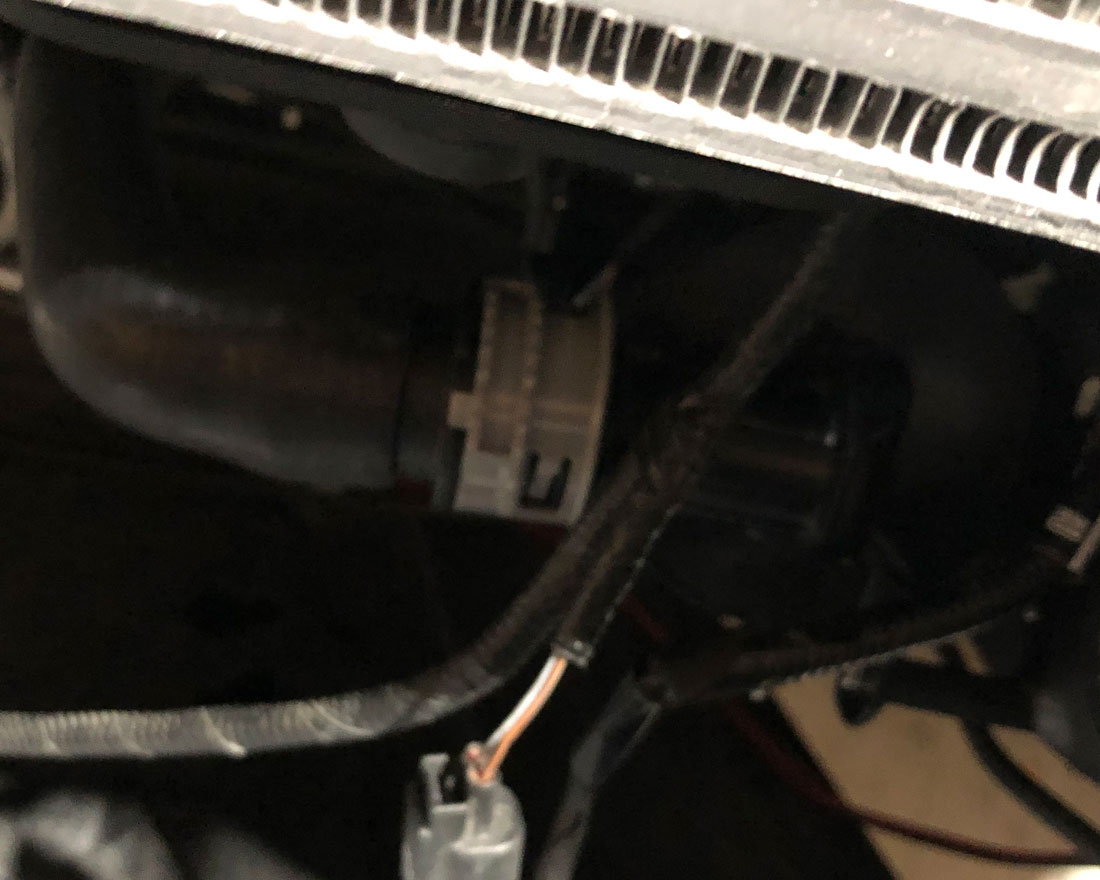
Step 14: Follow the piping on the driverside to the throttle and unclamp. Unclip the sensor and vacuum line. And remove the tube.
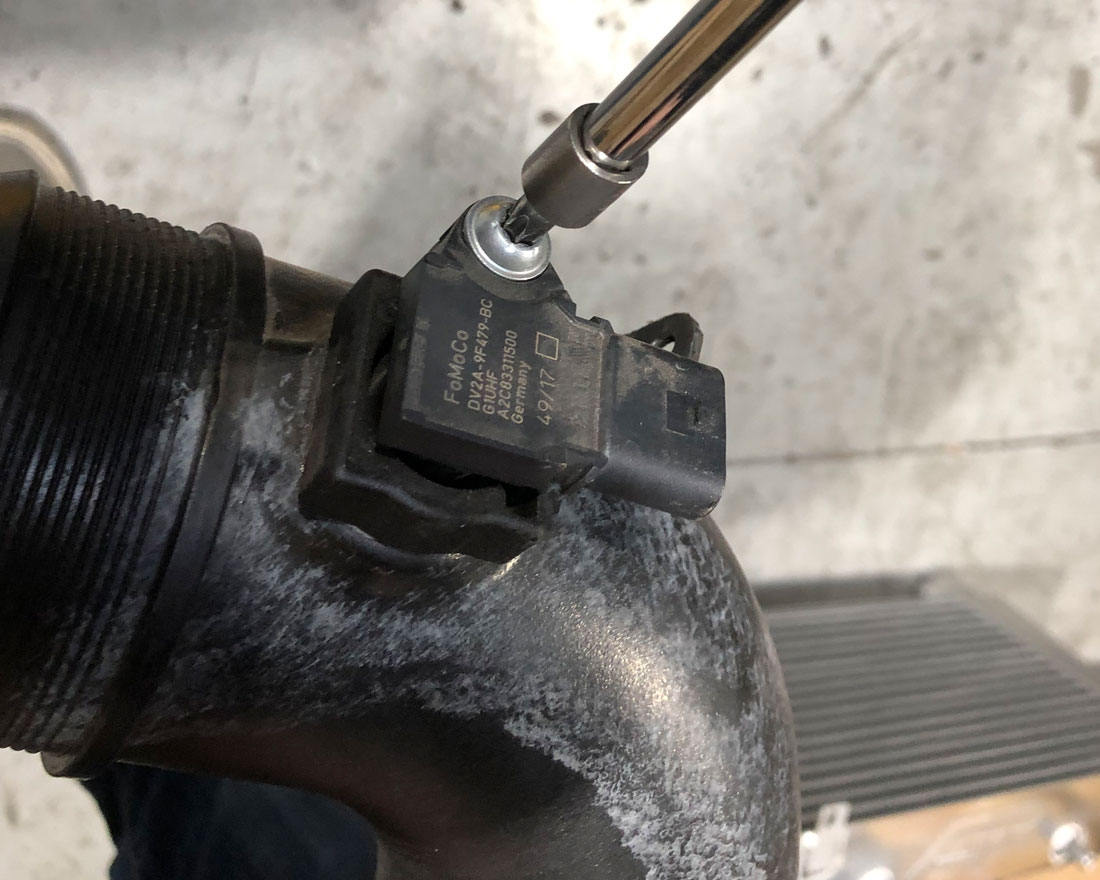
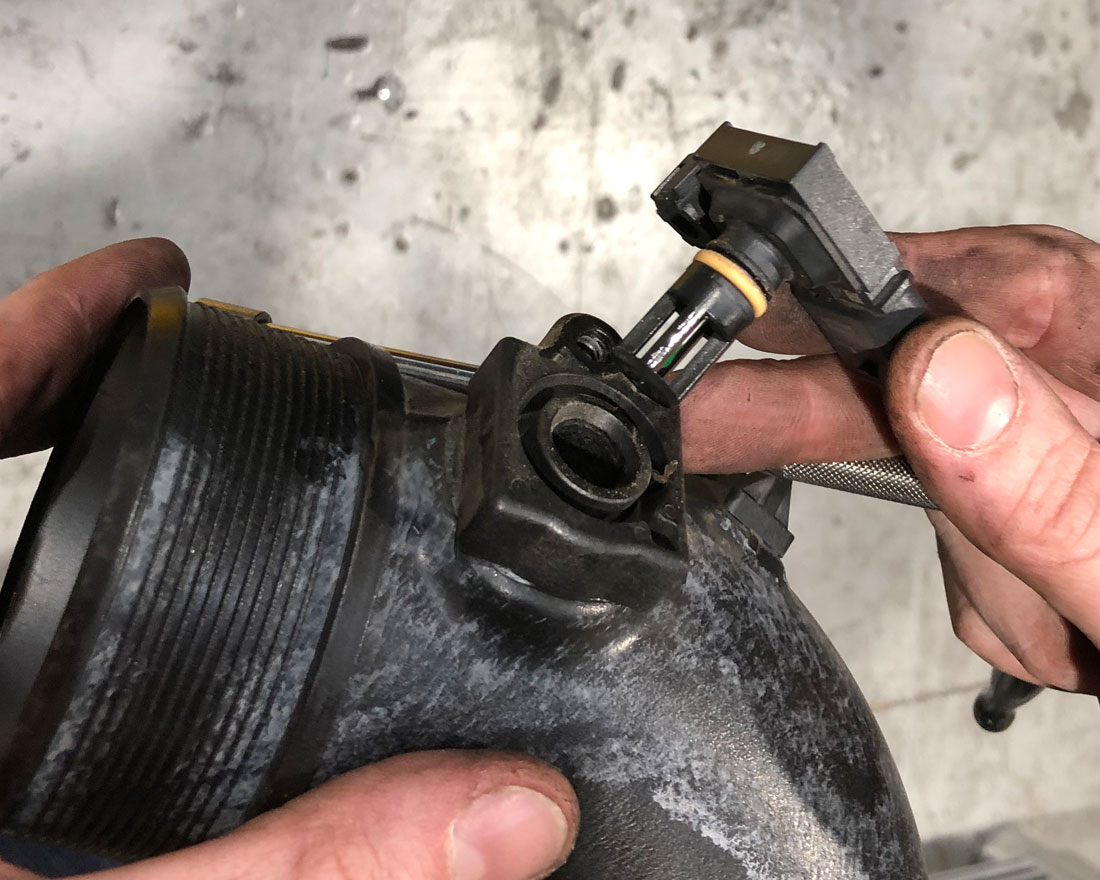
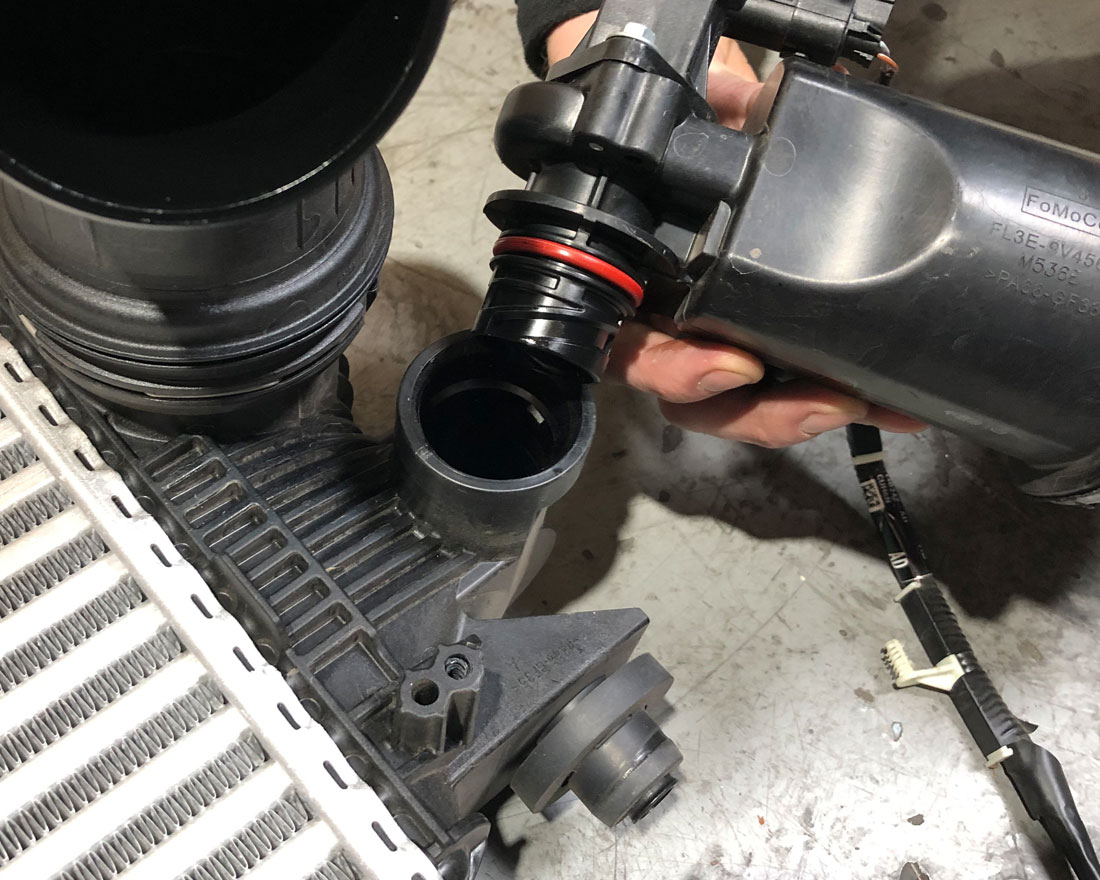
Step 15: Remove the sensor by unbolting it from the factory tube and reinstalling it on the new piping.

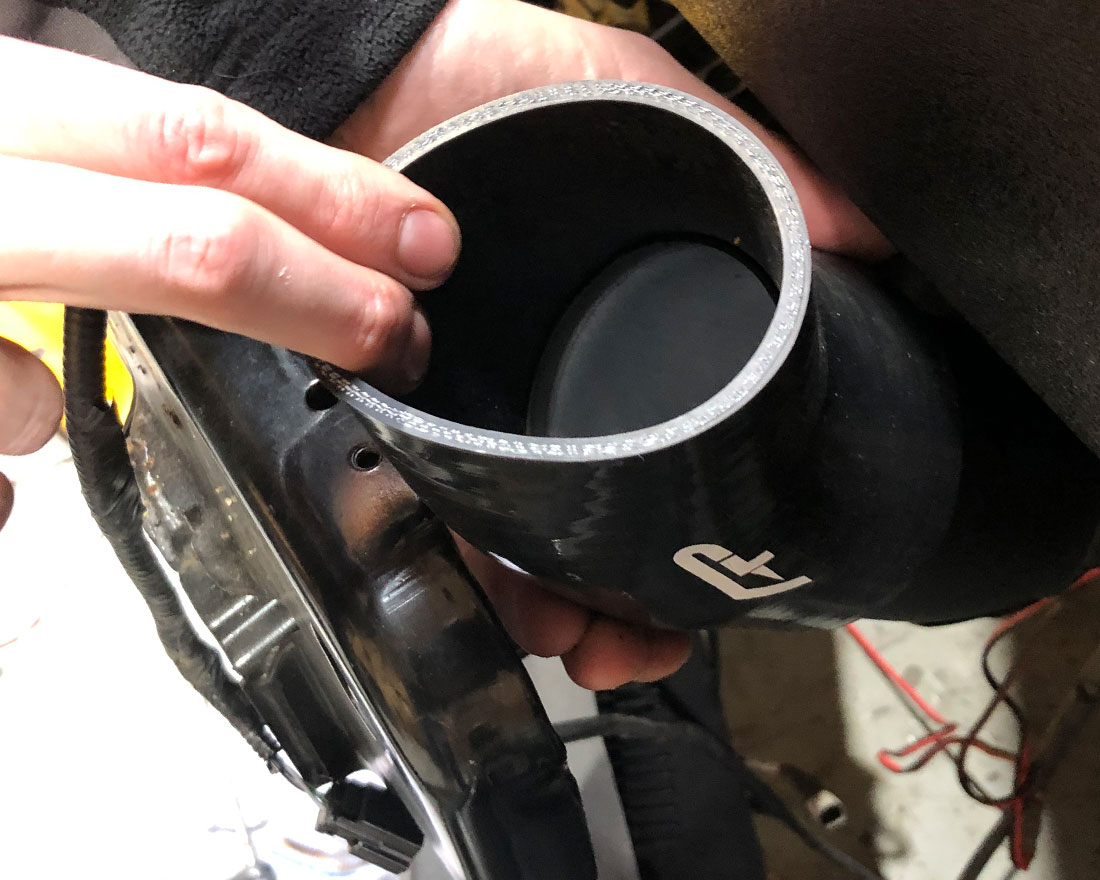
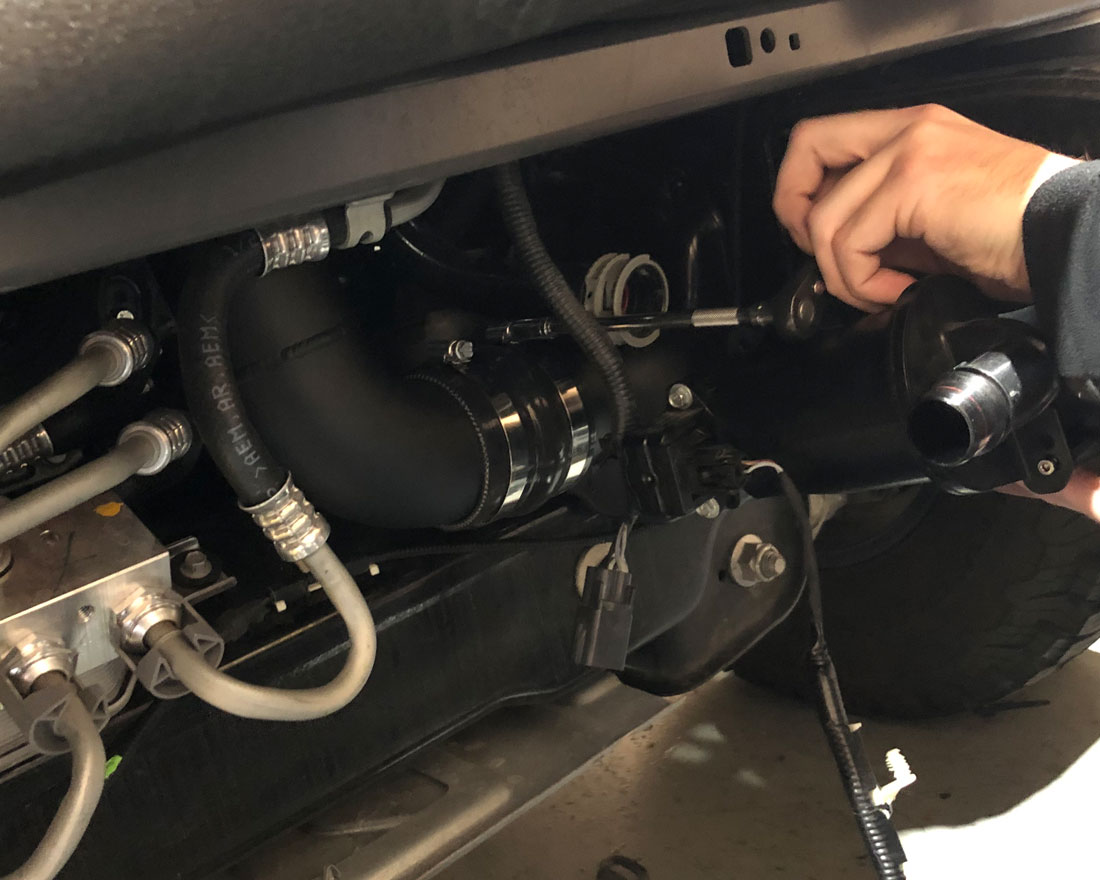
Step 16: Add the new coupler to the throttle body and carefully install new piping. If able to feed from the bottom of the engine to throttle body.
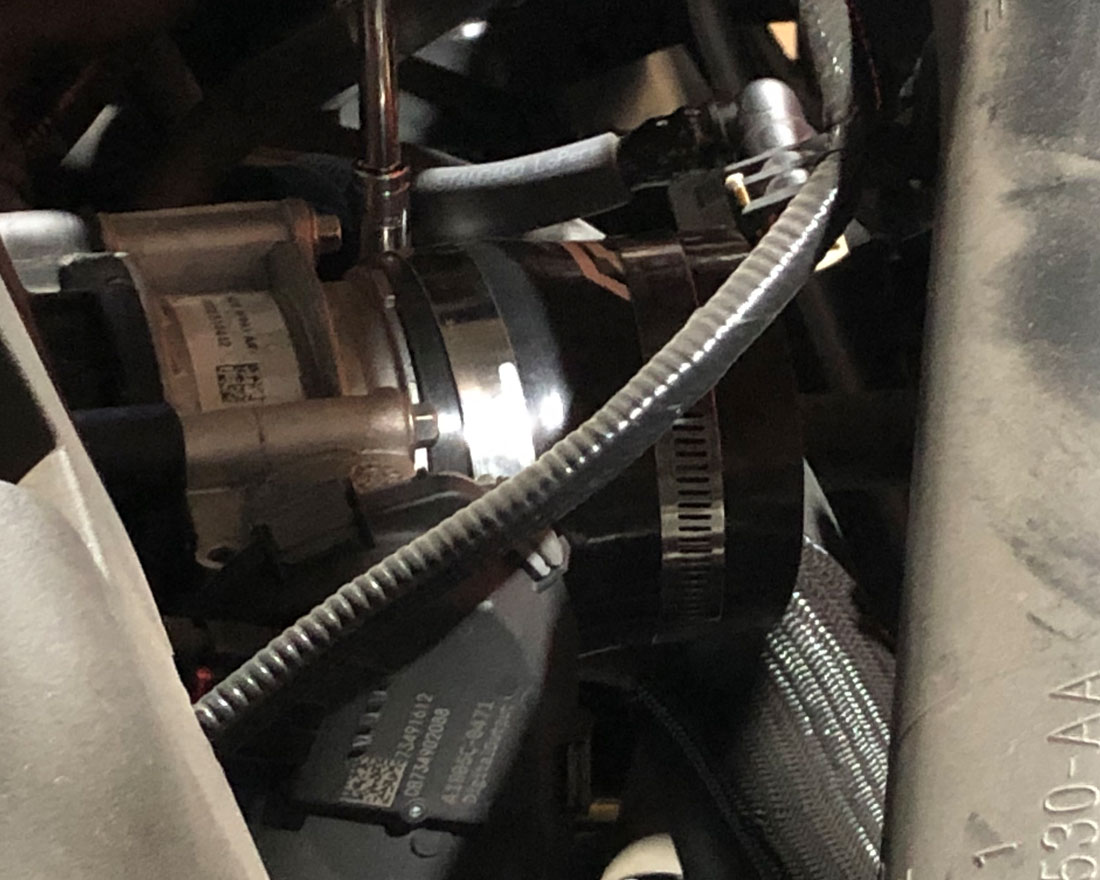
Step 16: Tighten clamps and reinstall vacuum line and sensor plug.

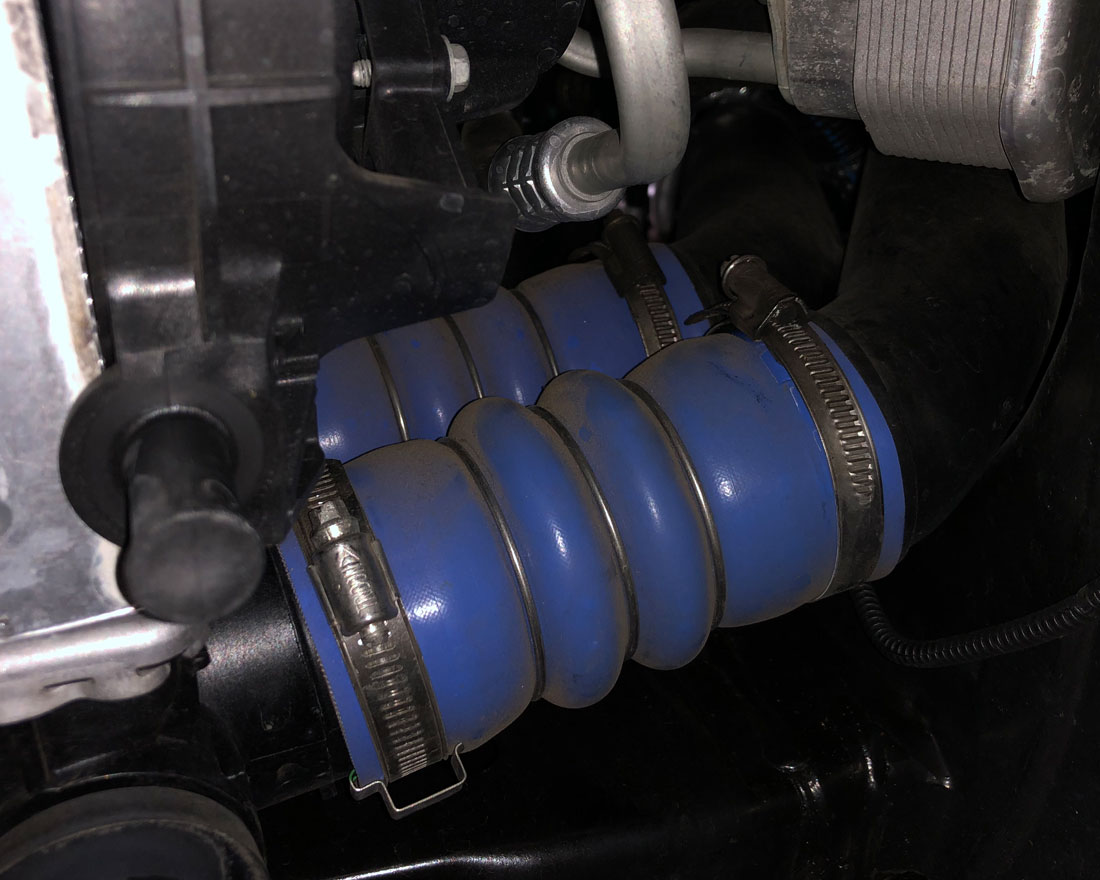
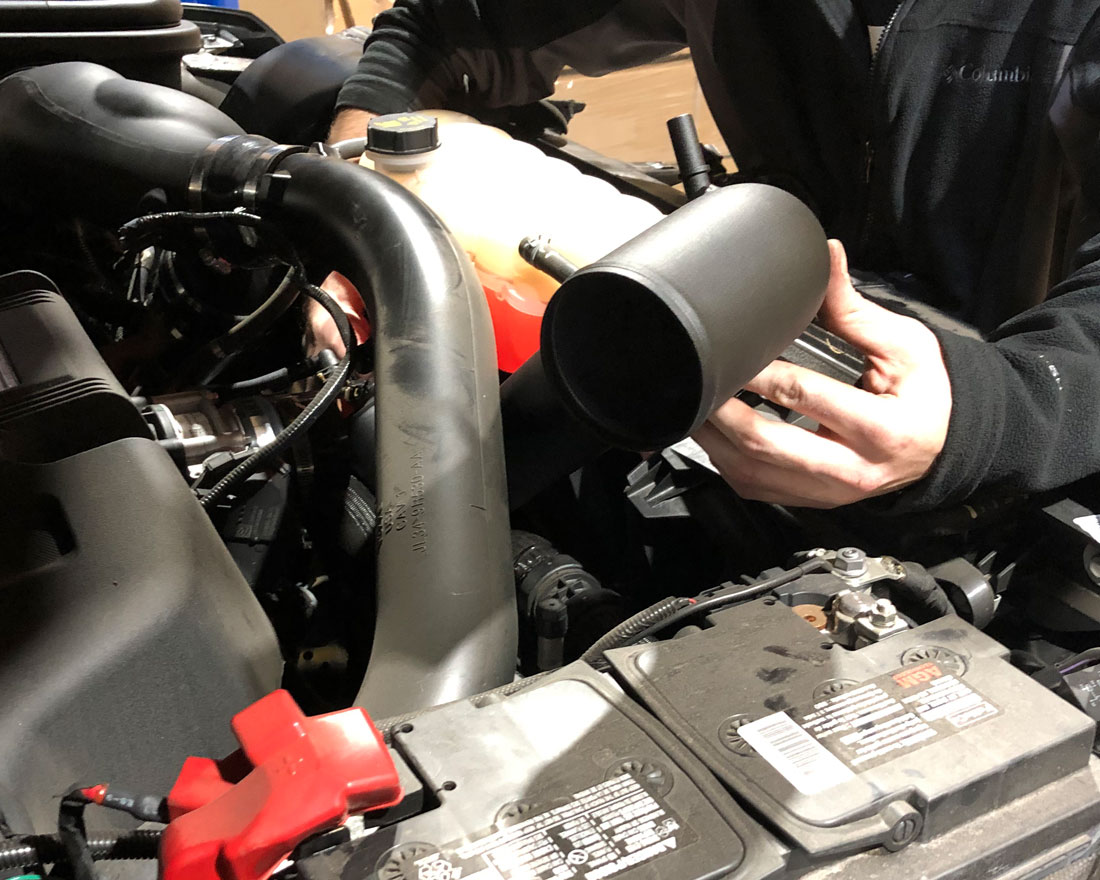
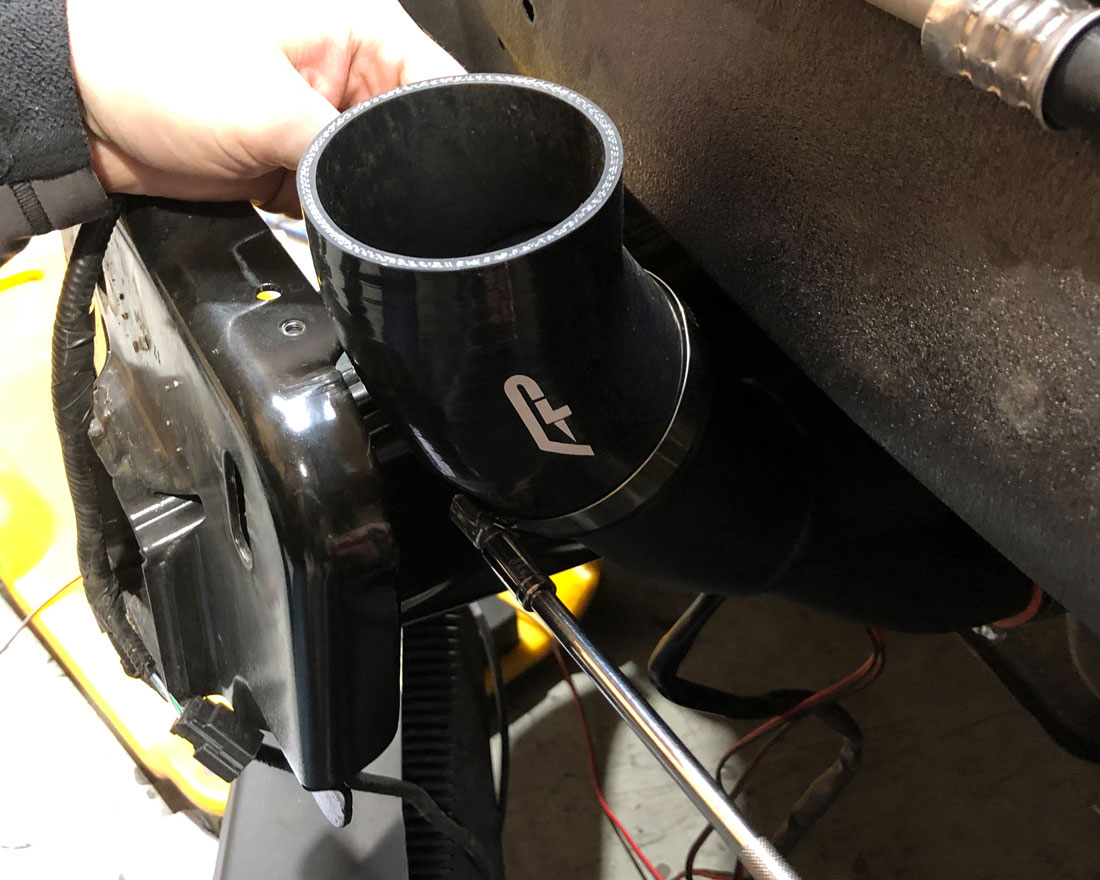
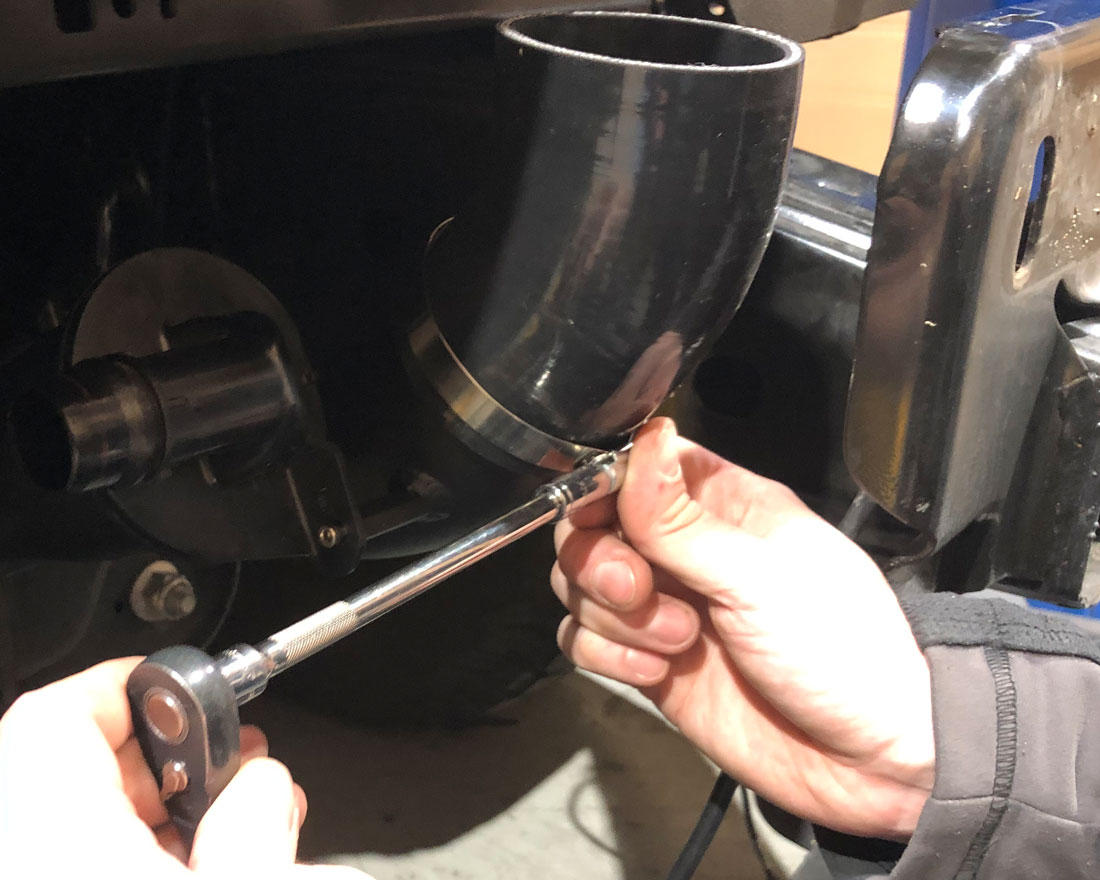
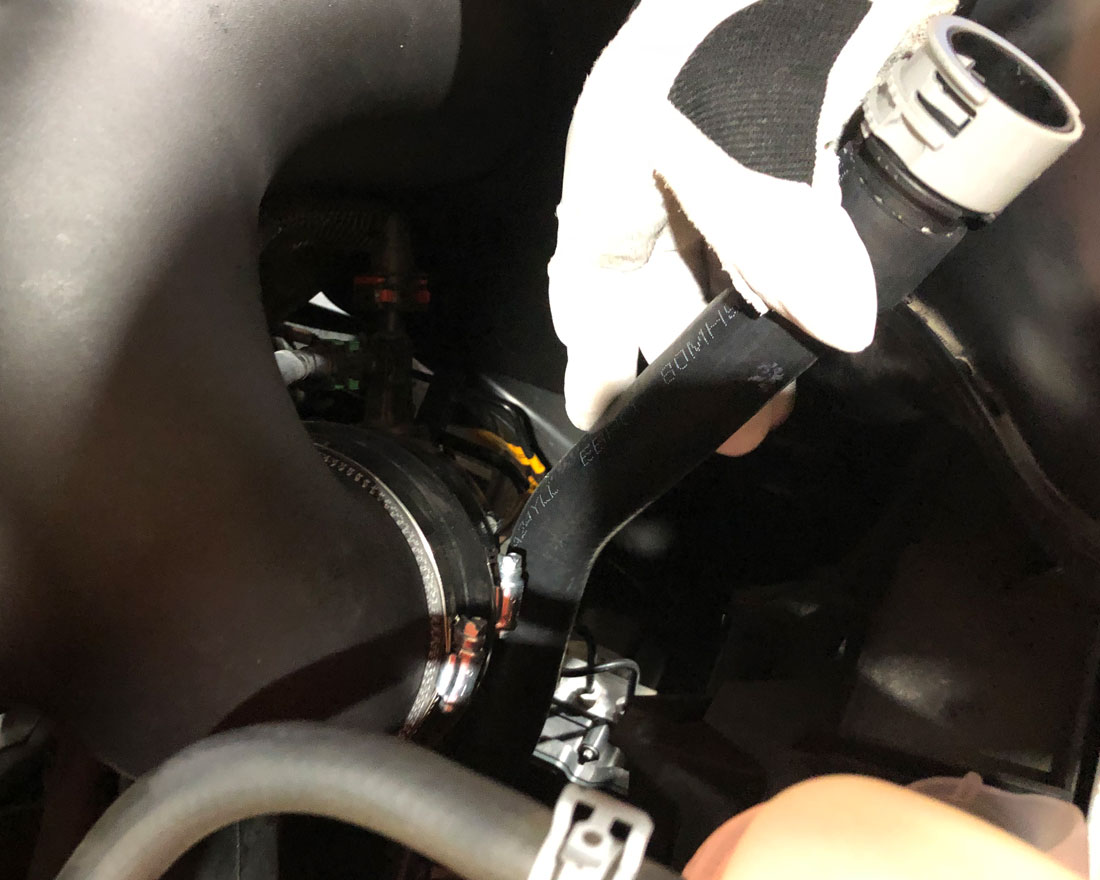
Step 17: Using the provided straight hump hose install it on the bottom of the throttle body tube.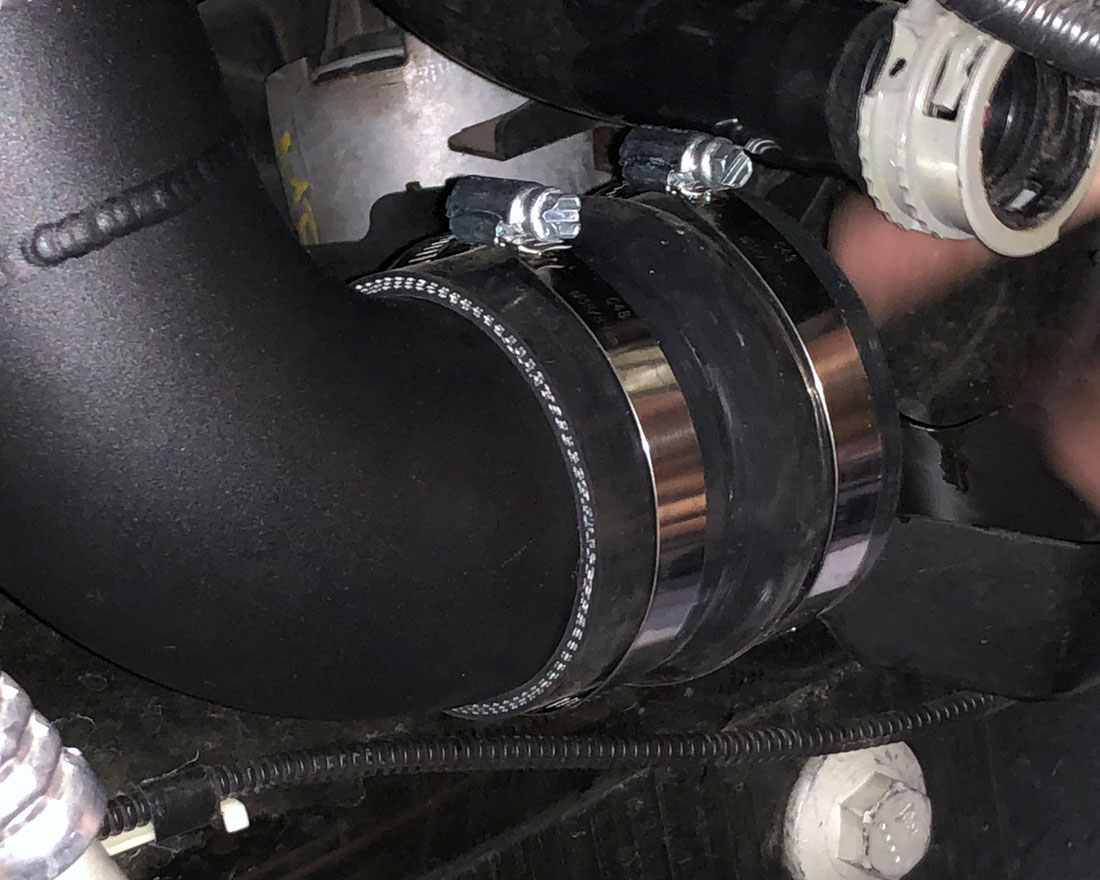
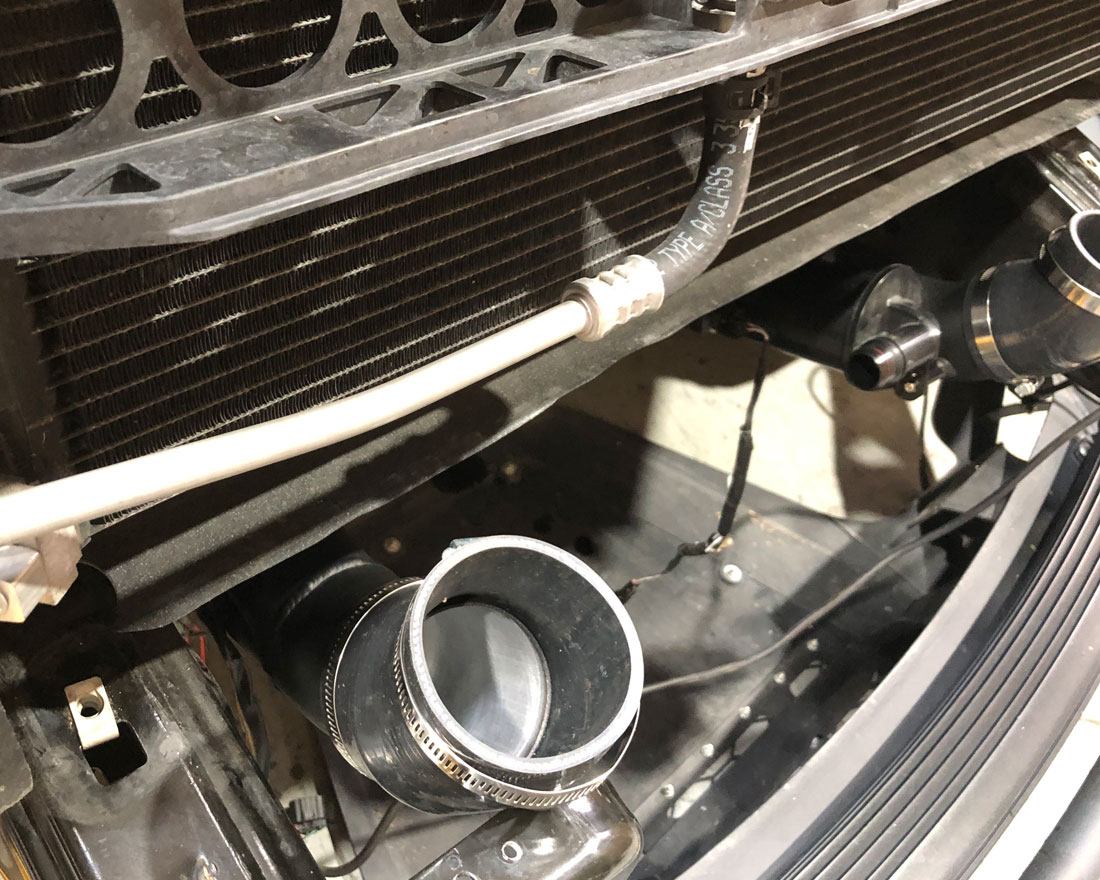
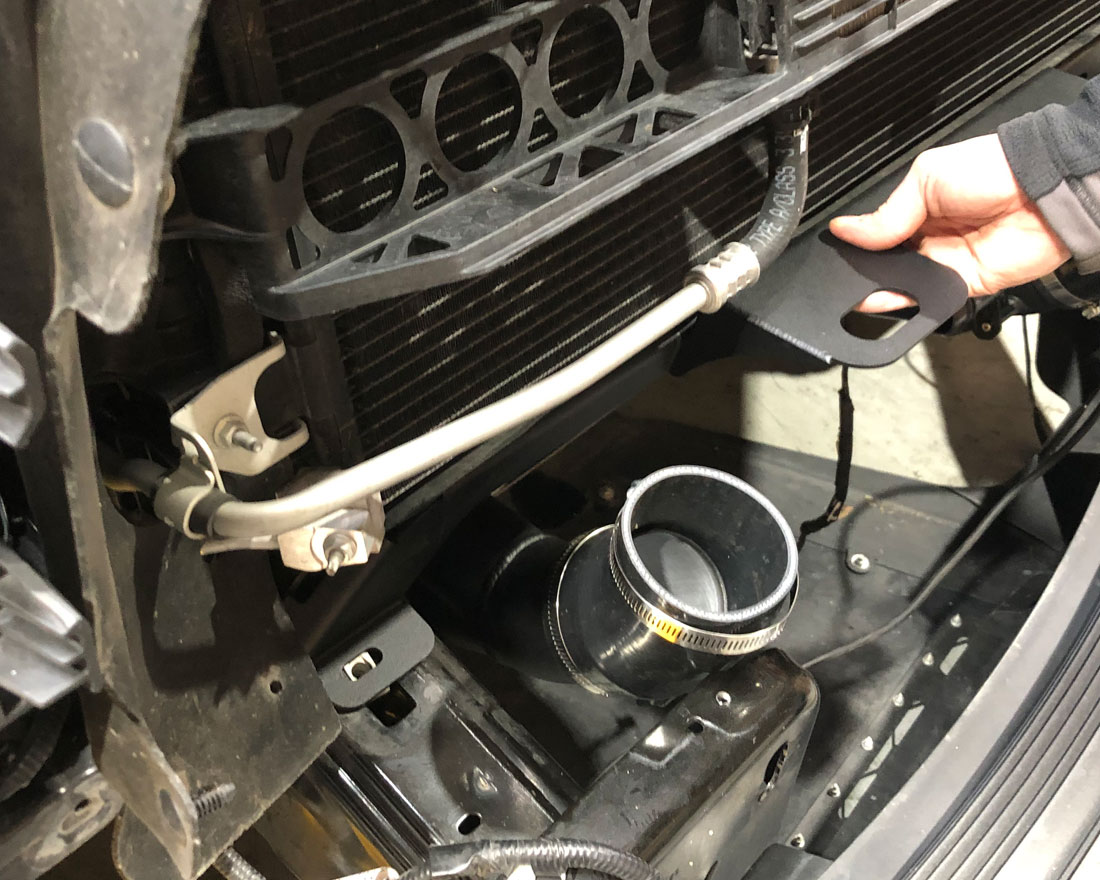
Step 18: Install 2 couplers and clamps on the factory passenger side charge pipes. And insert the new Vivid Racing y pipe.

Step 19: After tightening the clamps place the angled coupler onto the pipe and place clamps into position.
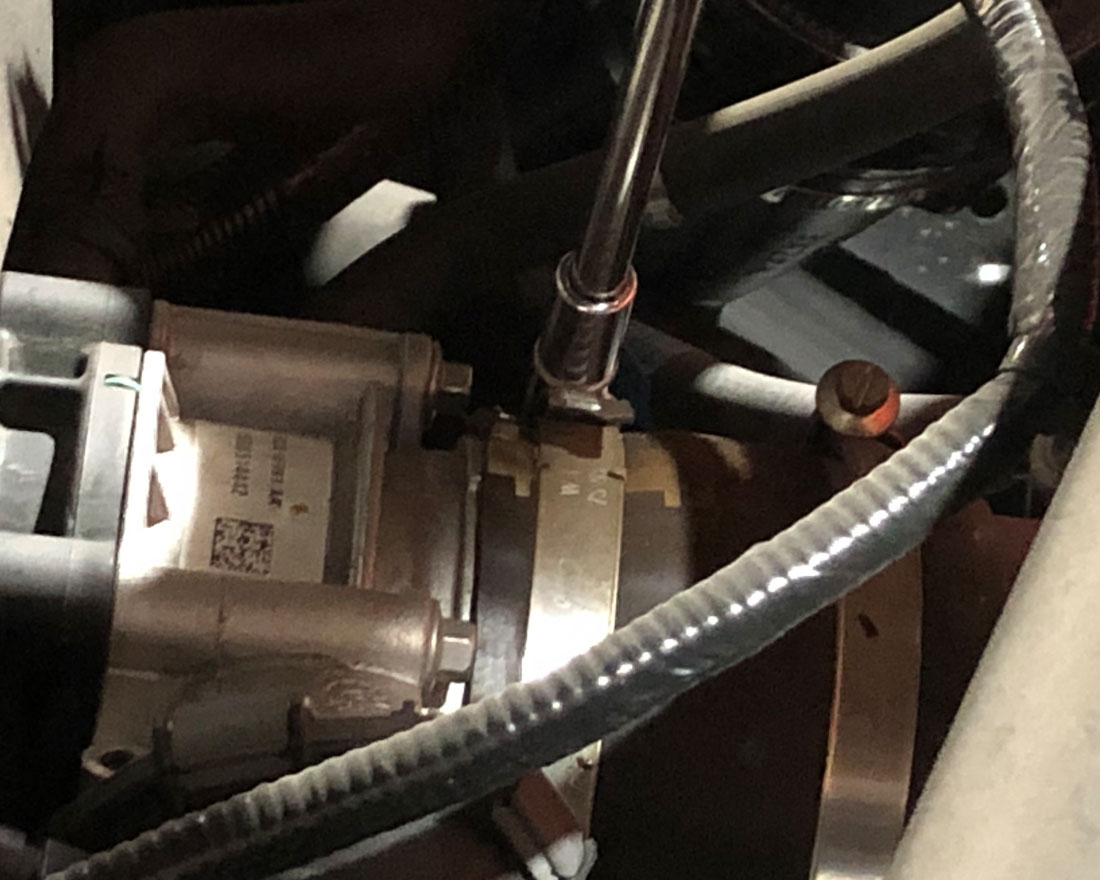
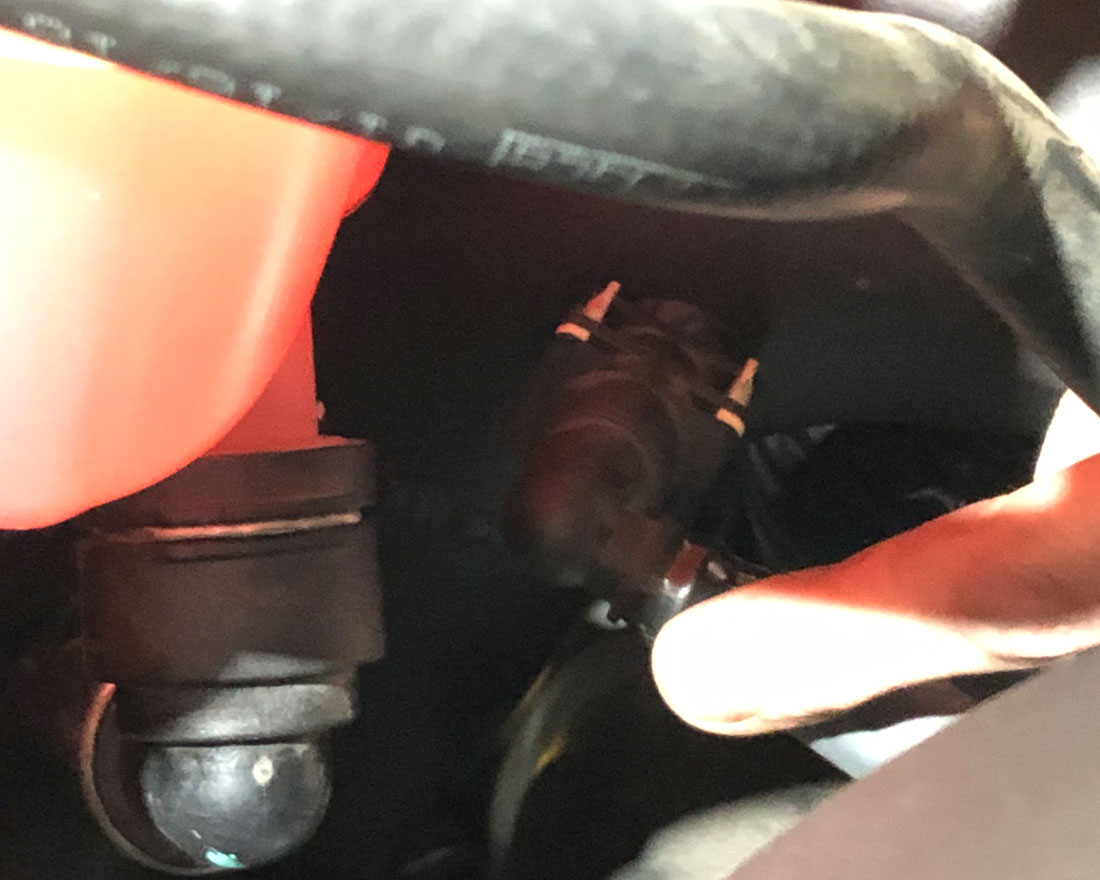
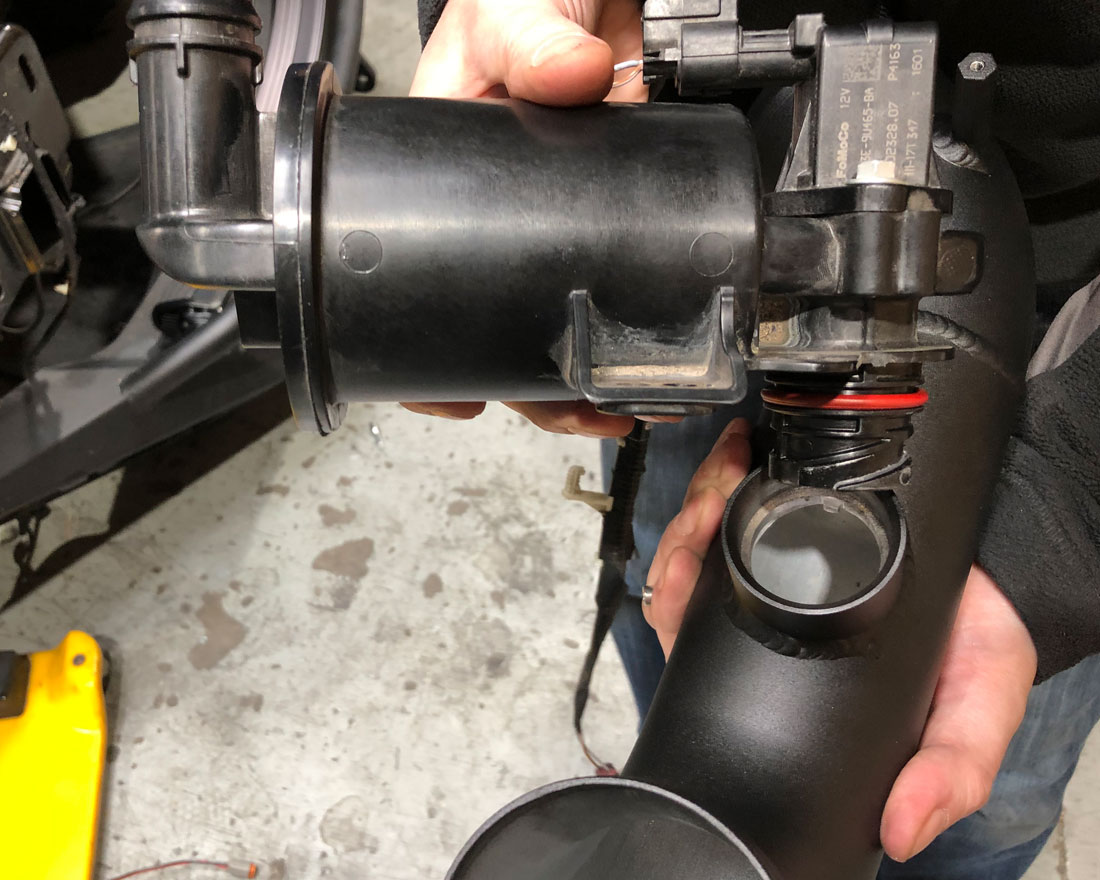
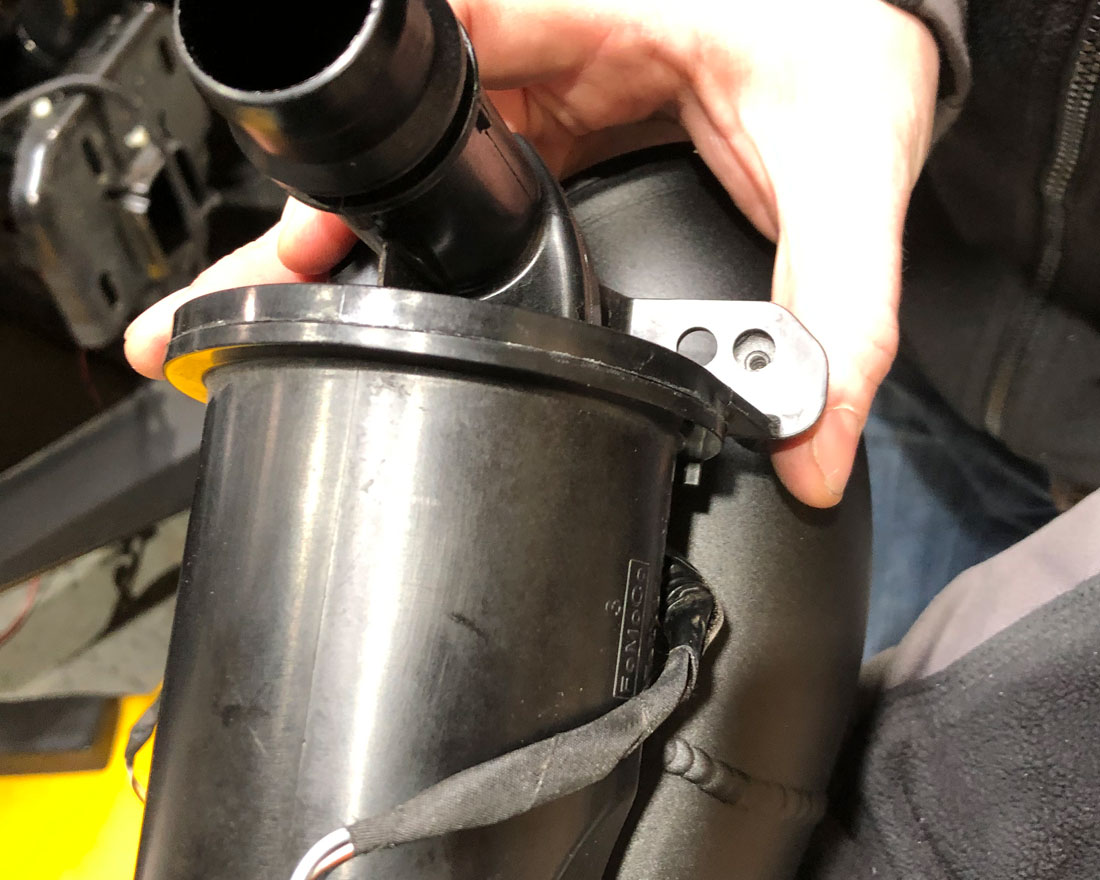
Step 20: Remove the electronic blow off valve by unbolting the one bolt. Turn and lift to remove.
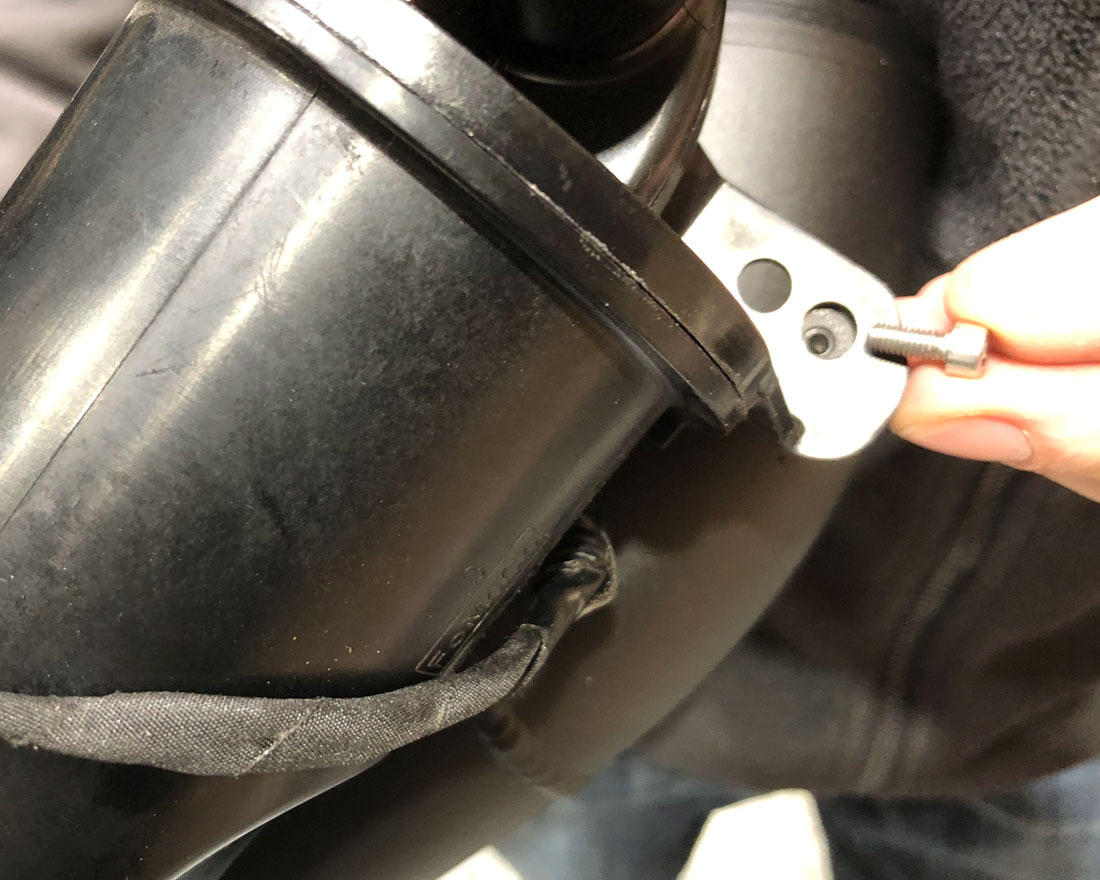
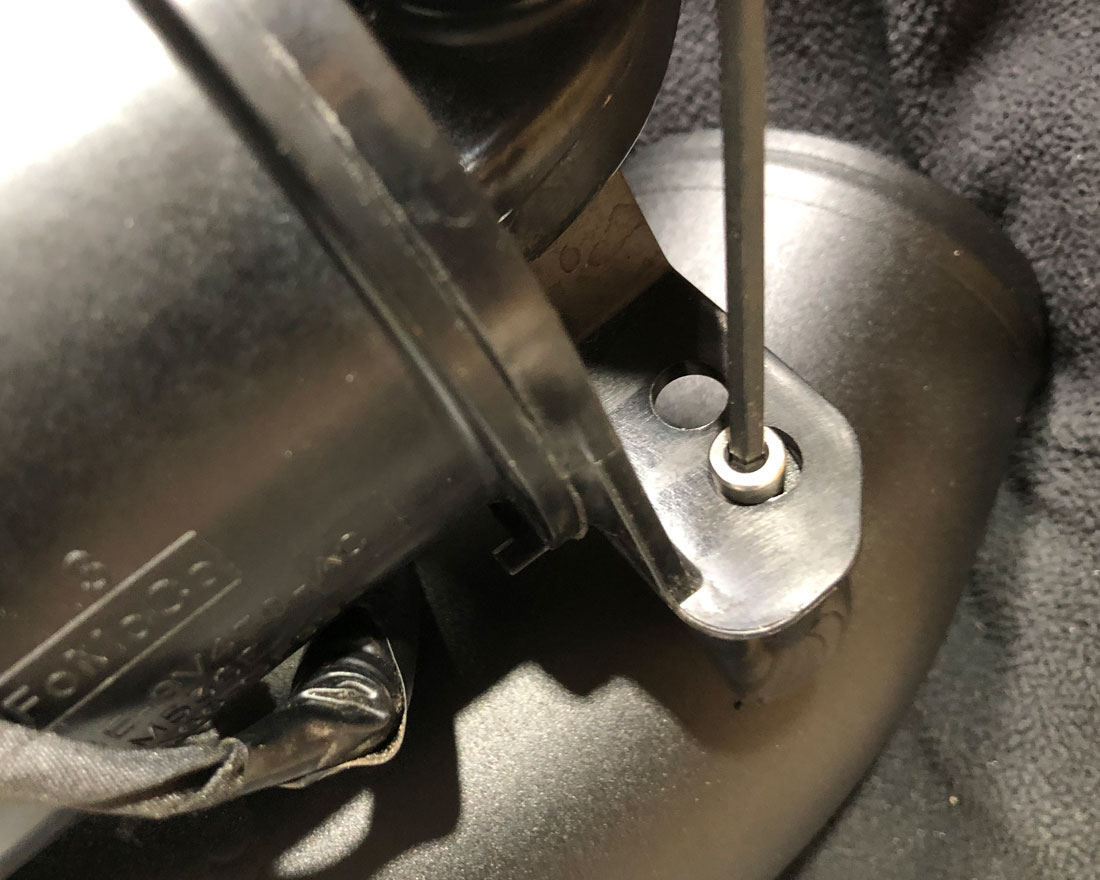
Step 21: Insert electronic blow off valve into the new pipe by inserting and turning. Once the bolt hole is lined up tighten.

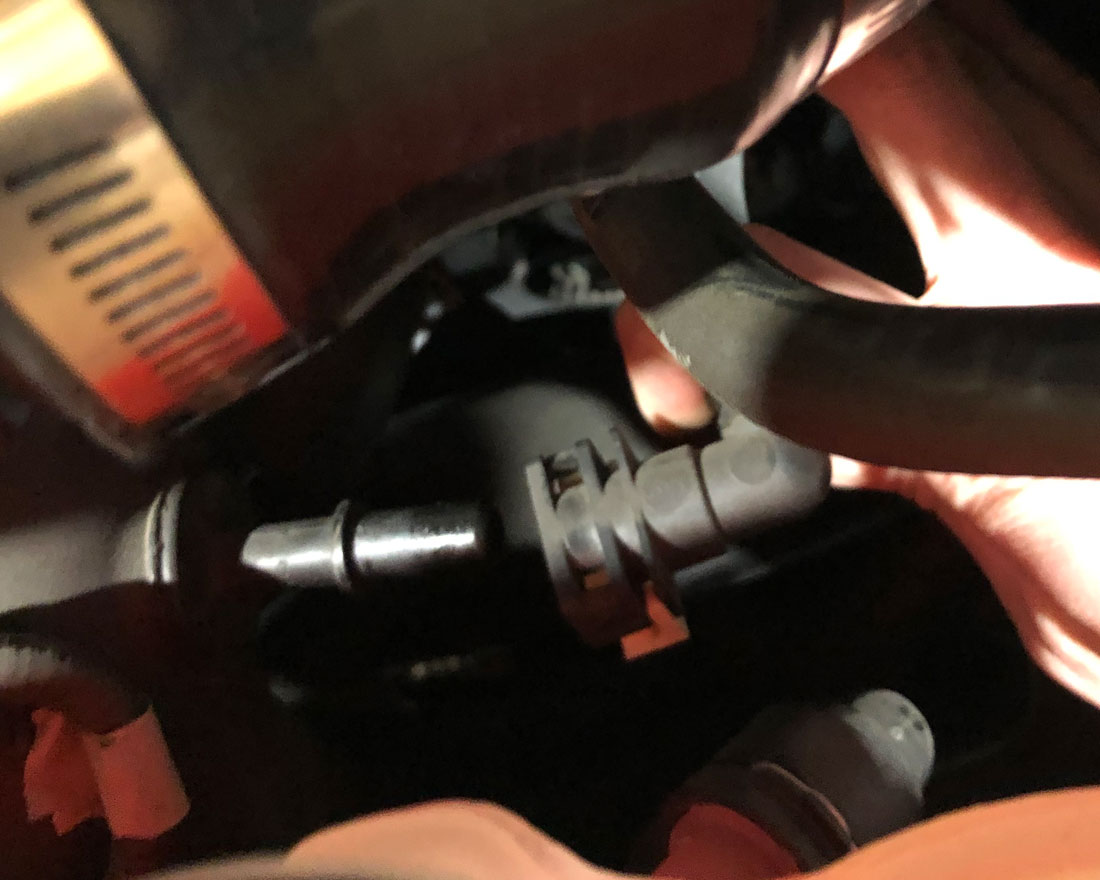
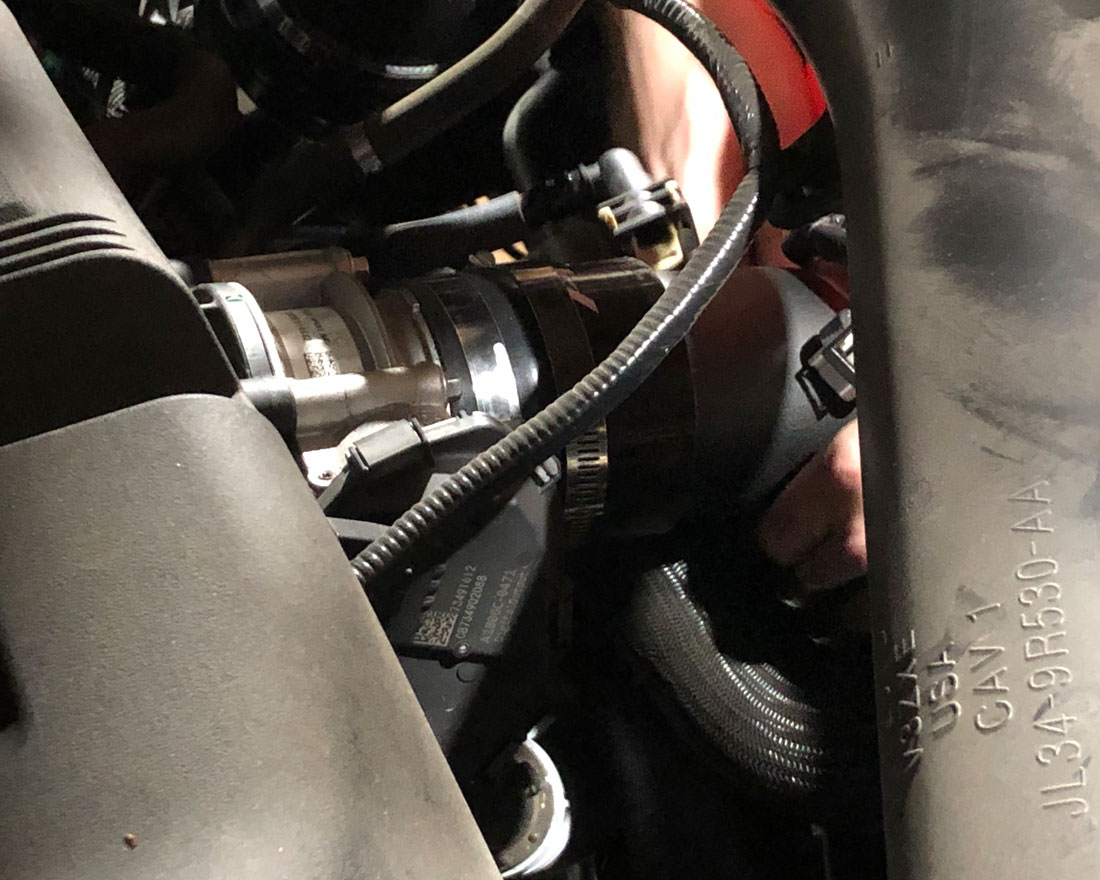
Step 22: Insert the new bov piping into the throttle body piping coupler and tighten.
Step 23: Add new coupler and clamps onto bov pipe.
Step 24: Find the electronic bov re-circulation tube and remove the factory piece. Take the new tubing provided and line up. You may have to remove portions of the top hose to prevent kinks. Once you have the length remove the end caps from the factory and insert them into the tube. Note: Place the factory piece in the connector in warm water to help with easier removal. Install the tube into place and connect.
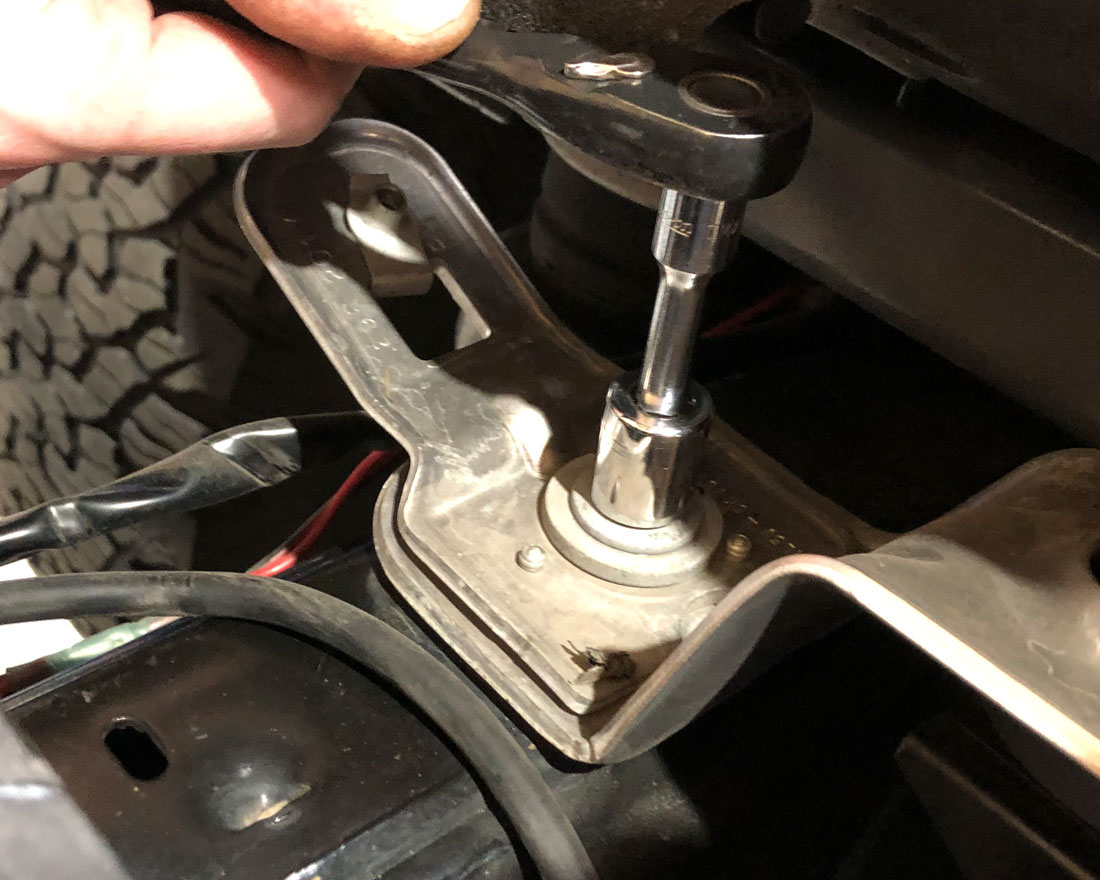
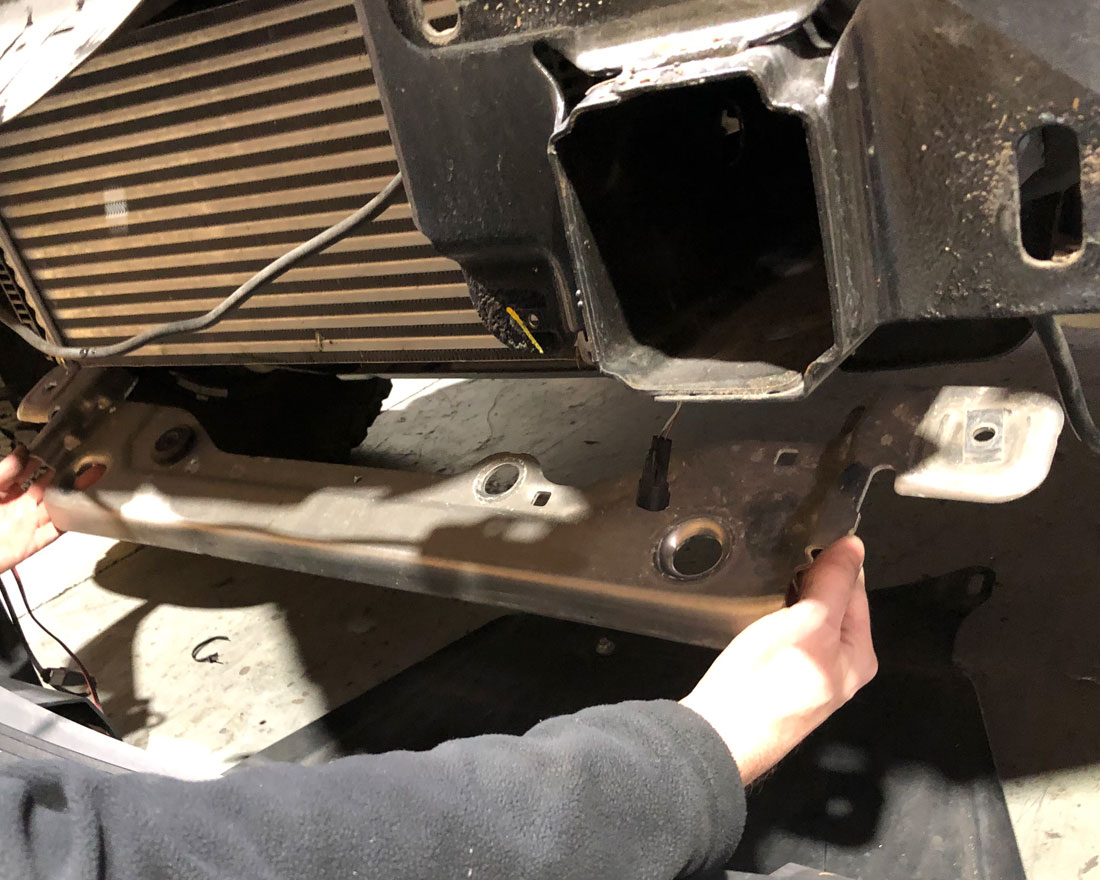
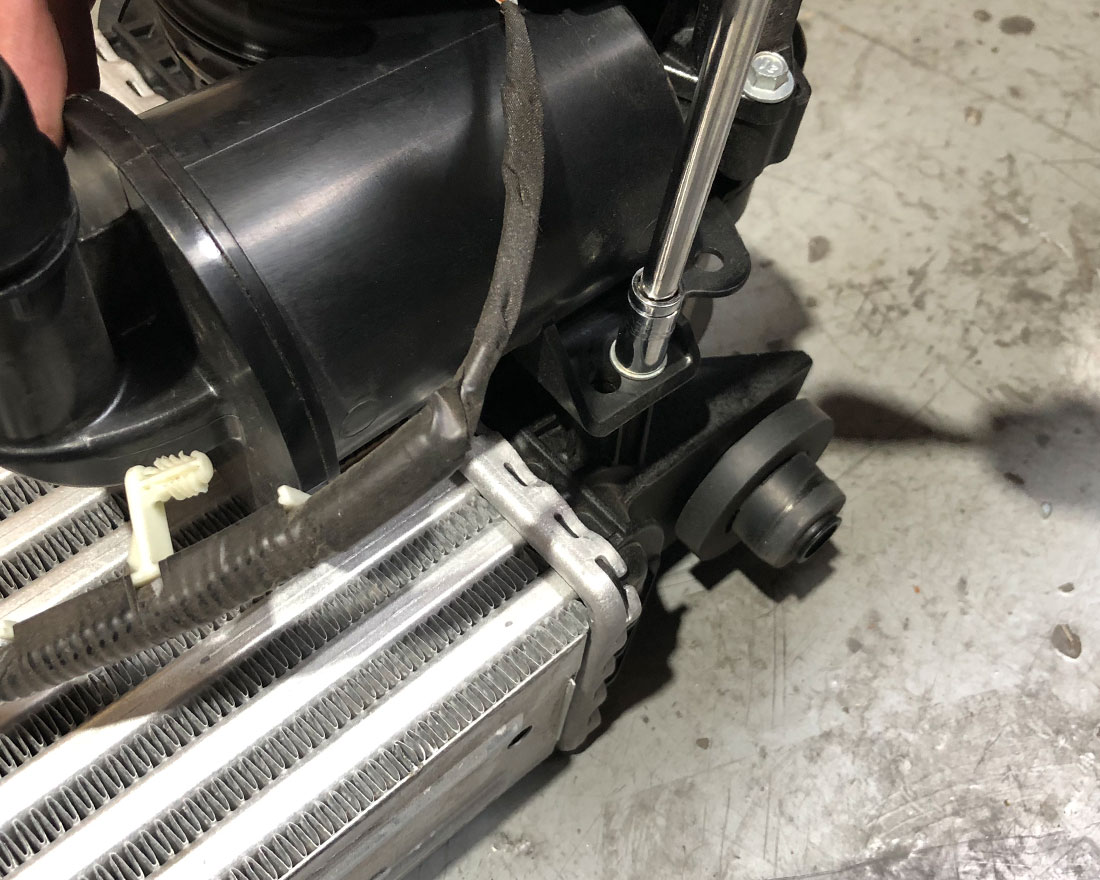
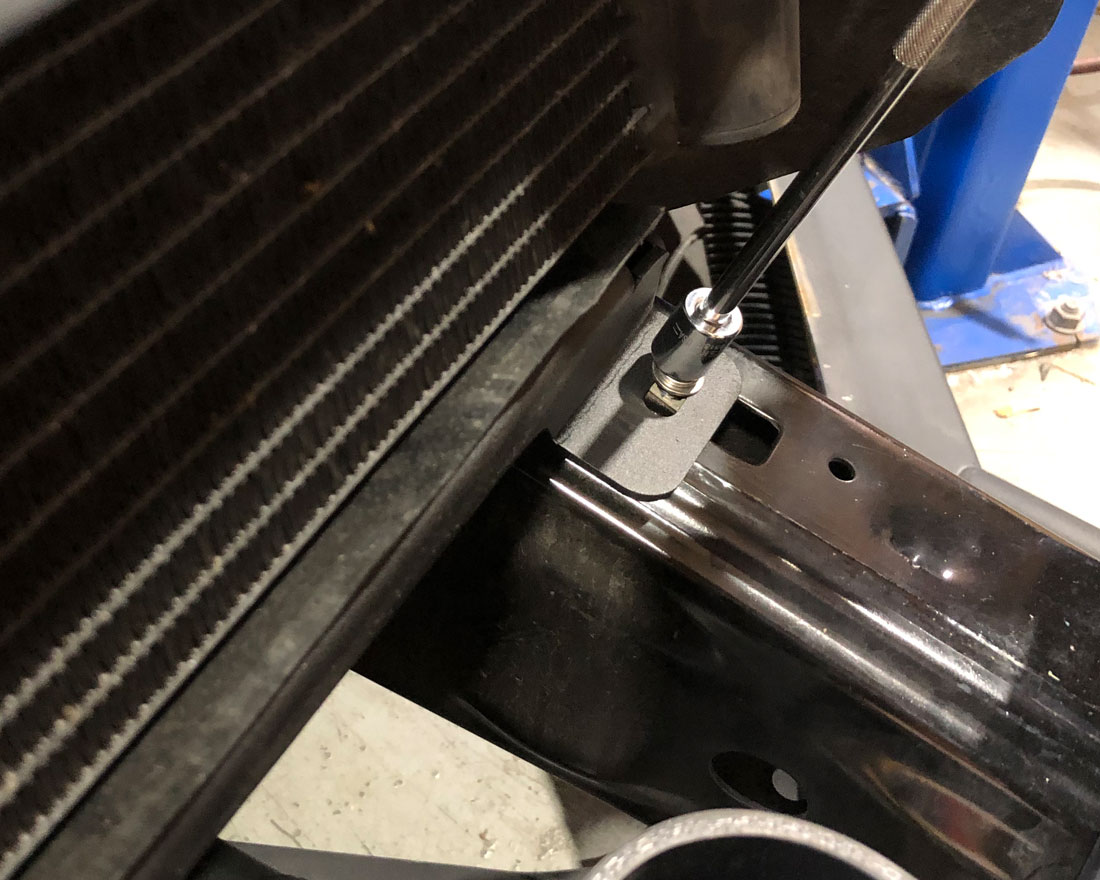
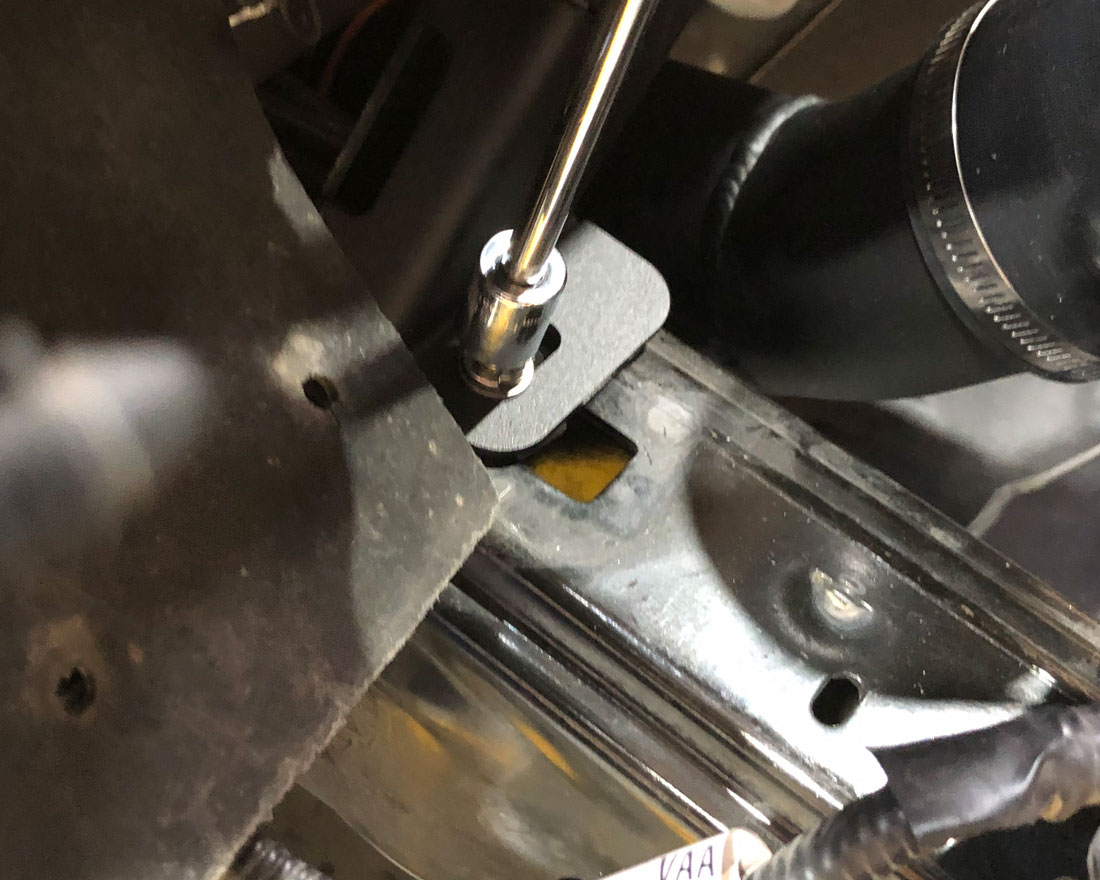
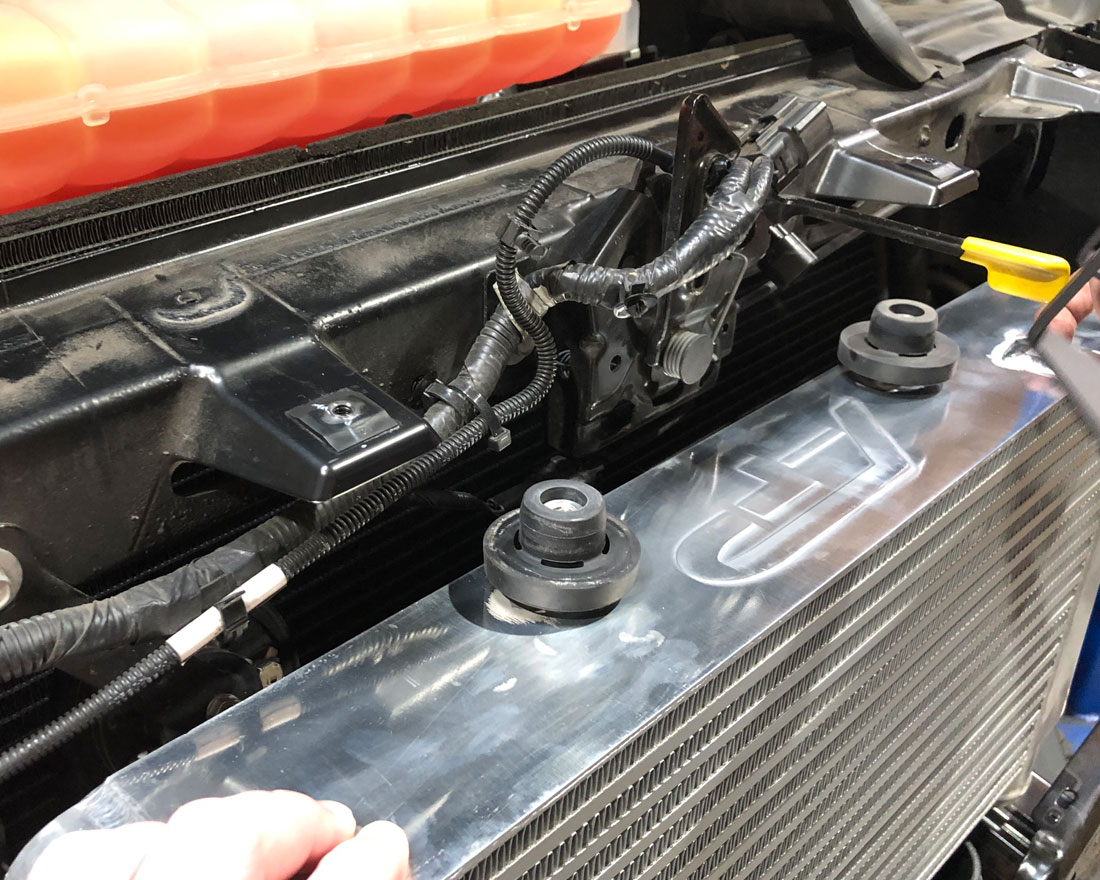
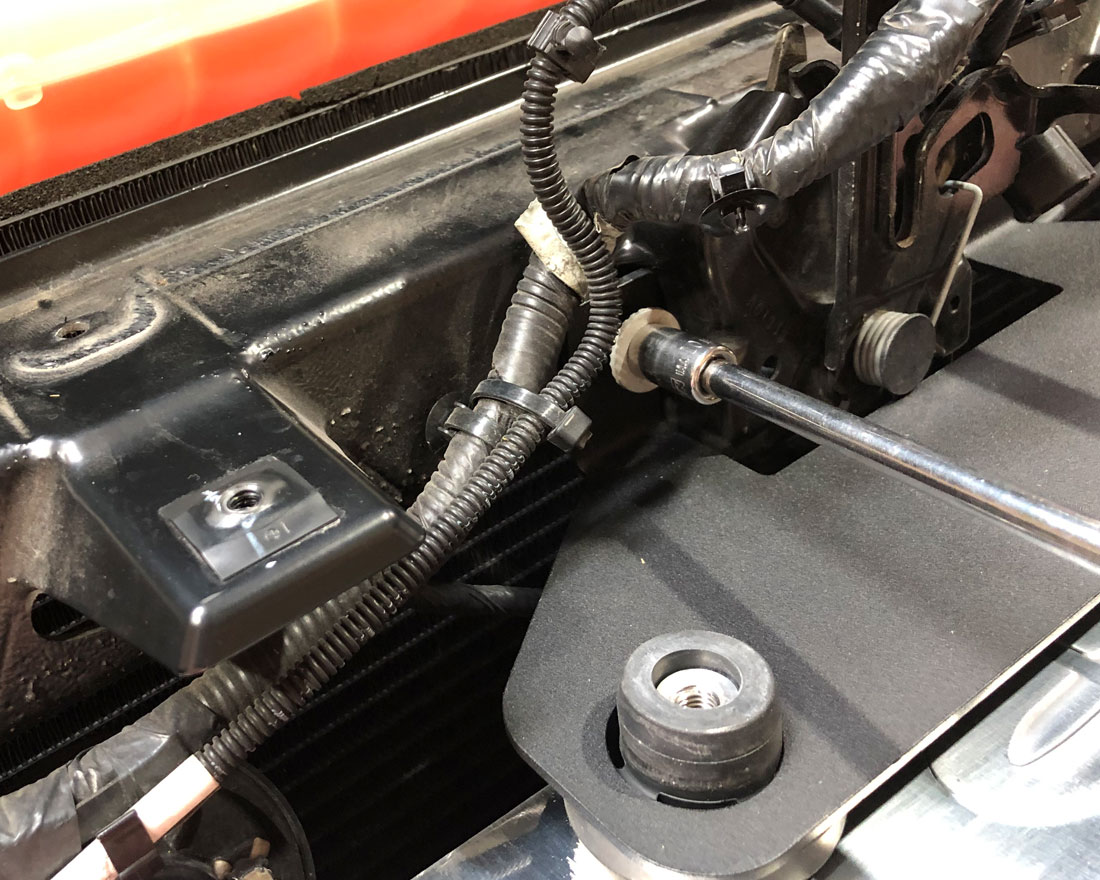
Step 25: Take the large lower mounting plate and place it in position. Secure with bolts.

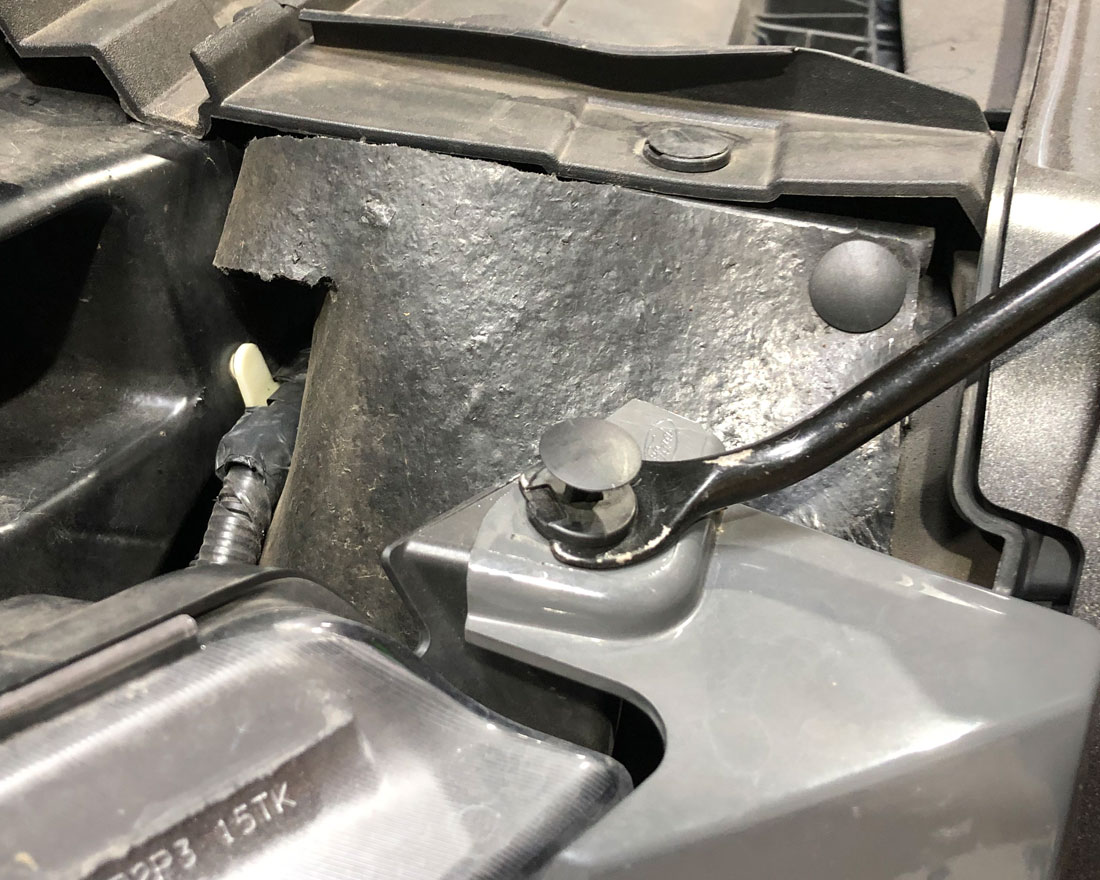
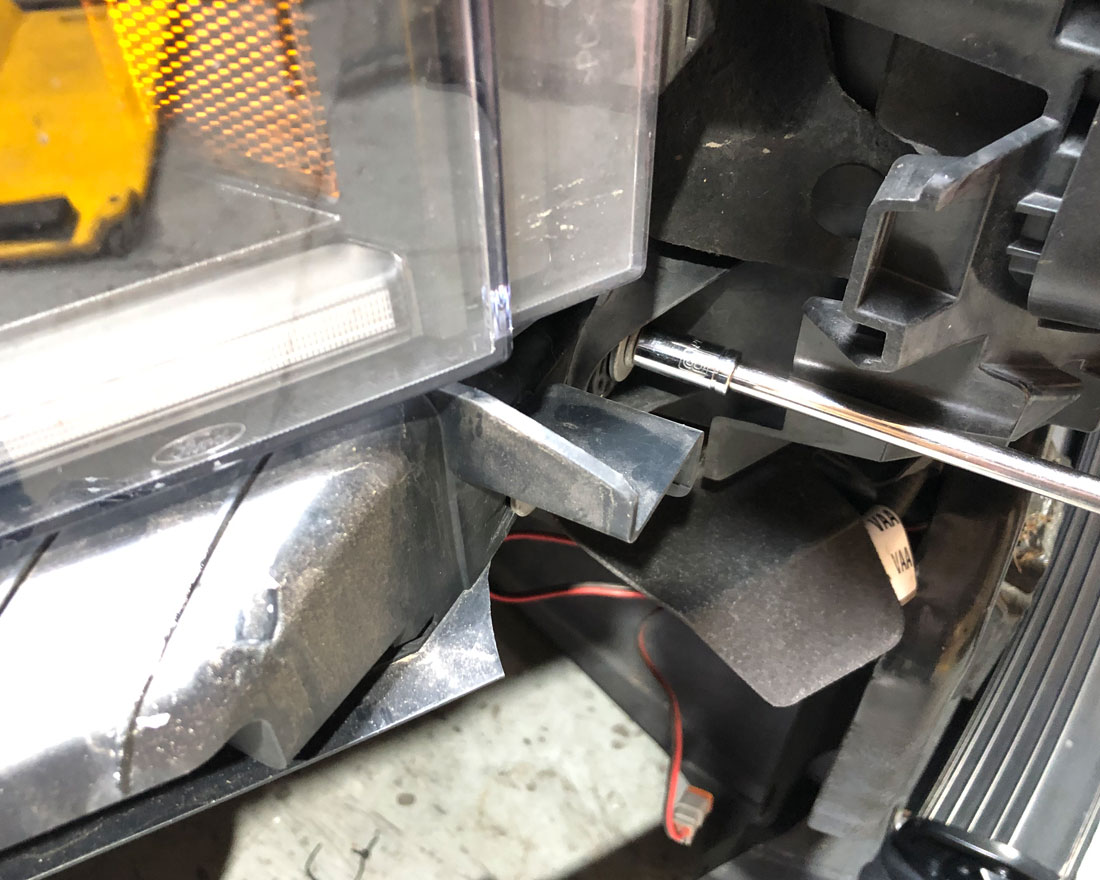
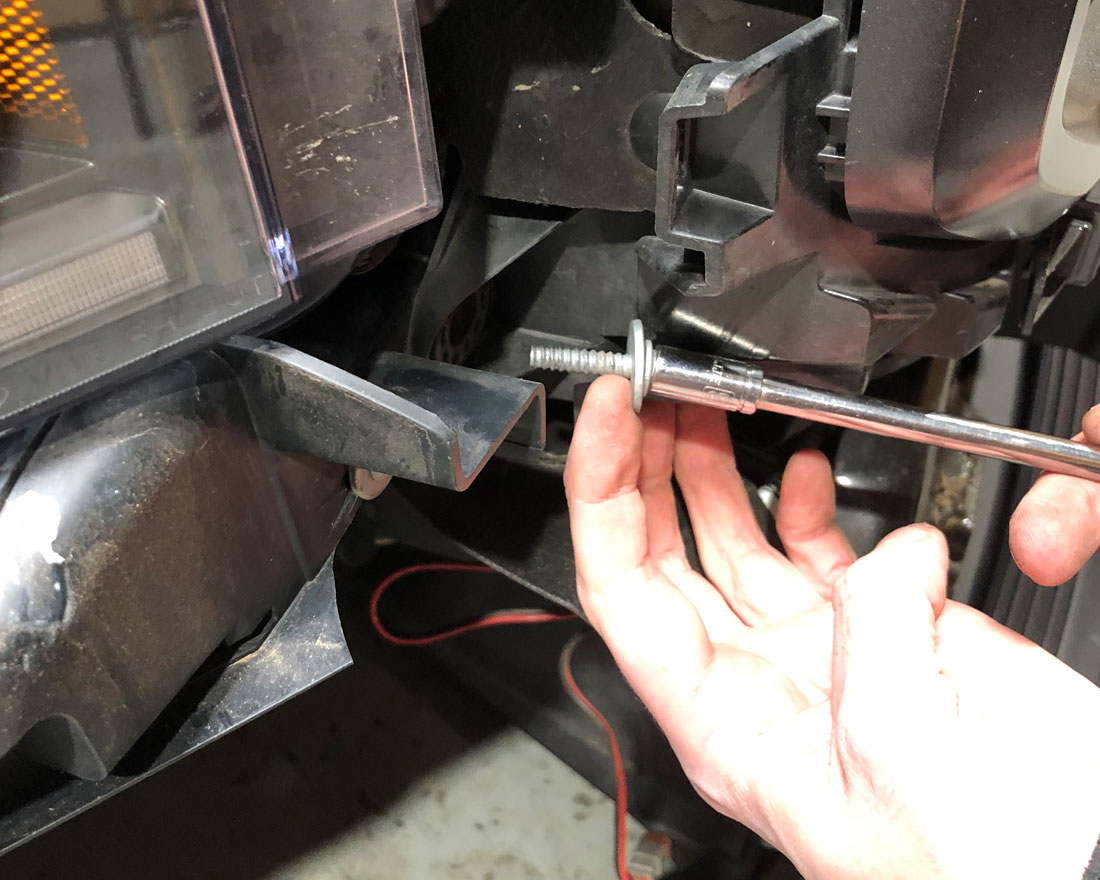
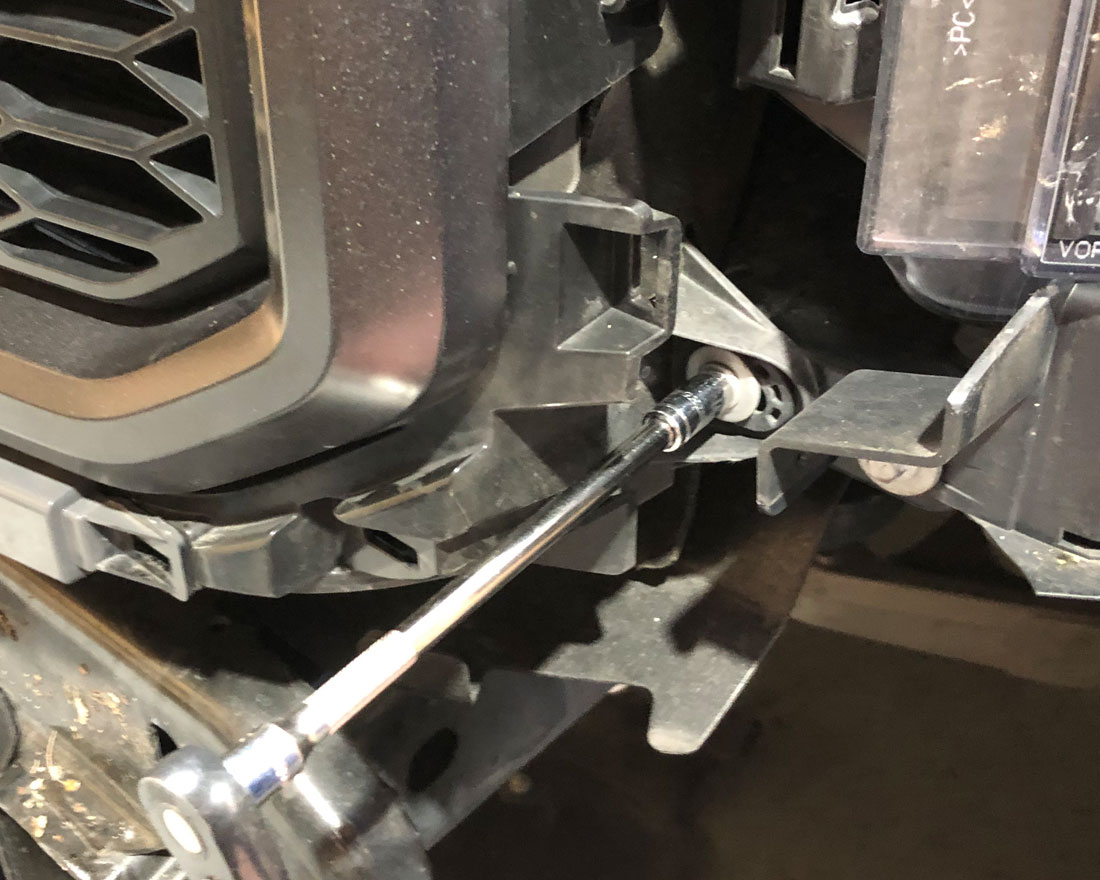
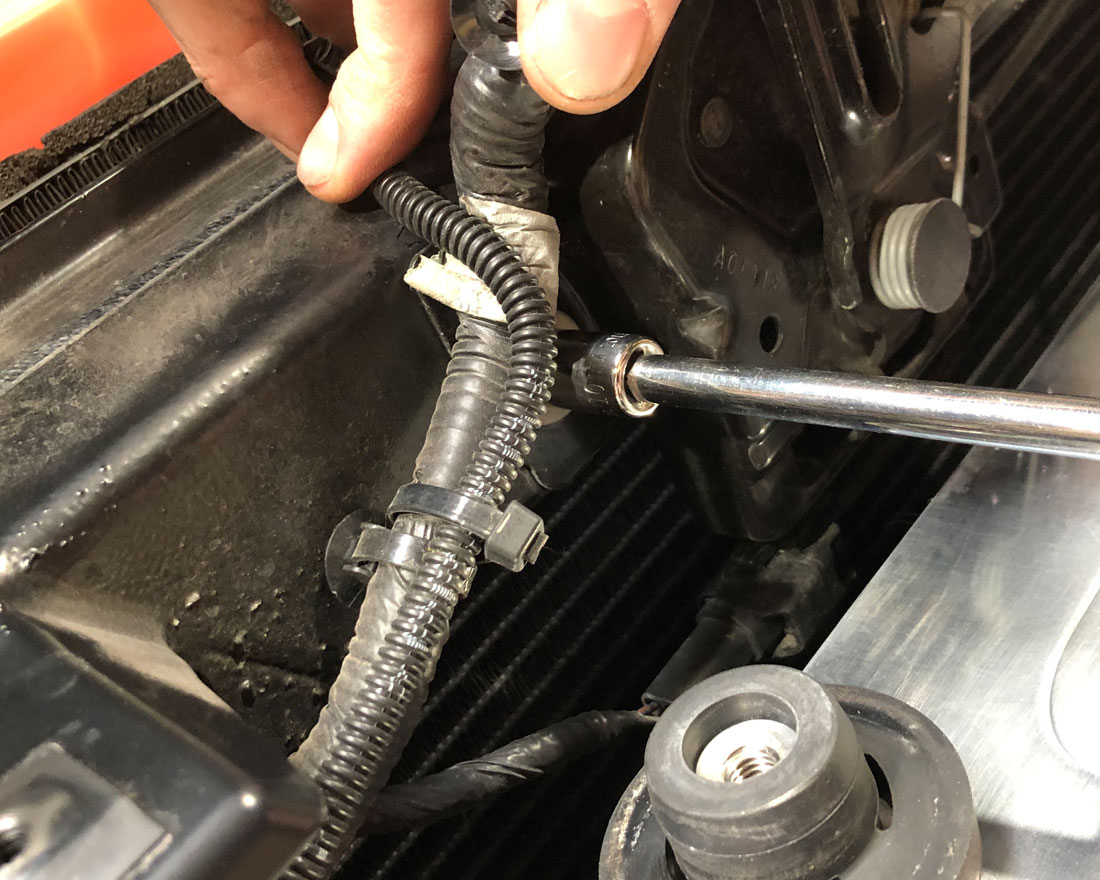
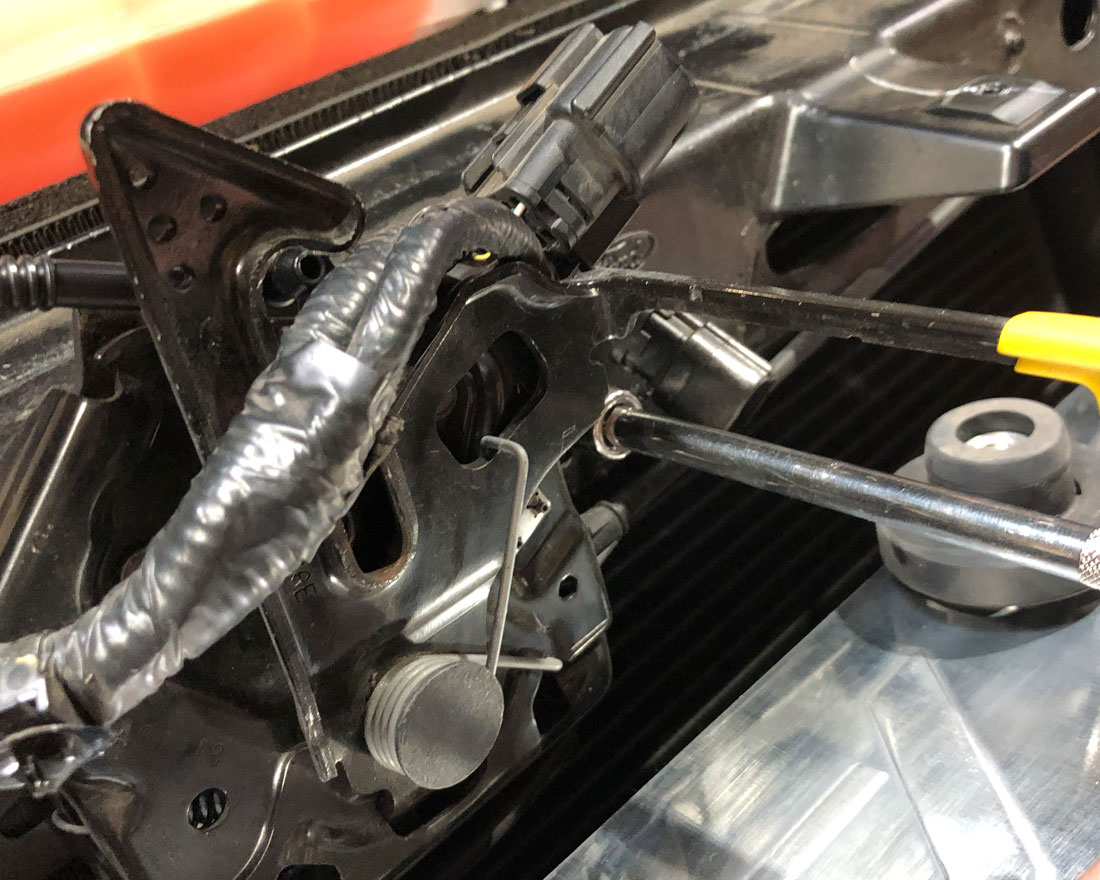
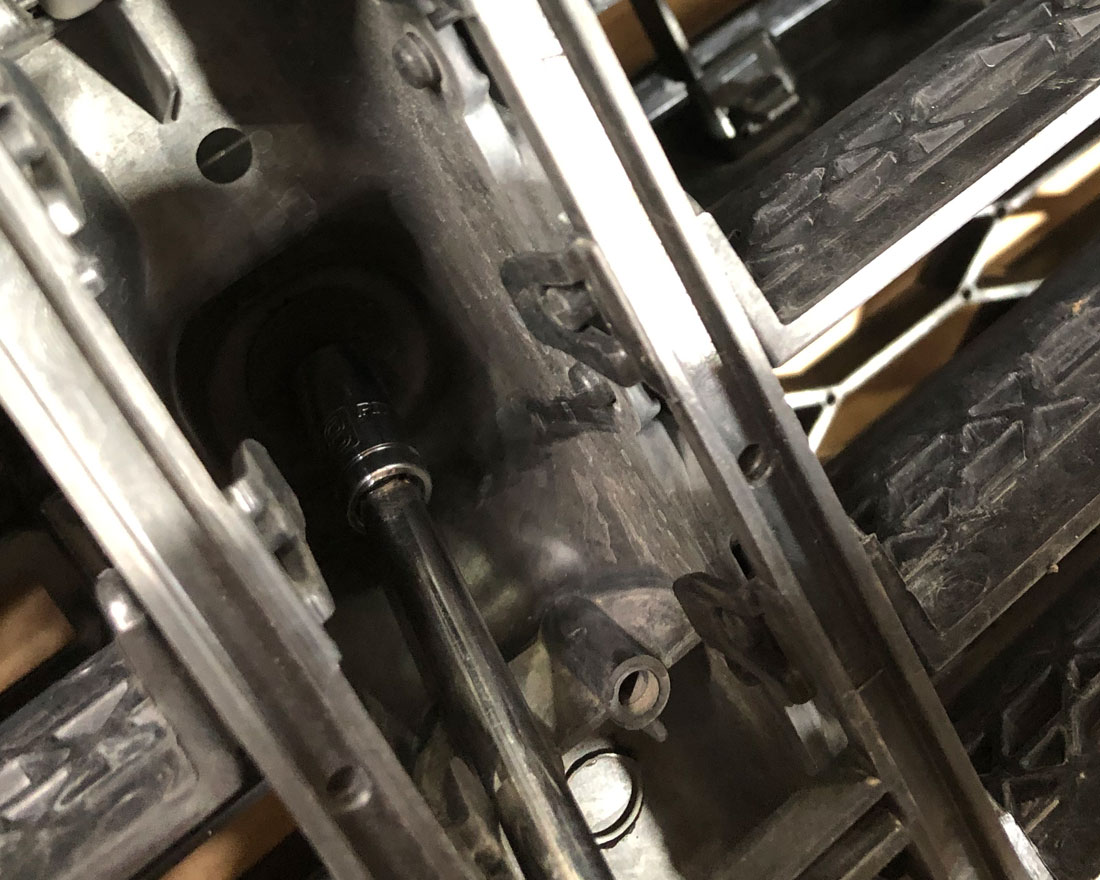
Step 26: Remove the 2 bolts holding the hood latch in place.
Step 27: Remove the bushing from the factory intercooler.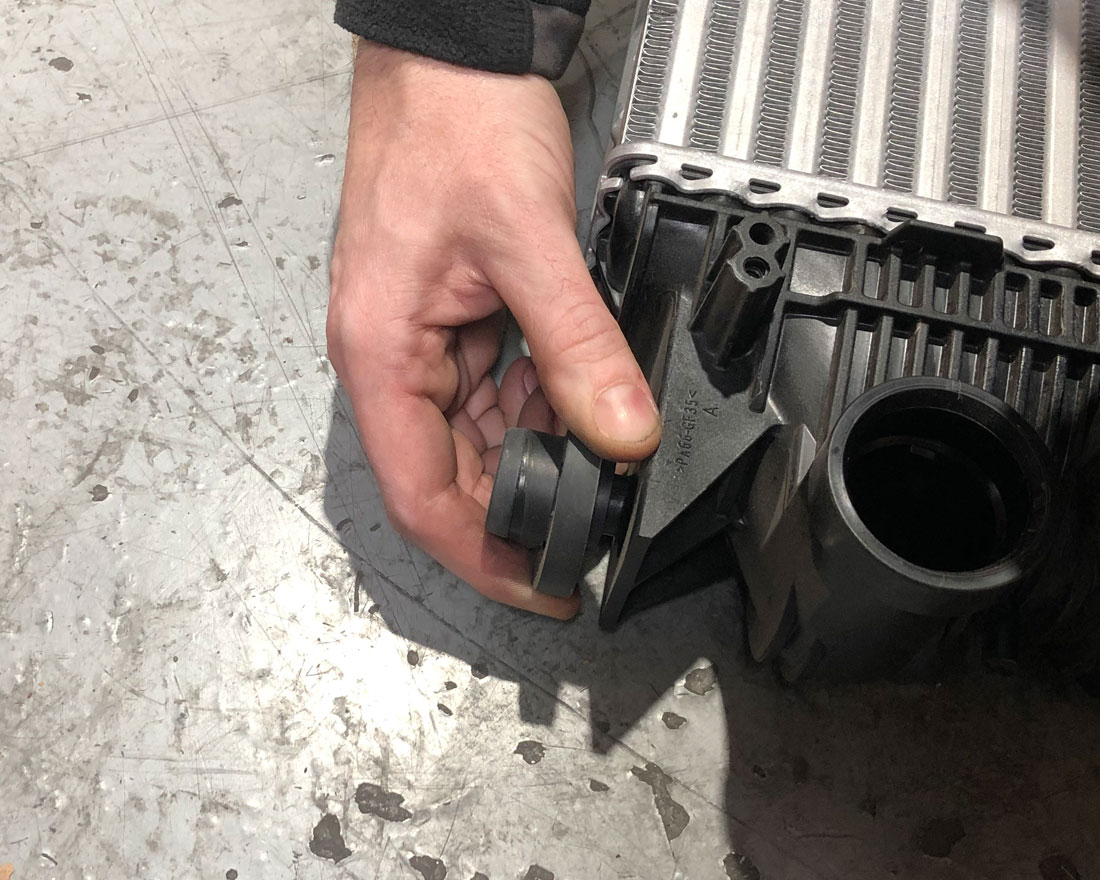
Step 28: Insert 2 of the bushings into the lower mount.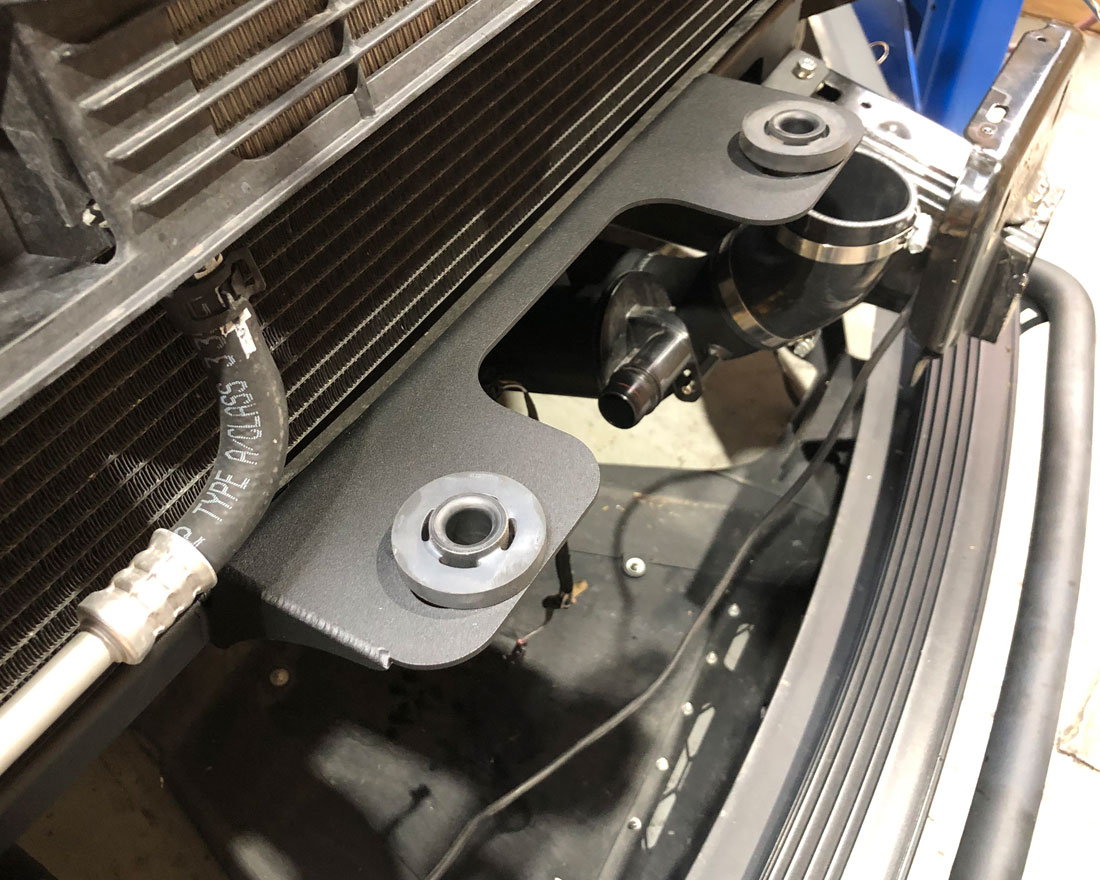
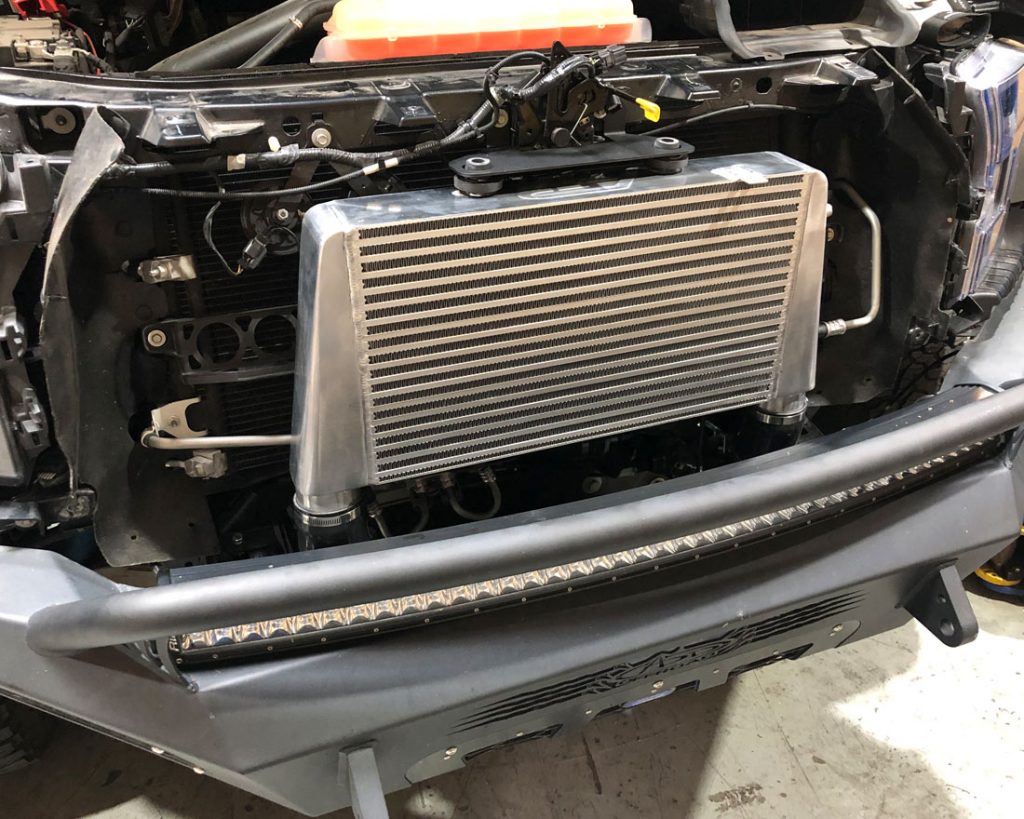
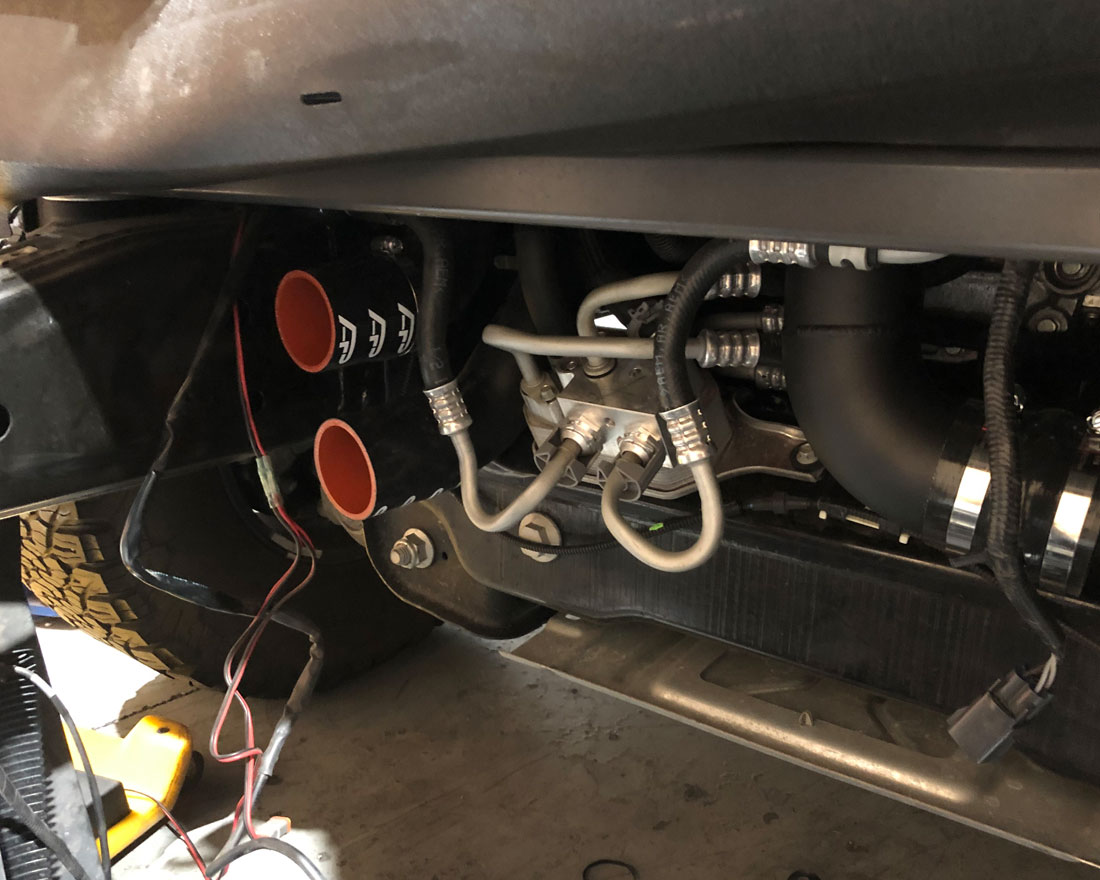
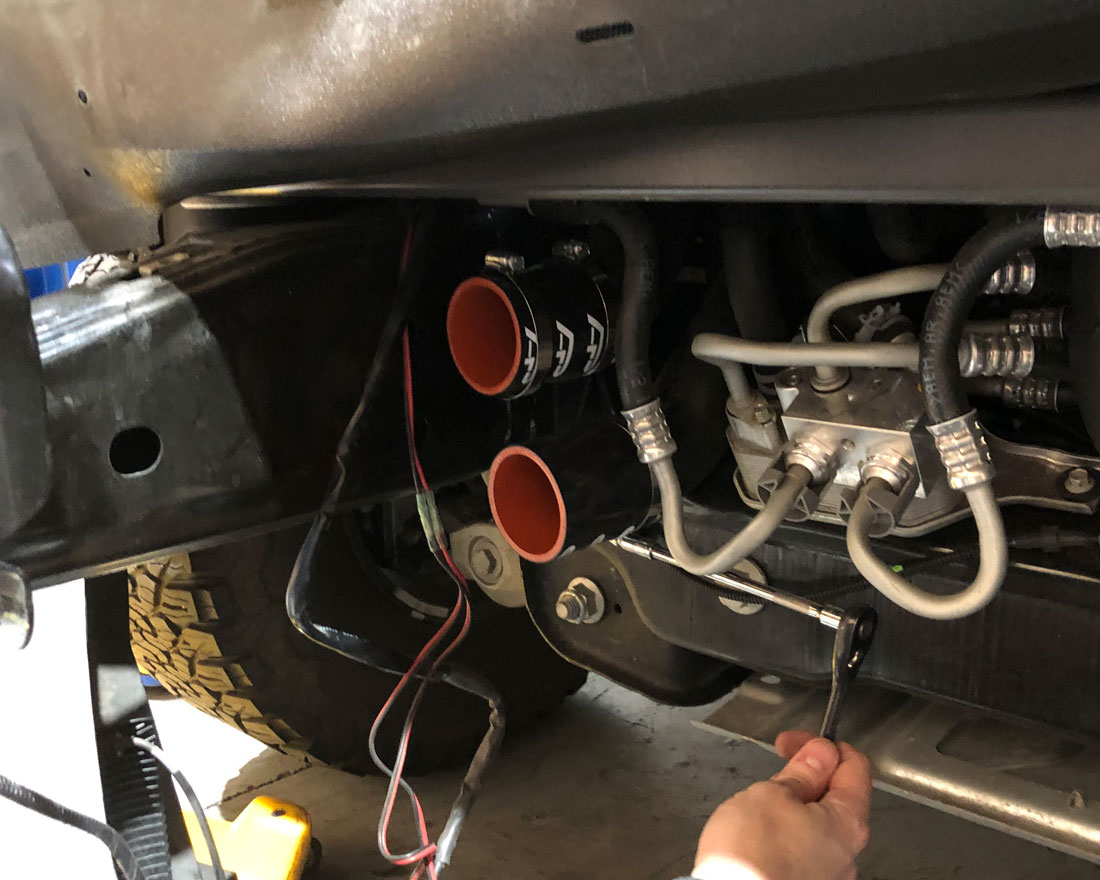
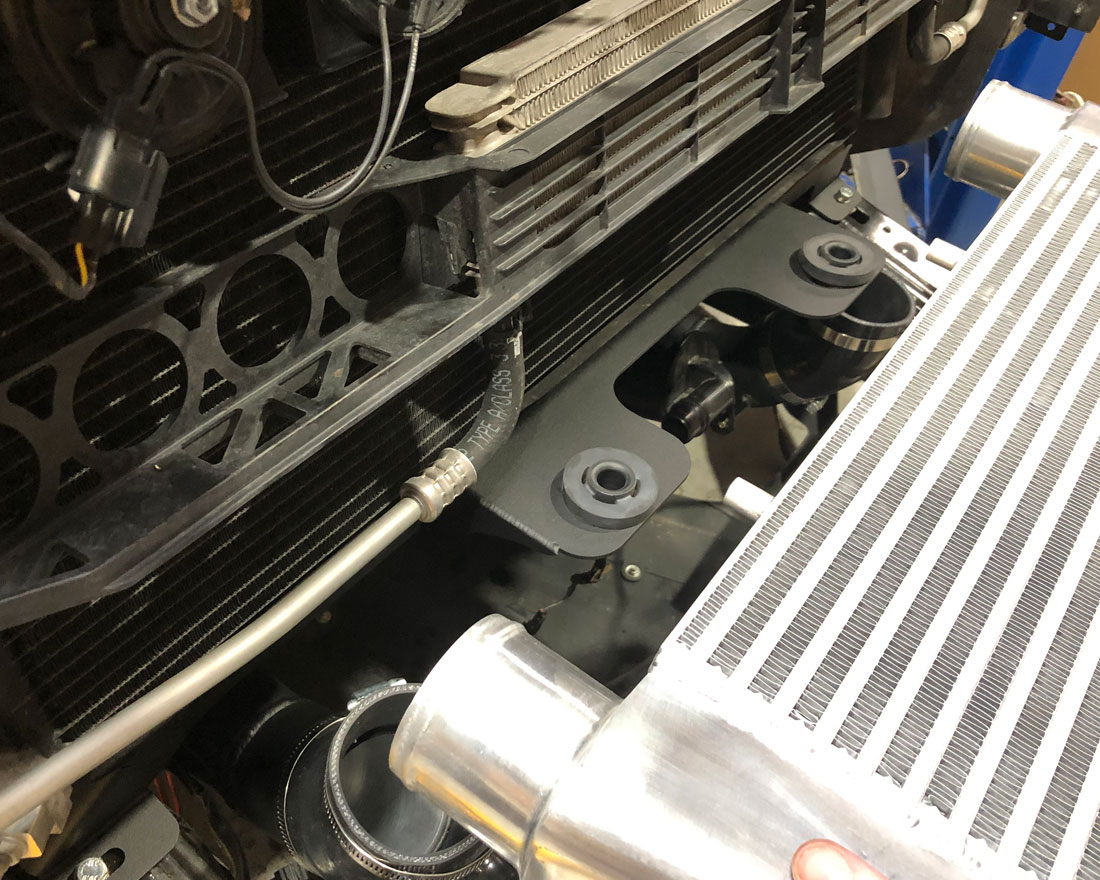
Step 29: Place the Vivid Racing intercooler into the lower mount bushings.
Step 30: Install the other 2 intercooler bushings on top posts and put the upper mount into place. Re-install the 2 hood latch bolts to hold the new bracket into position.
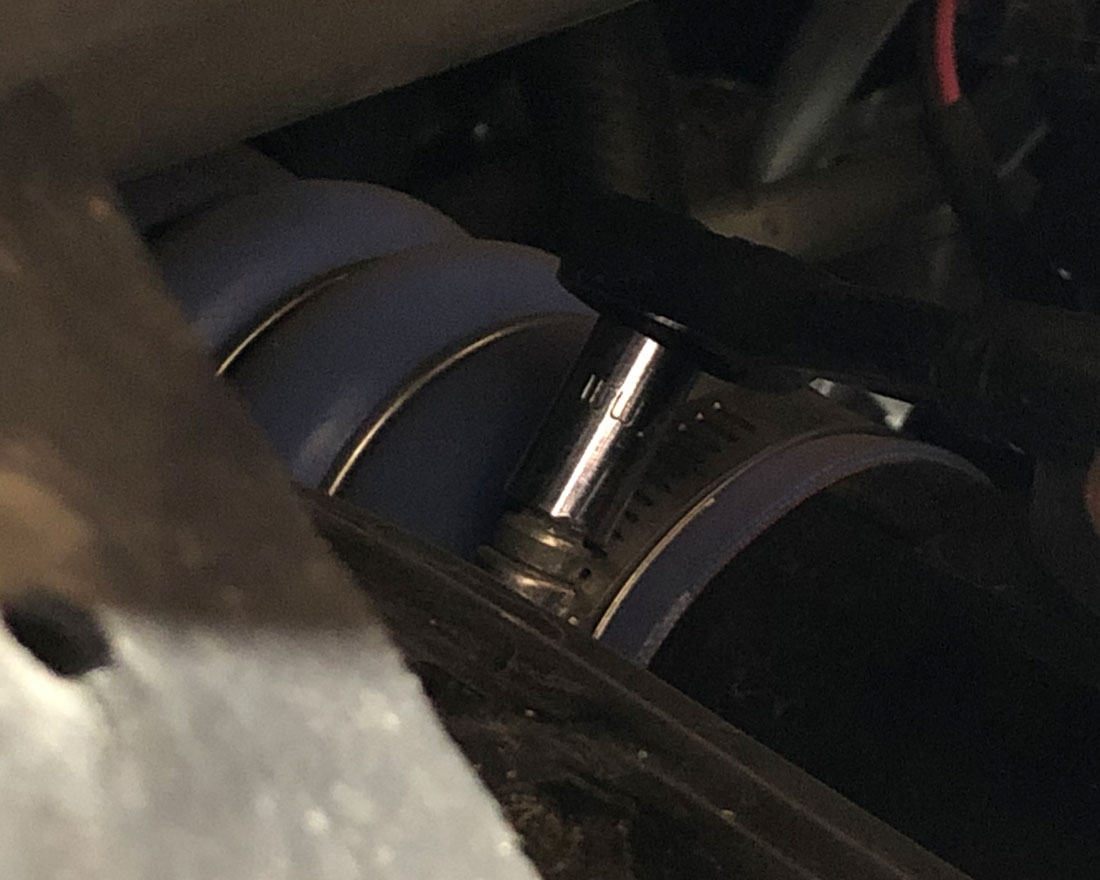
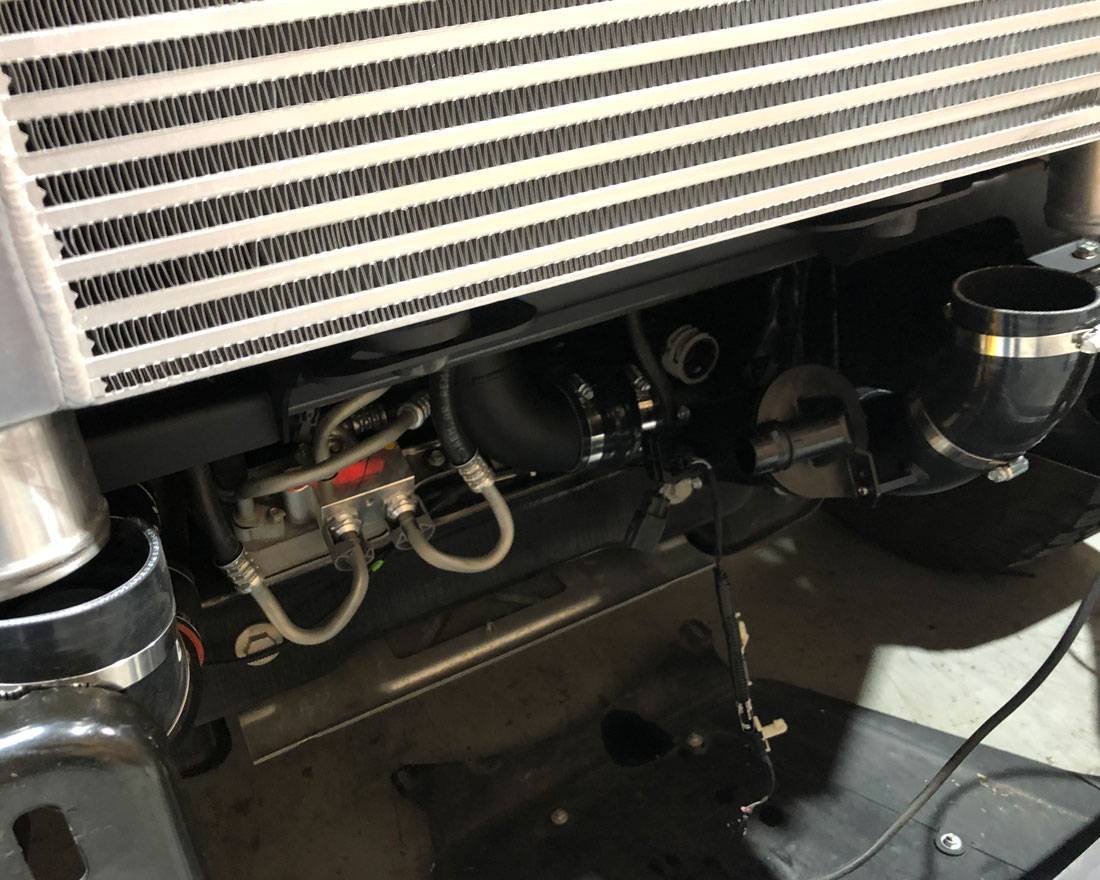
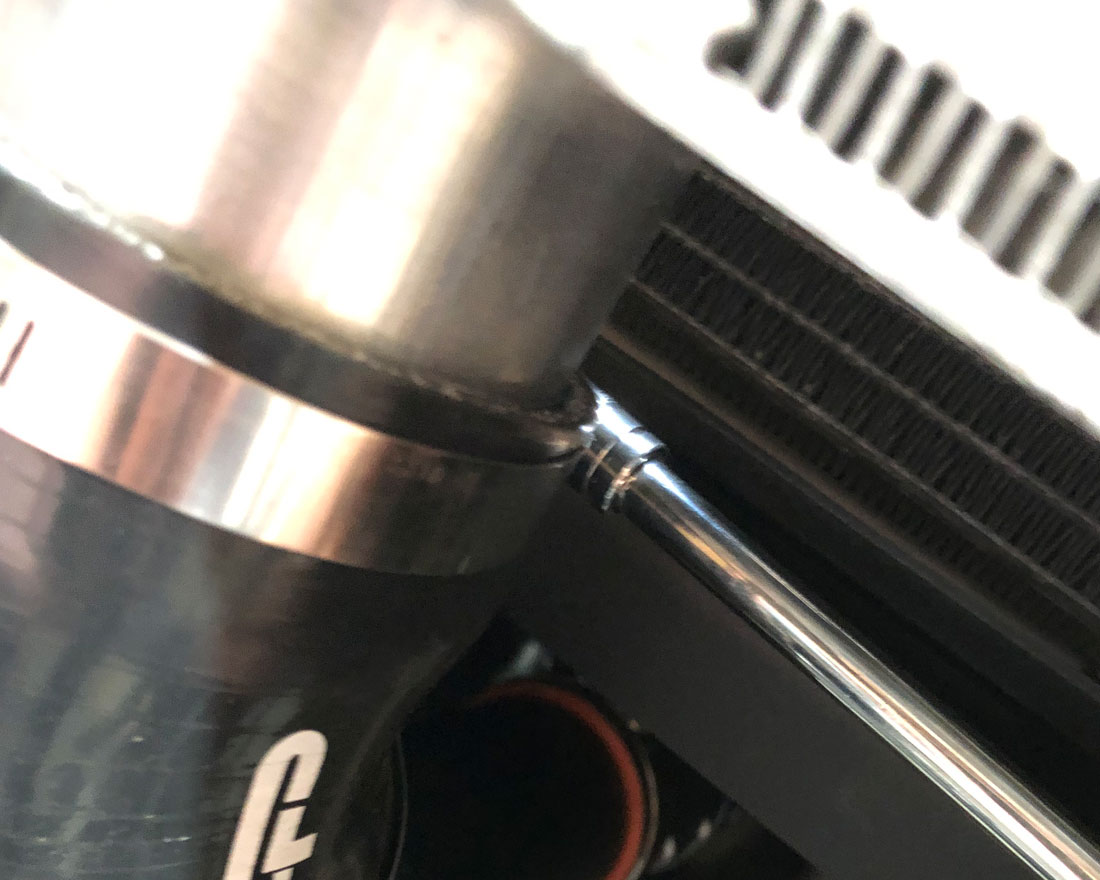
Step 31: Attach lower couplers and tighten clamps.

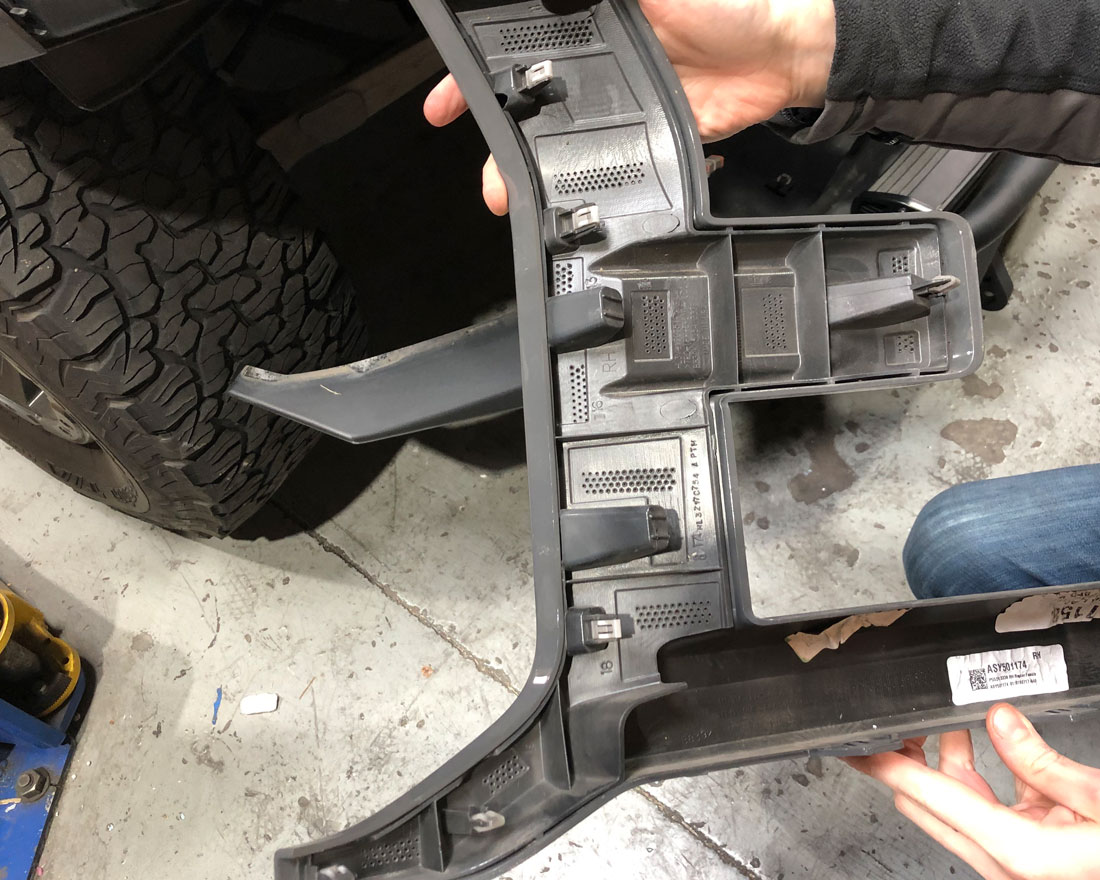
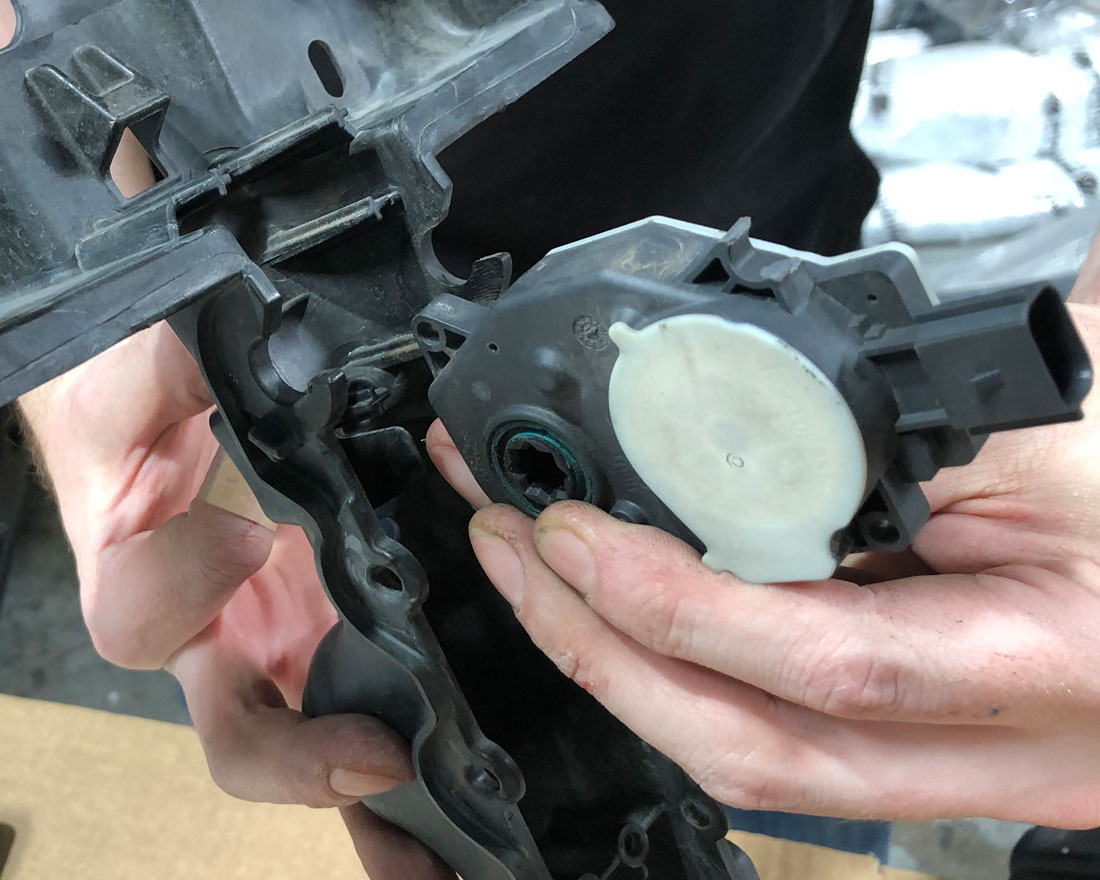
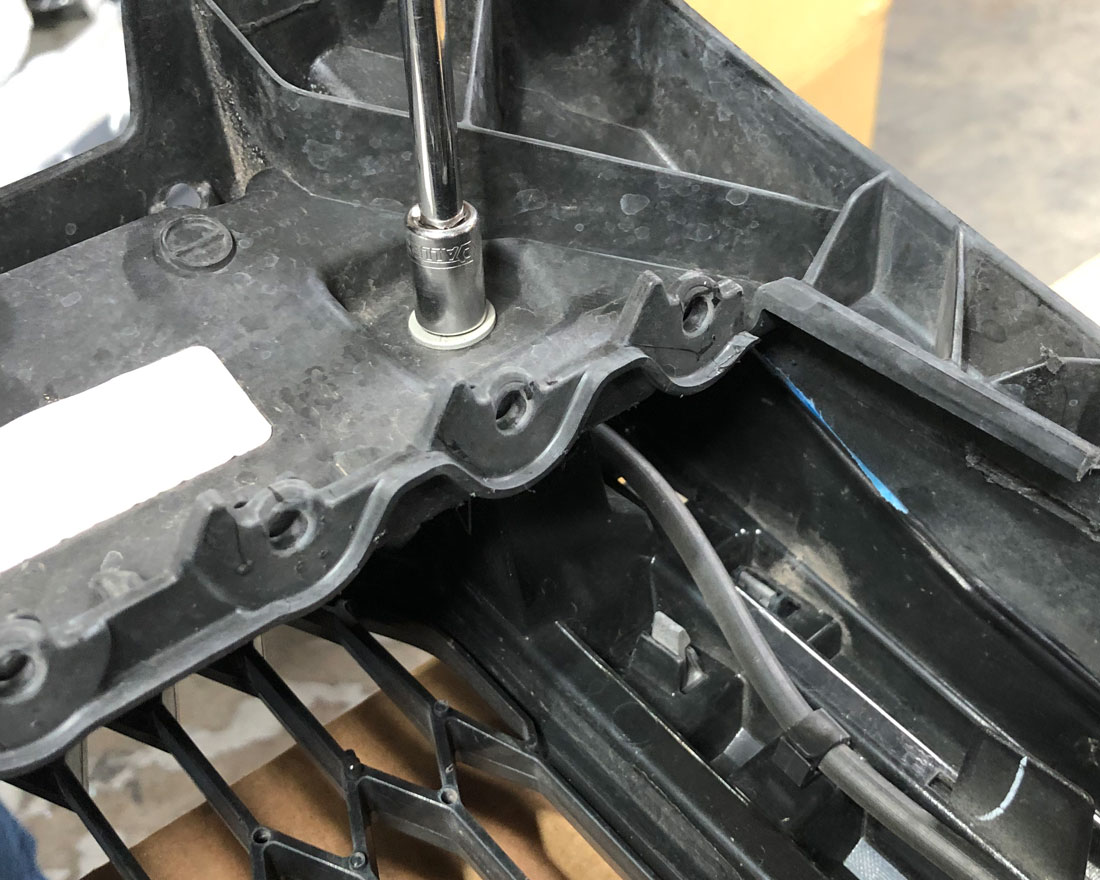
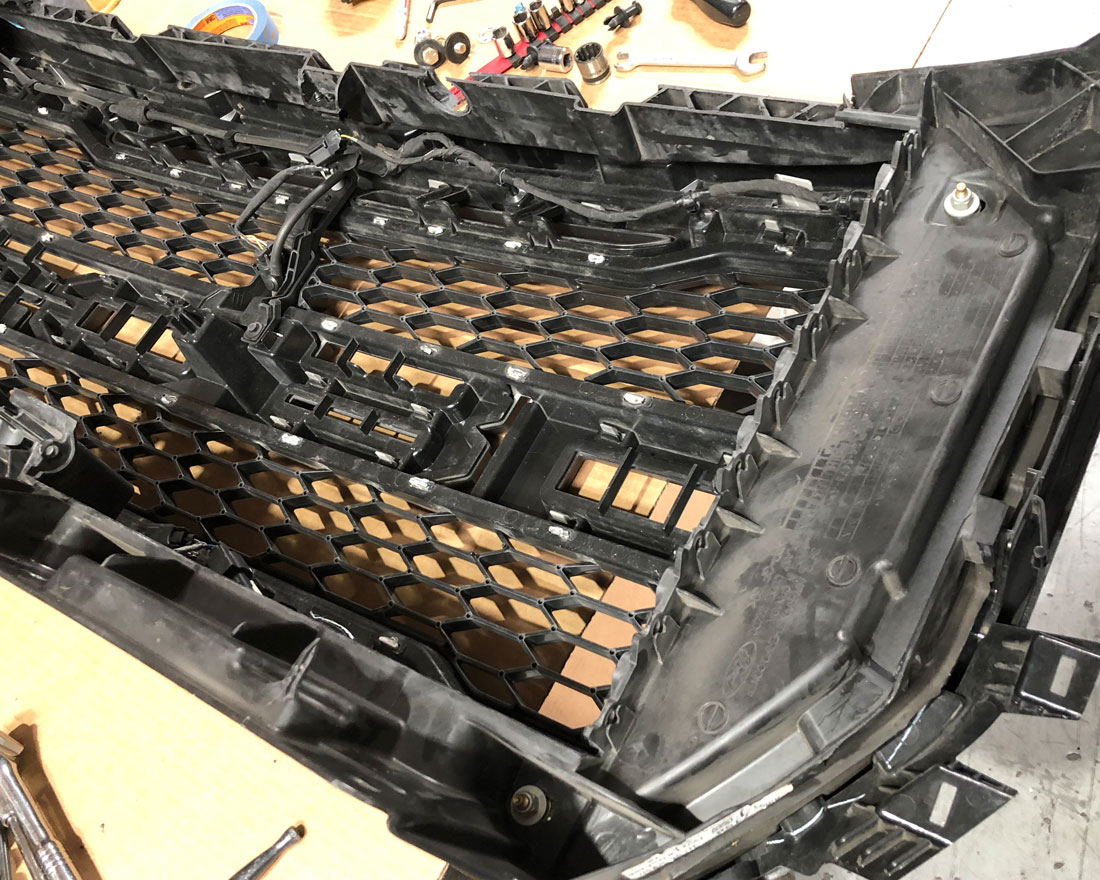
Step 32: Modifying the factory grille. Separate the grille shell and shutter system. Remove the bolts and clips that hold them together.
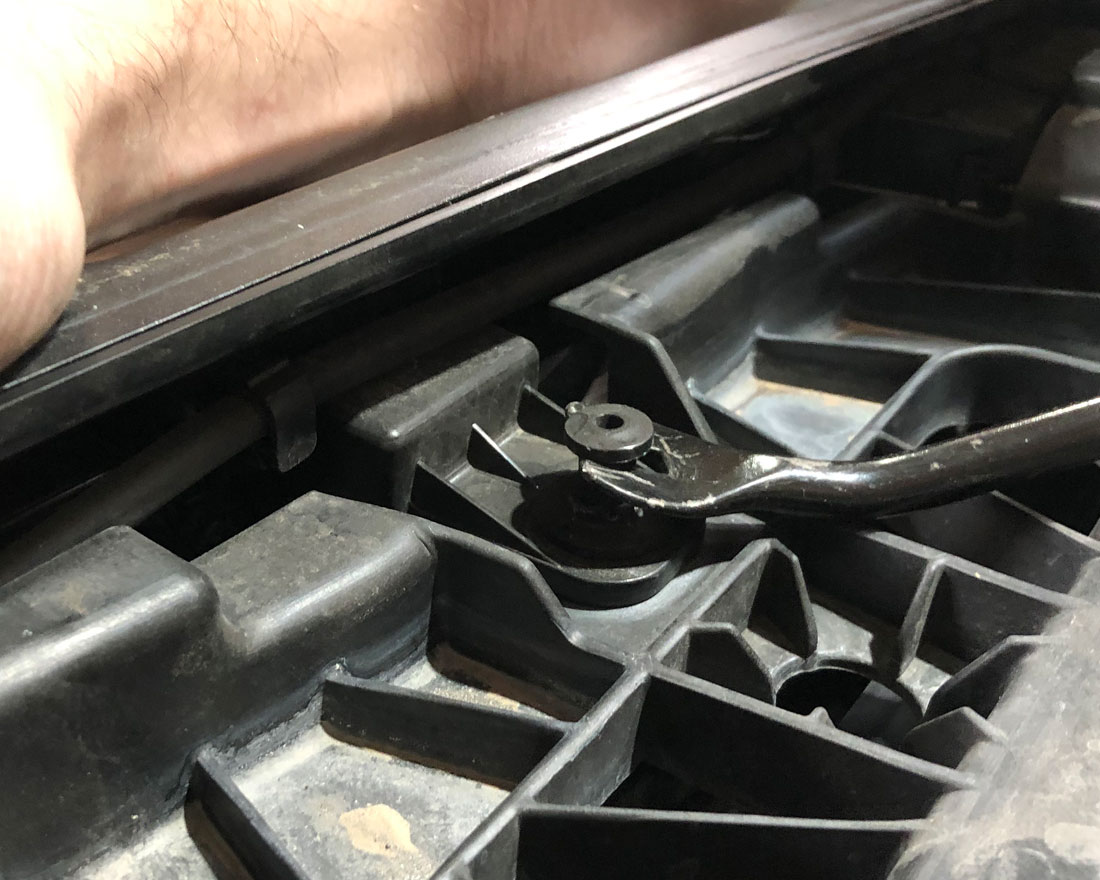
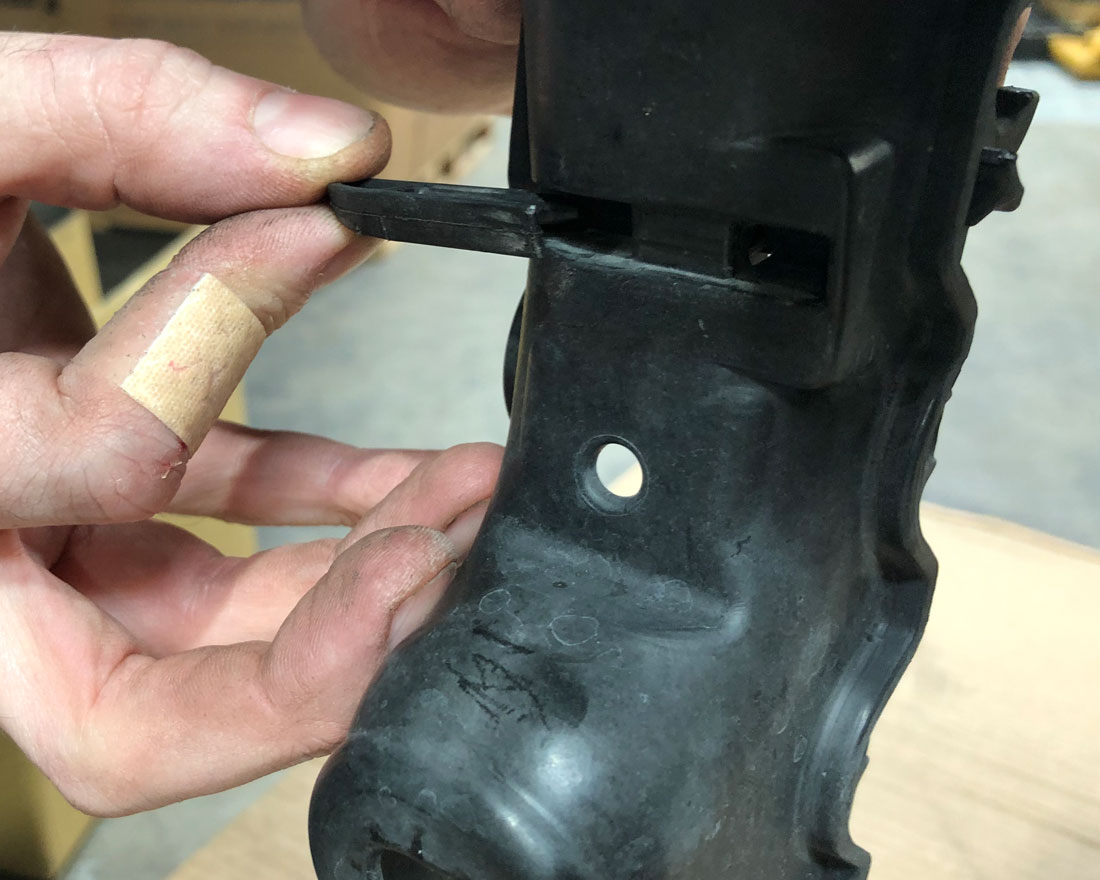
Step 33: Slide out the clip that holds the active shutter module and remove it.
Step 34: Remove all the shutters from the frame. With a screwdriver carefully release one end and slide the shutter out.

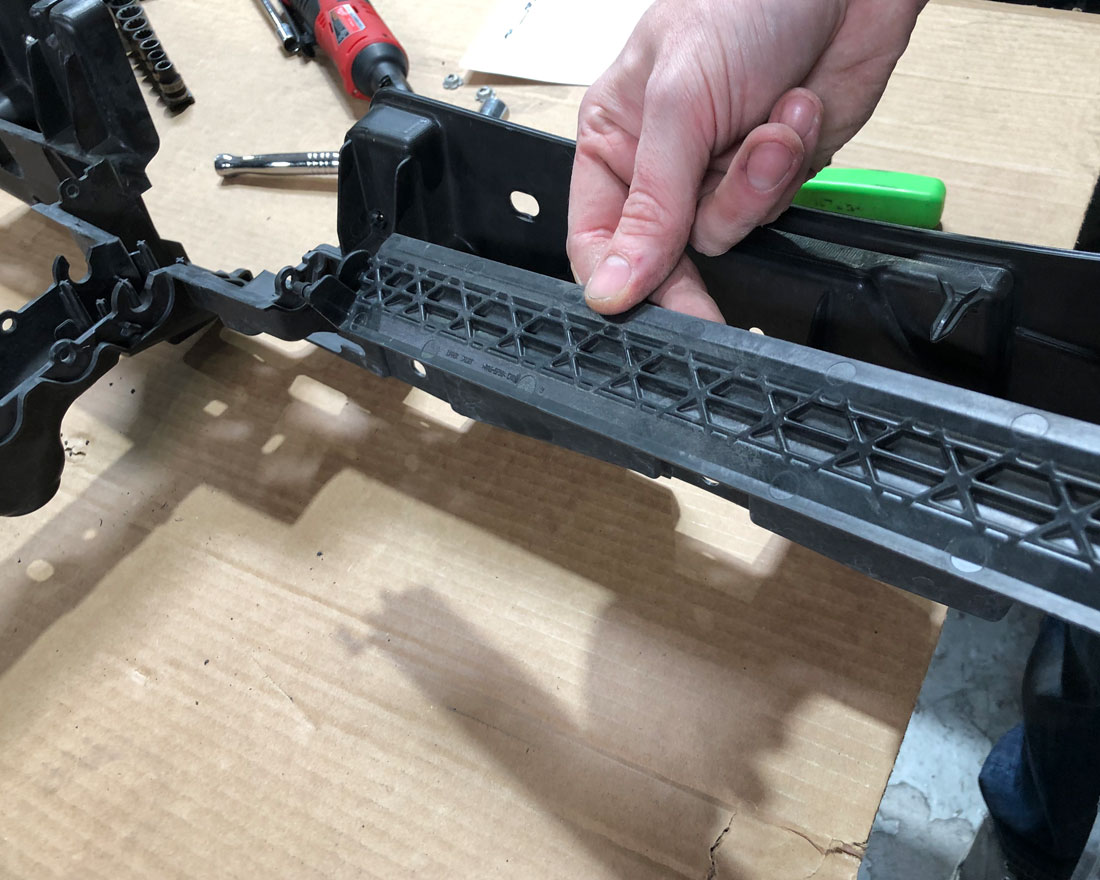
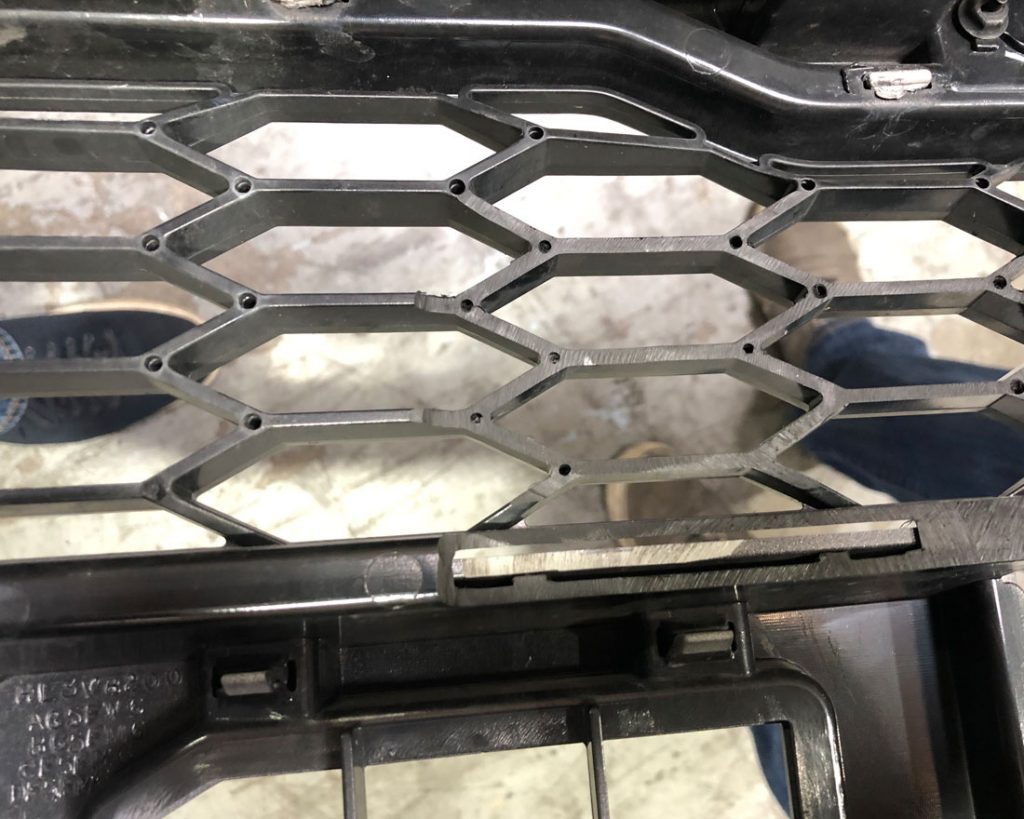
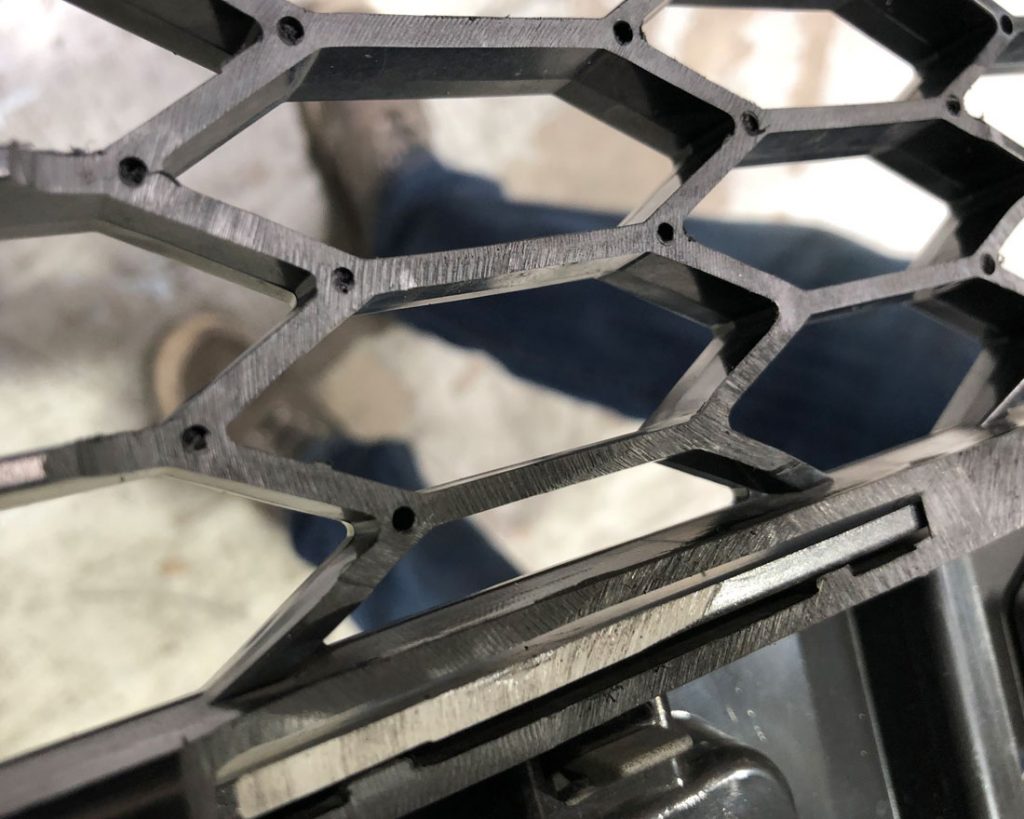
Step 35: Cut out the center grille support. Leave about 1 to 1 1/2 inches at the top and bottom of the support.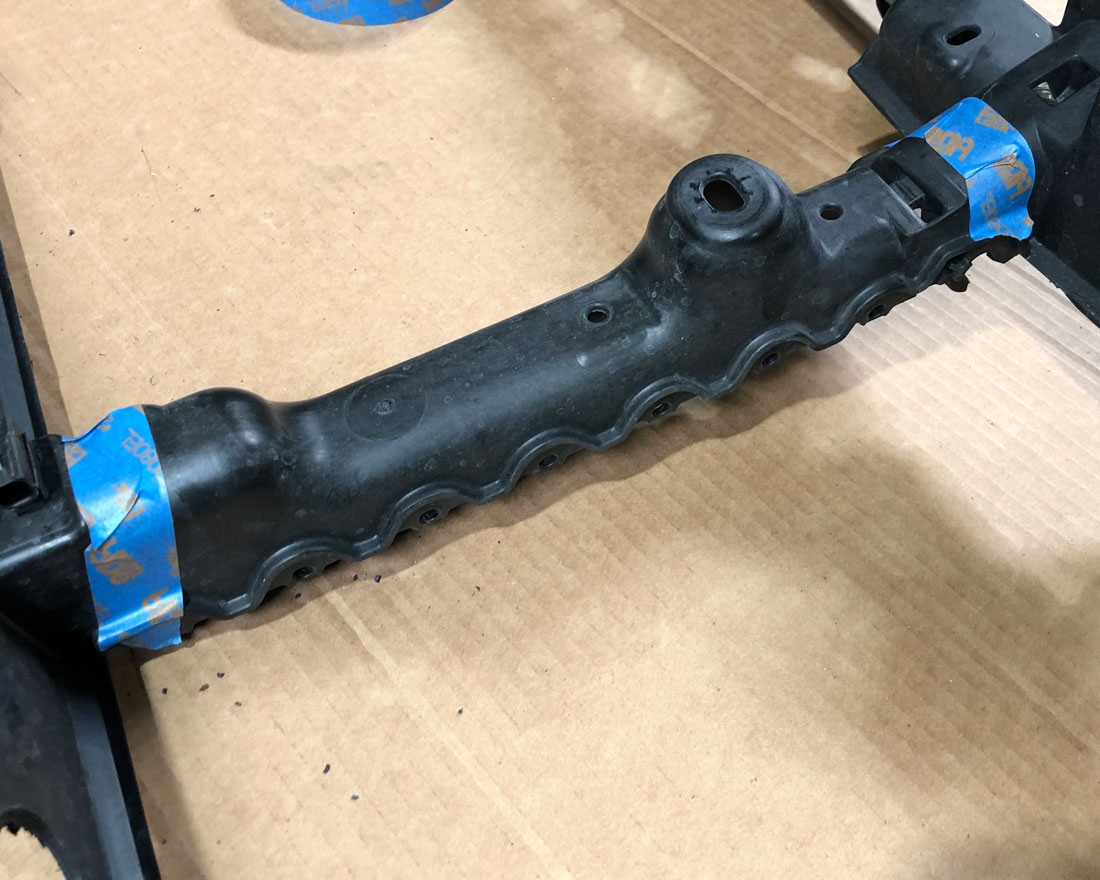
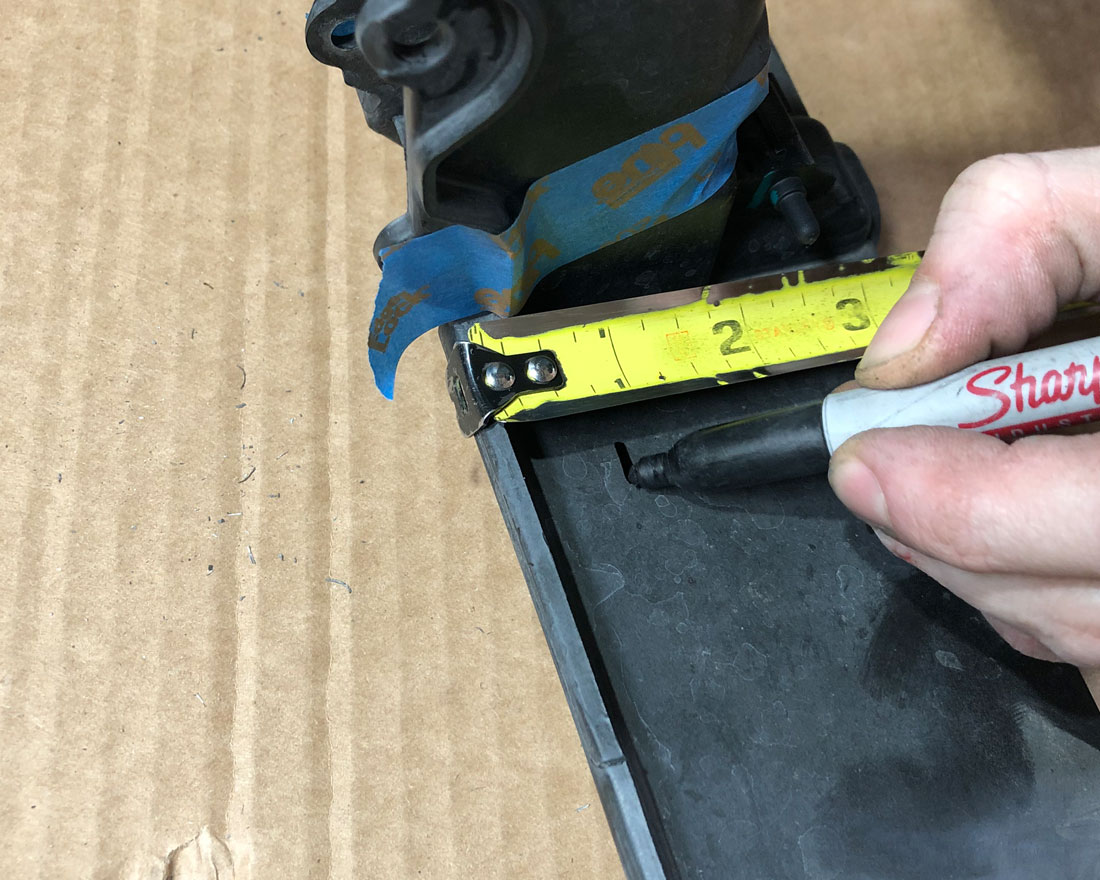
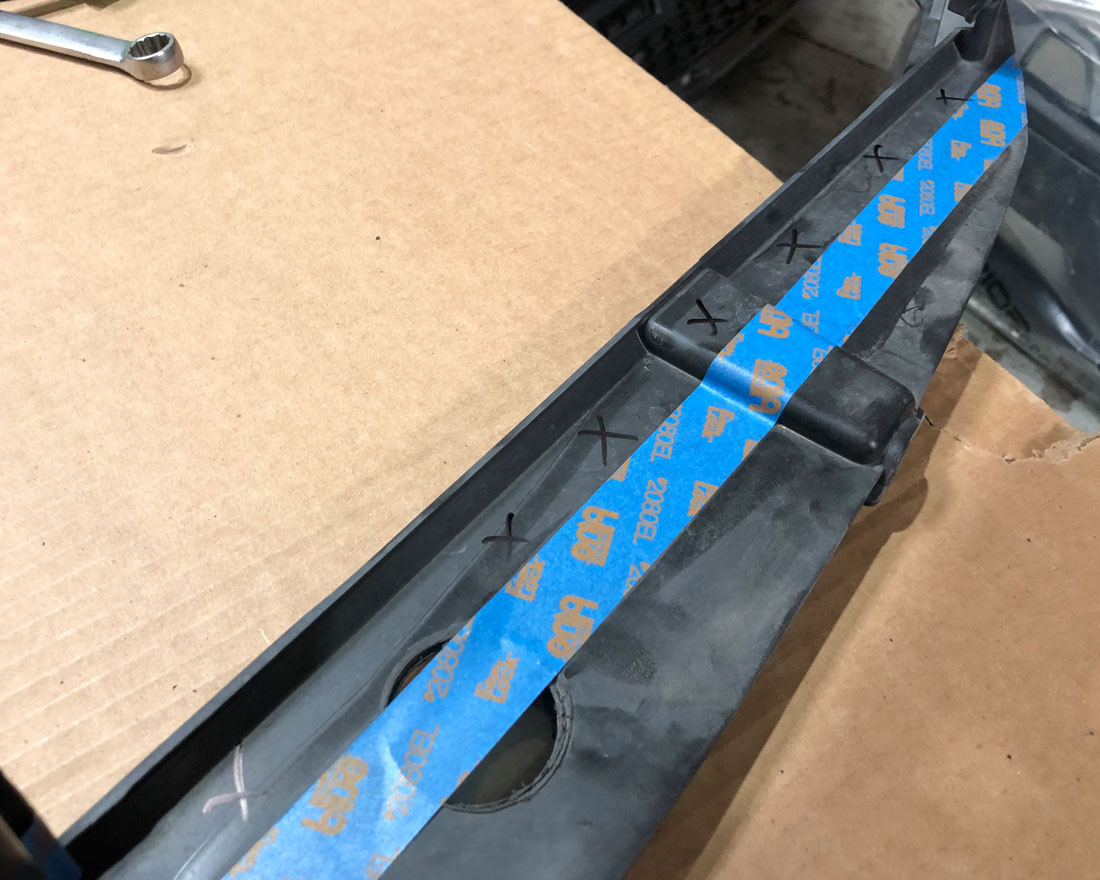
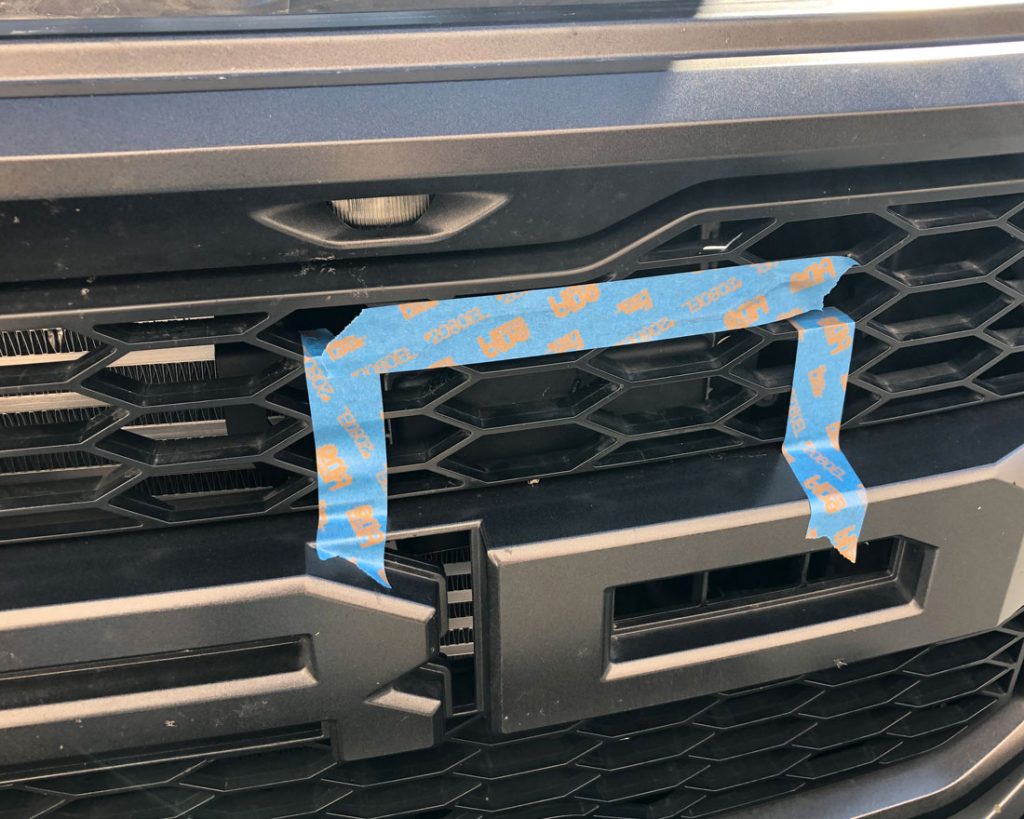
Step 36: Measure 1 inch on the bottom edge of the shutter surround, make a line across the piece and remove. More trimming may be required once placed on the vehicle.
Step 37: Rebolt the grille and shutter surround together.
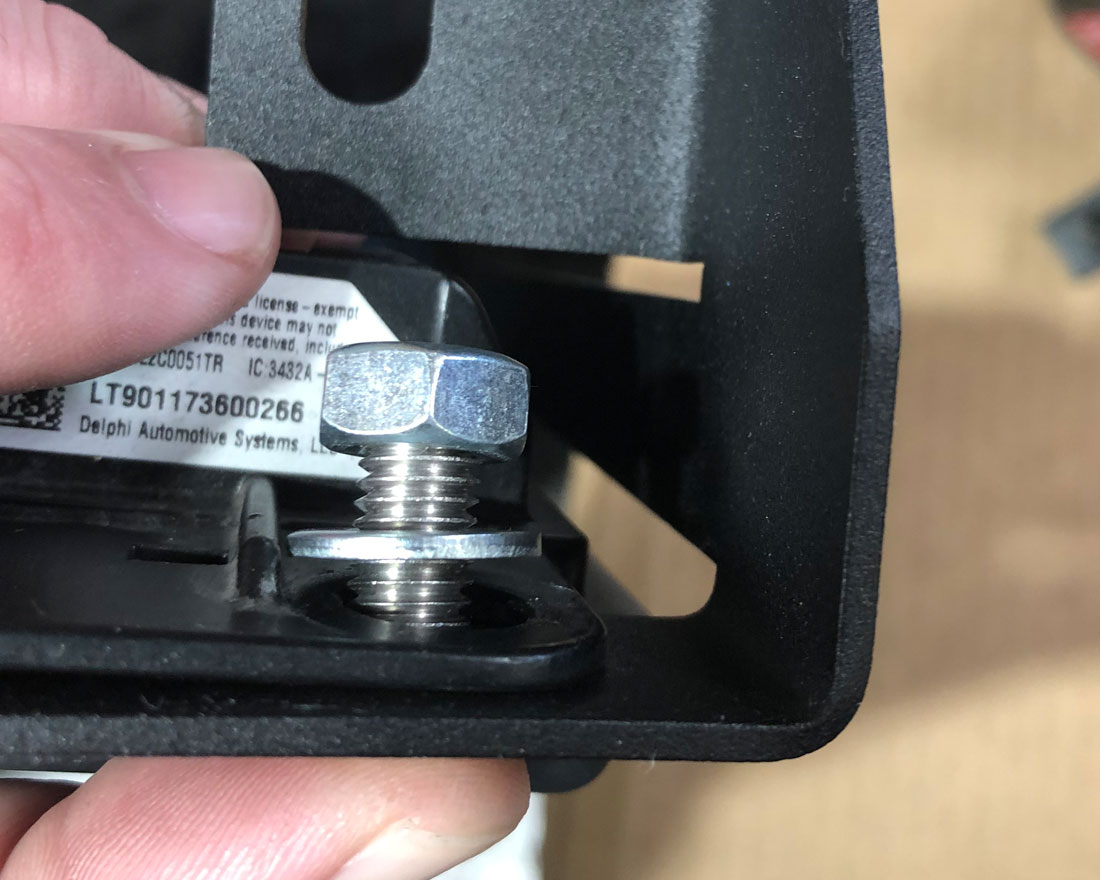
Step 38: For Raptor adaptive sensor relocation on aftermarket bumper or accessory. Use the new bracket and install the sensor using the provided hardware.

Step 39: Install into the 2 mounting holes. Make sure the grill isn’t touching the sensor. You may need to shave some of the plastic off of the rear portion of the grill. The sensor is to be leveled vertically by placing a level on the face and adjusting the bracket to make it level. The horizontal alignment should be done with the Ford IDS but that should be square as well.


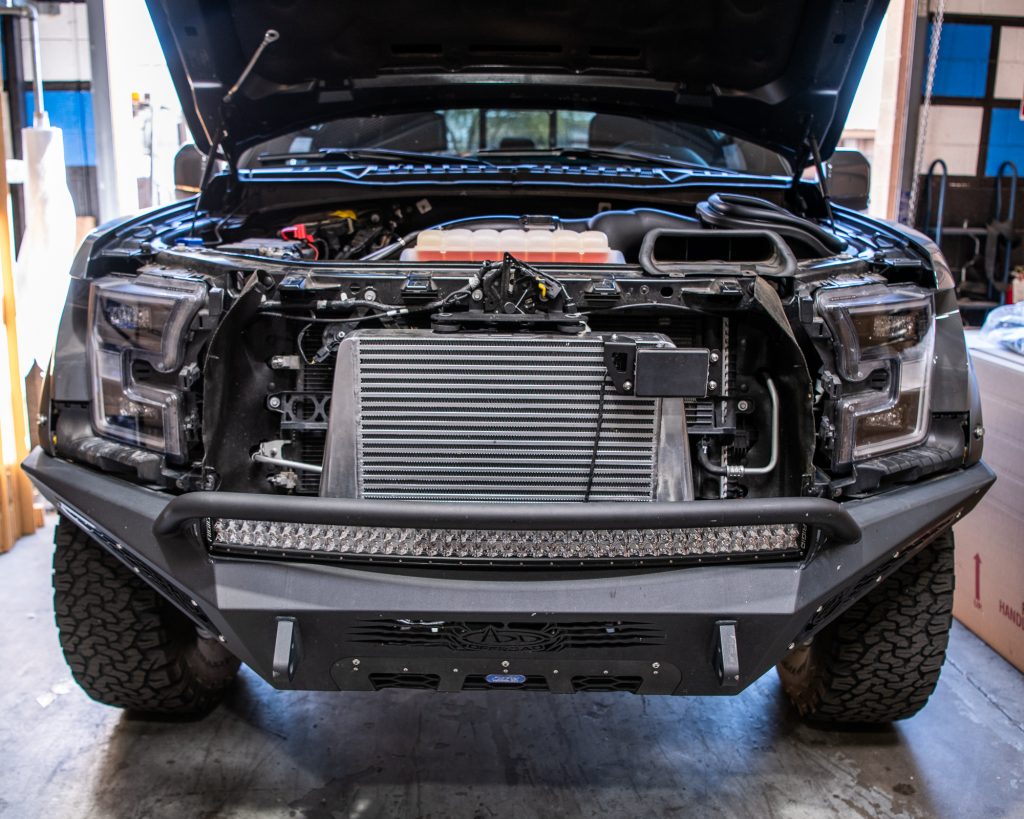
Step 40: Reverse grille install instructions and you have now completed your intercooler upgrade install!