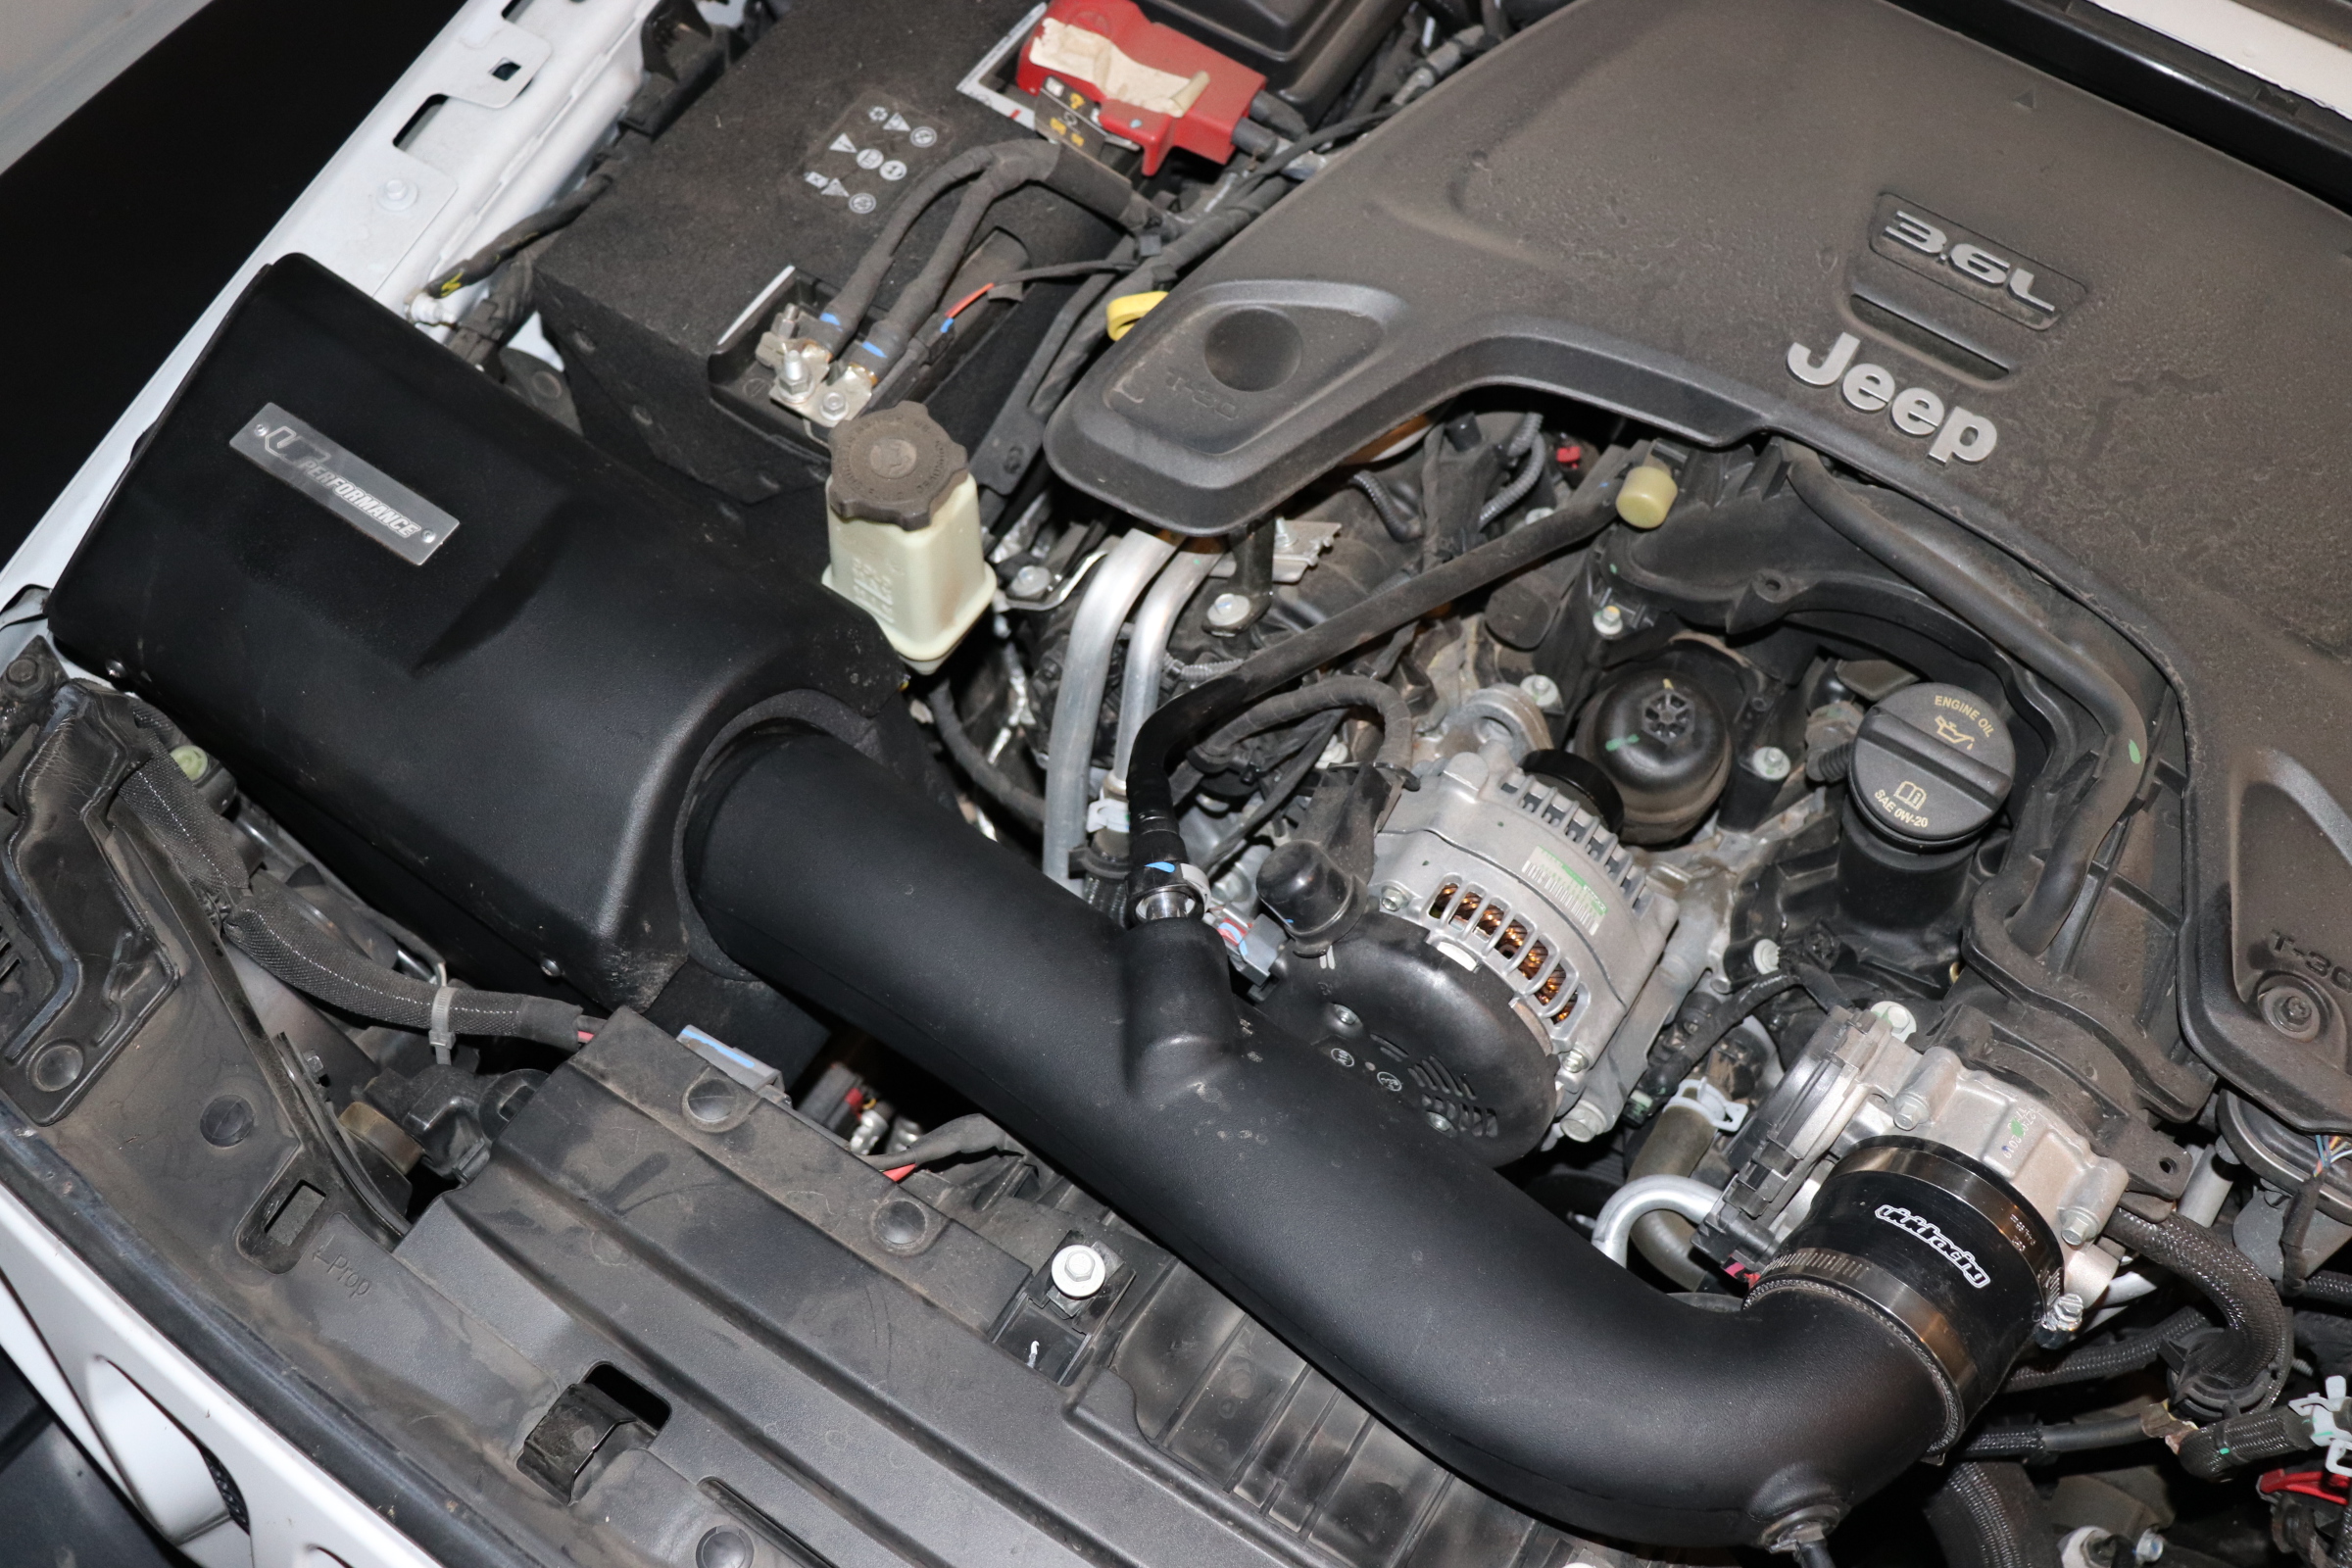
This guide is to assist with the installation of the VR Performance Cold Air Intake on the Jeep Gladiator JT | Wrangler JL.
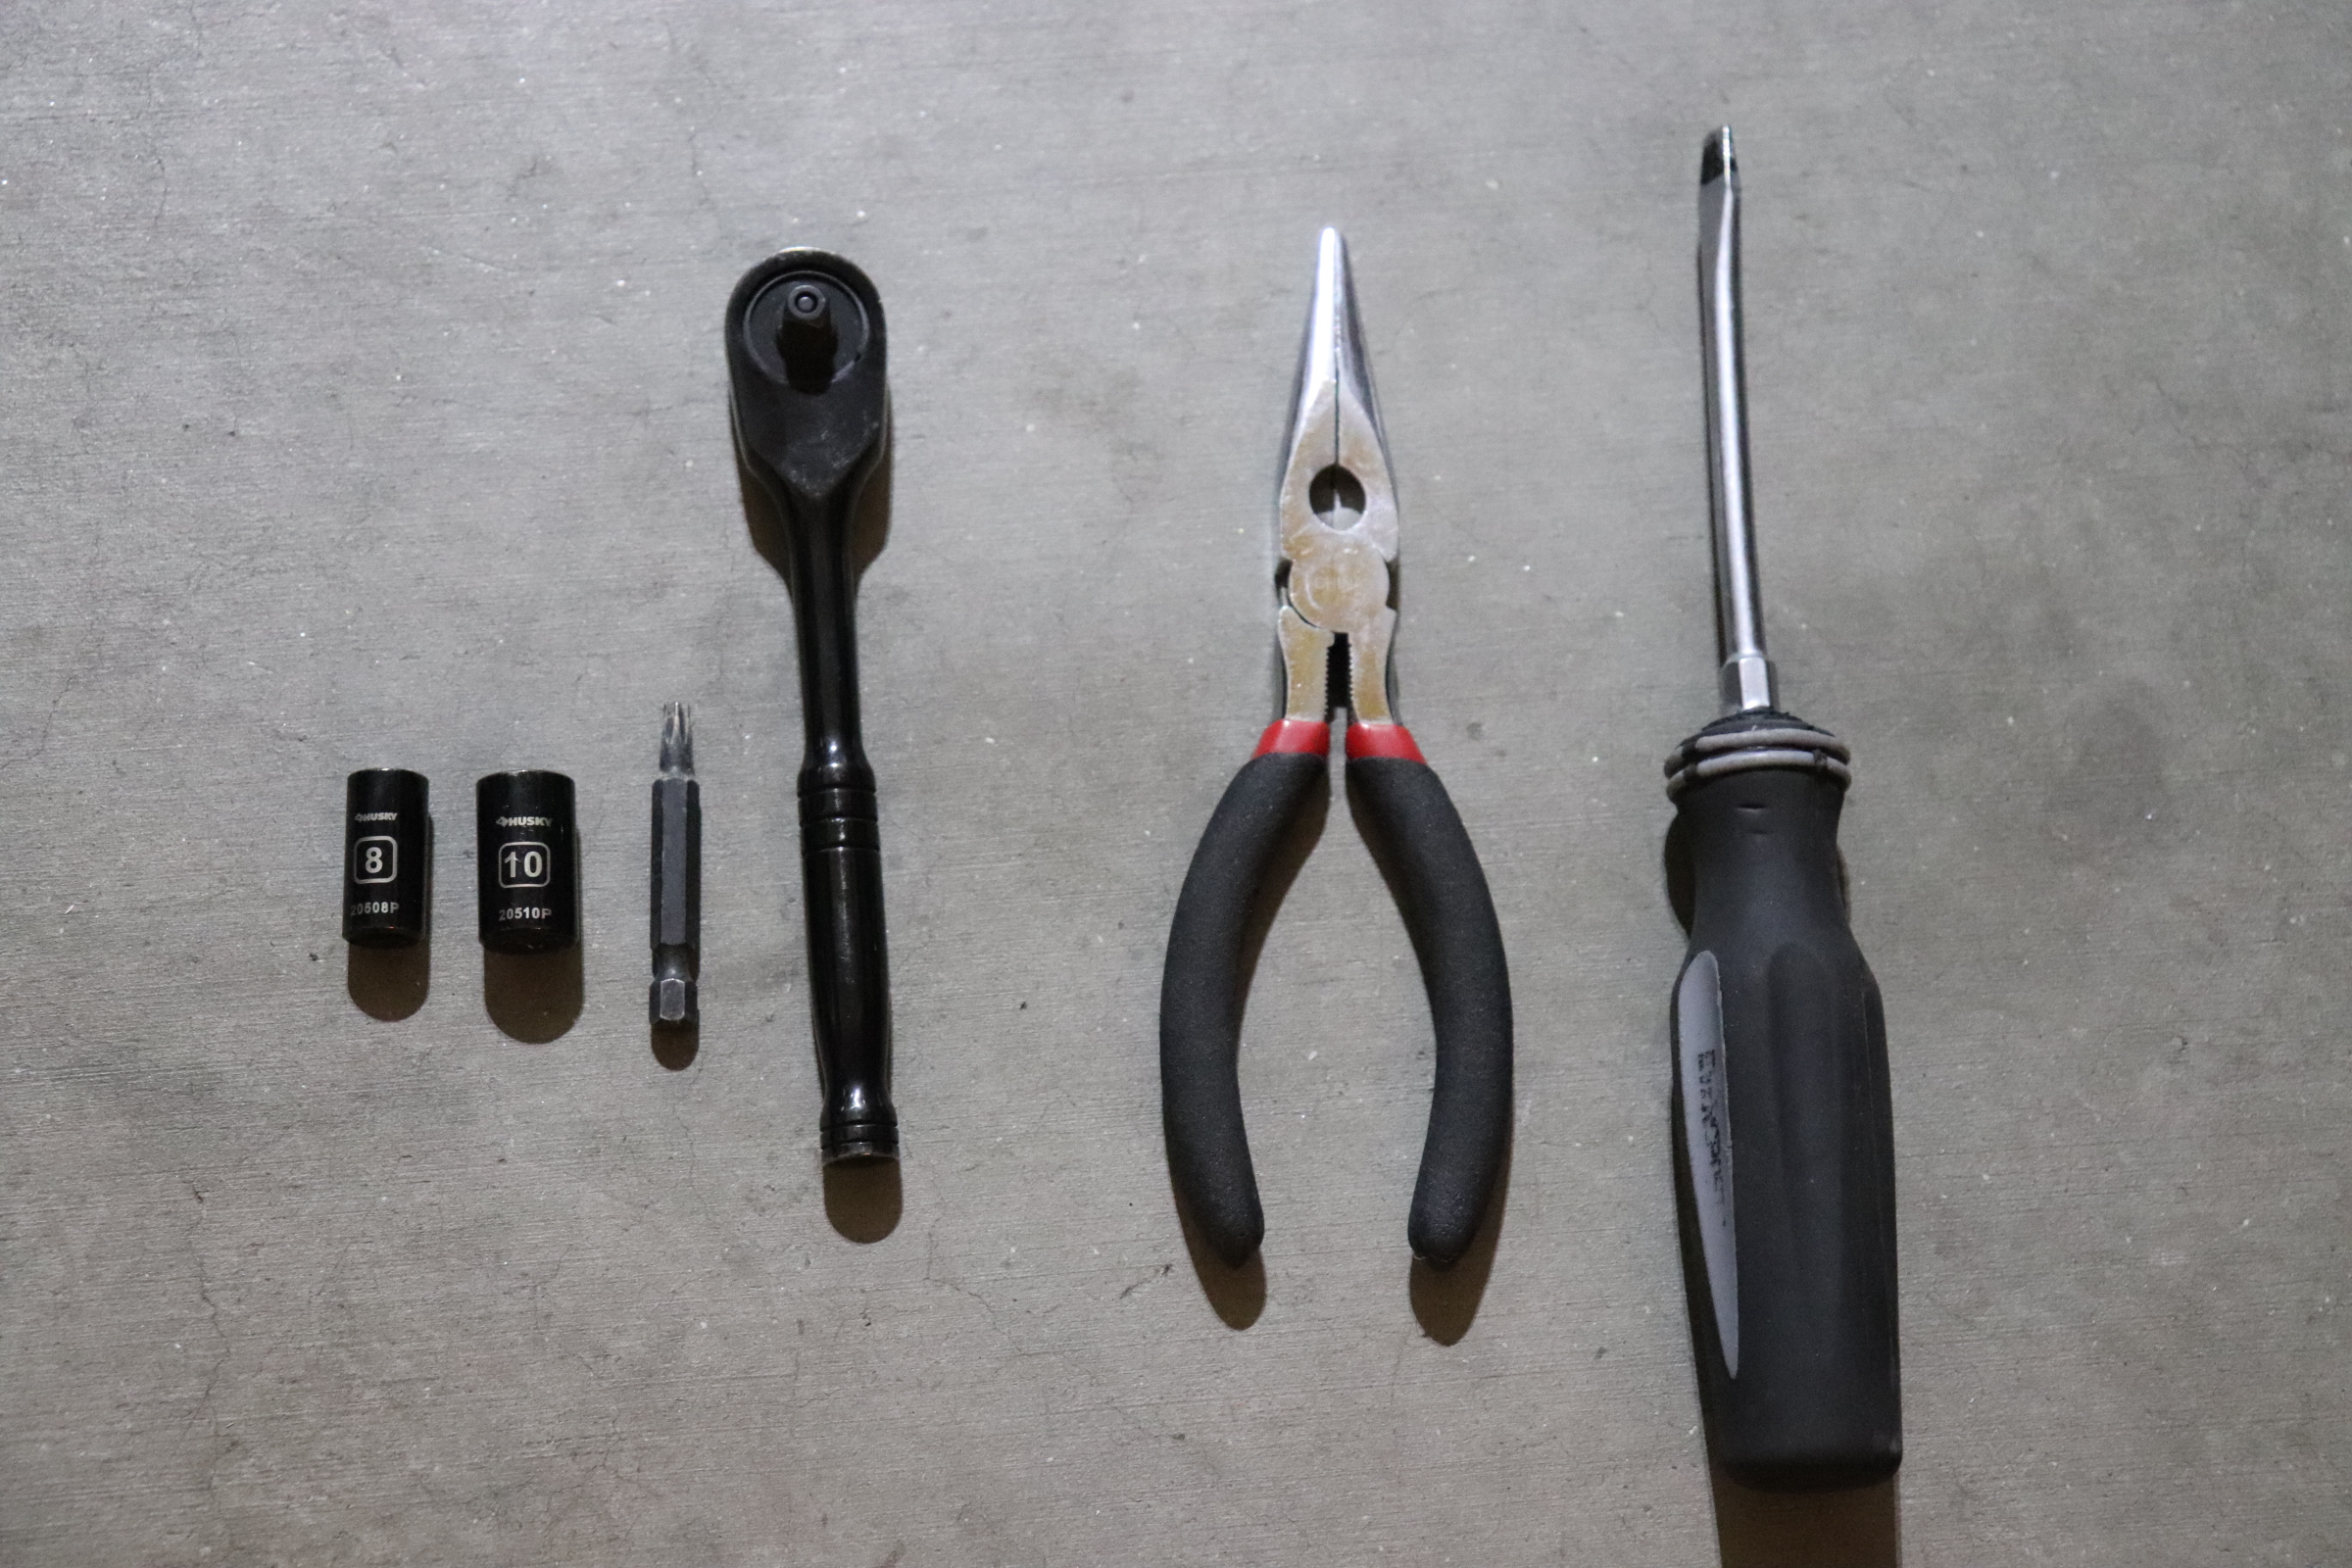
Tools Needed:
- 8mm socket
- 10mm socket
- Pliers or trim removal tool
- Flathead screwdriver
- T25 Torx bit
 Installation Difficulty:

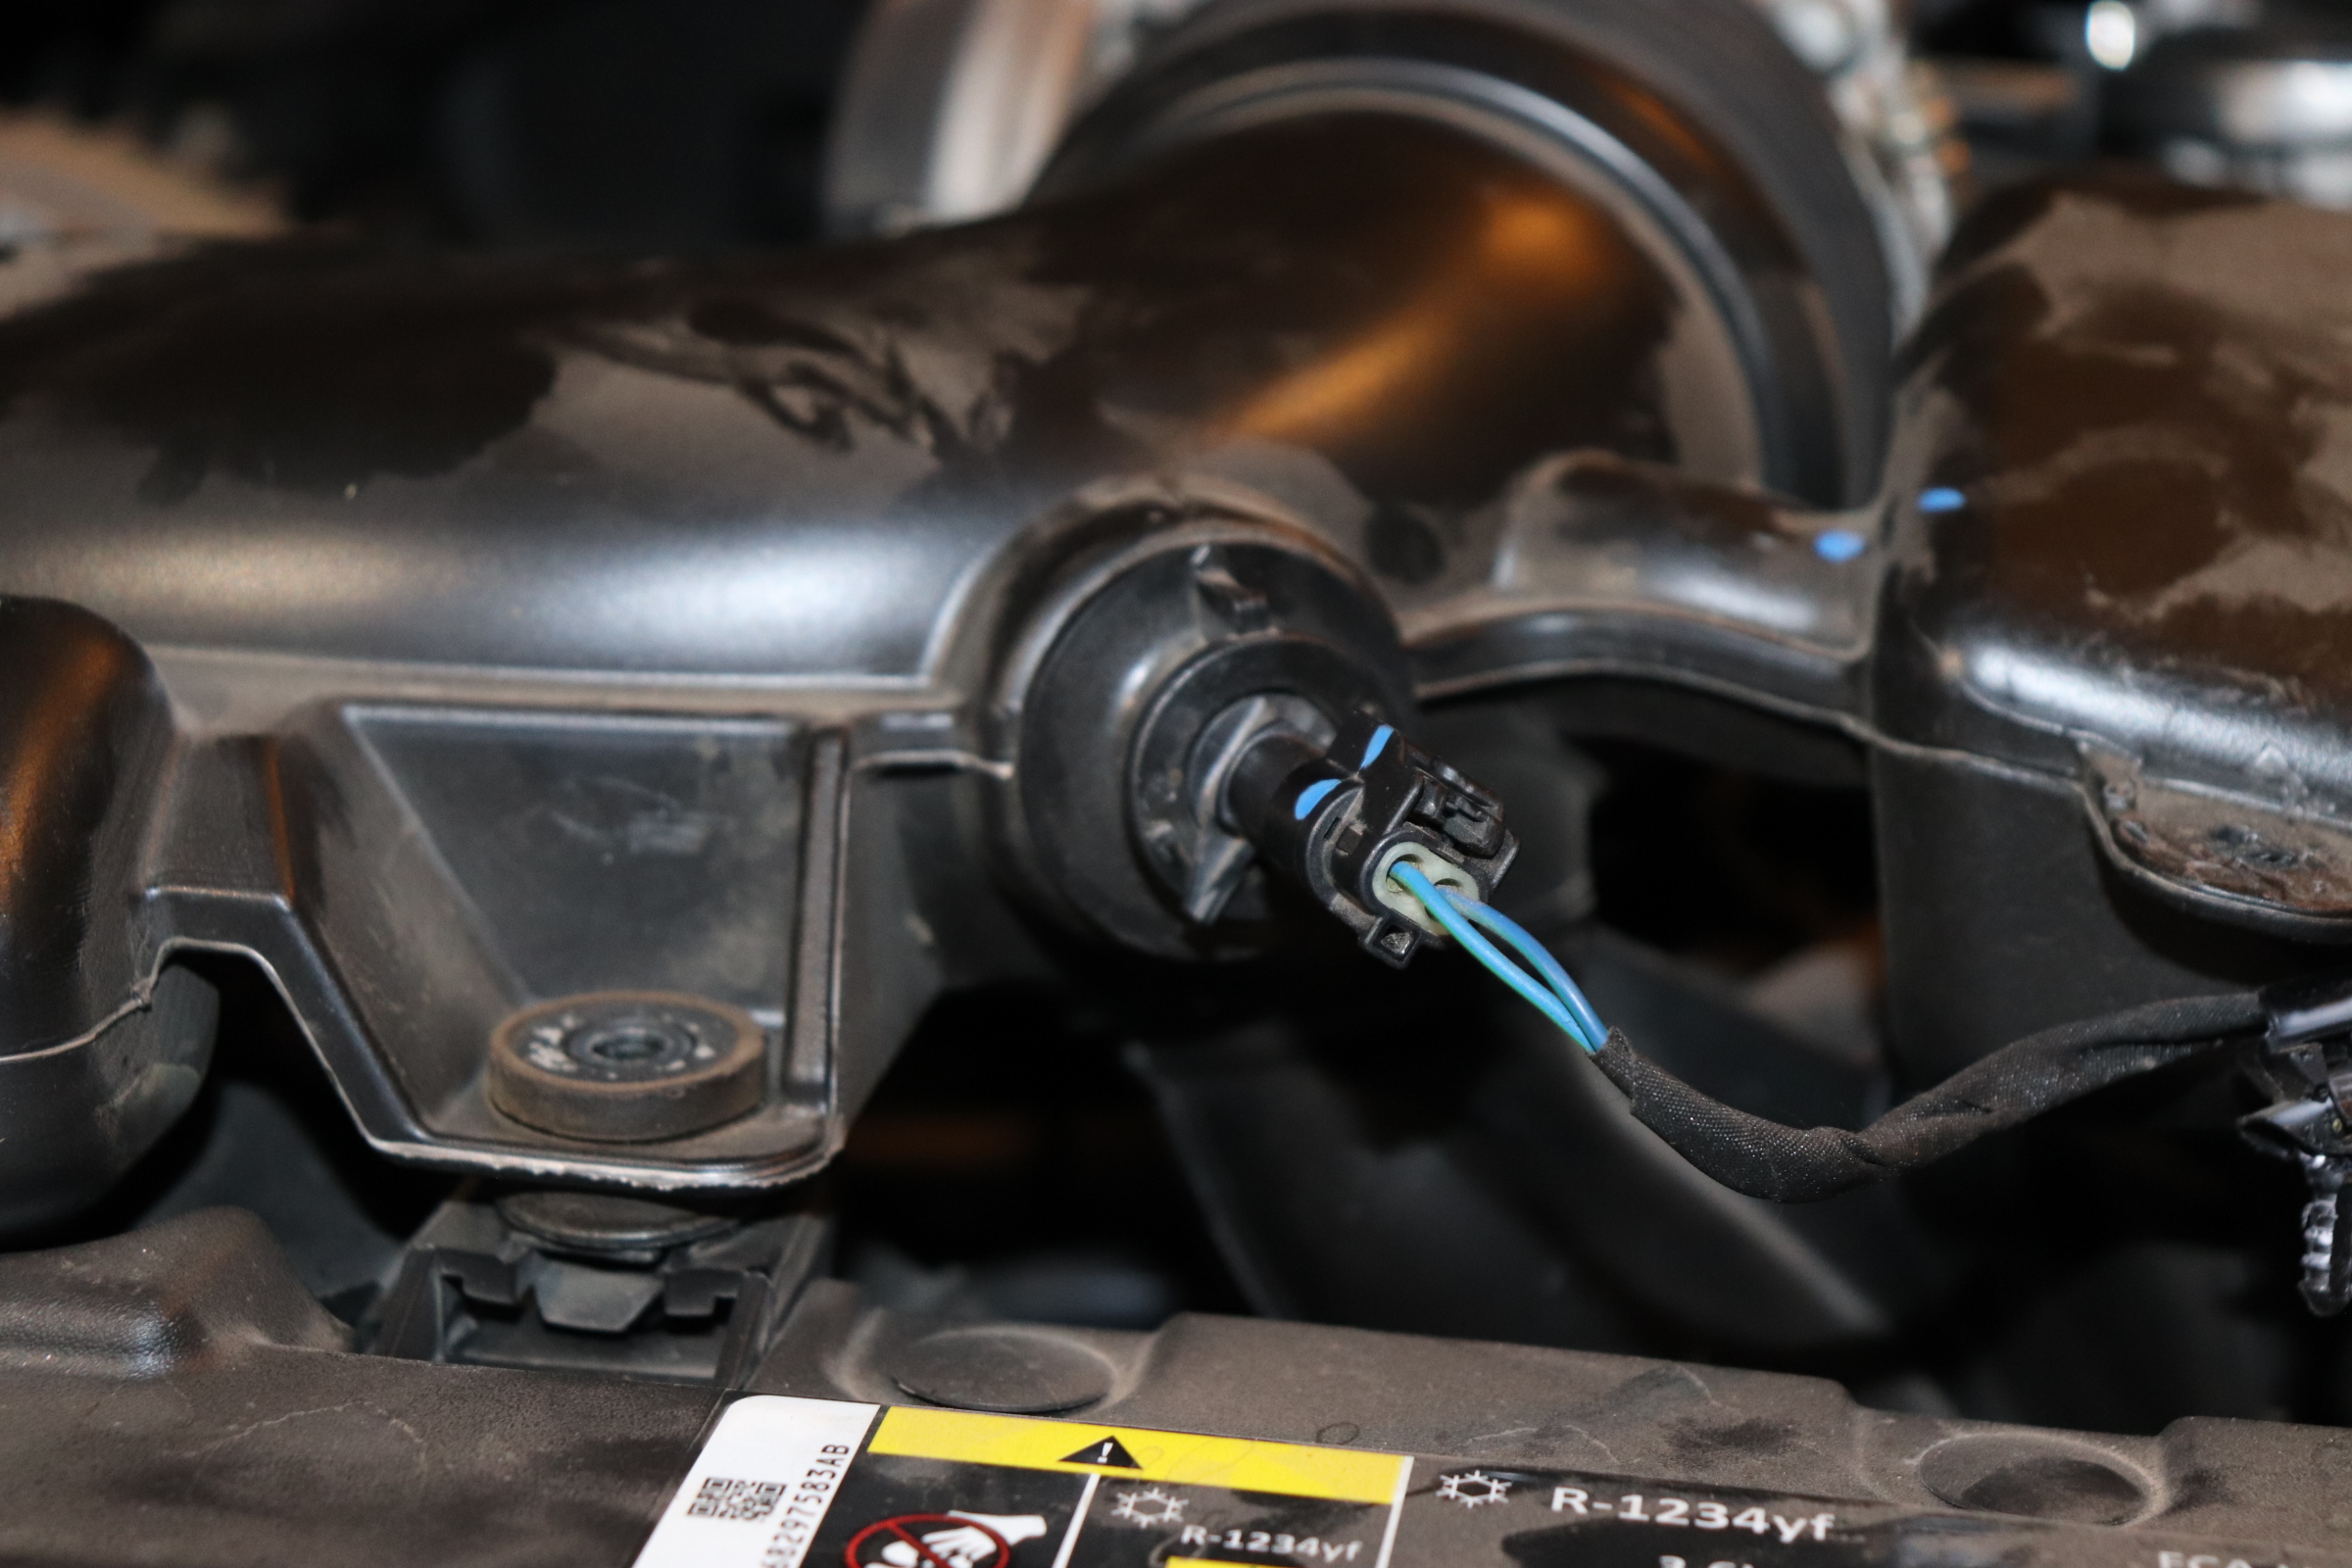
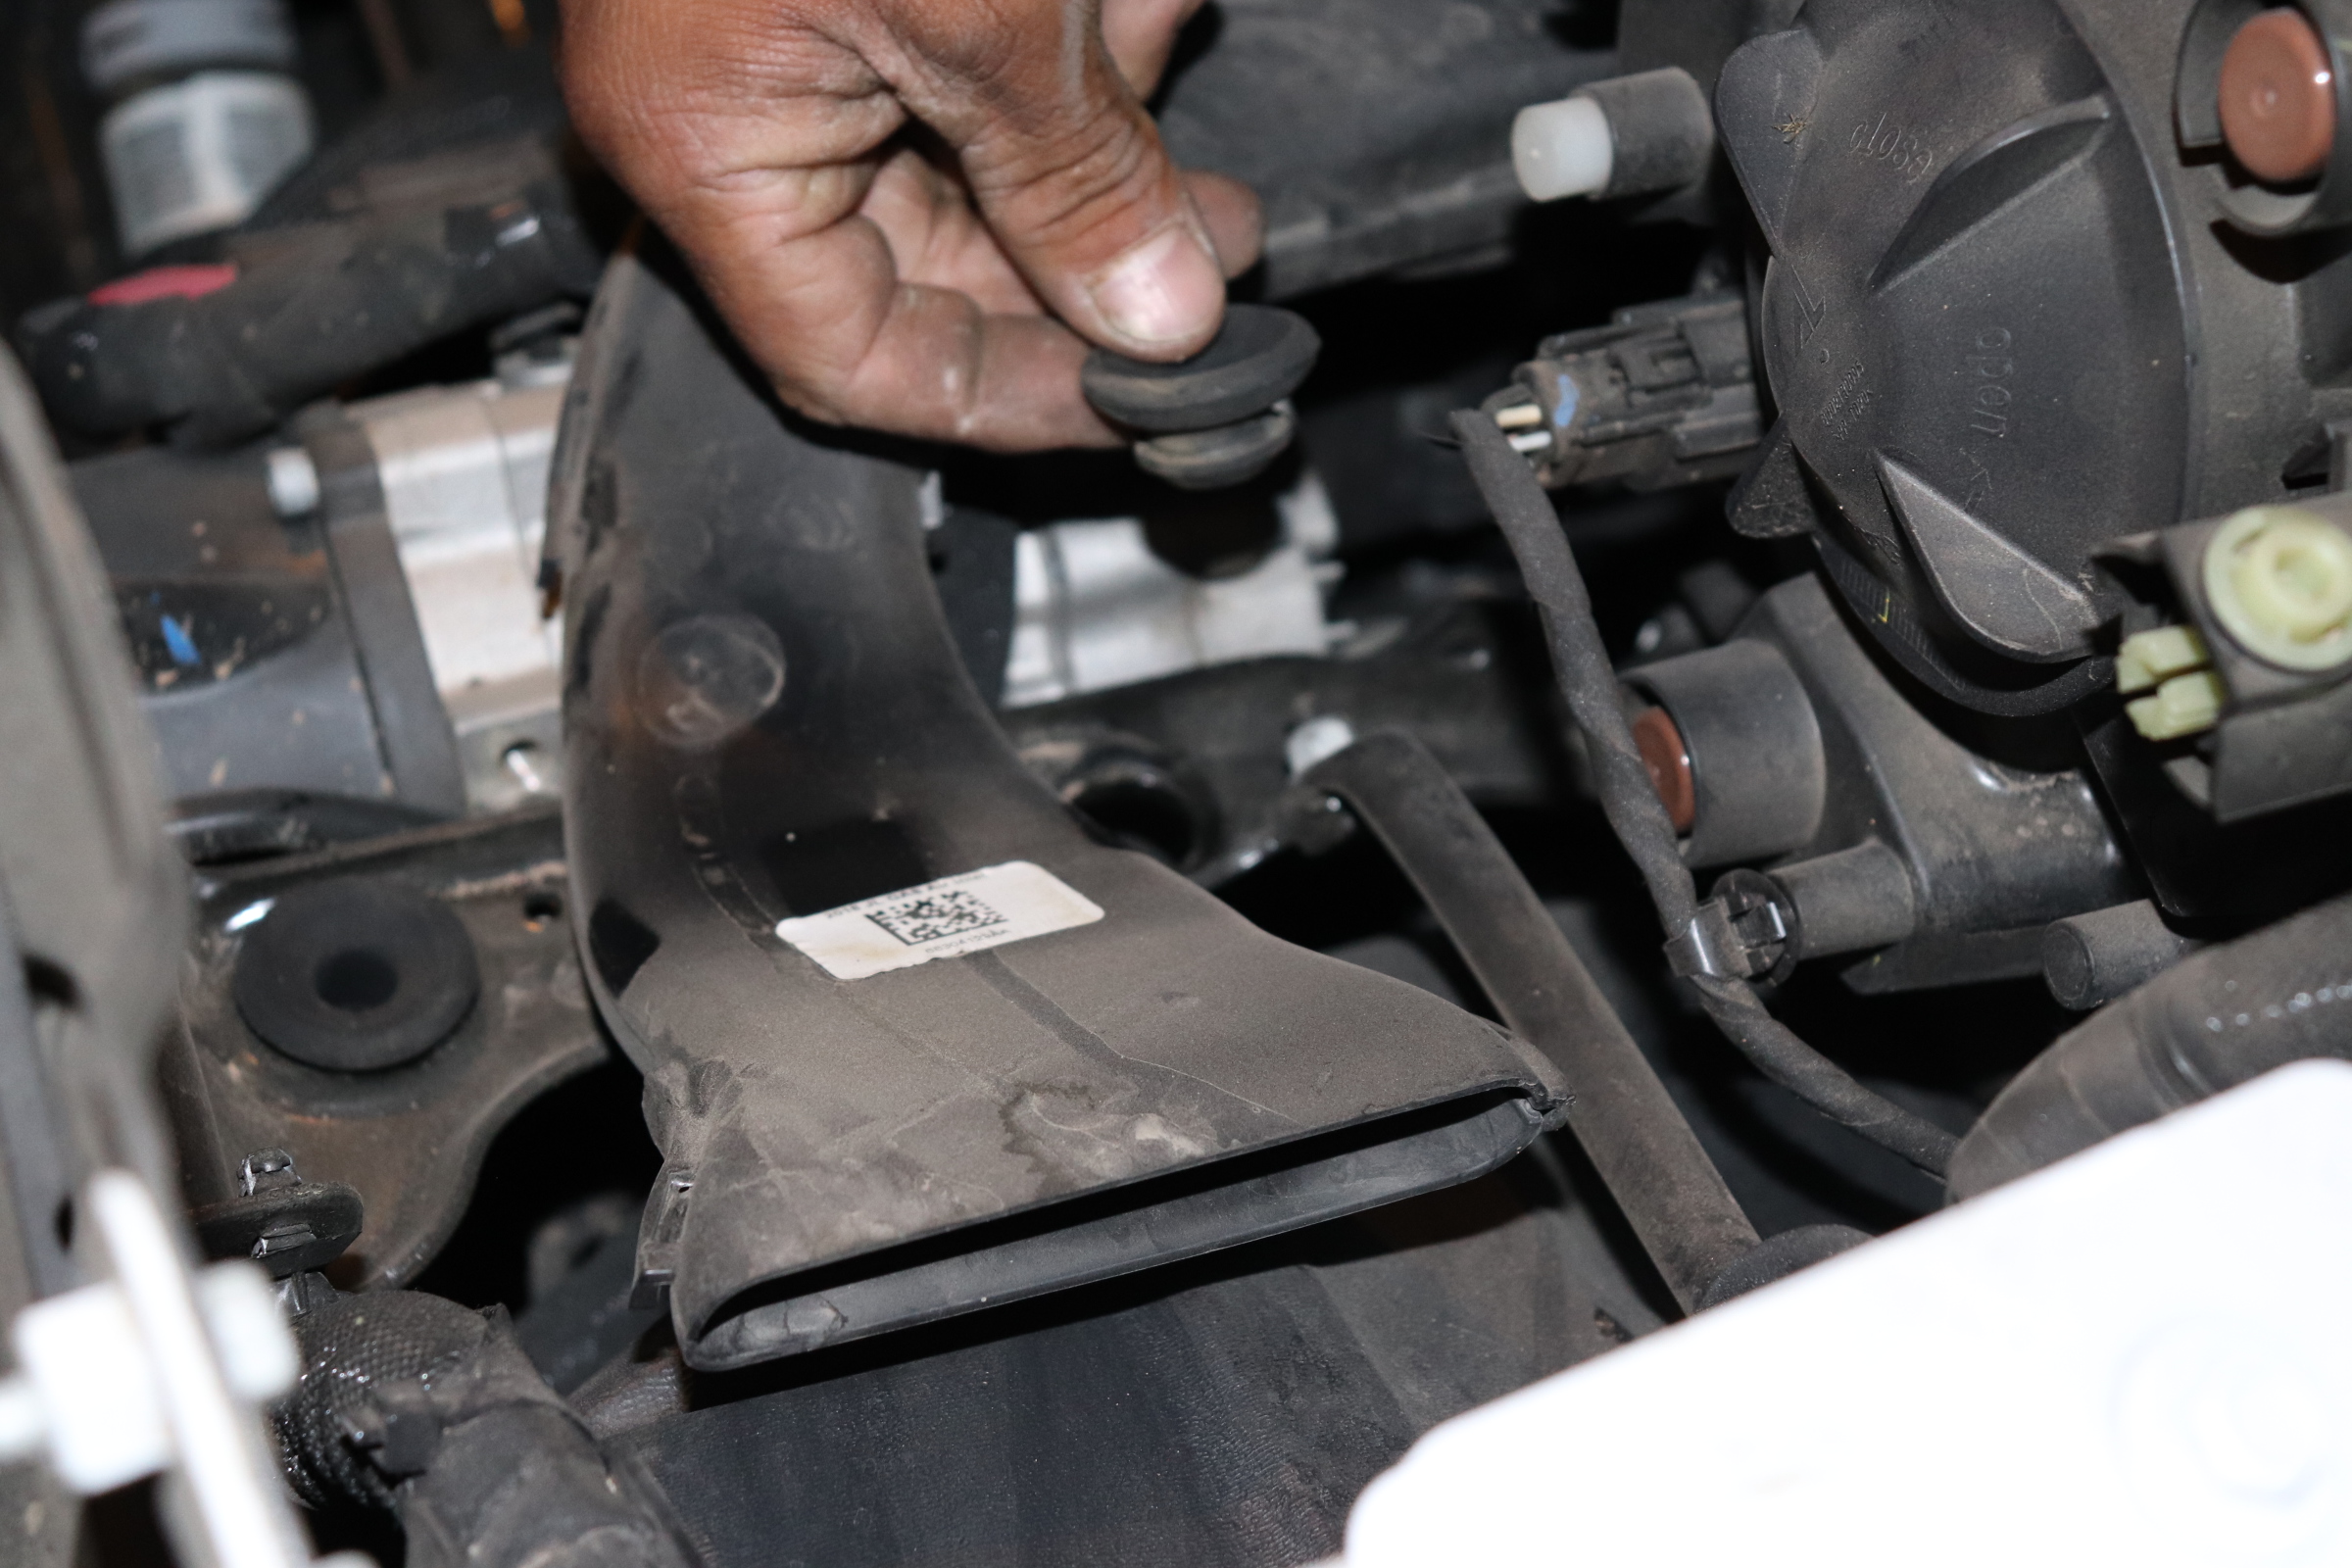
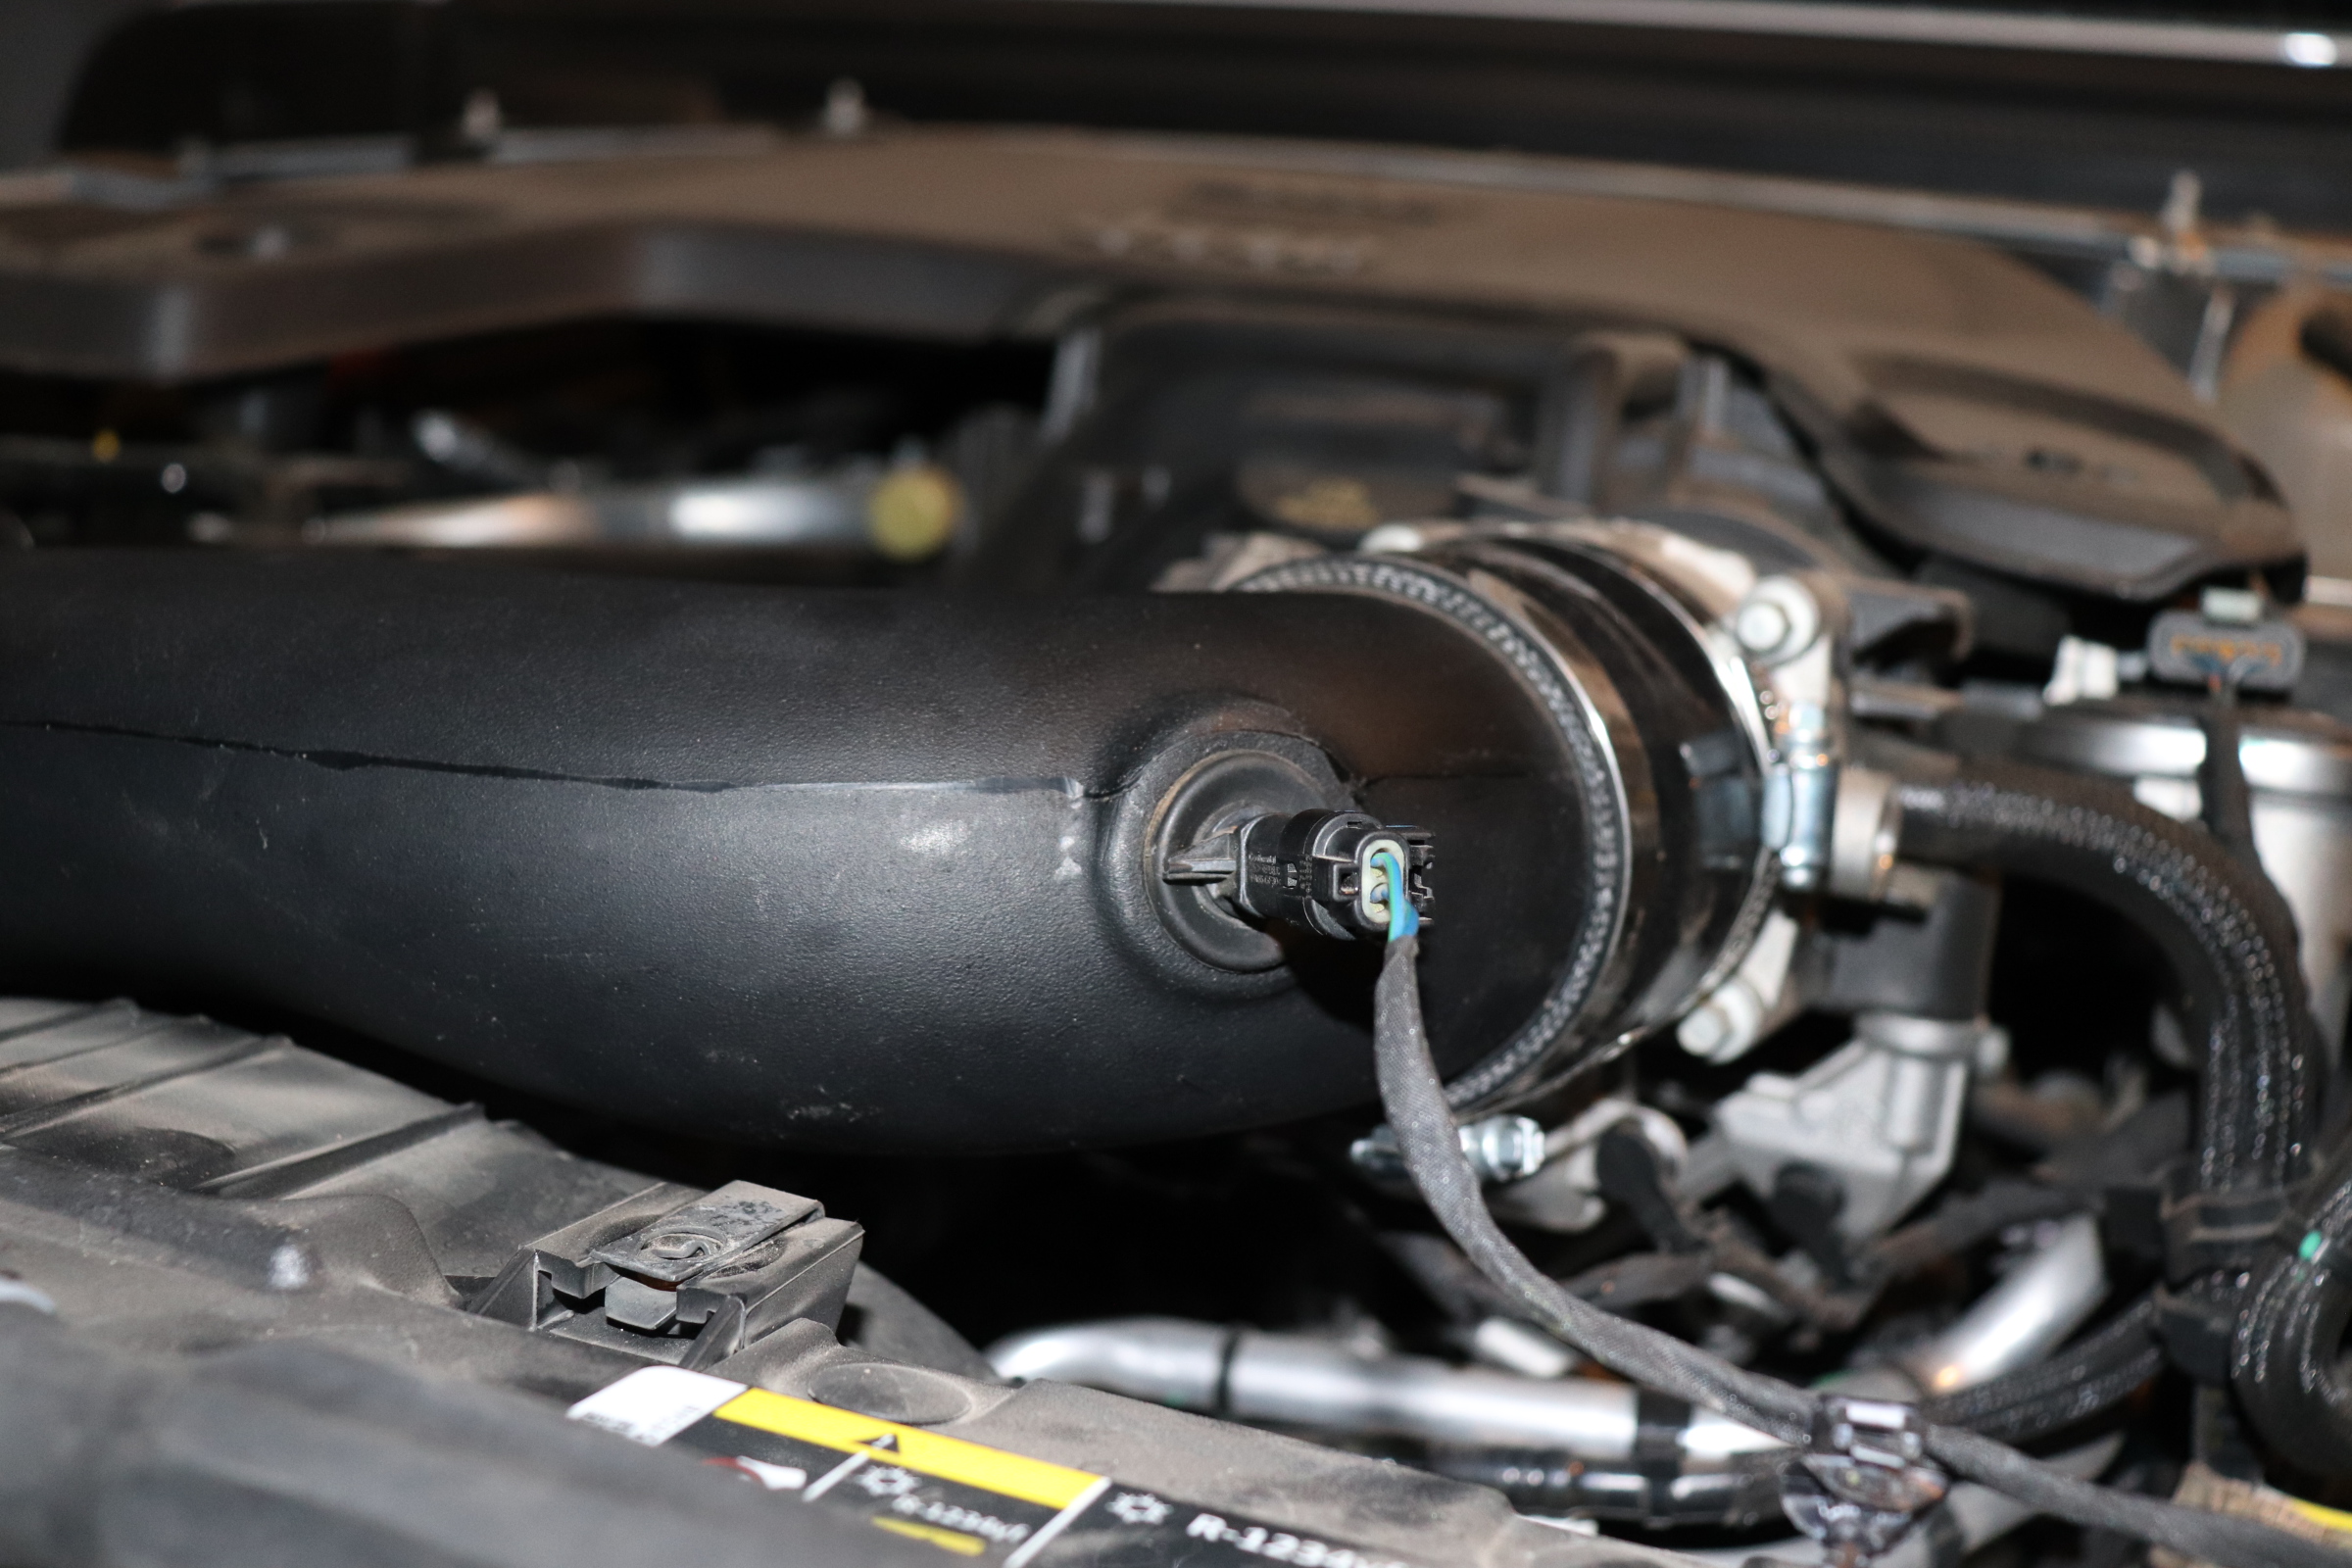
Step 1)
Remove the Intake Air Temperature sensor by twisting it counterclockwise and pulling it out.
 Step 2)
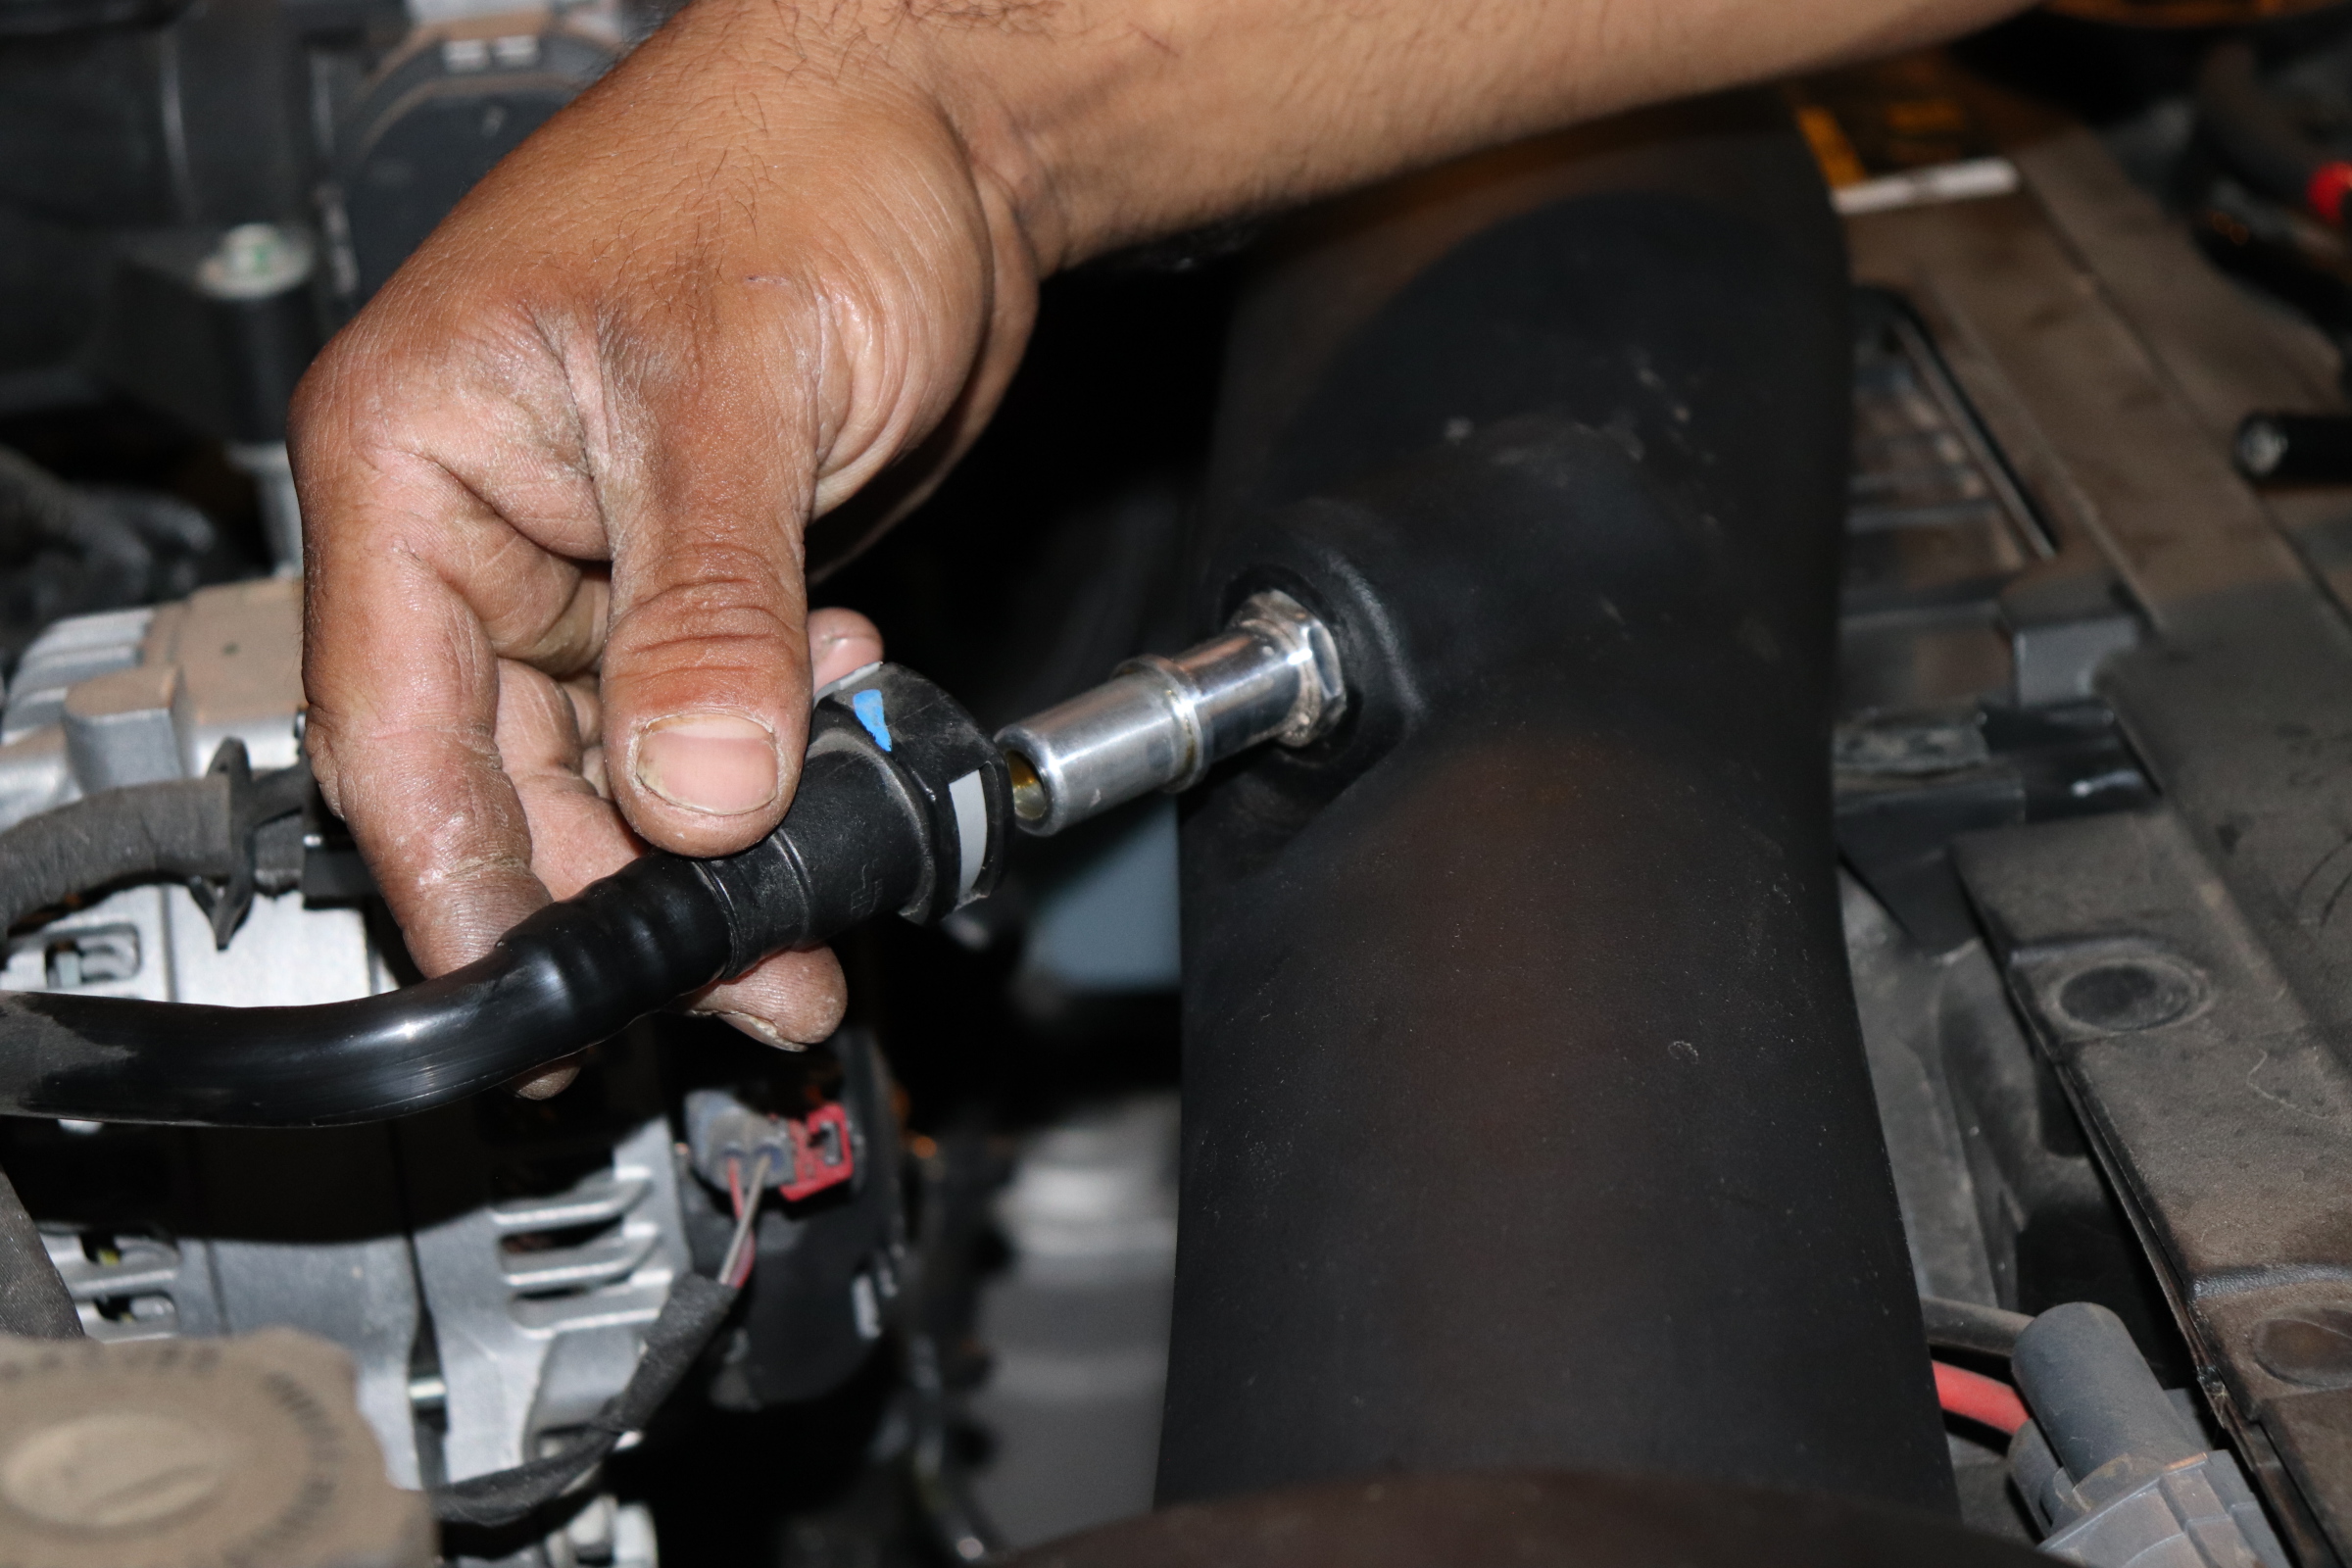
Remove the PCV line by squeezing the clip and pulling it off.
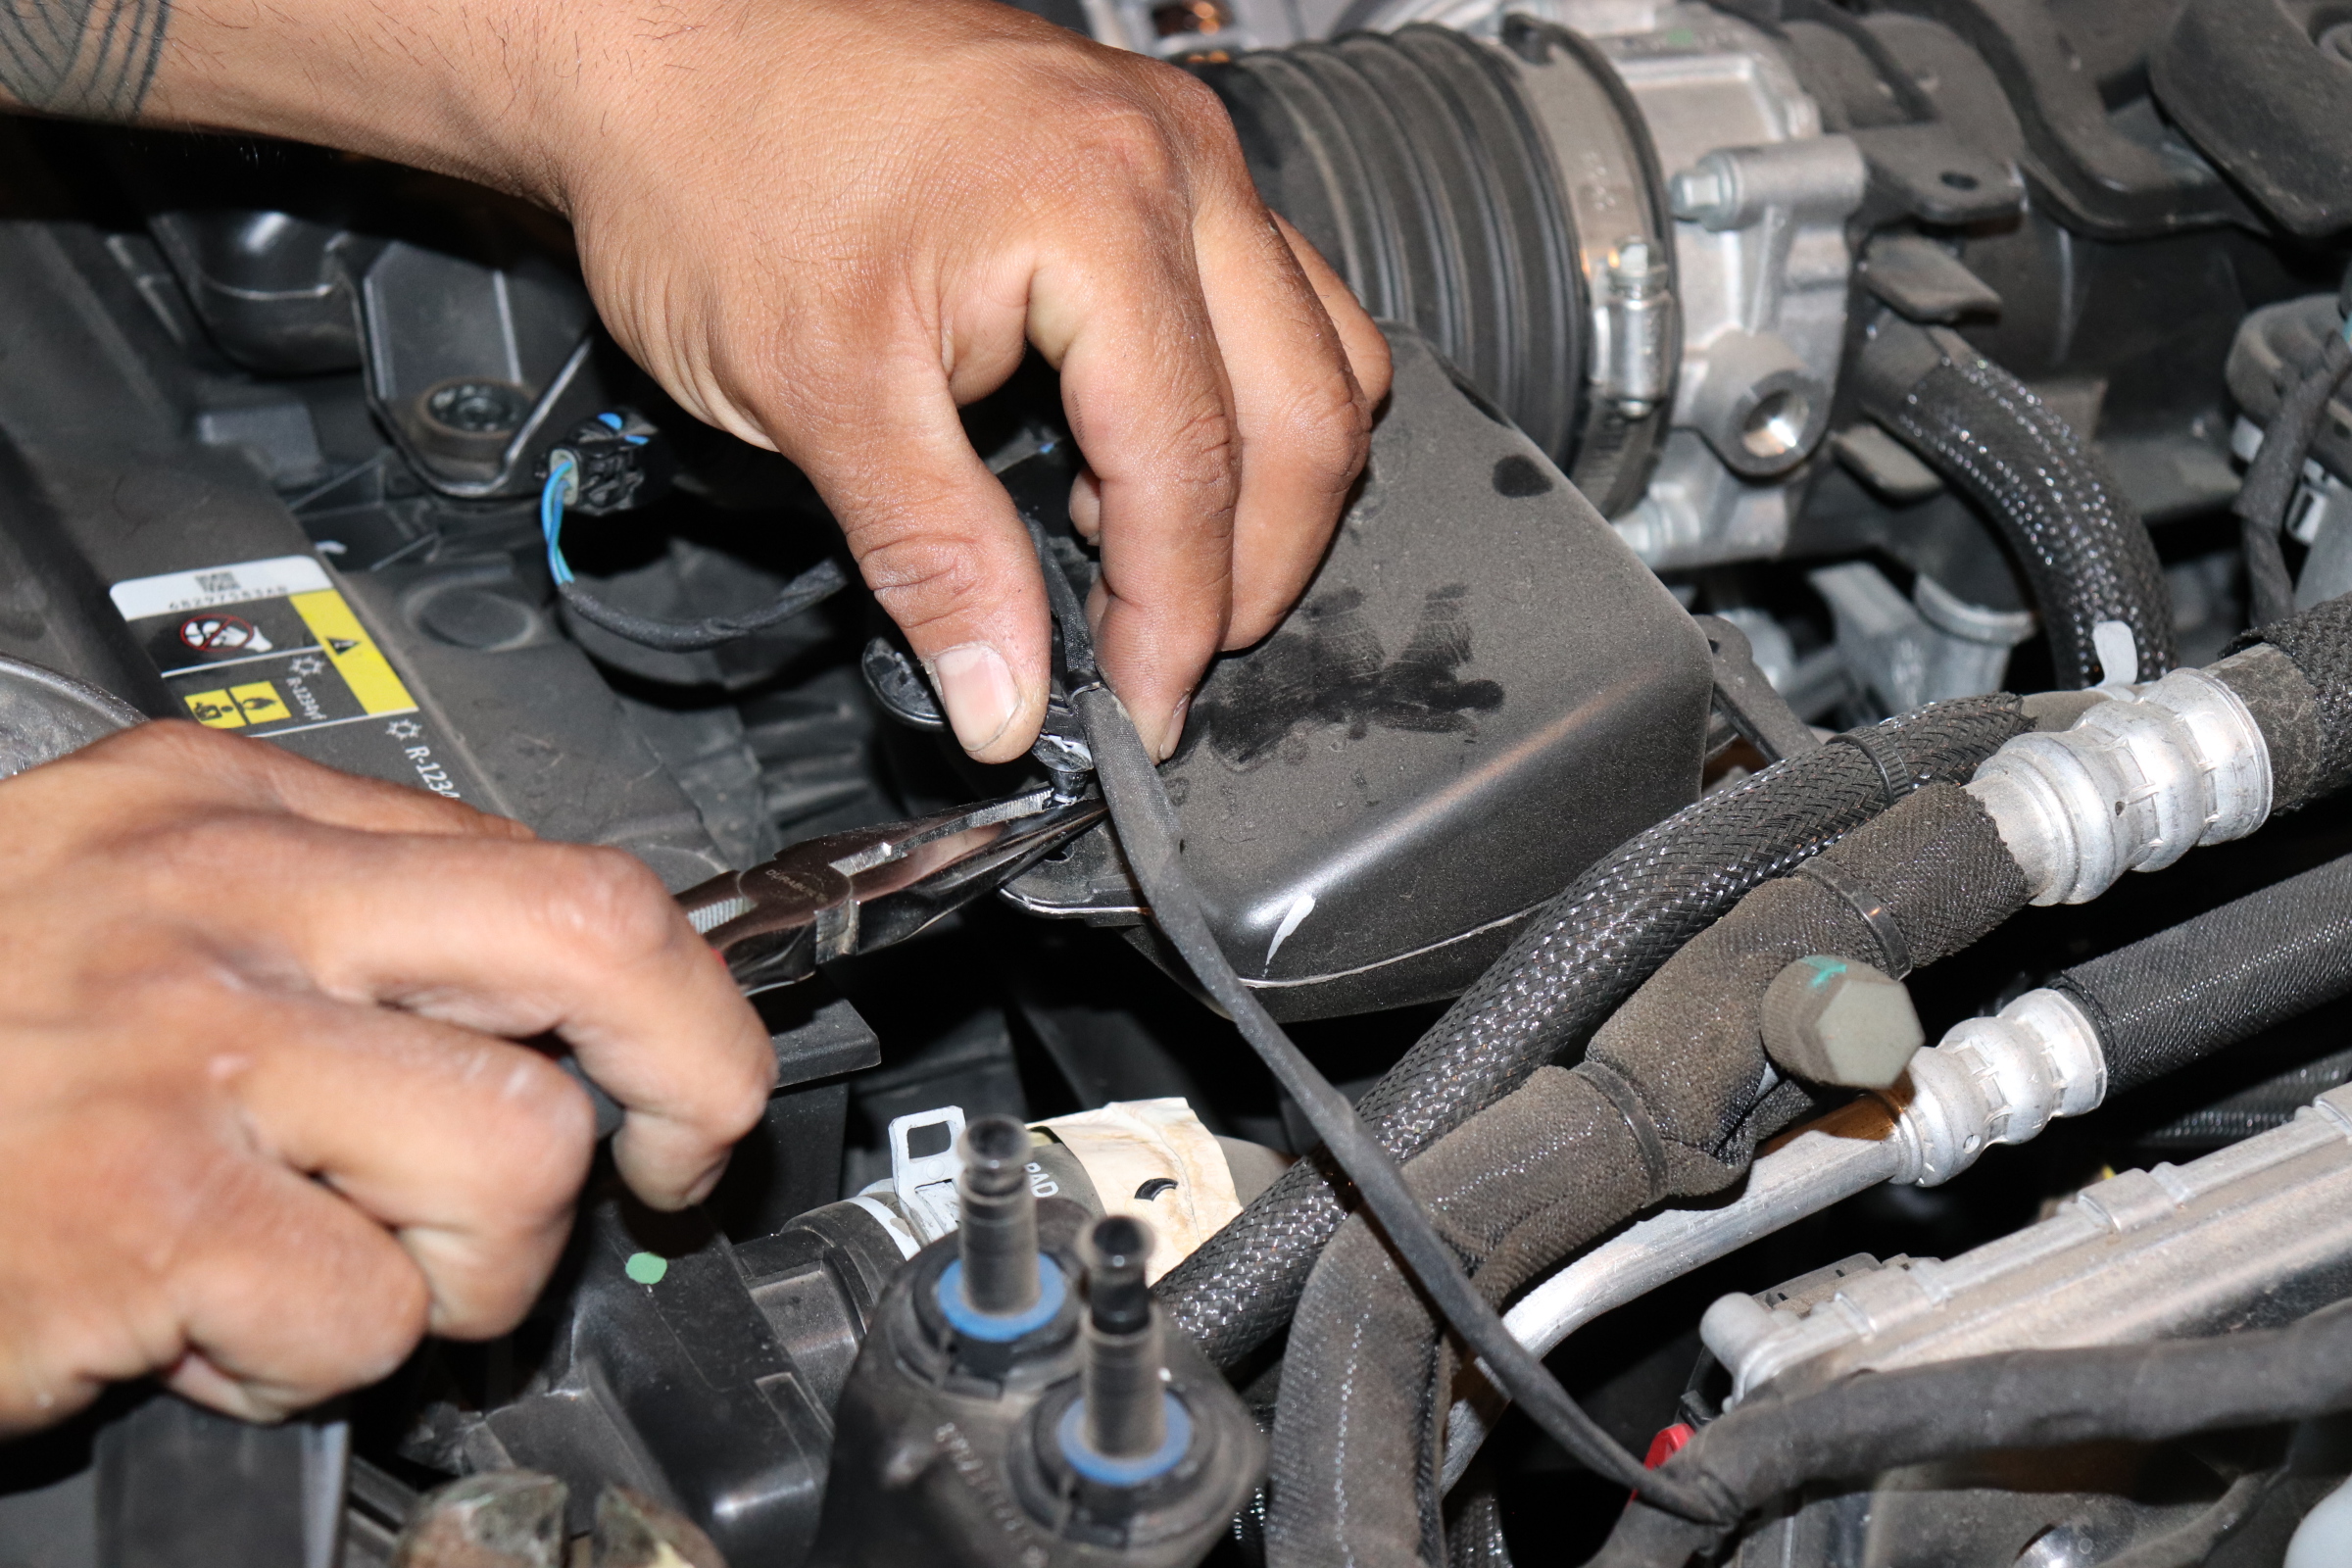
 Step 3)
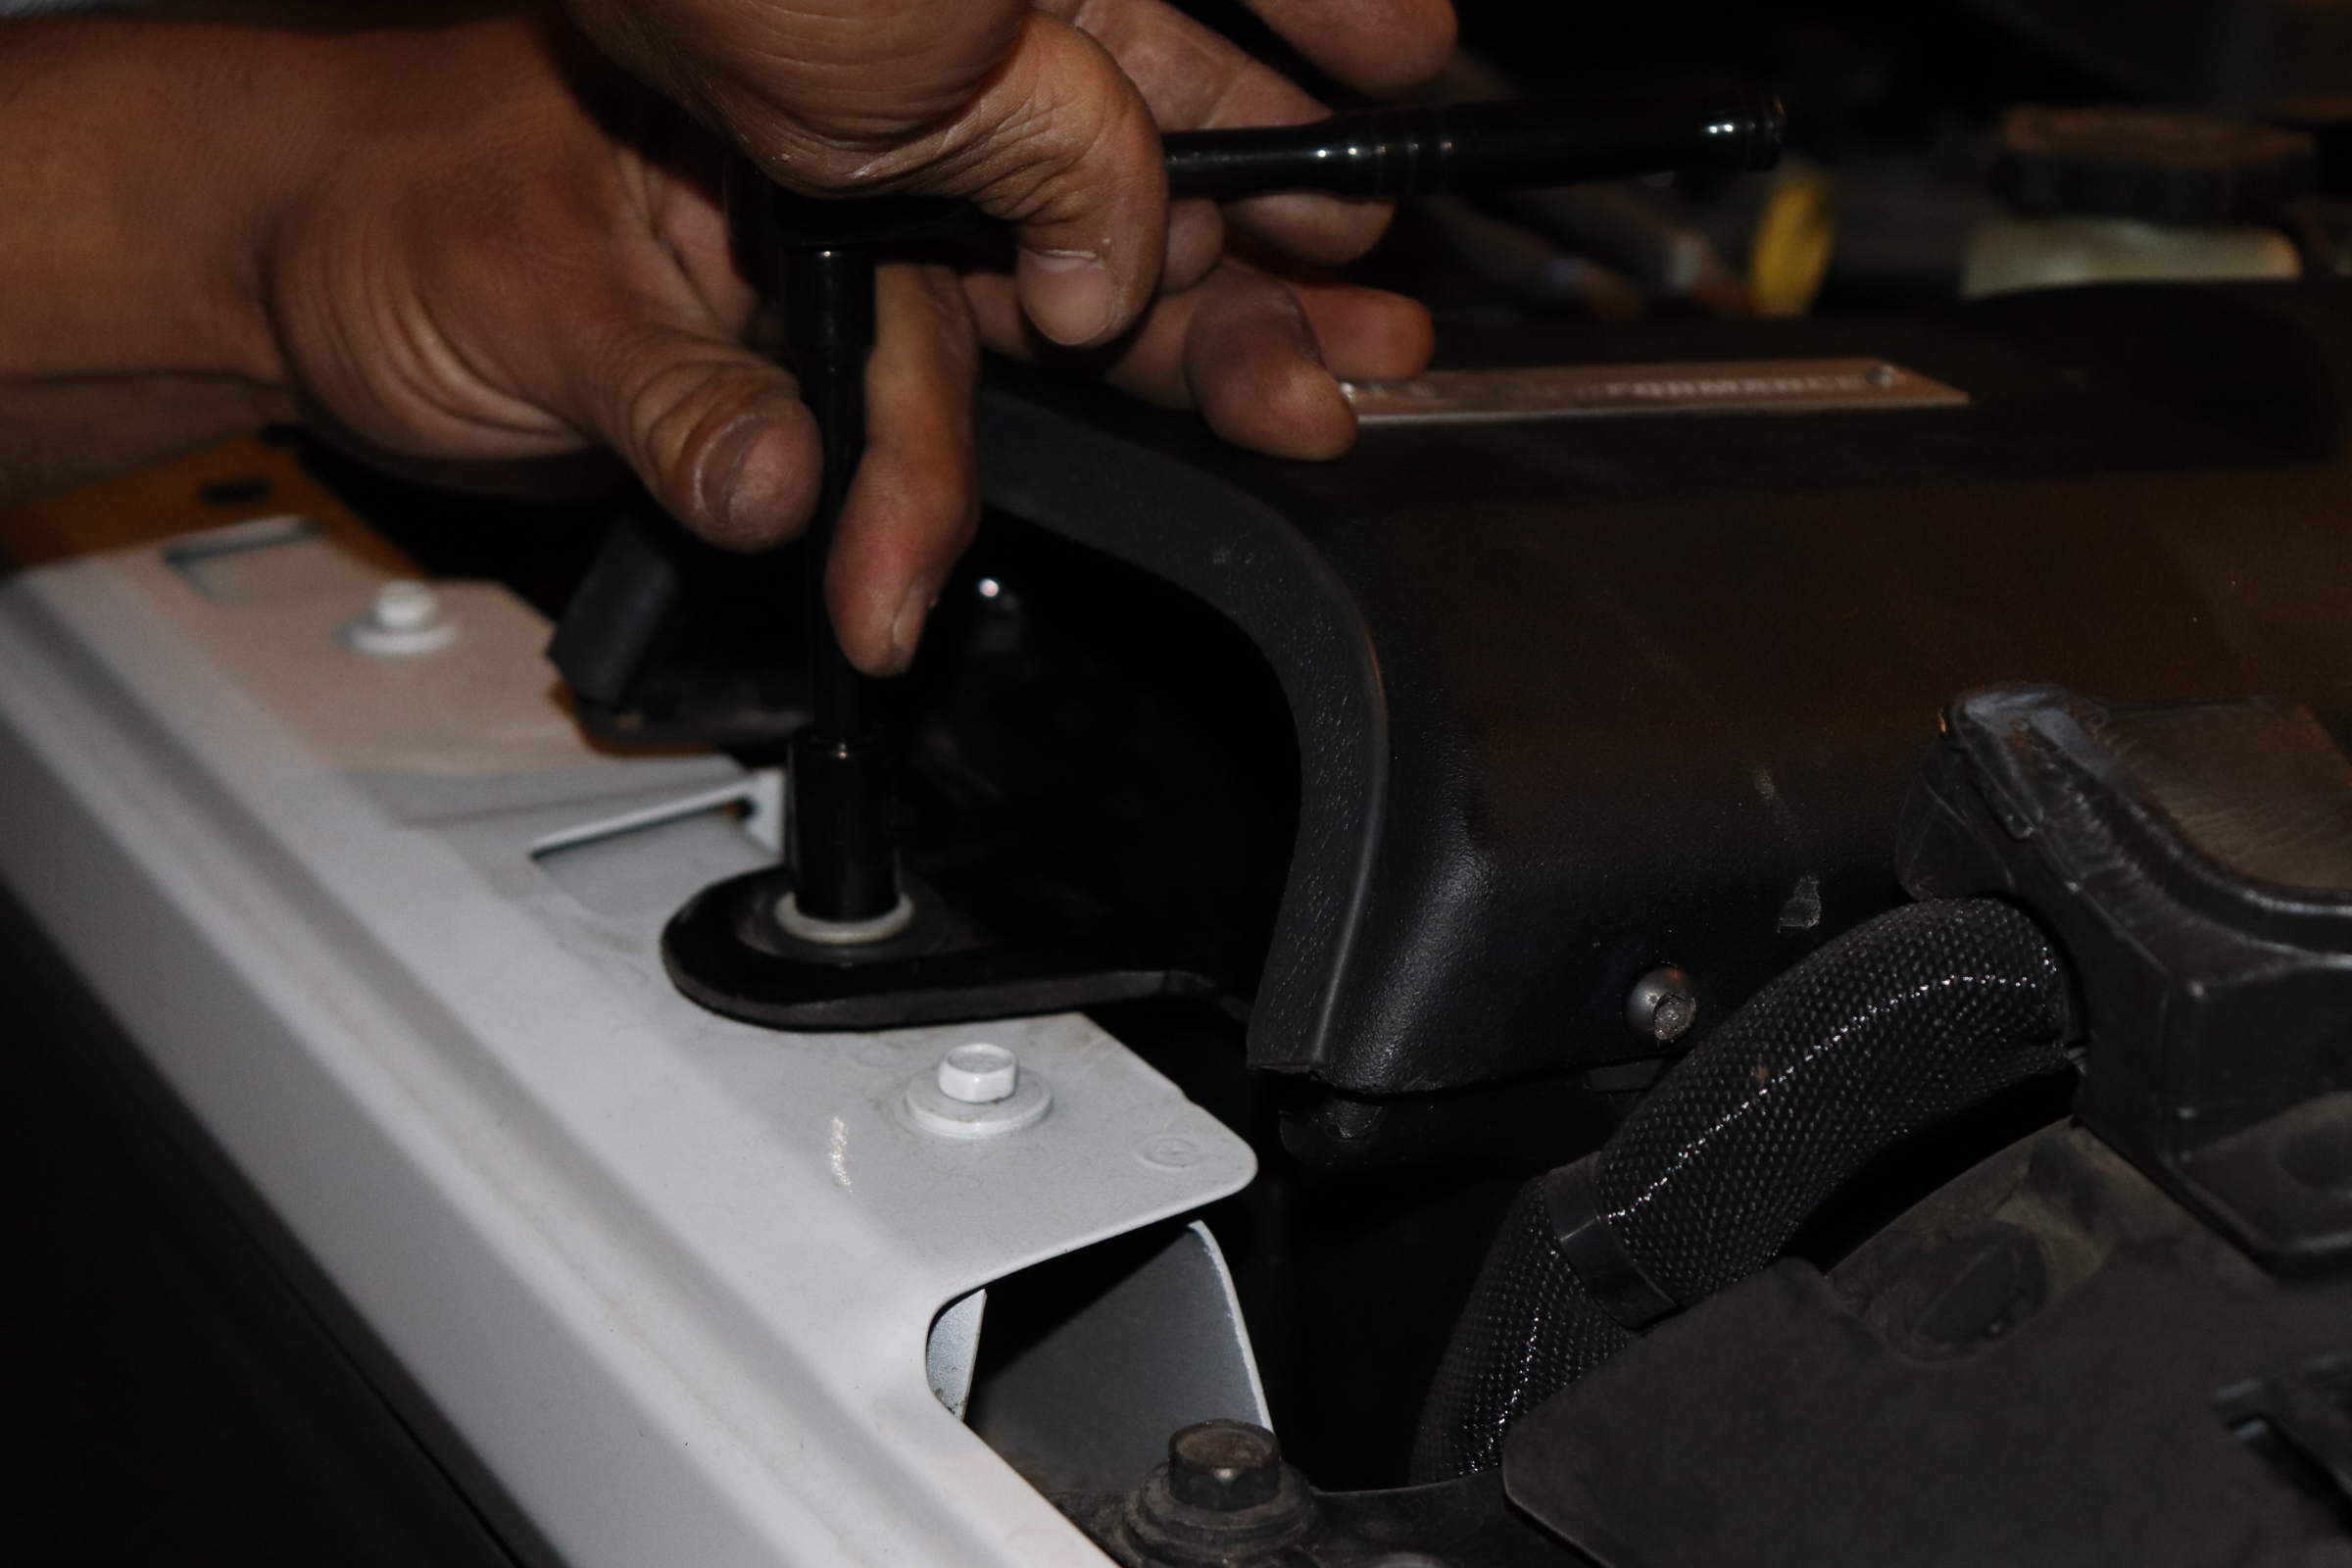
With the pliers, pull up on the IAT harness to remove it from the factory intake.
 Step 4)
Disconnect the coolant hose from the factory intake tube if equipped.
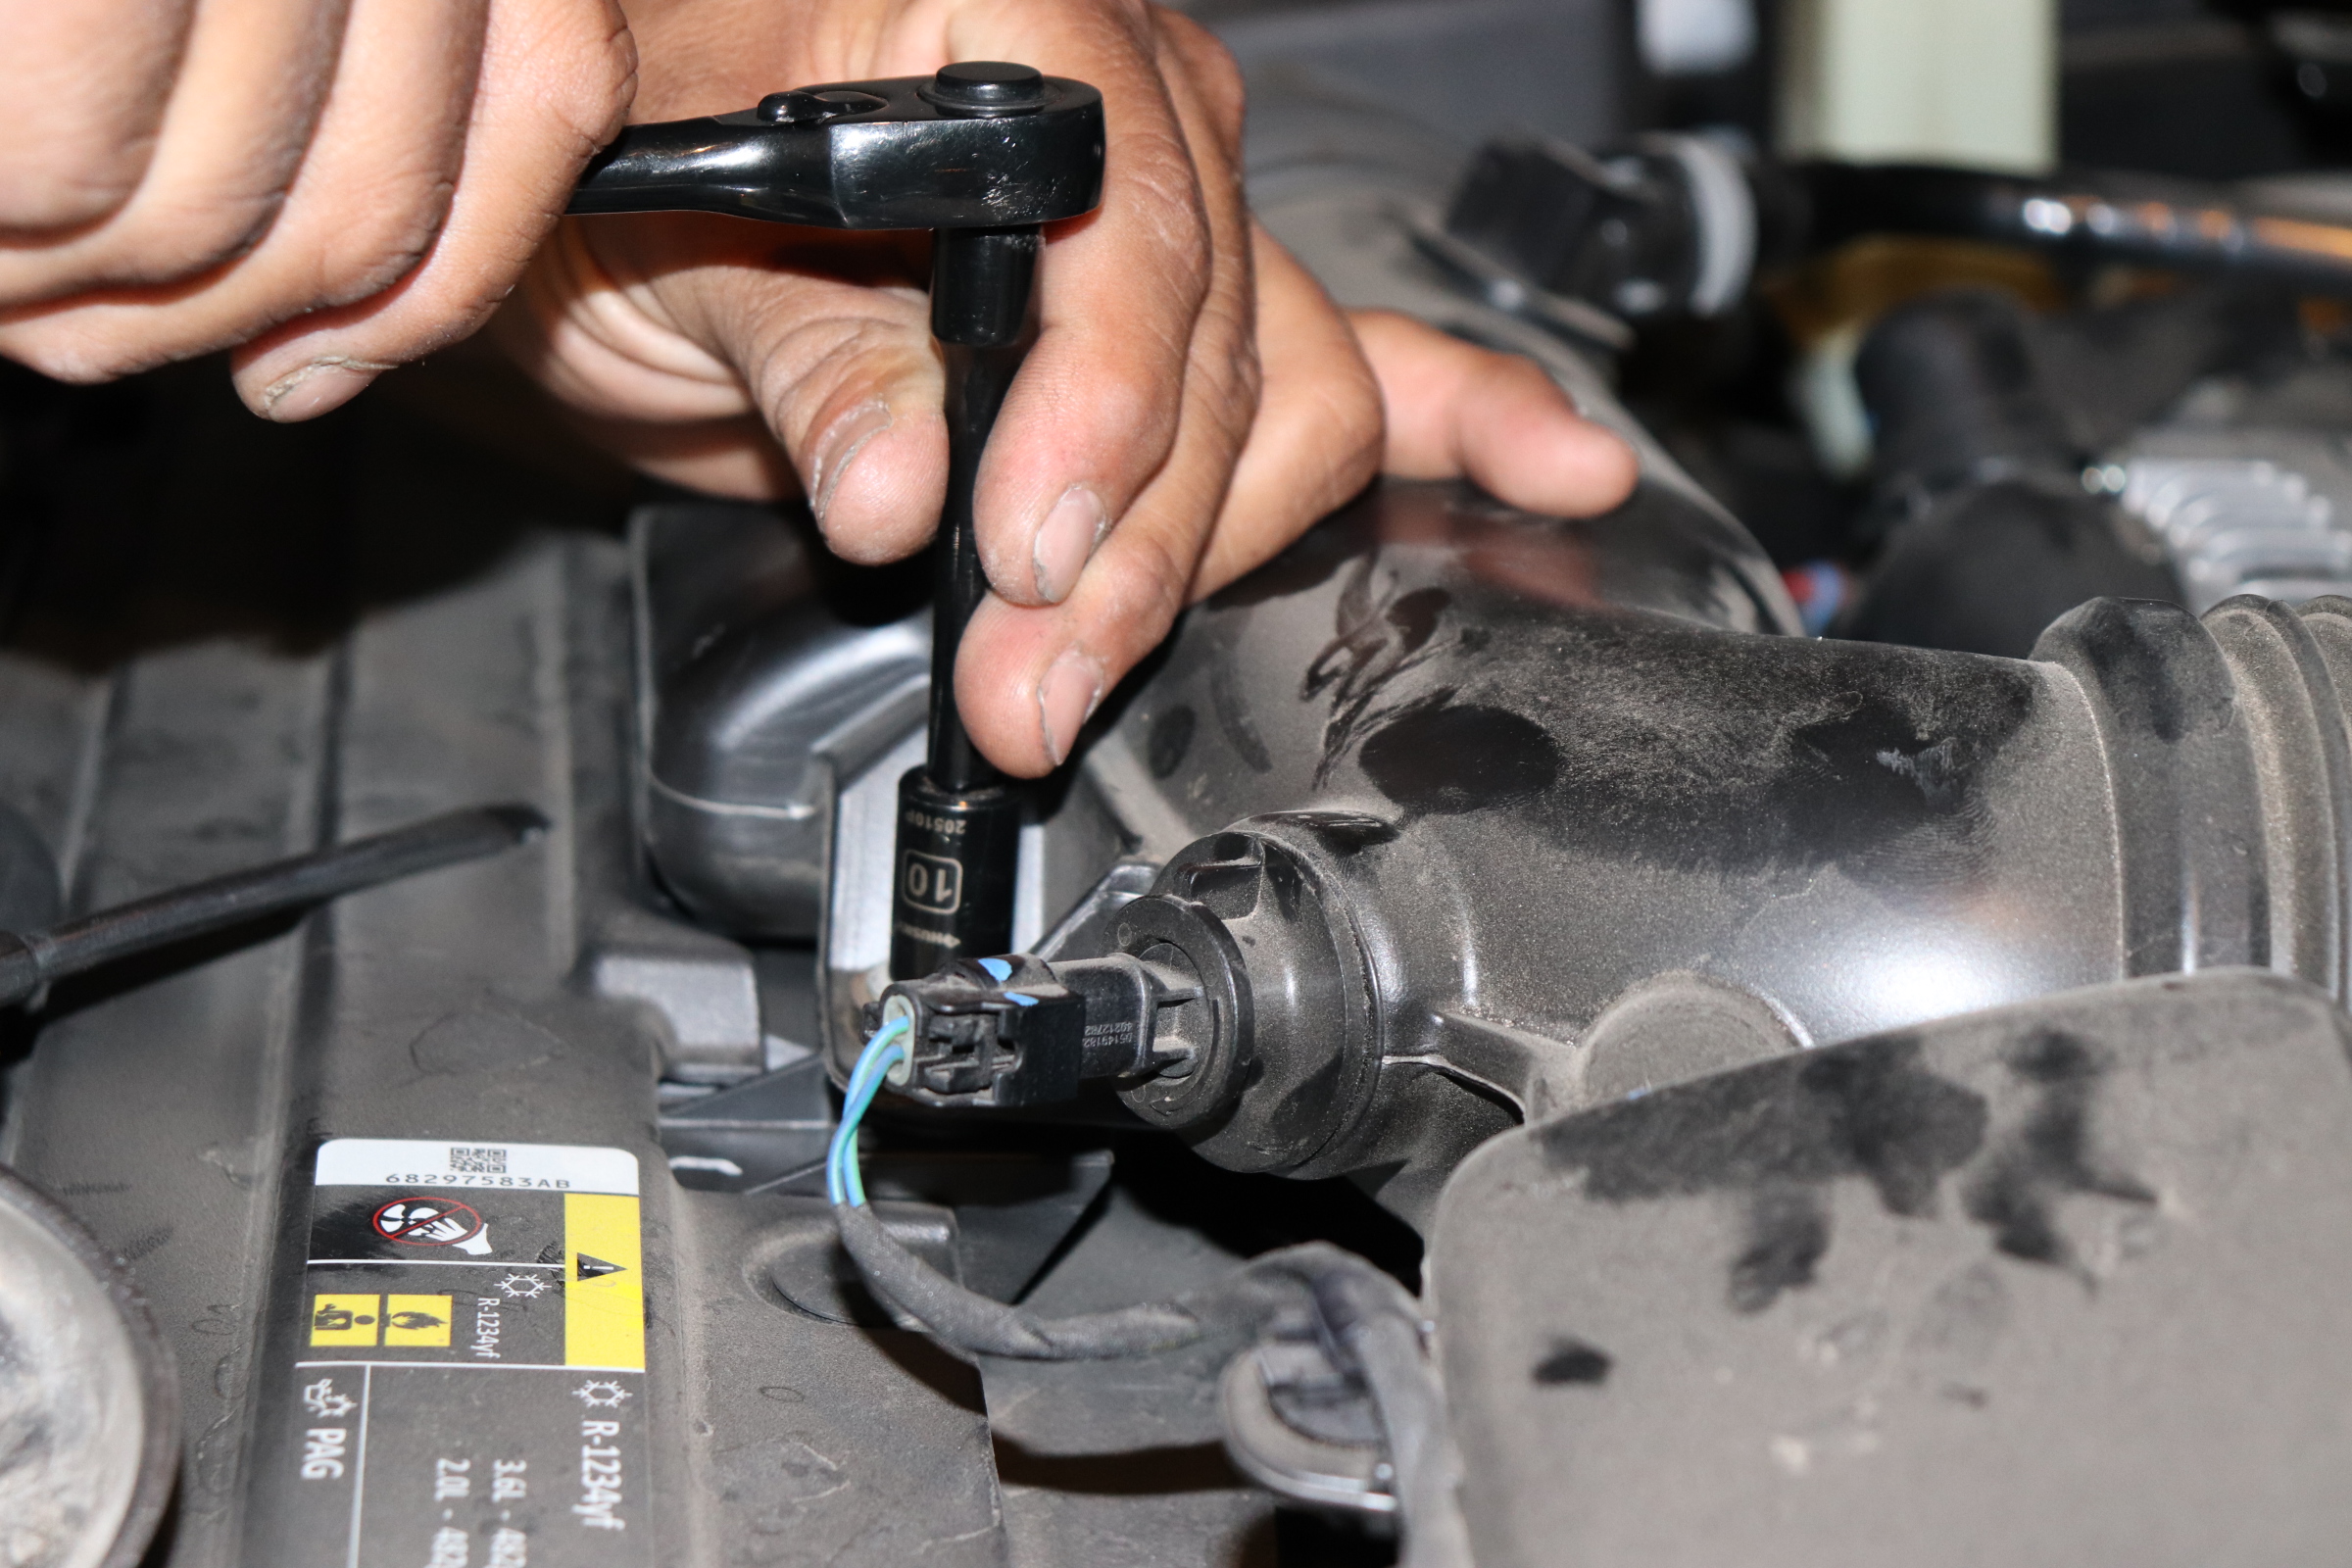
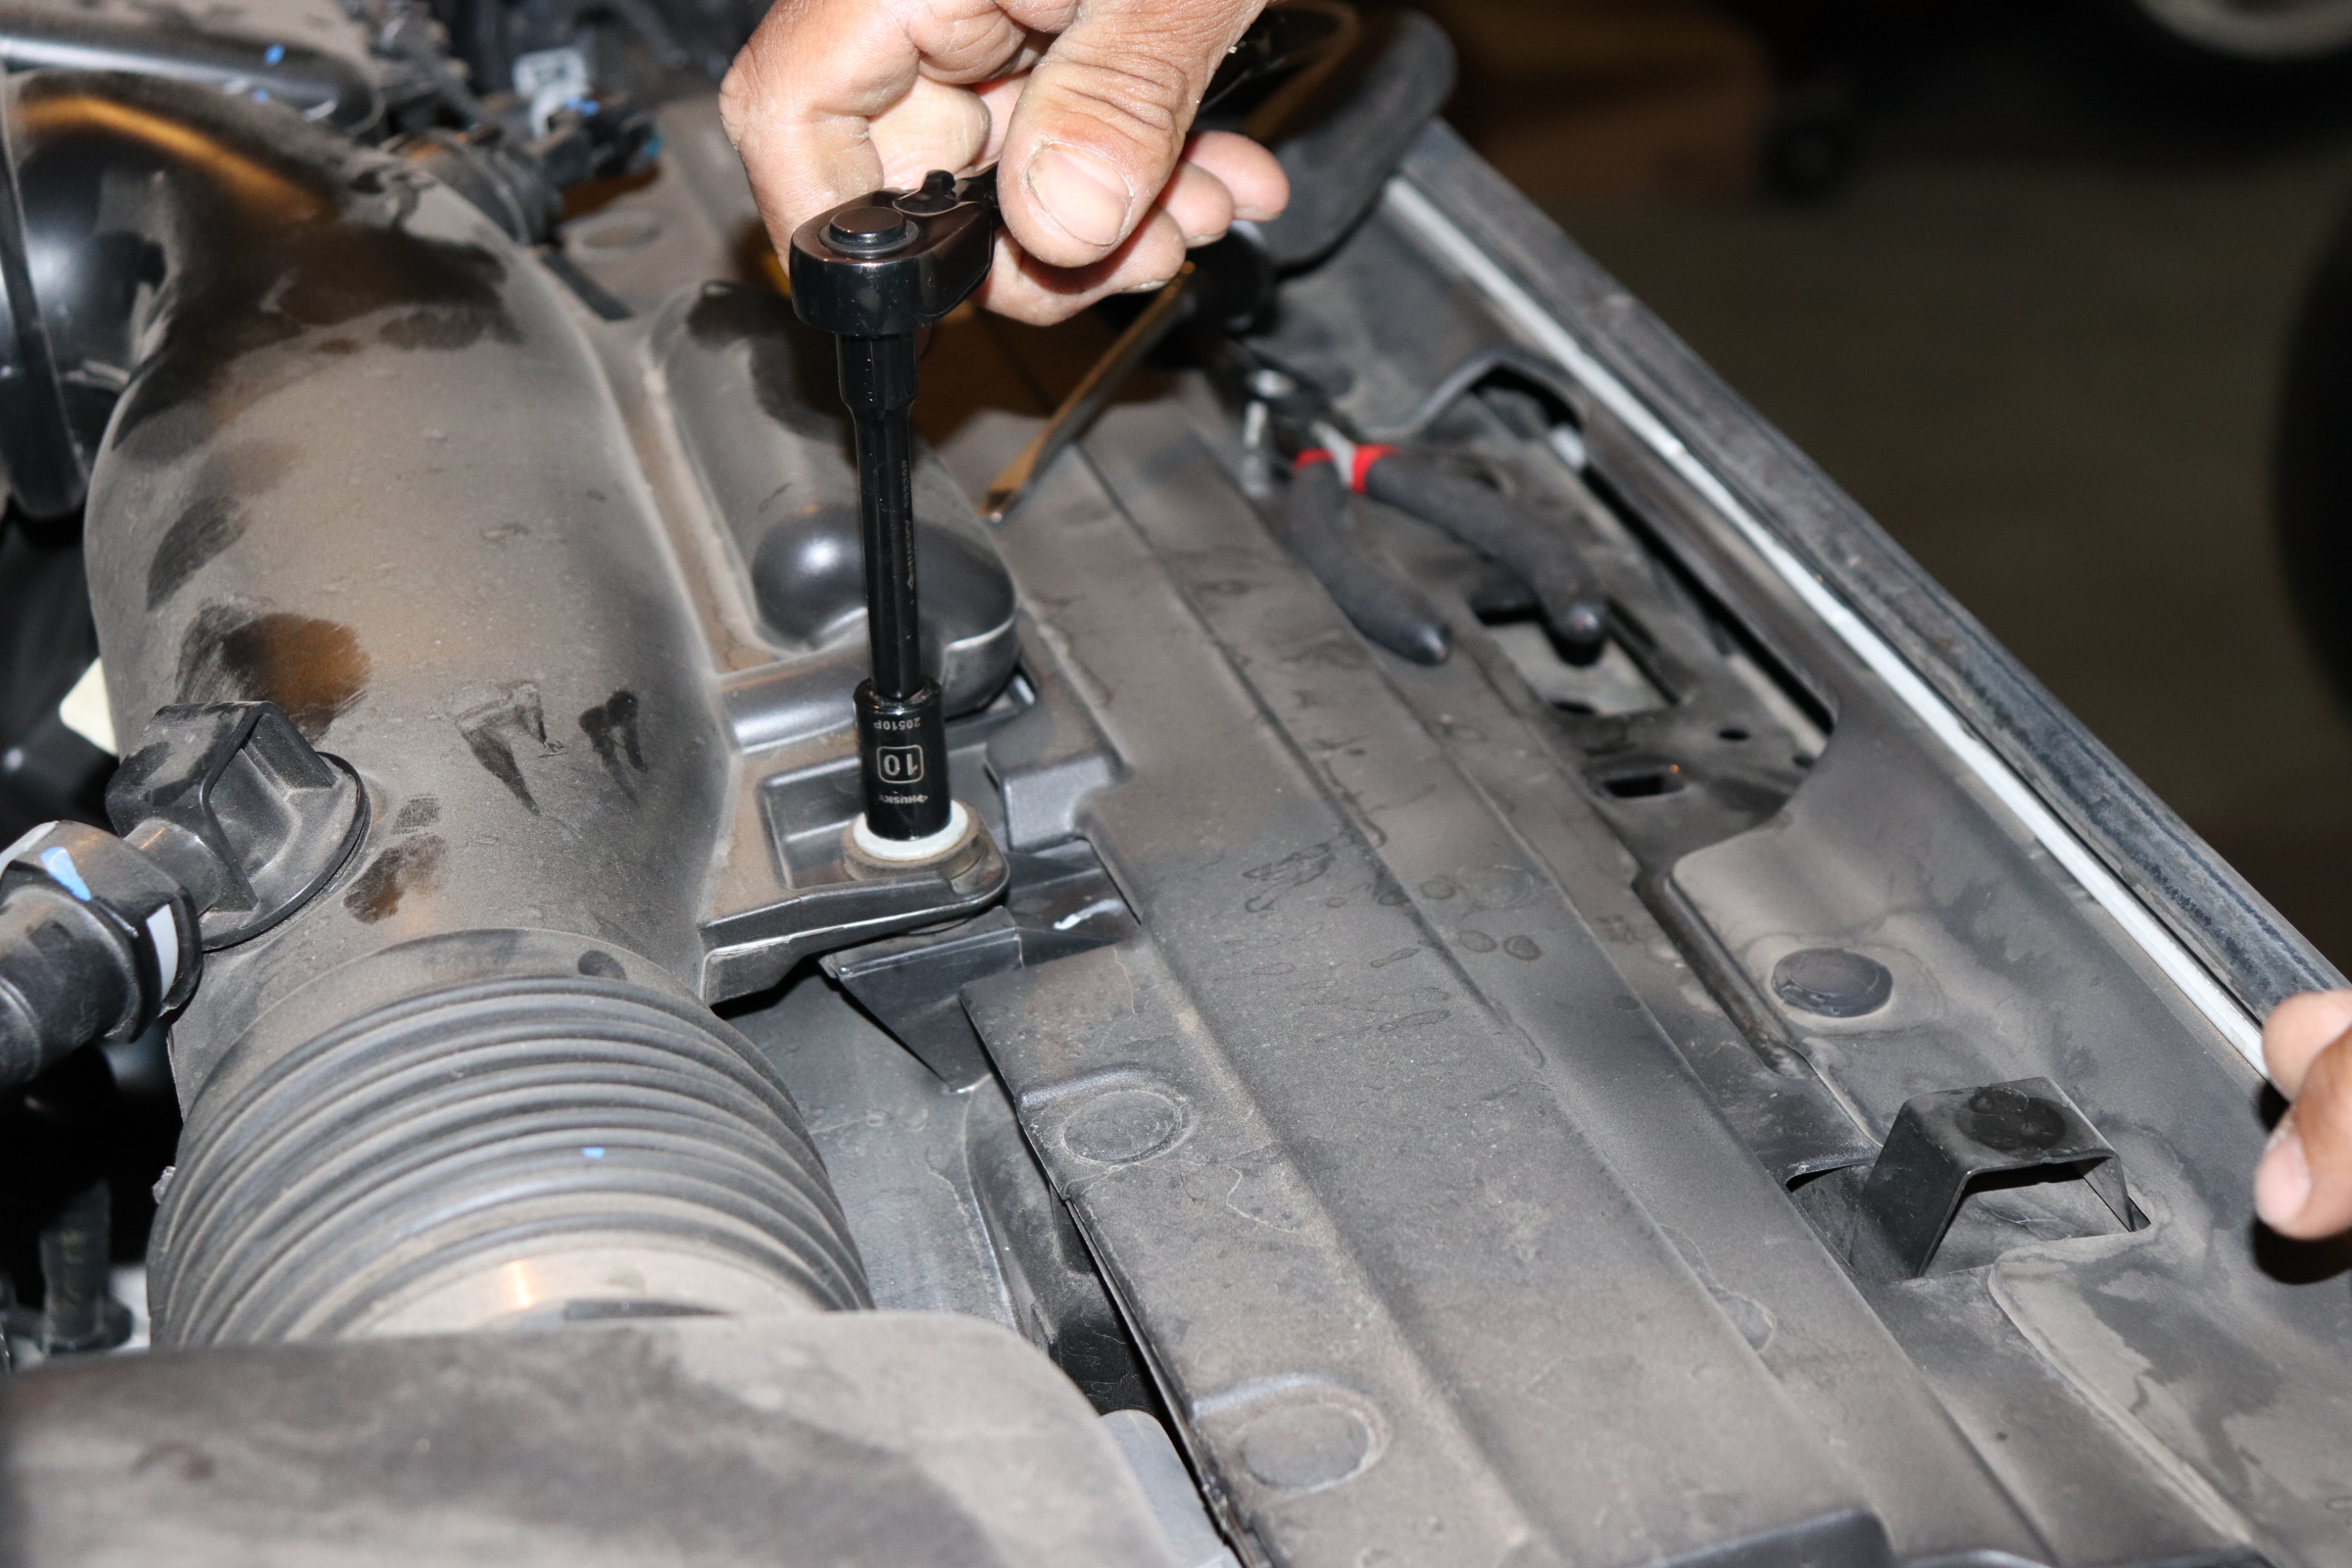
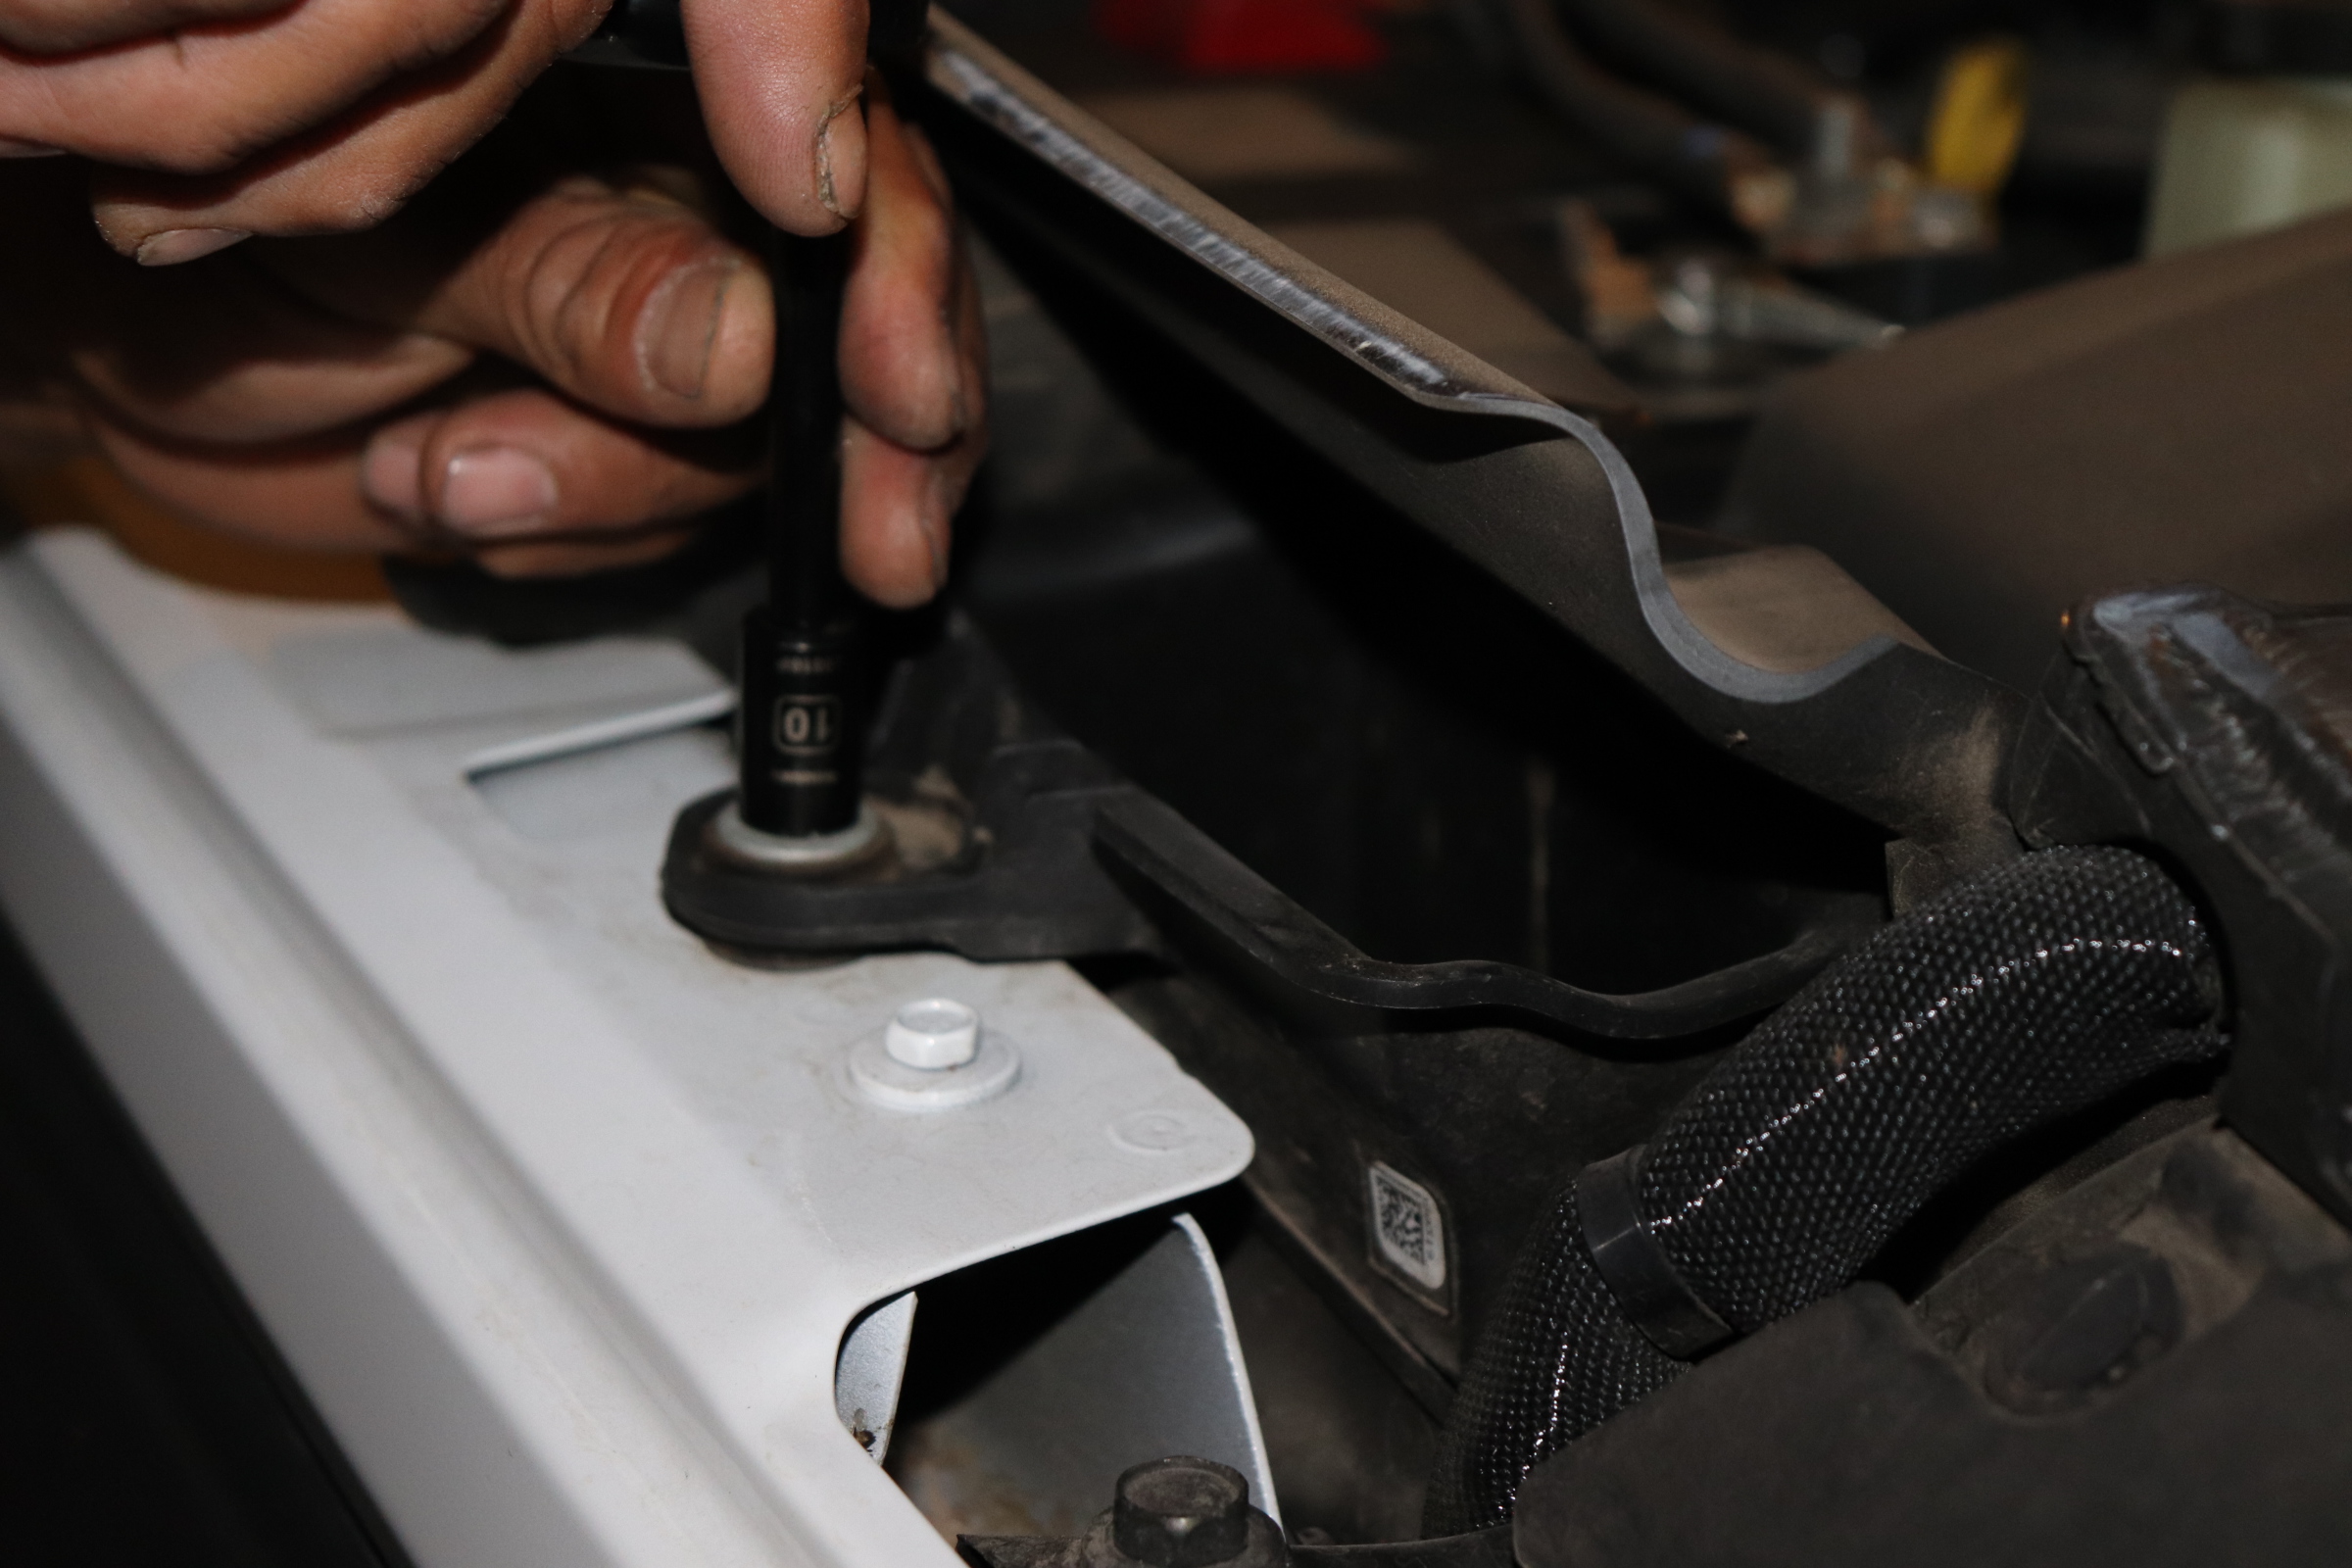
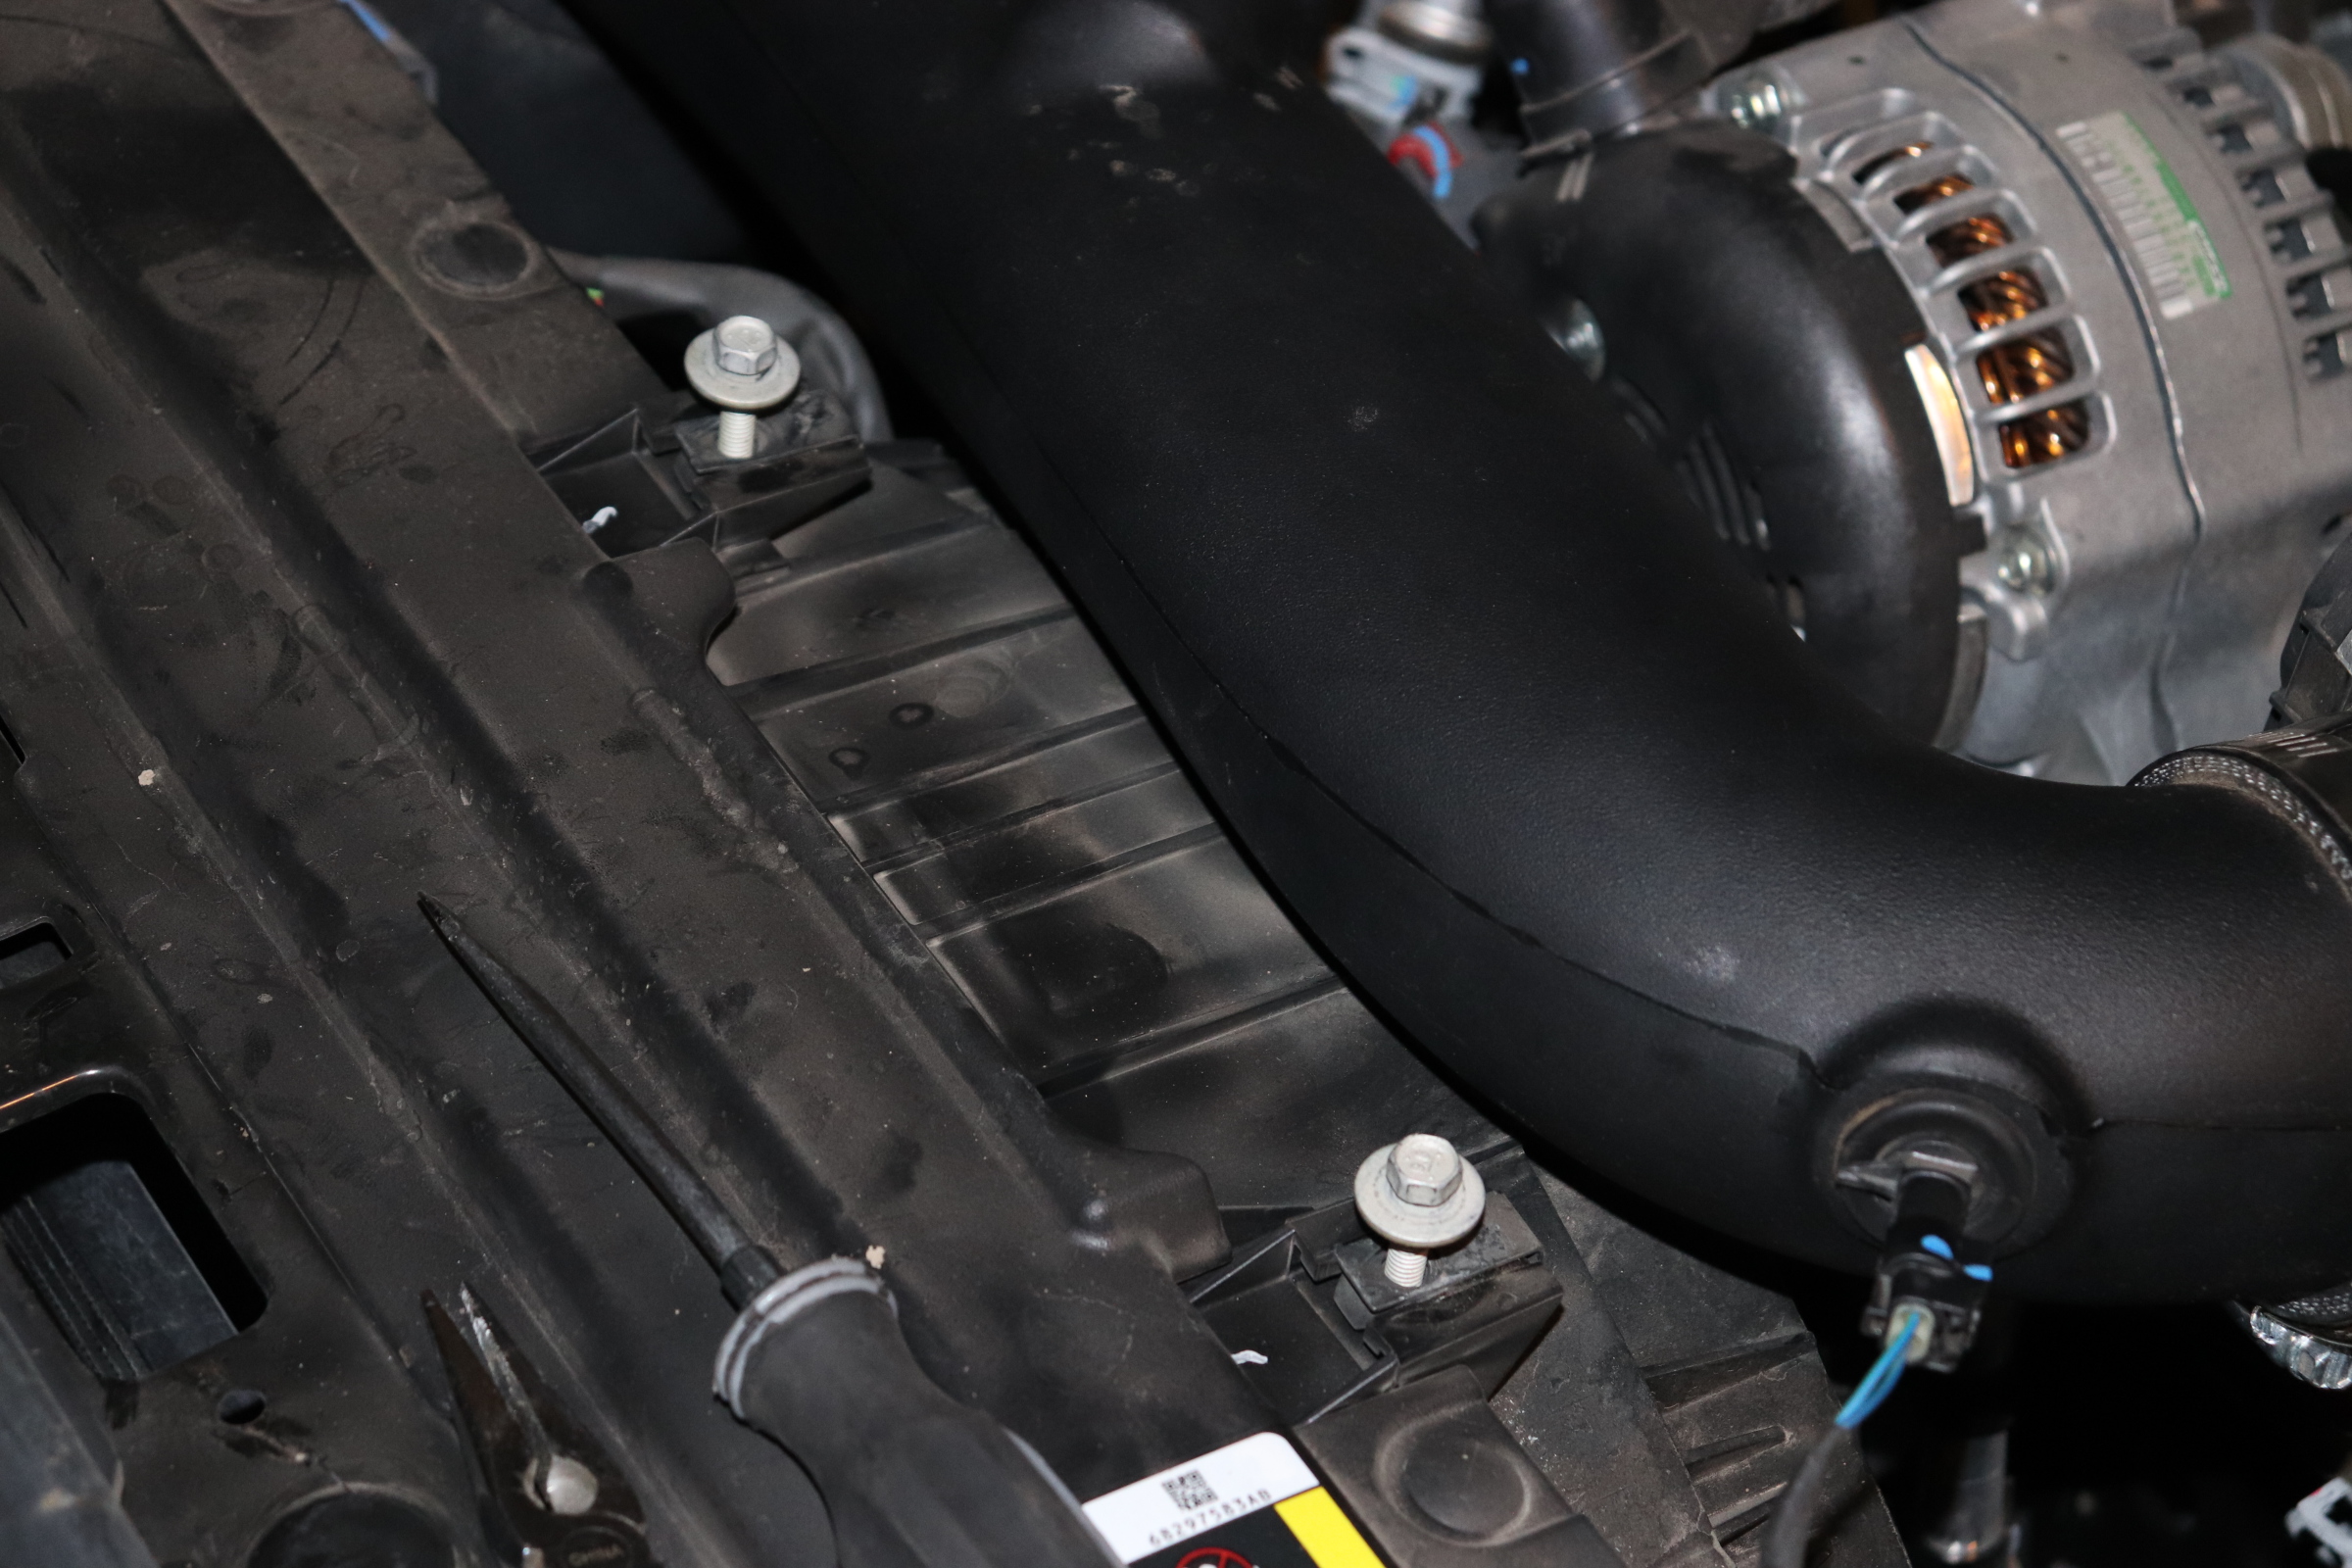
Step 5)
Remove the factory mounting bolts a 10mm socket.

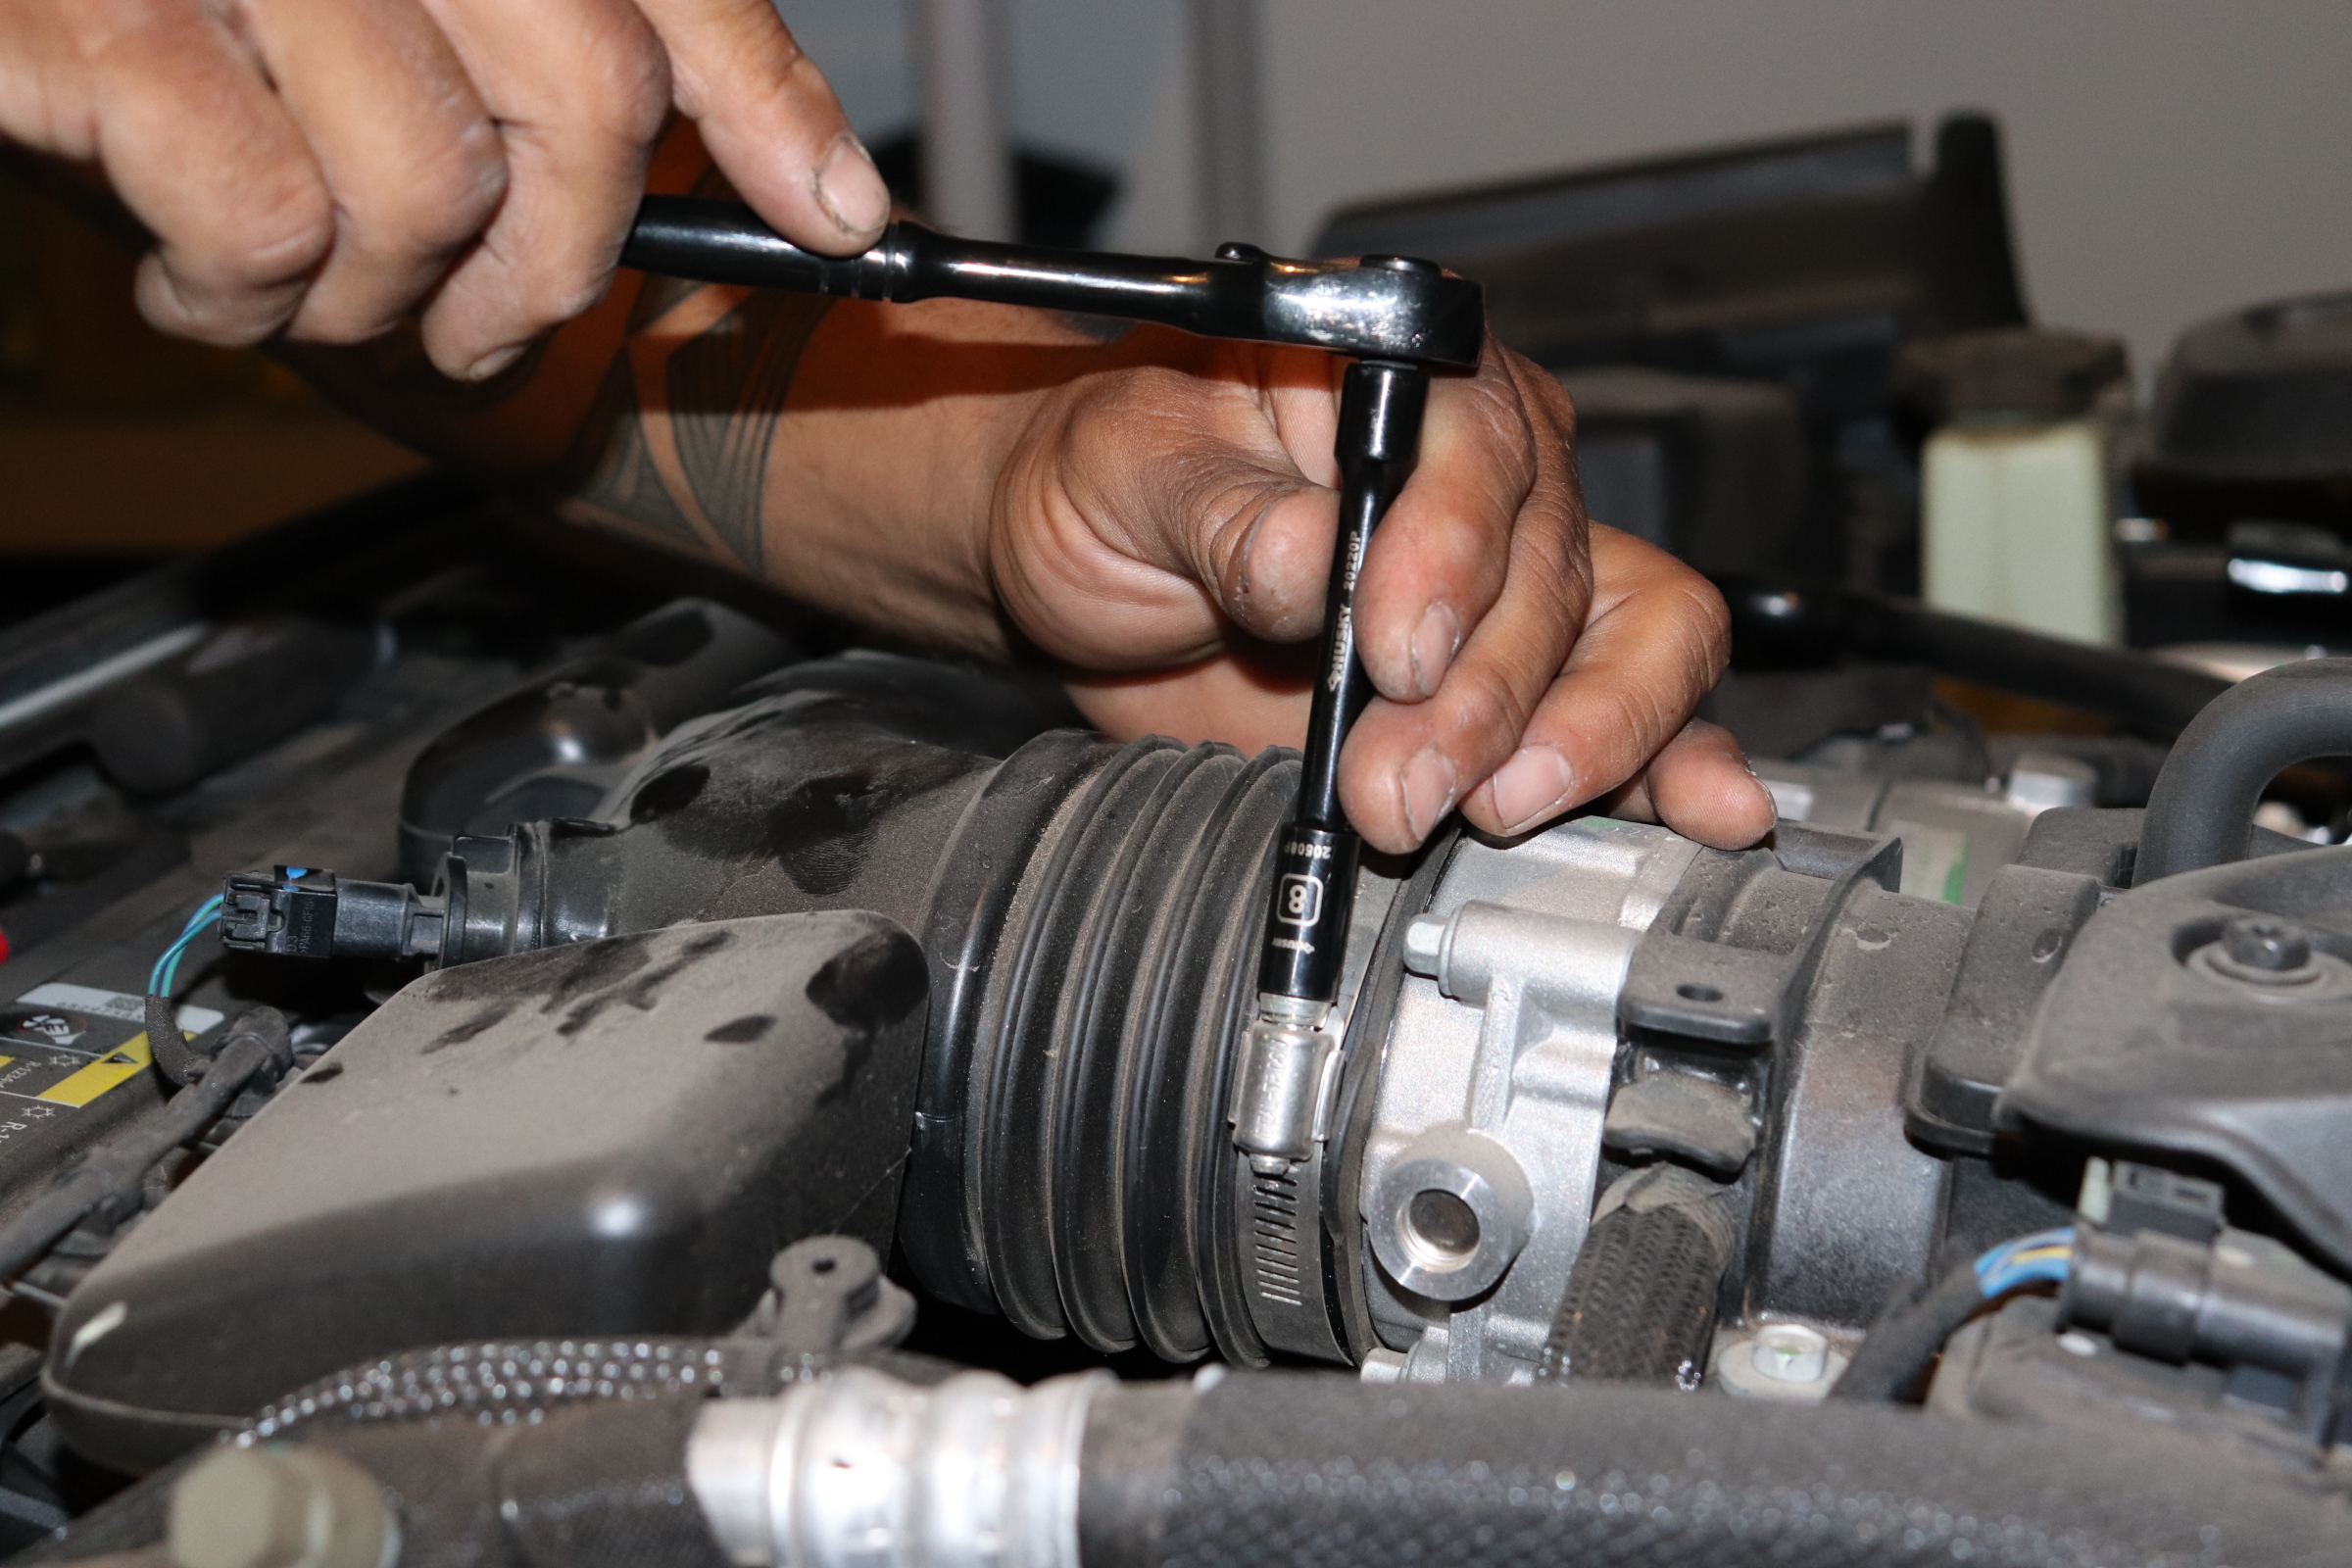
Step 6)
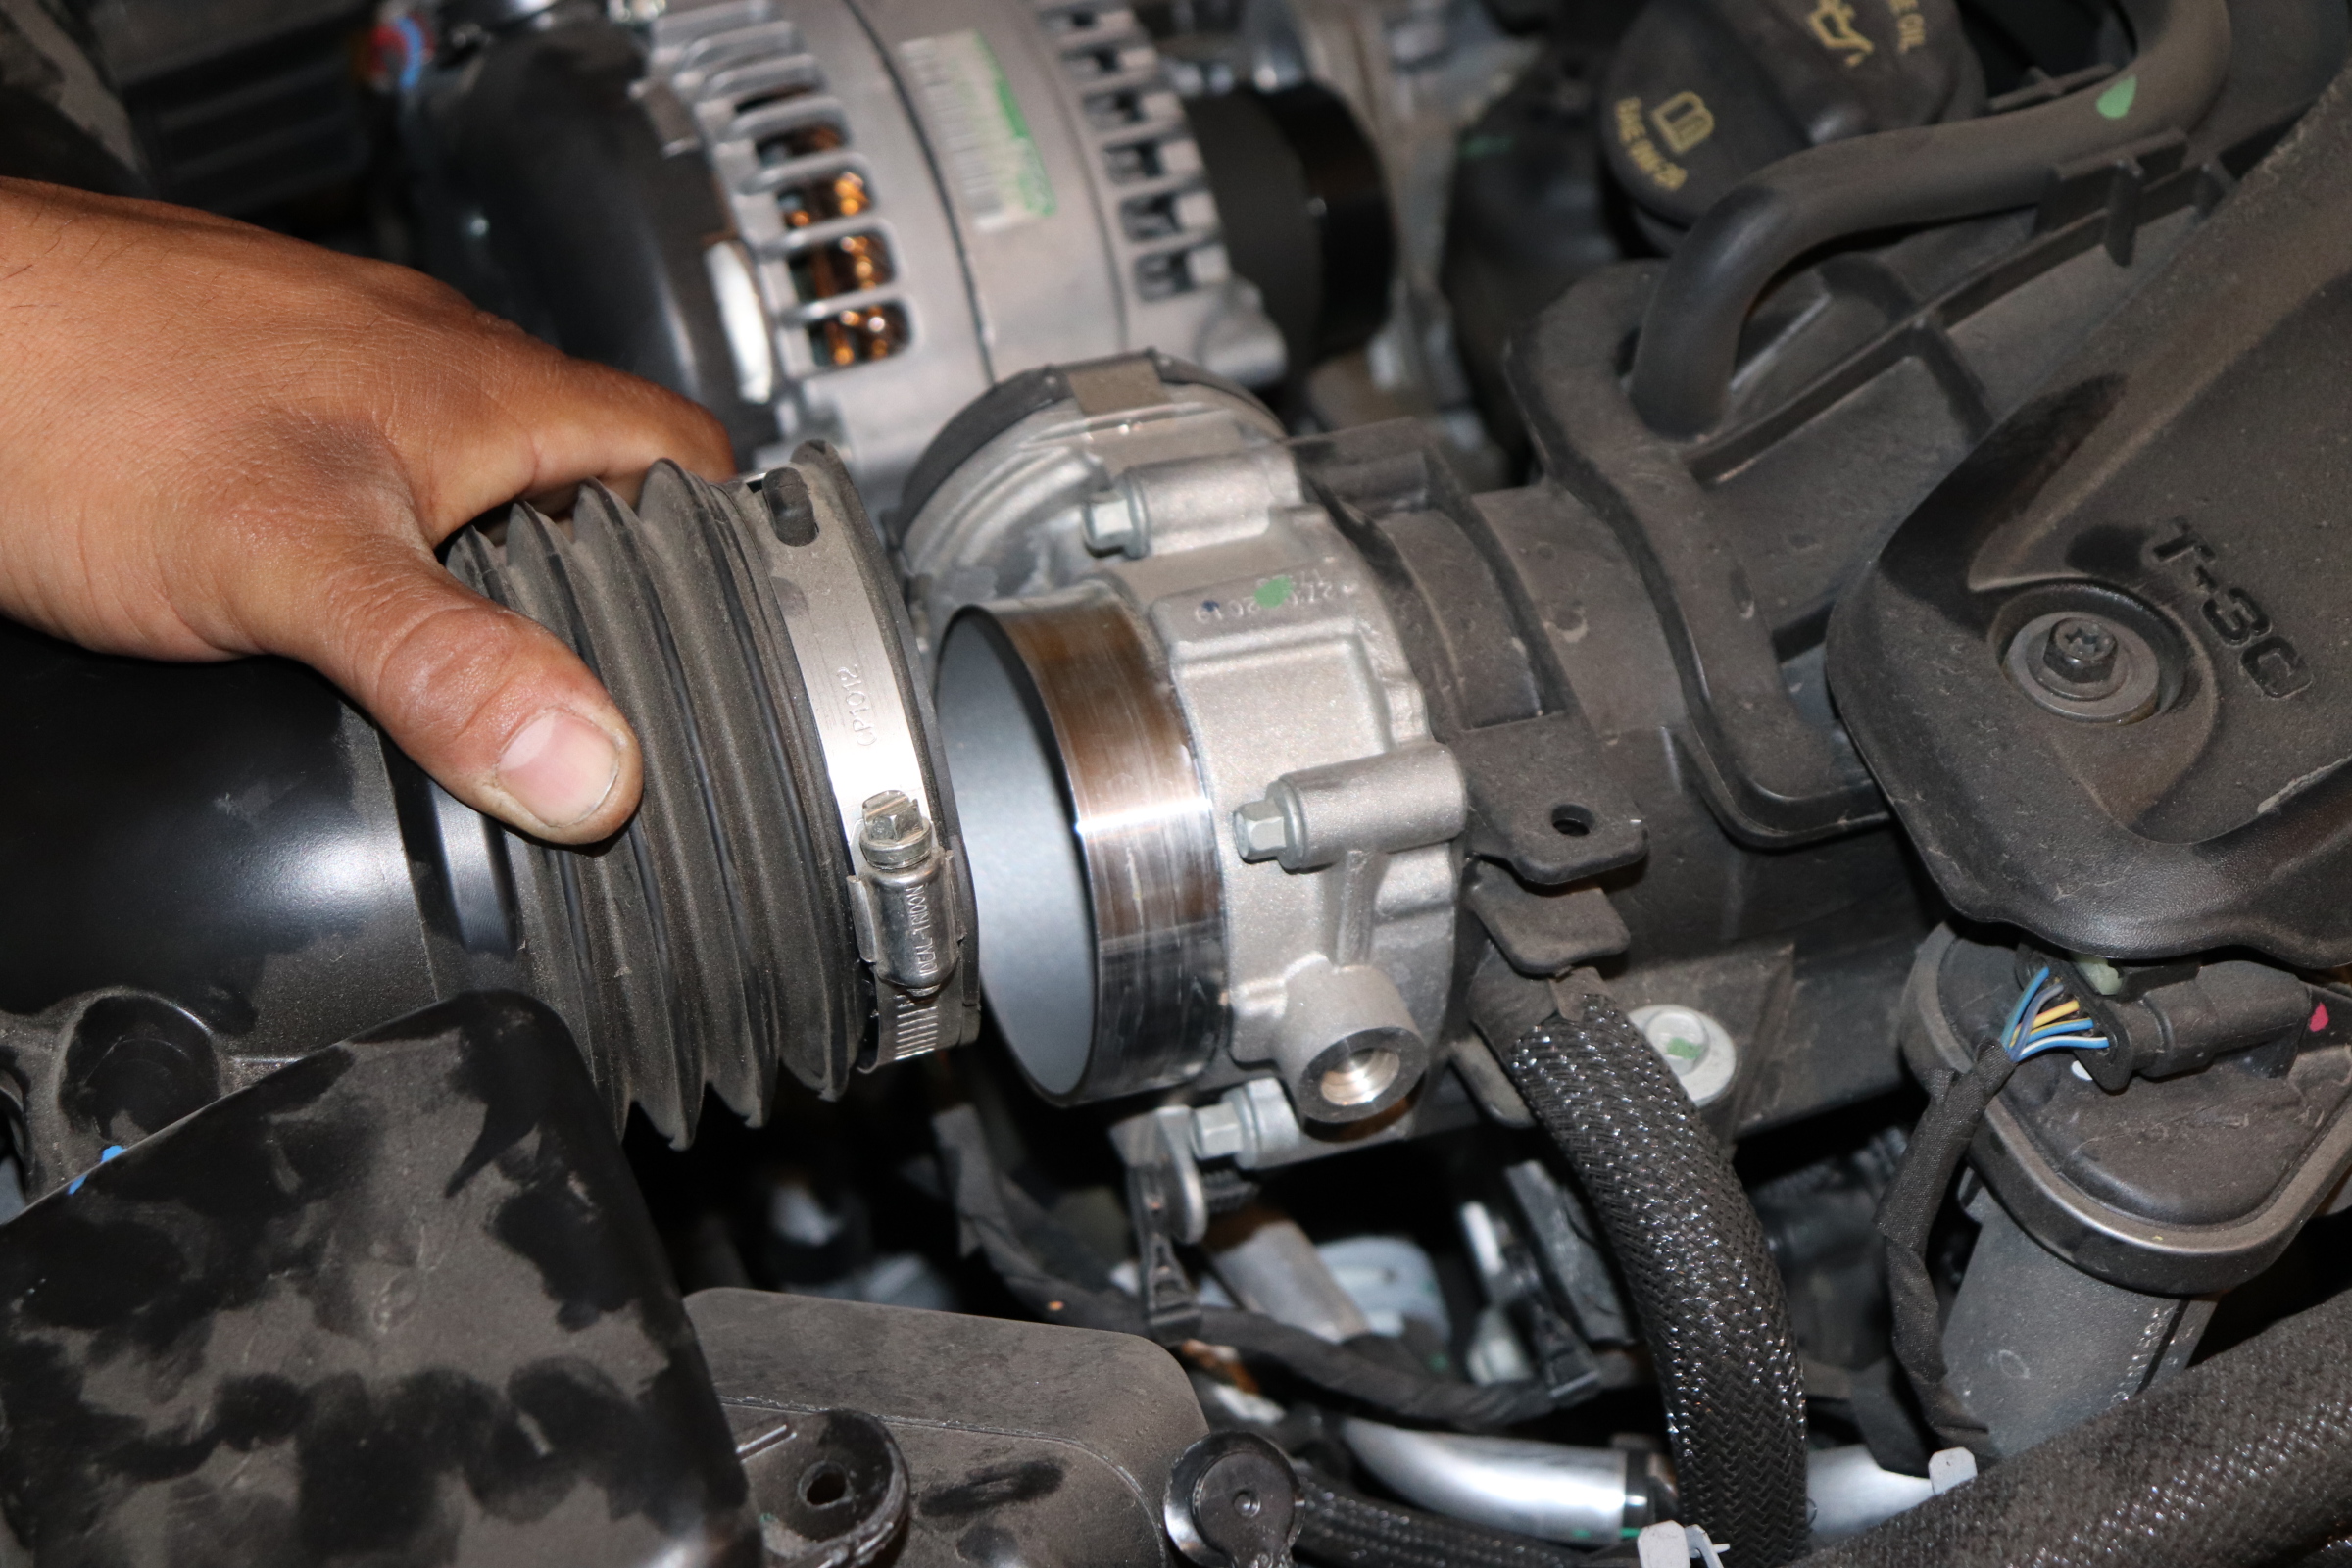
Loosen the clamps on the intake boot leading to the throttle body using an 8mm socket.
Step 7)
Slide the intake boot off the throttle body.
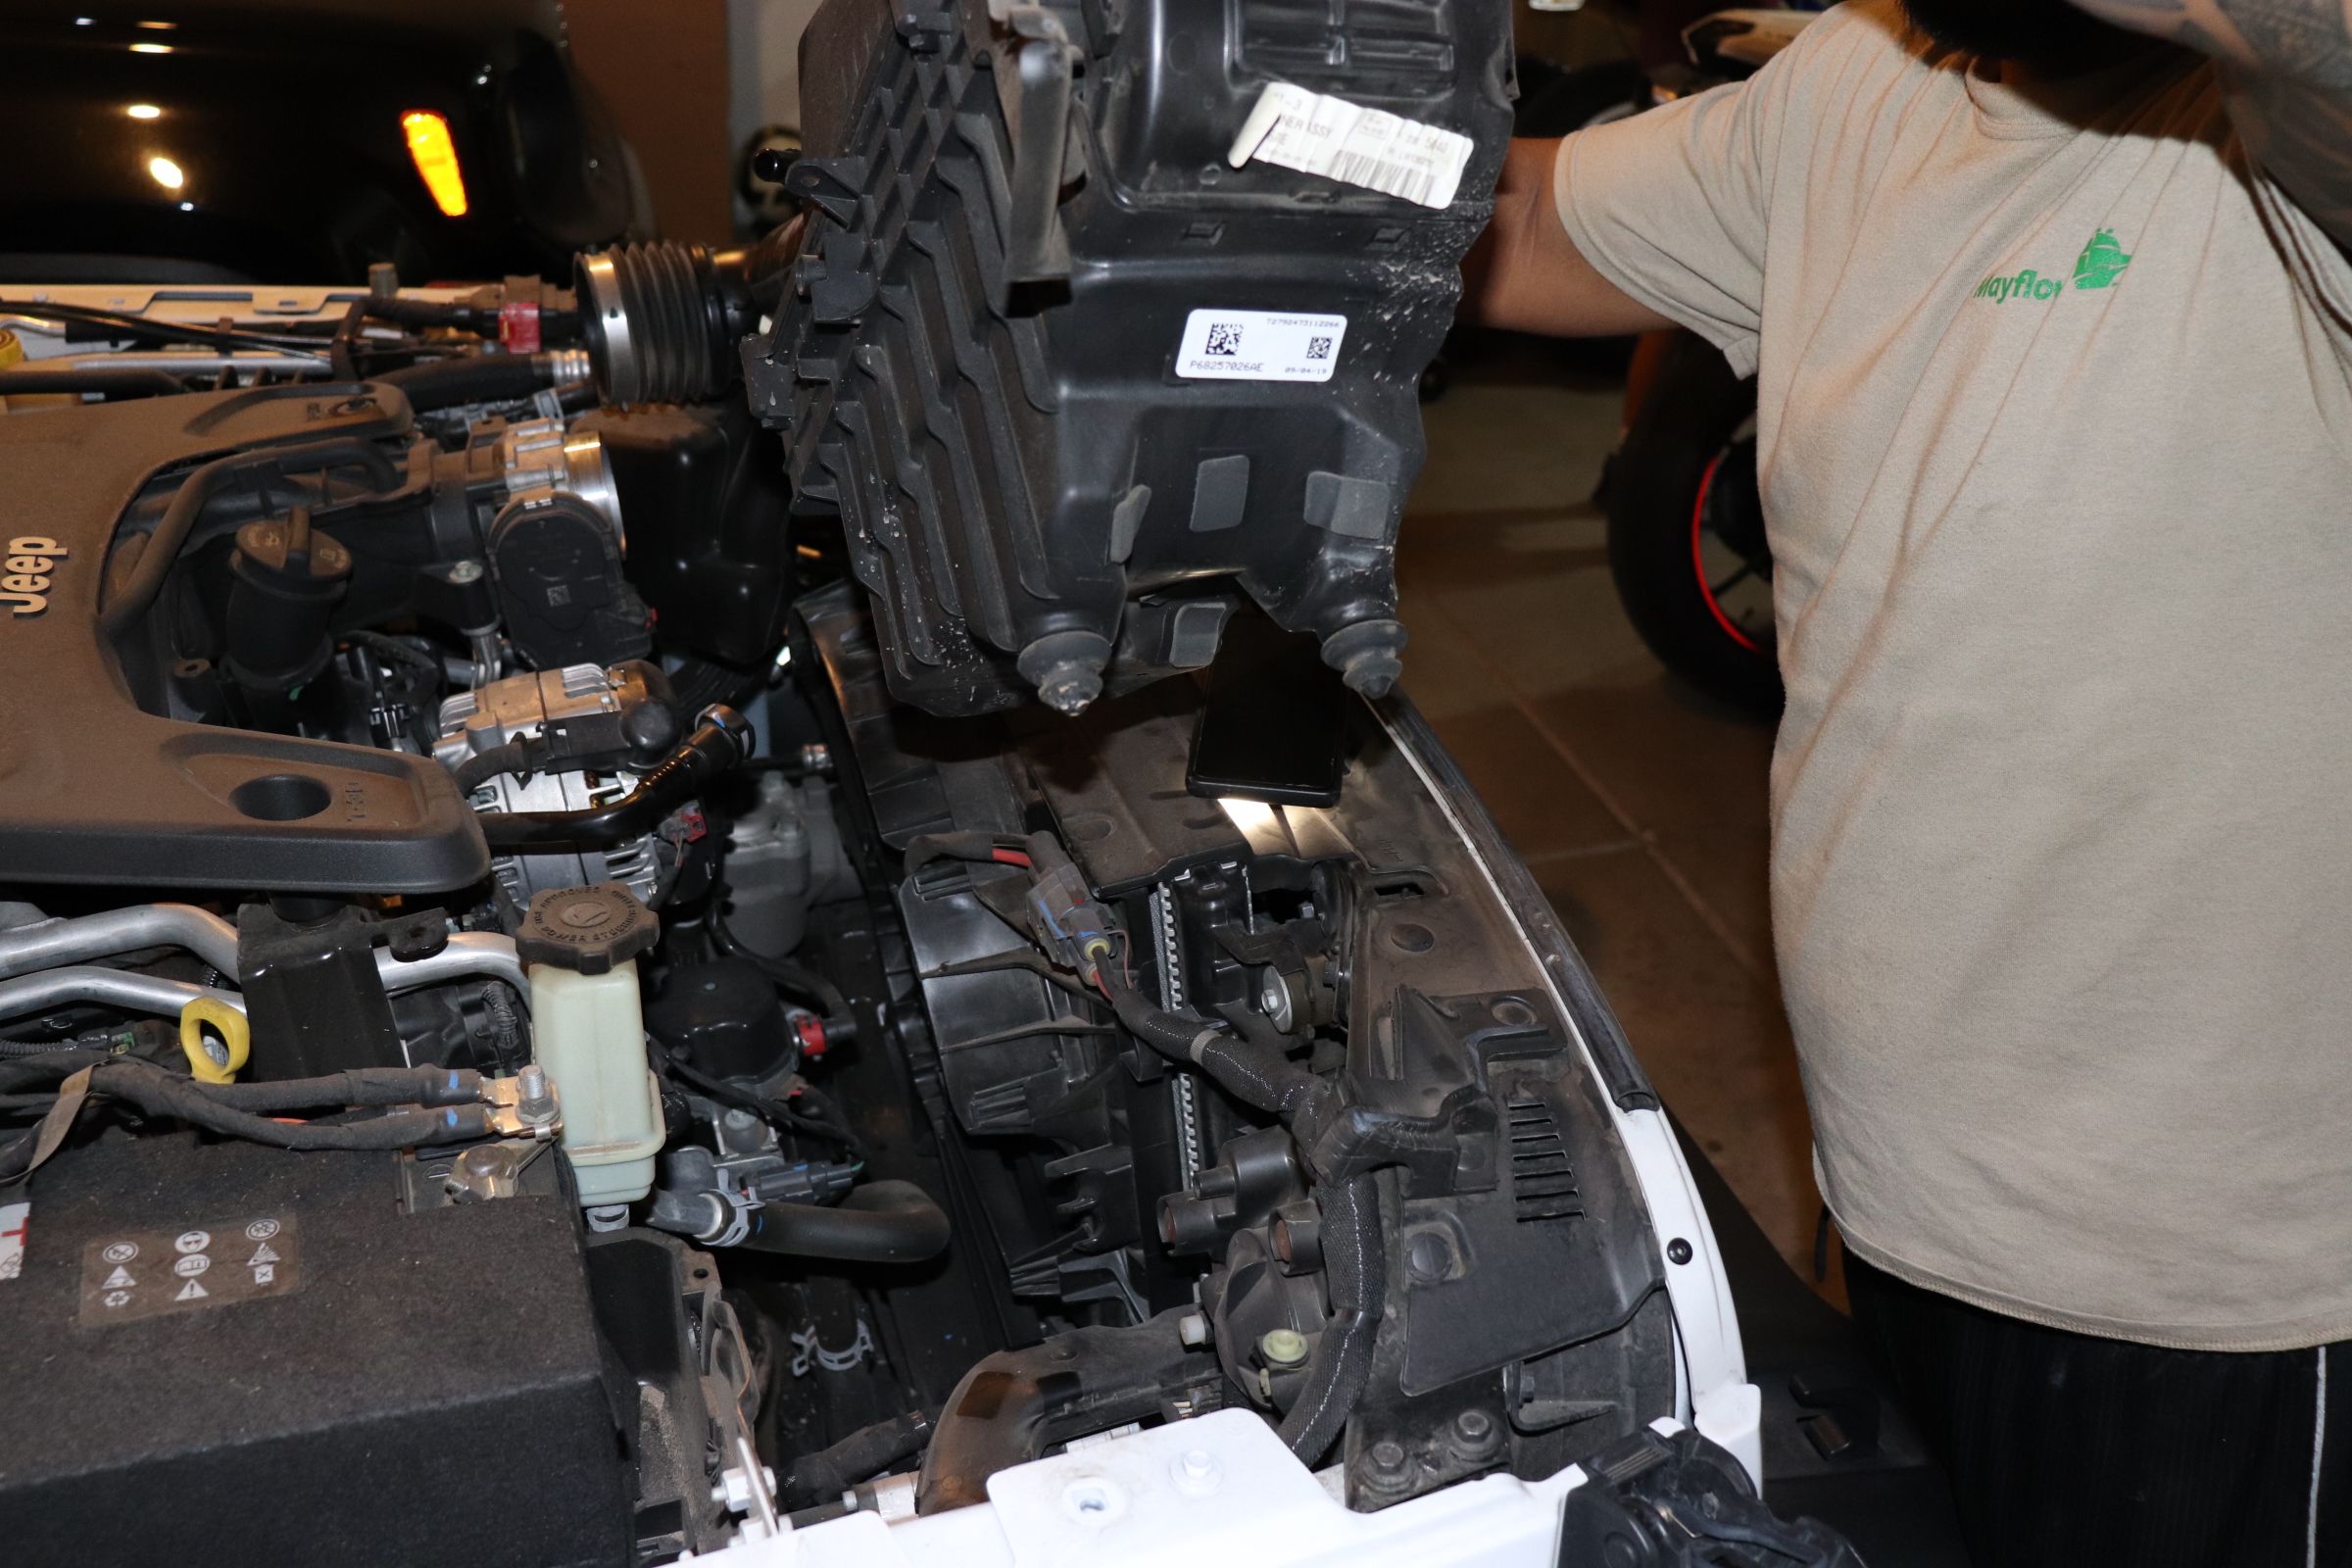
 Step 8)
Remove the factory intake.
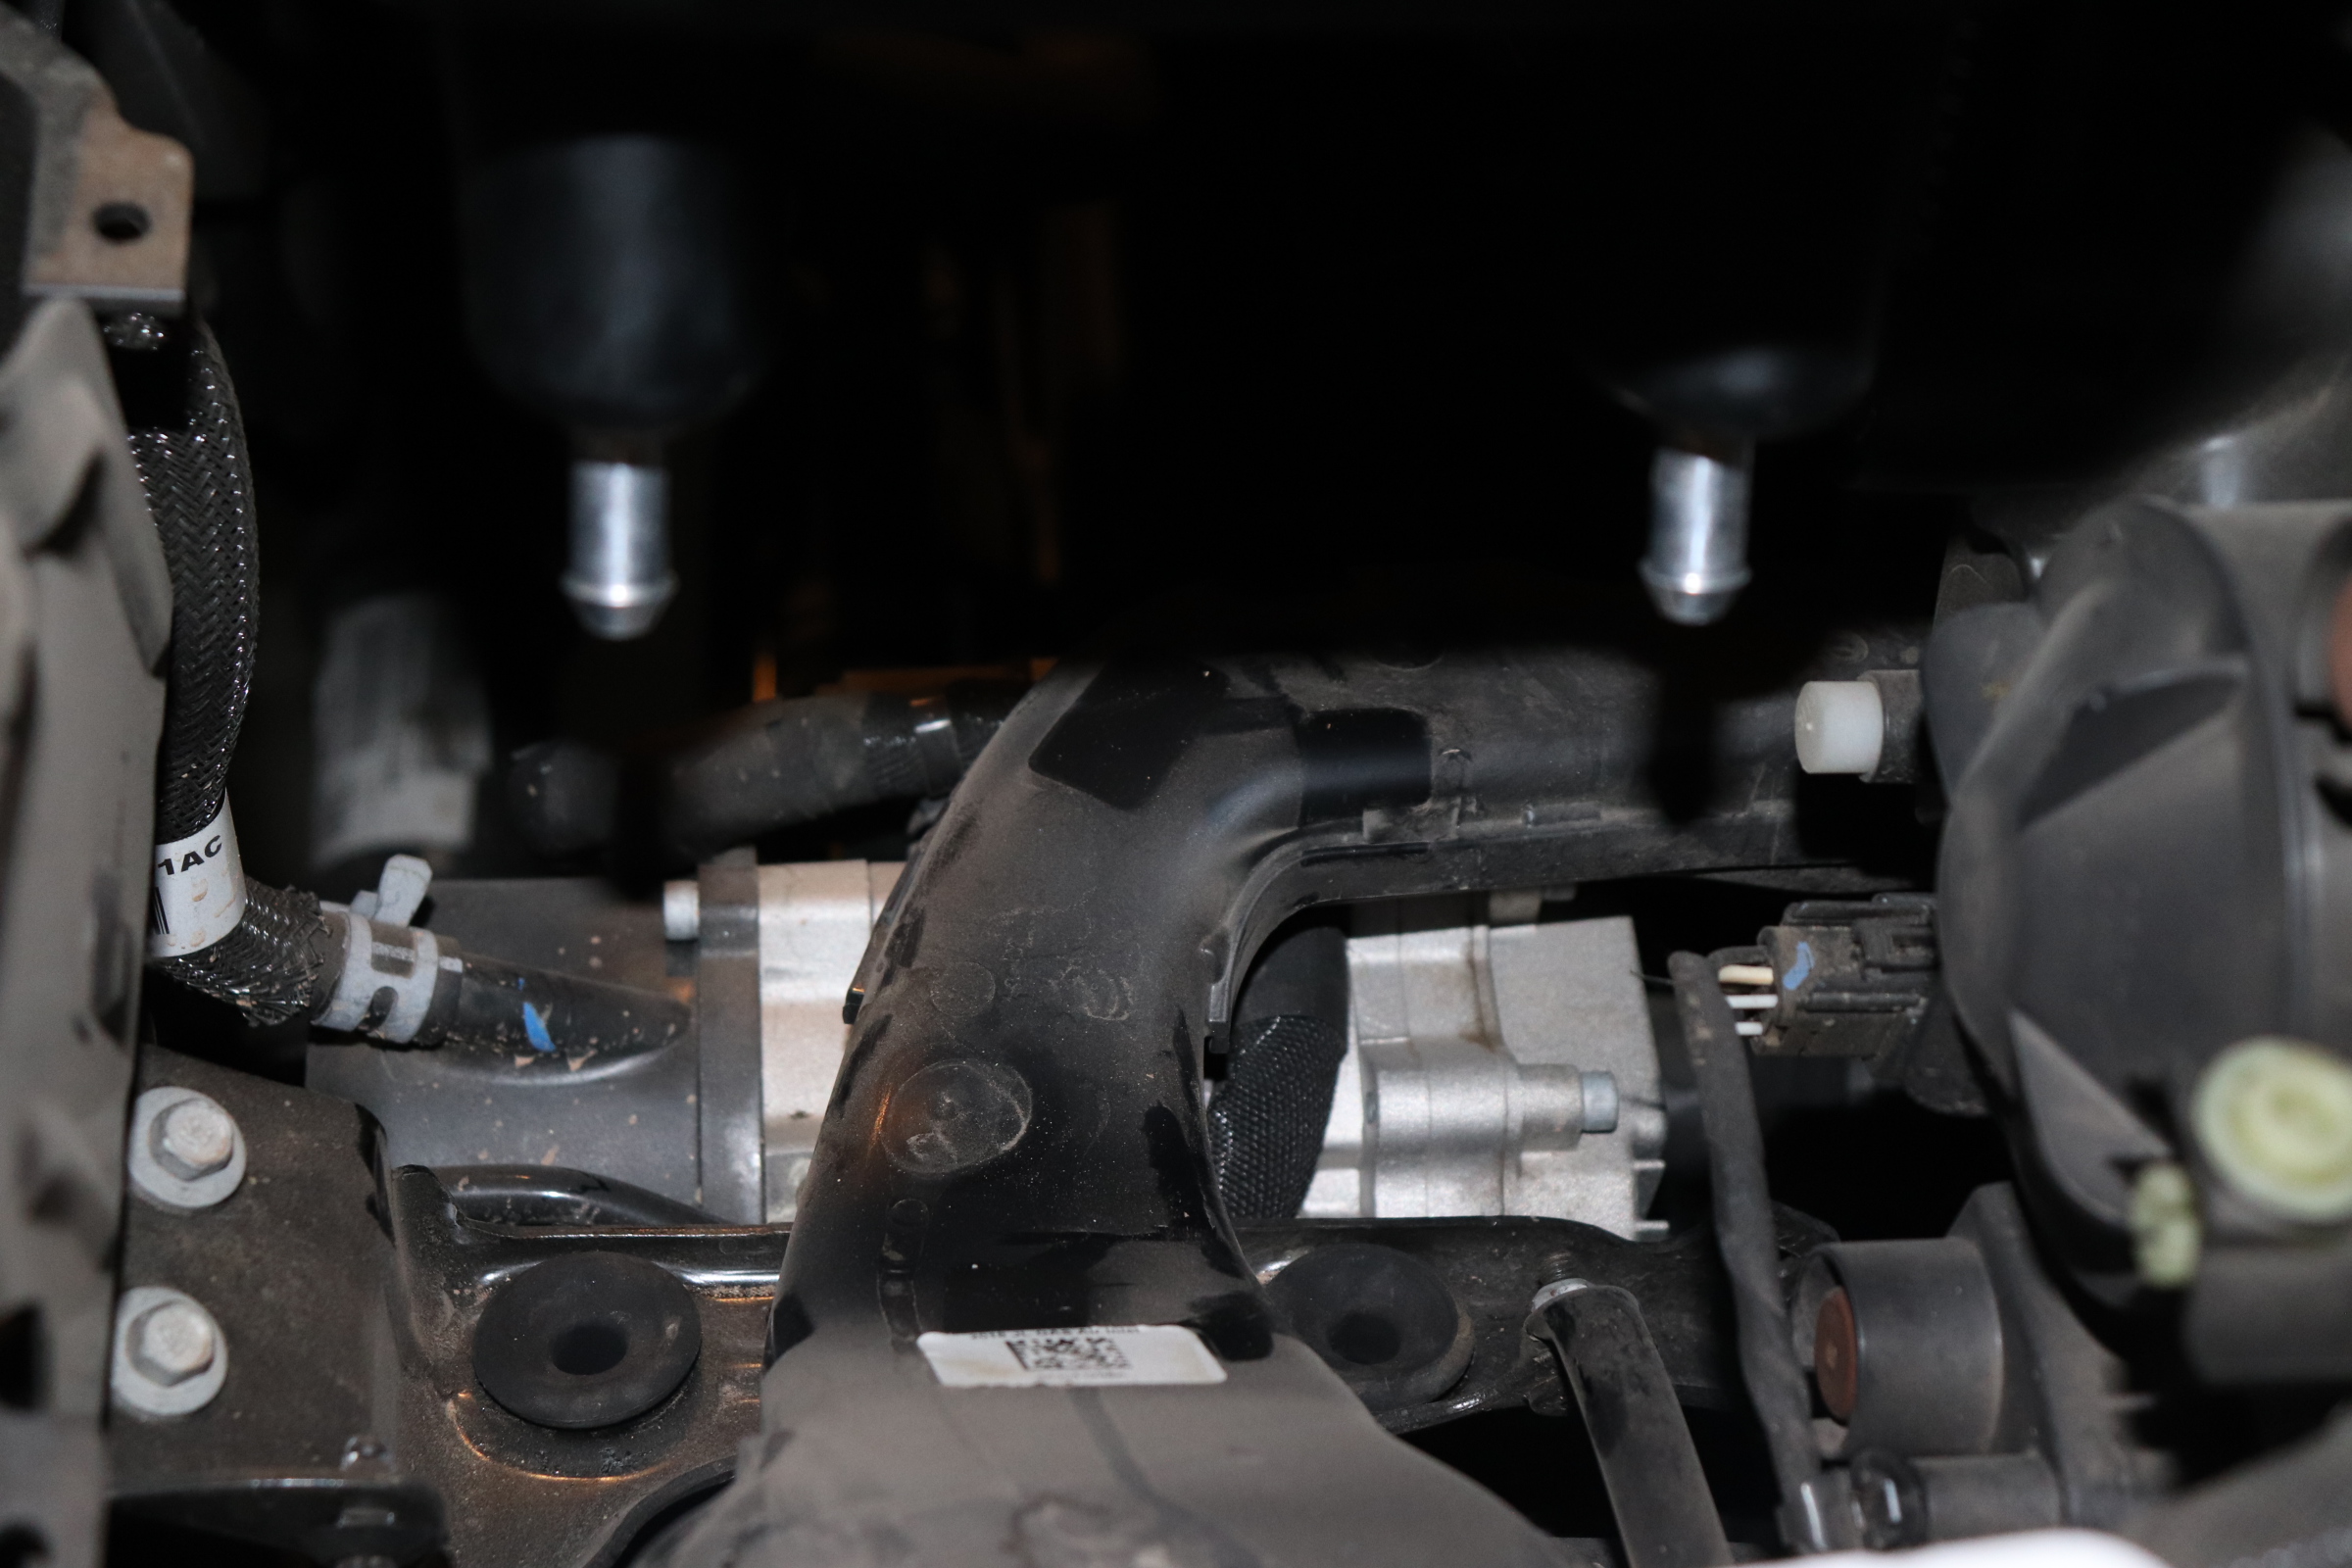
 Step 9)
Place the provided grommets in the factory location.
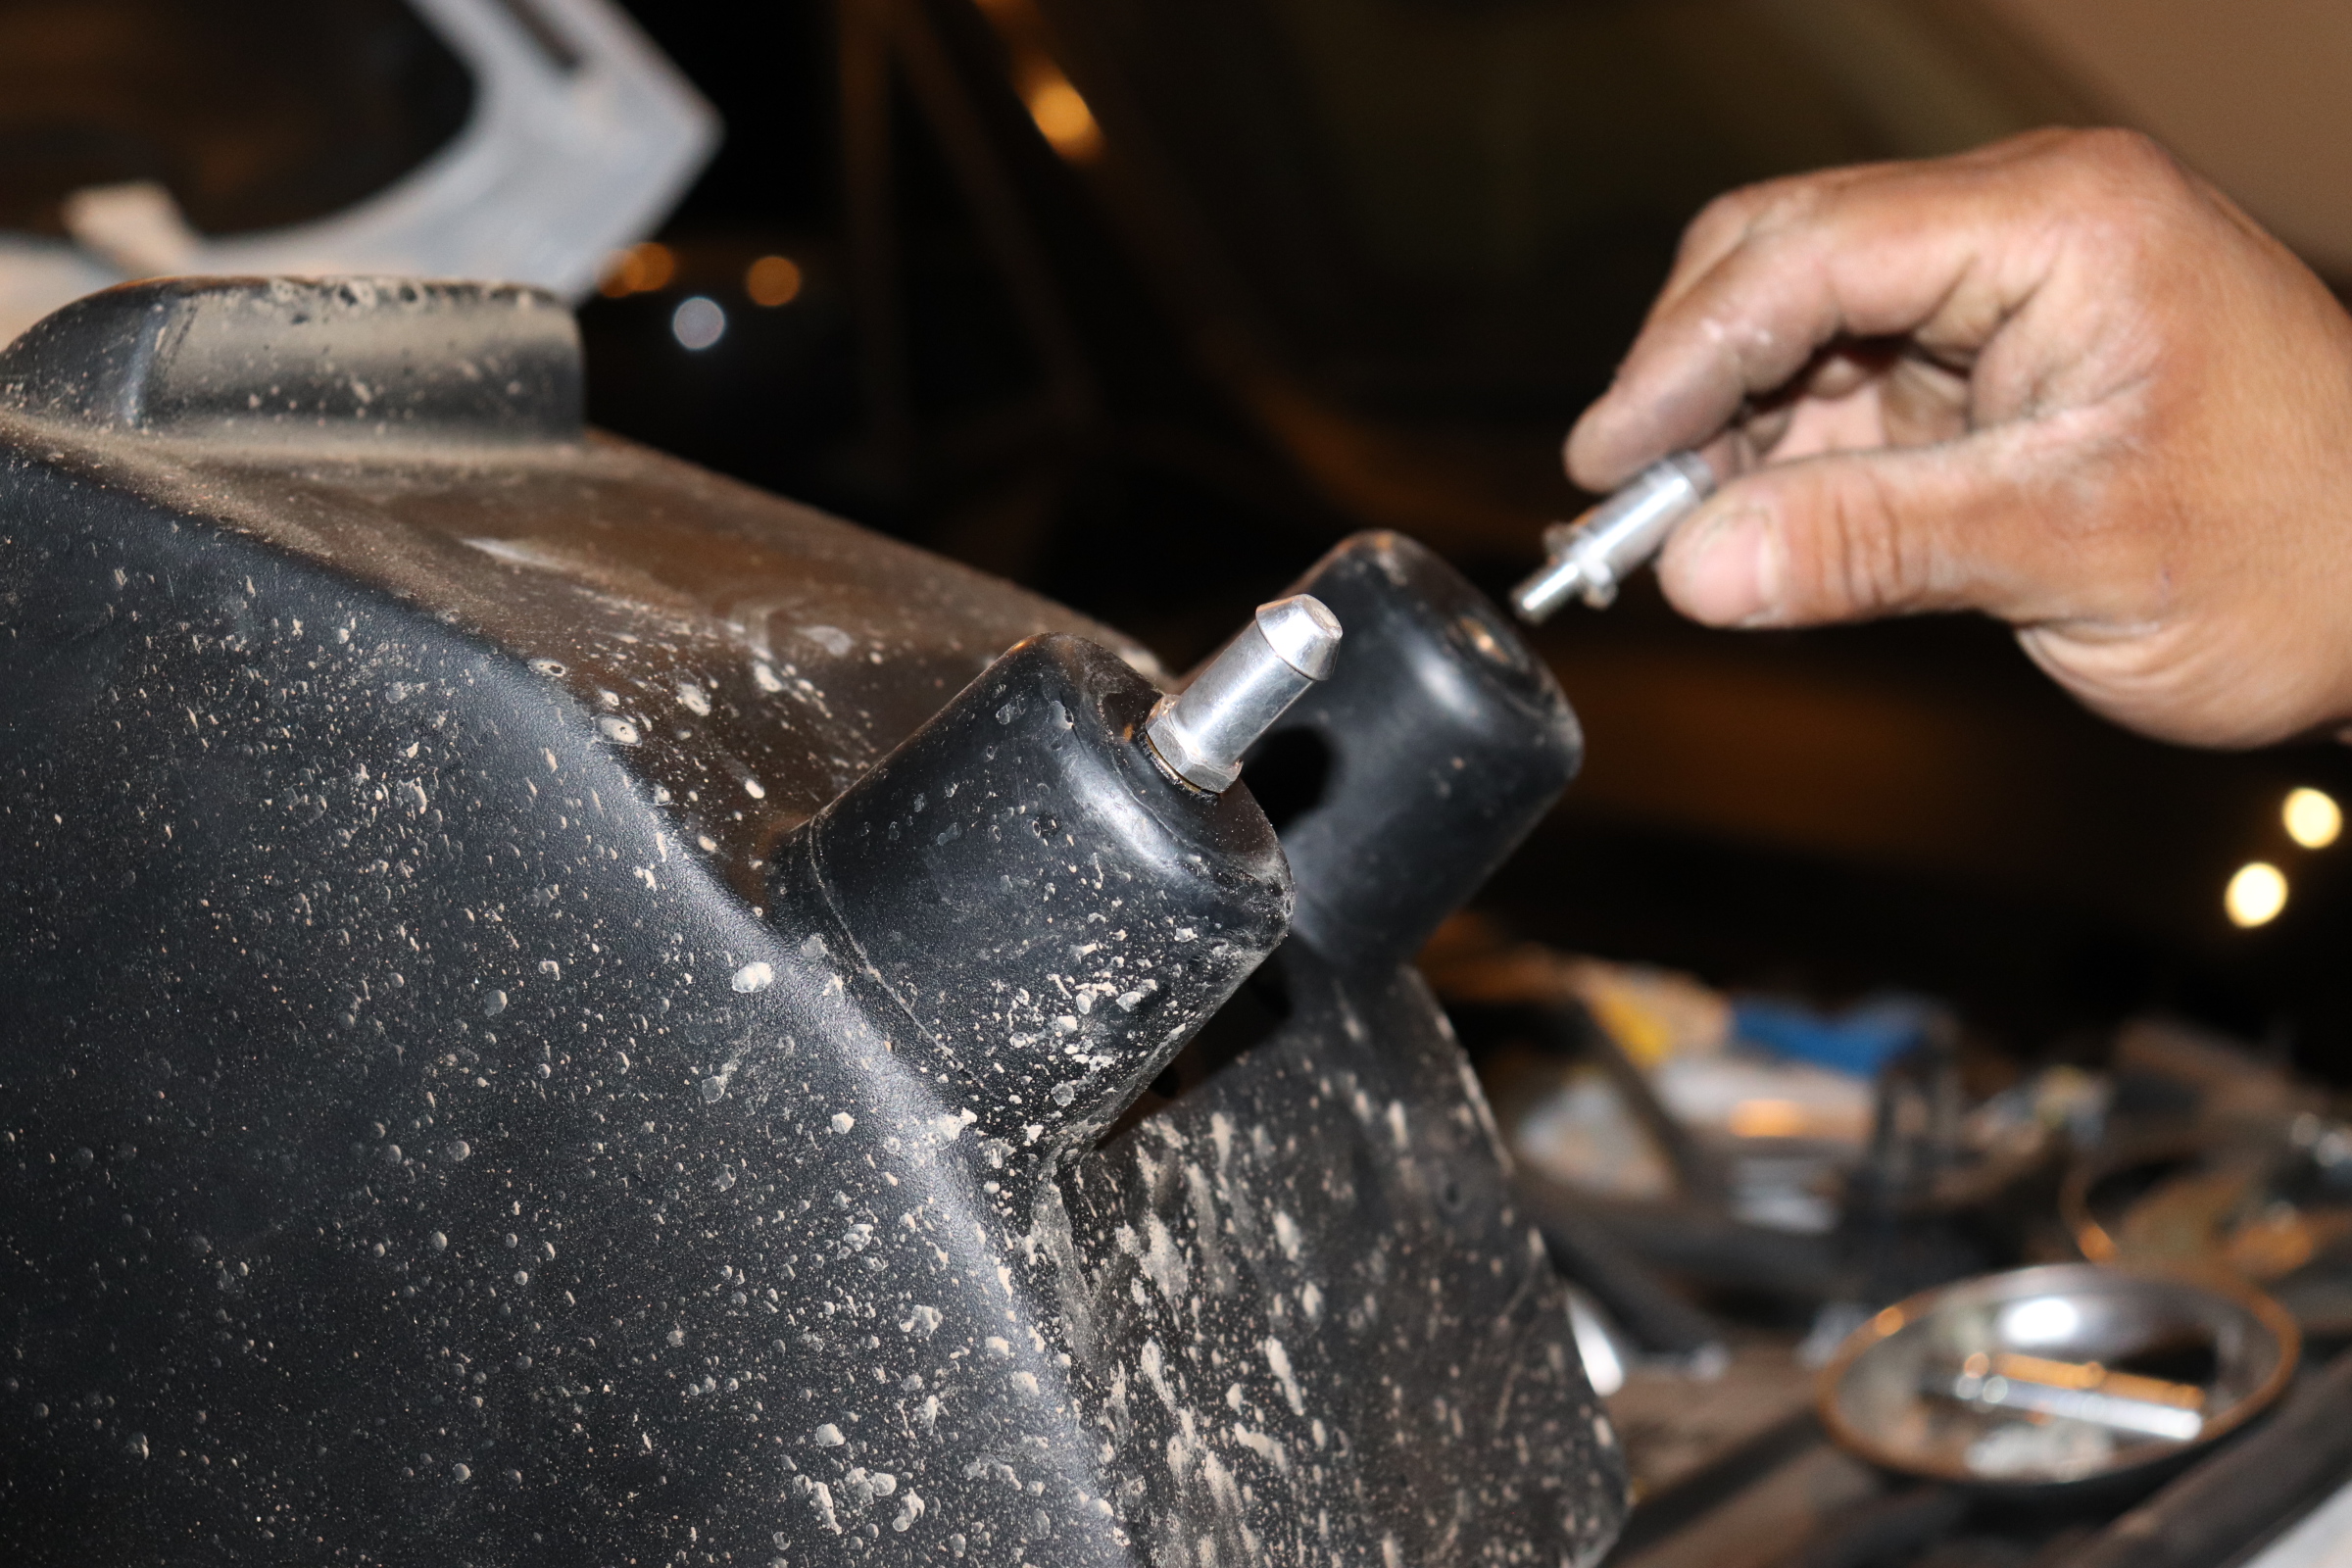
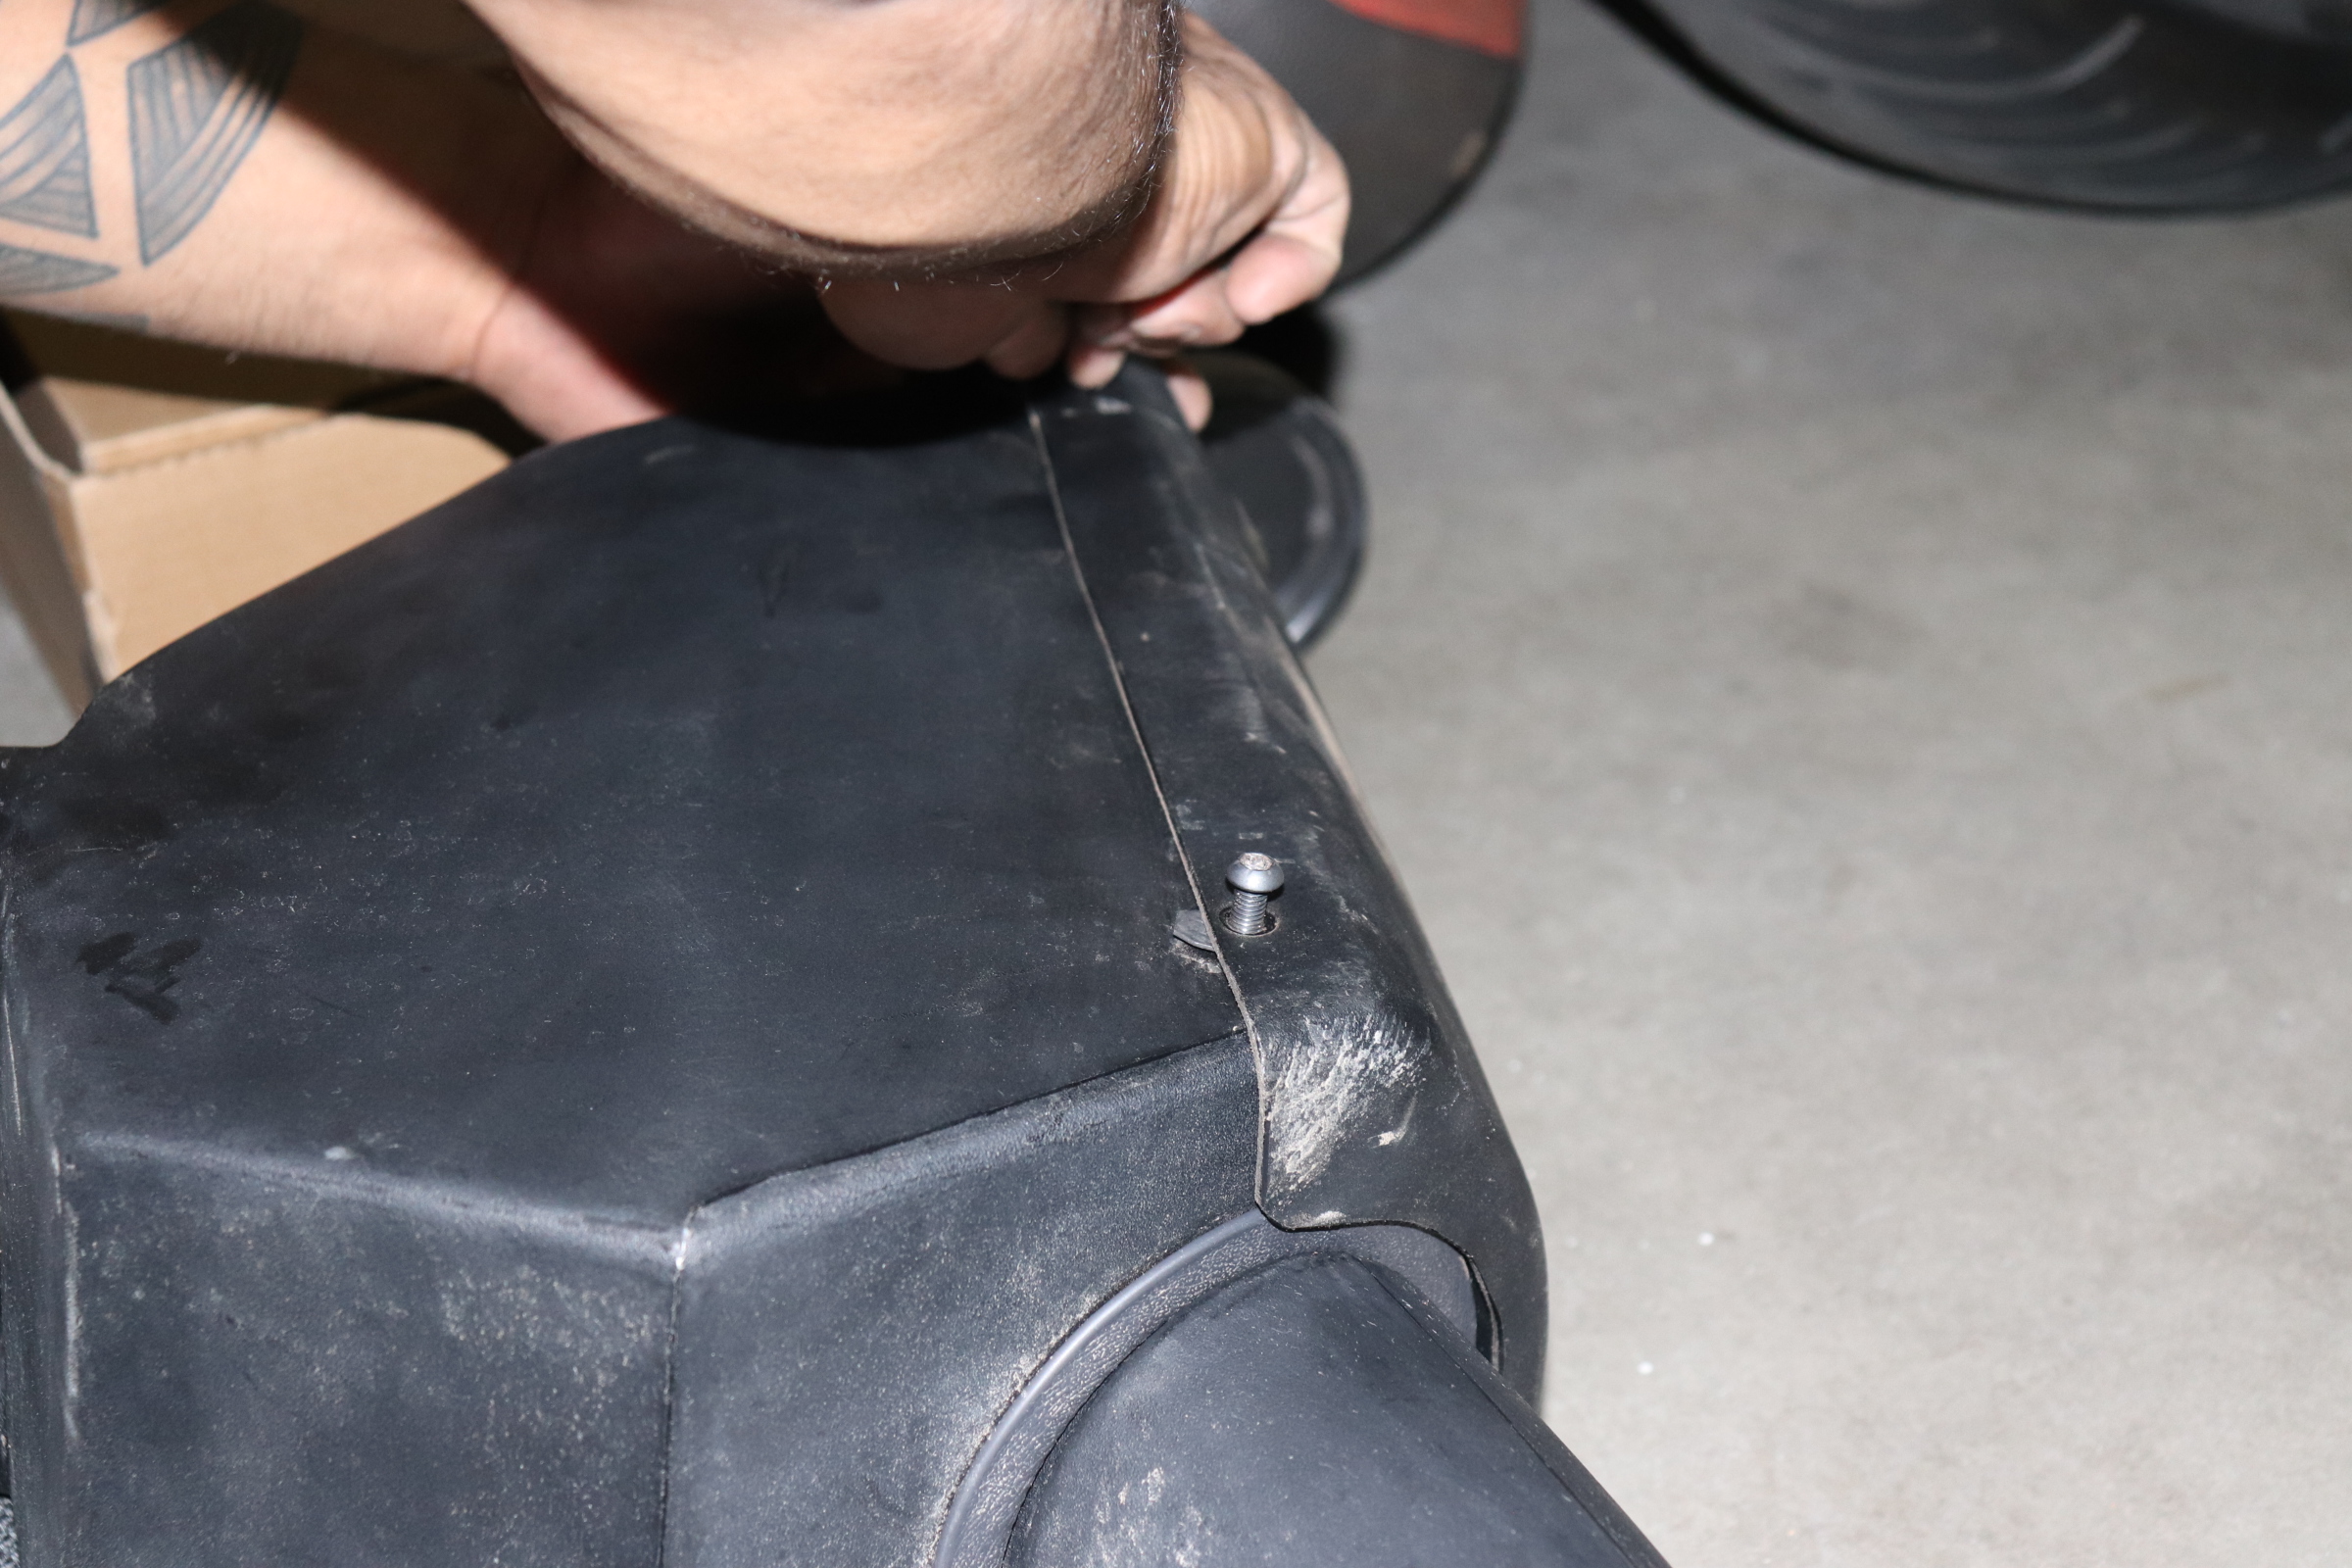
 Step 10)
Thread on the provided pegs to the bottom of the VR Performance airbox
 Step 11)
Insert the intake pipe through the box and secure the air filter to the tube. **Assemble intake before placing in the engine bay.**
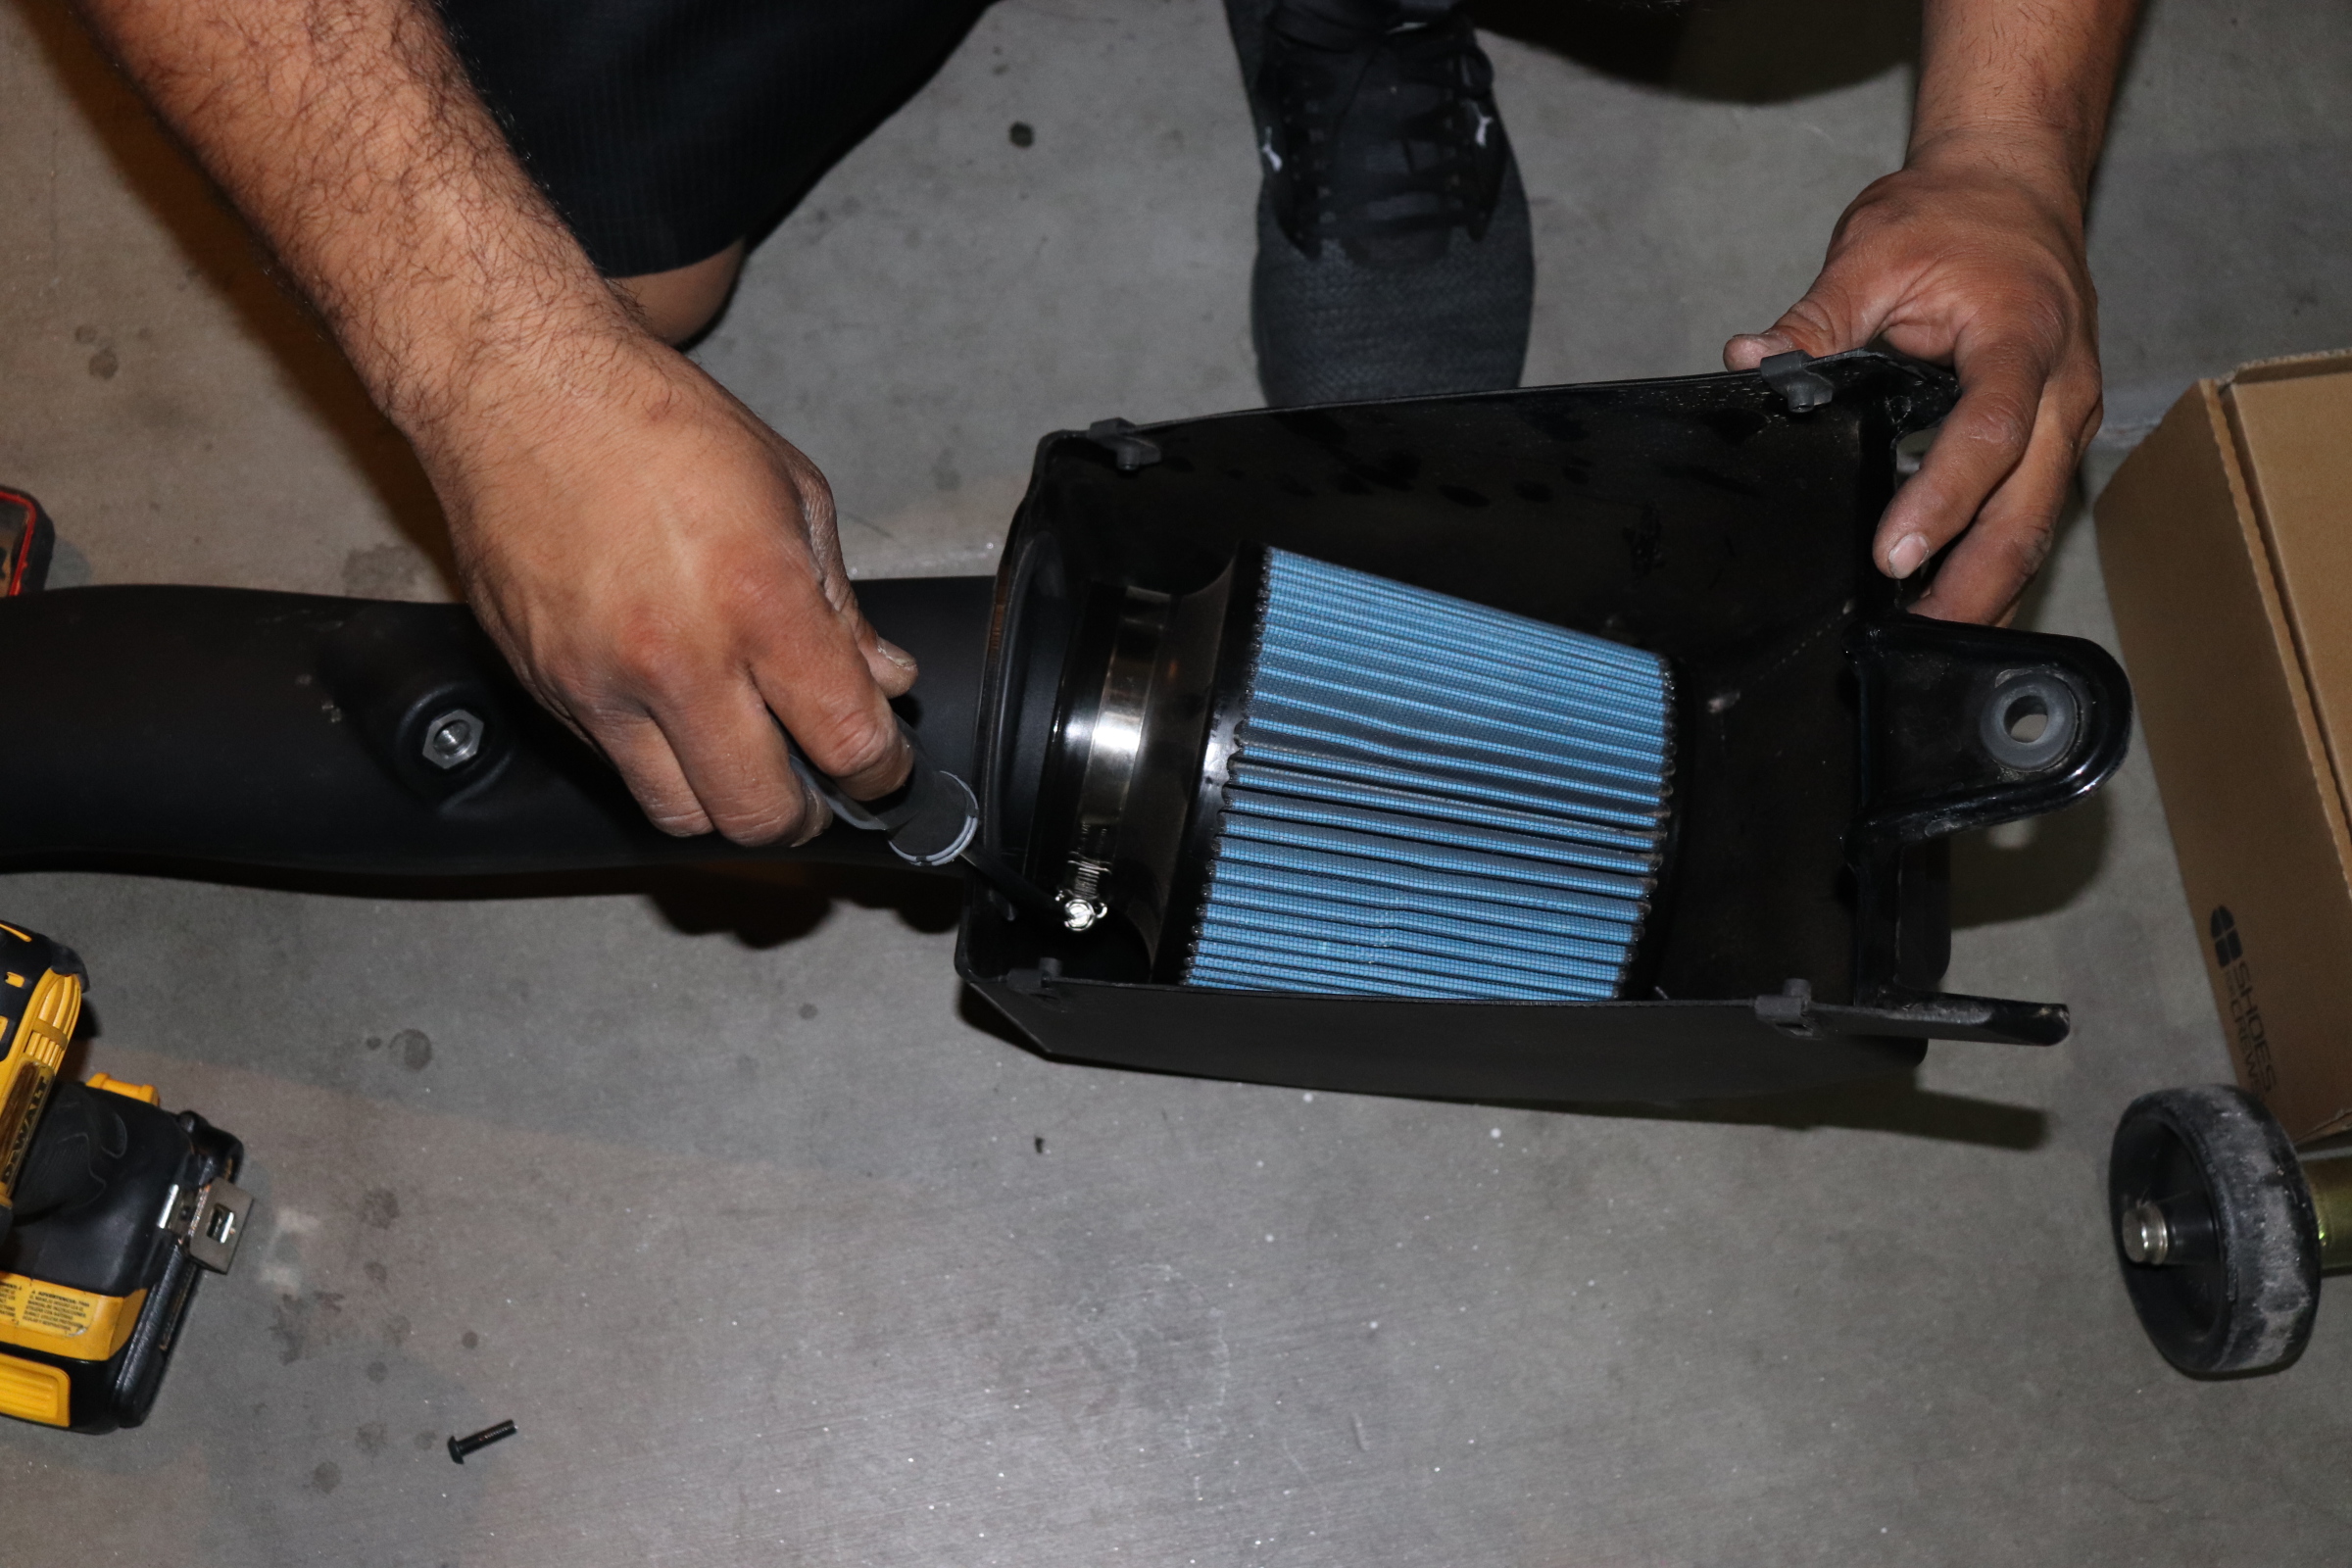 Step 12)
Place the airbox cover over the filter and screw it down with the provided hardware.
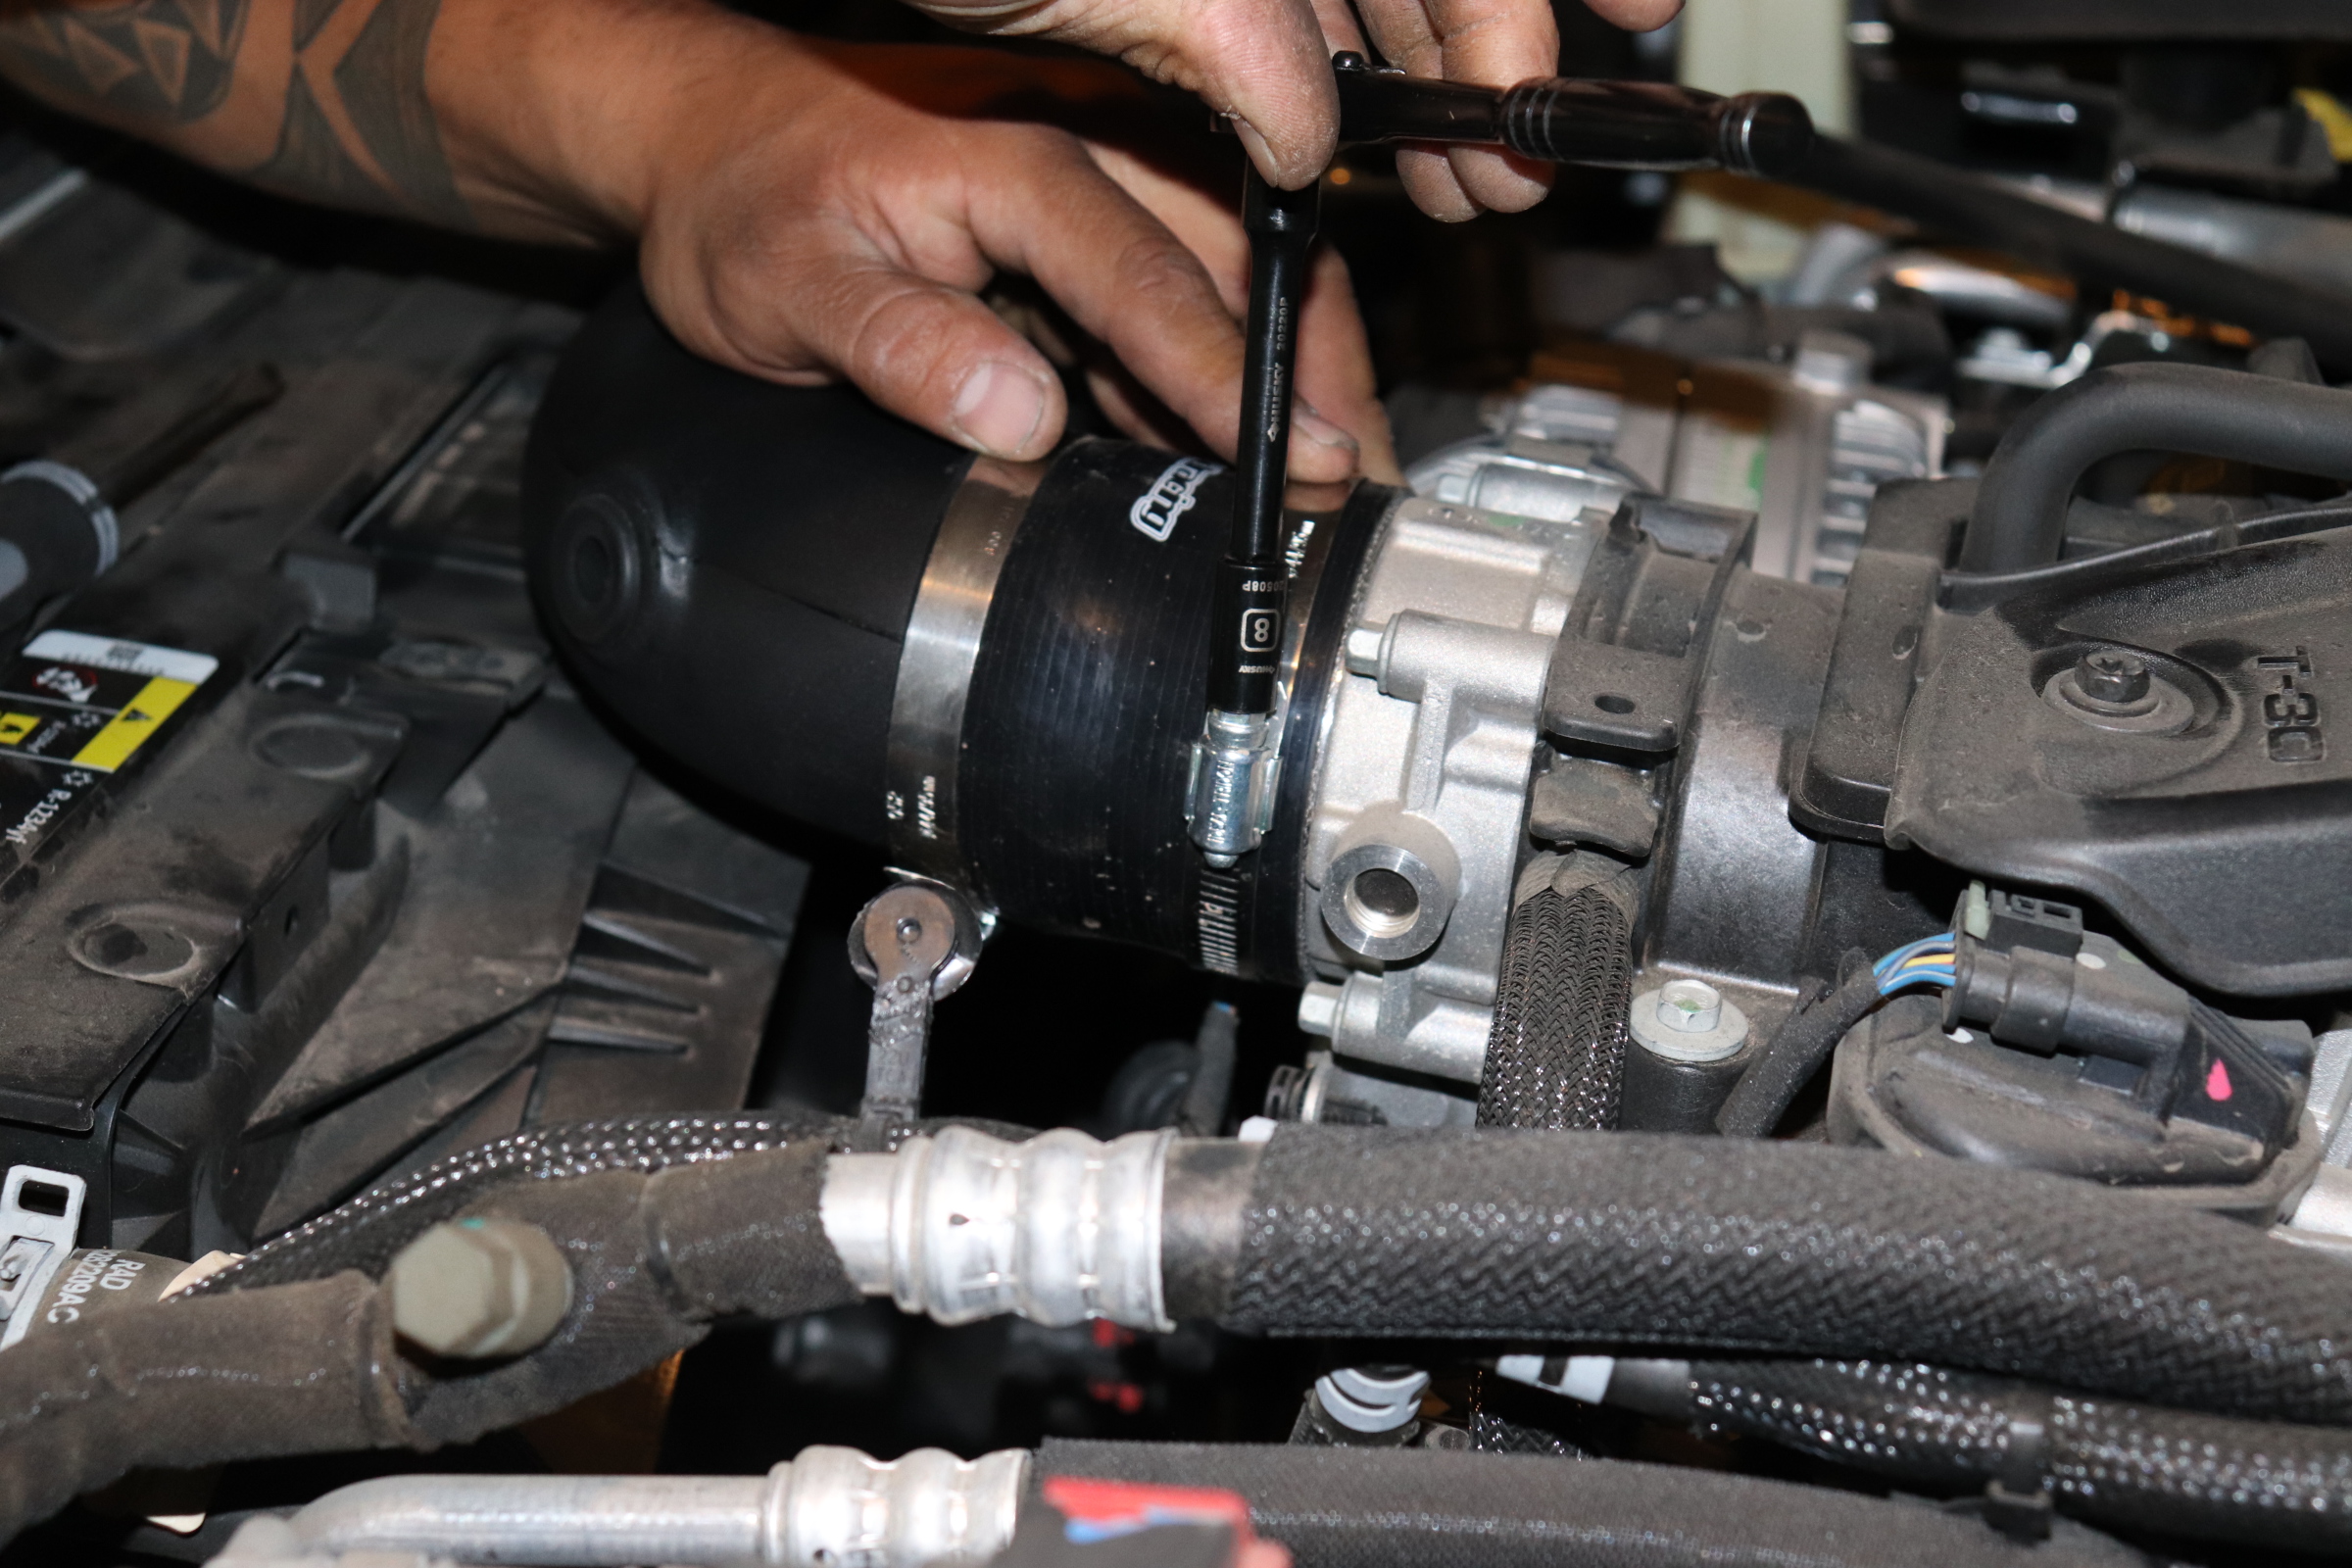
 Step 13)
Slide the provided silicone coupler over the throttle body and clamp down with an 8mm socket.
Step 14)
Place the airbox down into the grommets.
Step 15)
Reconnect the PCV line on the VR Performance intake tube.
 Step 16)
Place the IAT sensor back in its location by twisting it clockwise.
 Step 17)
Screw in the intake to the factory mounting points minus the two screws on the fan shroud.
Step 18)
Enjoy your new VR Performance cold air intake!