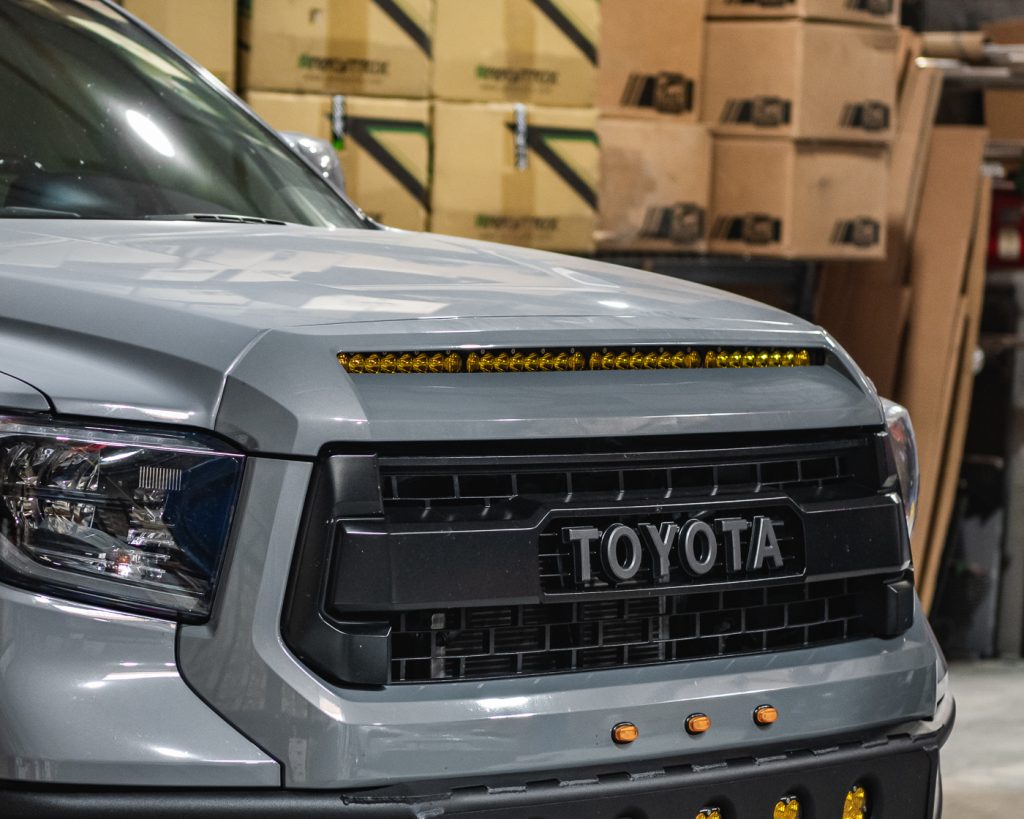
This install guide is to help aid the installation of Vivid Racing part #VR-TUN-910.
Level of difficulty:
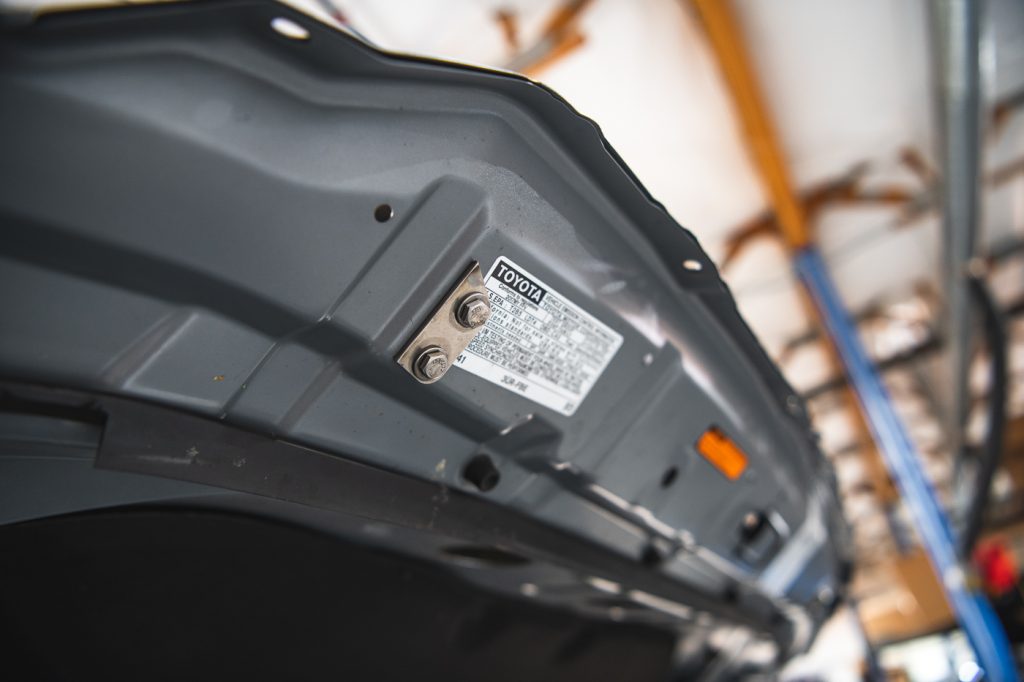
Step 1: Remove the trim piece off the front of the hood by locating and removing the three bolts underneath and pull the trim straight off.
Step 2: Flip the trim piece around and begin to disassemble the factory hood scoop. Remove the 6 screws from the backside and set them aside, as these will not be utilized for the install.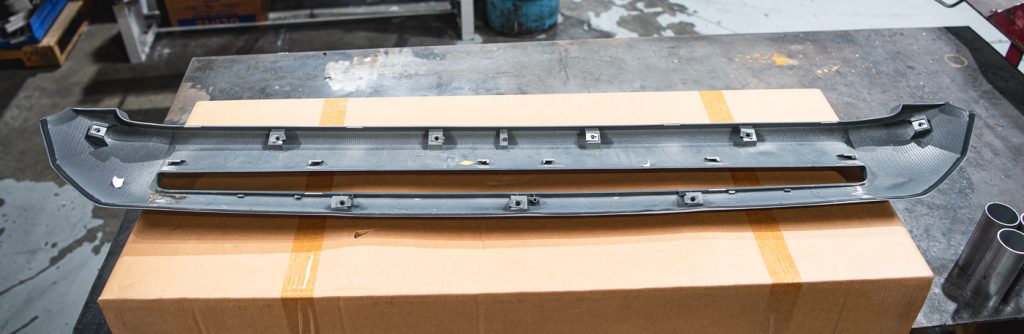
Step 3: Cut the 2 outer factory clips, as well as the middle clips for optimal clearance when installing the light bar.
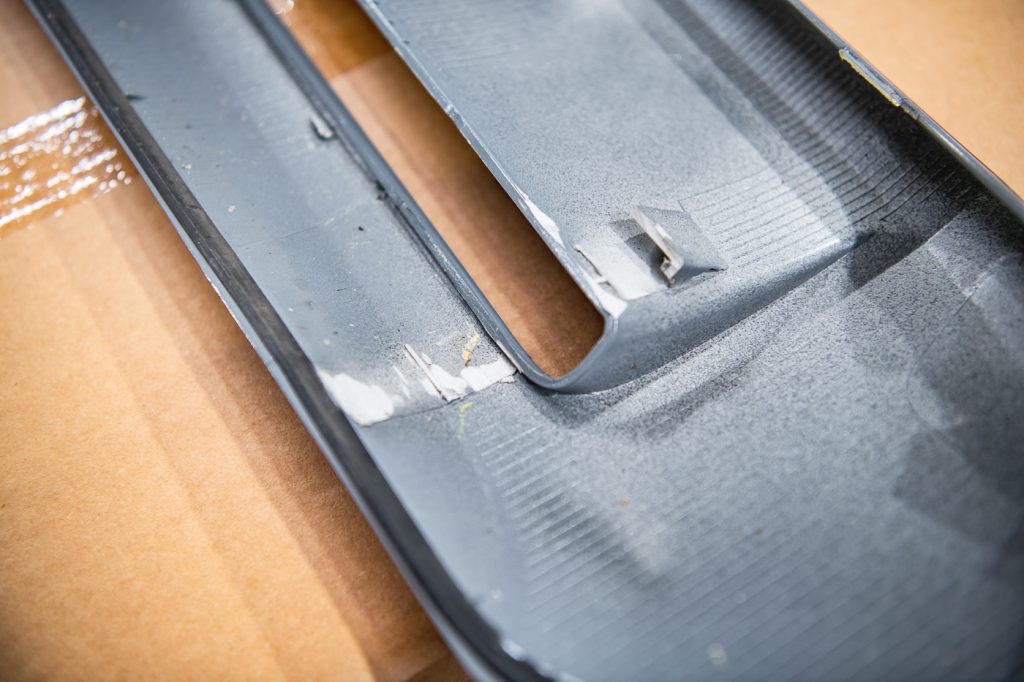
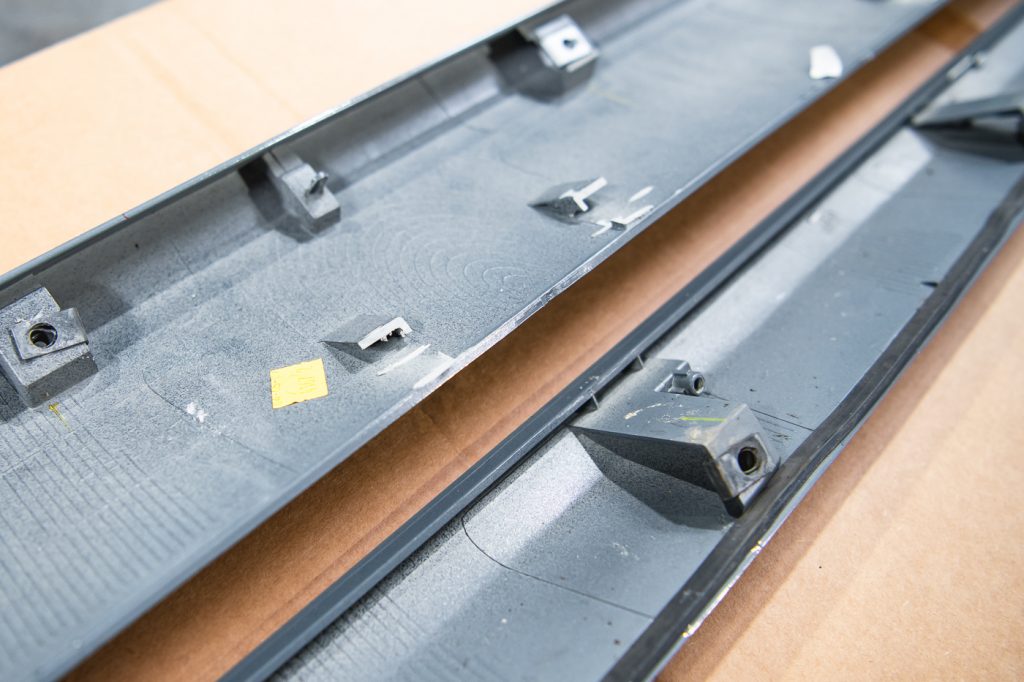
Step 4: Remove the rest of the clips leftover and slide the speed clips provided into the factory clip location.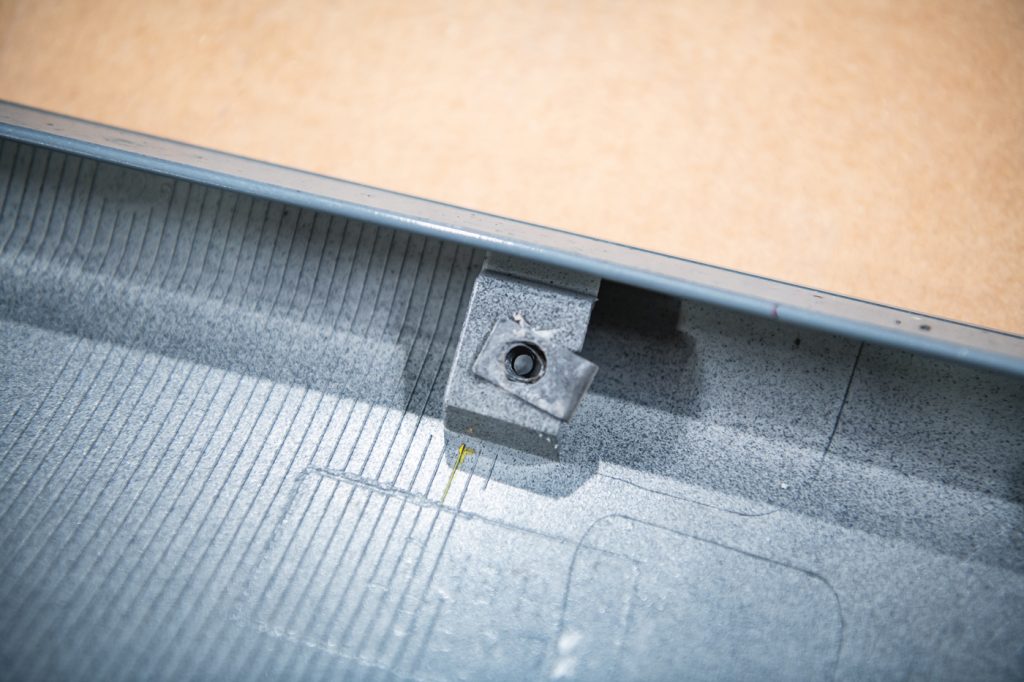
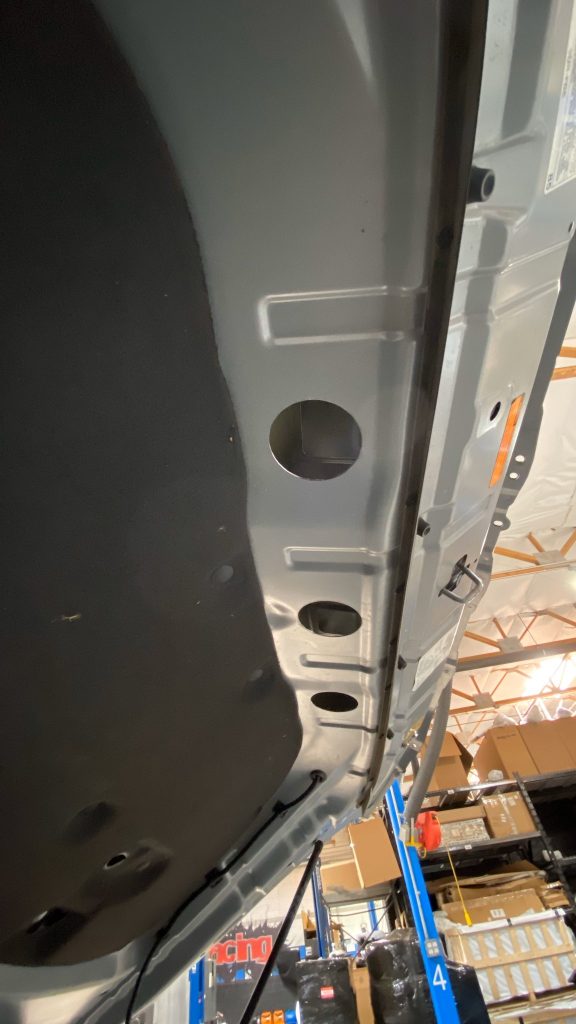
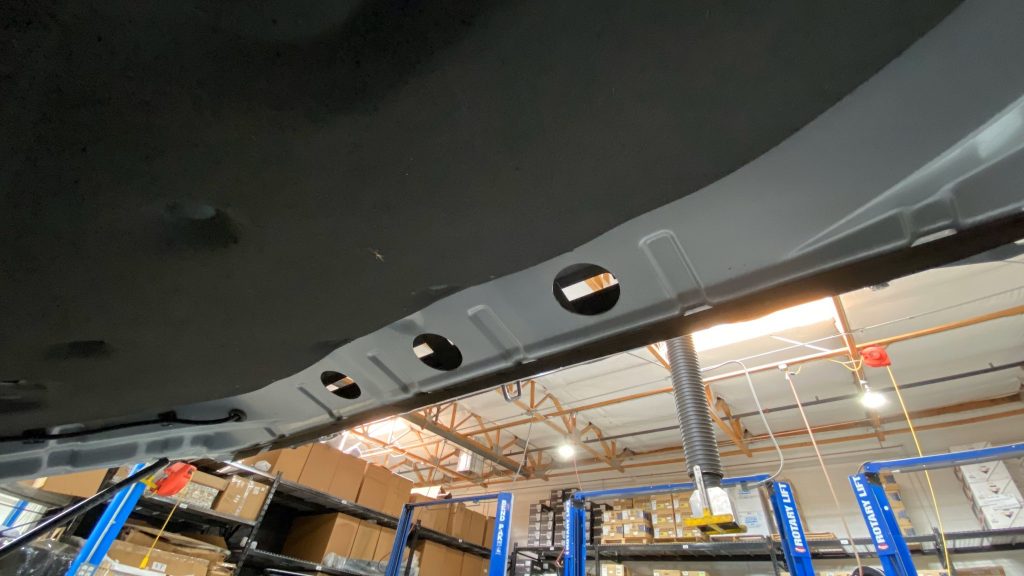
Step 5: Using a 3 1/4″ hole saw, drill a hole in the center of the backside hood piece with two more holes 10 1/4″ away from the center hole. This is to ensure the ability to tighten down the bolts on the underside of the brackets.
Step 6: Trim the top of the hood scoop on each side by 1 inch, as well as the middle sections preventing the 40″ light bar from mounting.
Step 7: Bolt up the Vivid Racing brackets to your light bar and place them in the hood scoop area to find the placement of the holes for the mounting brackets.
Step 8: Drill holes for the 4 bolts provided in the hardware kit to mount the upper and lower brackets.

Step 9: Loosley bolt the brackets up and the light bar to find the correct fitment and angle of the light.
Step 10: Tighten once adjusted properly.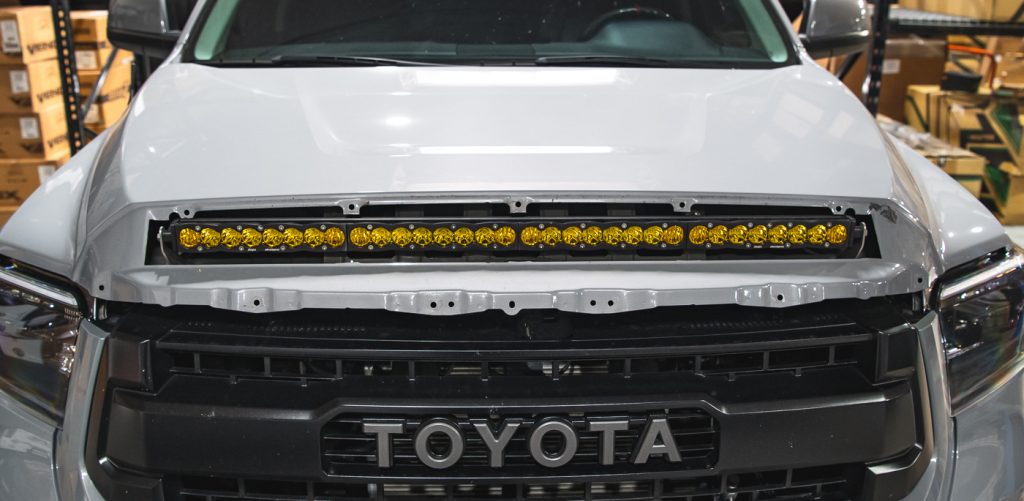
Step 11: Re-install the factory trim piece with the 6 bolts provided in the hardware kit and the factory bolts.