Prior to installation, we recommend checking your owners manual to see if your model has any sort of “jacking mode” which will prevent the suspension from trying to adjust while you work on the vehicle. You may also remove the bottom mounting point for each linkage before jacking the vehicle up to remove the possibility of damaging the OEM sensor.
Front:
Step 1: Select the highest suspension setting and jack the vehicle up by a few inches to locate the ride height sensor which is under the wheels arch sensor.
Step 2: Carefully remove the linkage, be careful to not damage or snap the sensor arm.
Step 3: Fit a rubber grommet to each ball stud to ensure the ball and ball joint is protected from the elements.
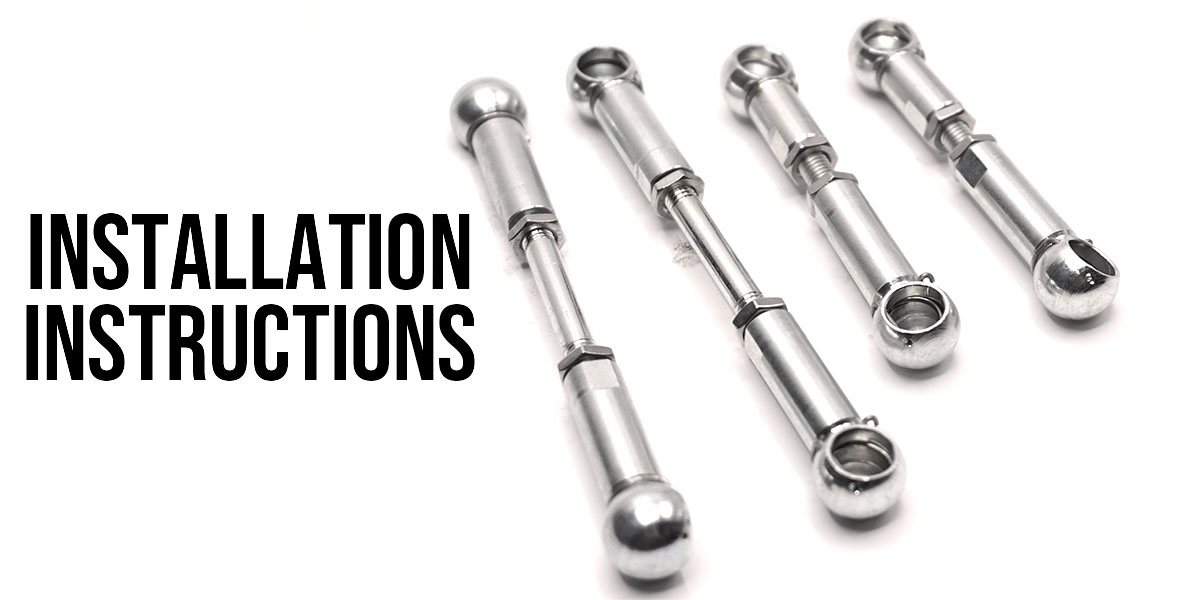
Step 4: Install your new adjustable linkages by removing the safety retaining clips and then firmly pushing the ball joints of the linkage onto the ball studs on the brackets and sensors arm. The vehicle will lower by approximately 28mm for every 5mm shorter you adjust the VR Performance linkage. As a baseline, we suggest making the linkage 8mm shorter than the OEM part and then adjusting as you see fit.
Step 5: Once you have achieved the desired ride height, re-attach the safety clips and remove the jack by lowering it.
Rear:
Step 1: Select the highest suspension setting and jack up the rear of the vehicle to locate the right height sensor(s). For this process, we recommend leaving the rear wheels attached to the vehicle to reduce the change of damage during the installation process.
Step 2: Carefully remove the linkage, be careful to not damage or snap the sensor arm.
Step 3: Fit a rubber grommet to each ball stud to ensure the ball and ball joint is protected from the elements.
Step 4: Install your new adjustable linkages by removing the safety retaining clips and then firmly pushing the ball joints of the linkage onto the ball studs on the brackets and sensors arm. We suggest fitting the shorter balljoint of the linkage to the mounting point on the wishbone. The vehicle will lower by approximately 28mm for every 5mm longer you adjust the VR Performance linkage. As a baseline, we suggest making the linkage 8mm longer than the OEM part and then adjusting as you see fit.
Step 5: Once you have achieved the desired ride height, re-attach the safety clips and remove the jack by lowering it.
Initializing the Adjusted Suspension:
Step 1: Start the vehicle on a level surface and select the highest suspension setting available and allow the vehicle to adjust (this can take a while for some applications, so be patient).
Step 2: After leaving the vehicle running for a few minutes so it can adjust to the maximum ride height position, you can now select the “Sport” suspension mode which will lower the vehicle back down.
Step 3: Check that your vehicle is at the desired ride height in the suspension setting you have selected. Raise or lower the vehicle as you see fit by adjusting the VR performance link. This may take a few attempts to get the ride height exactly where you want it.
Returning to Stock:
If needed, you can easily re-install your OEM linkages by following the install process above. We recommend using some sort of lubricant such as WD-40 to make the process easier.