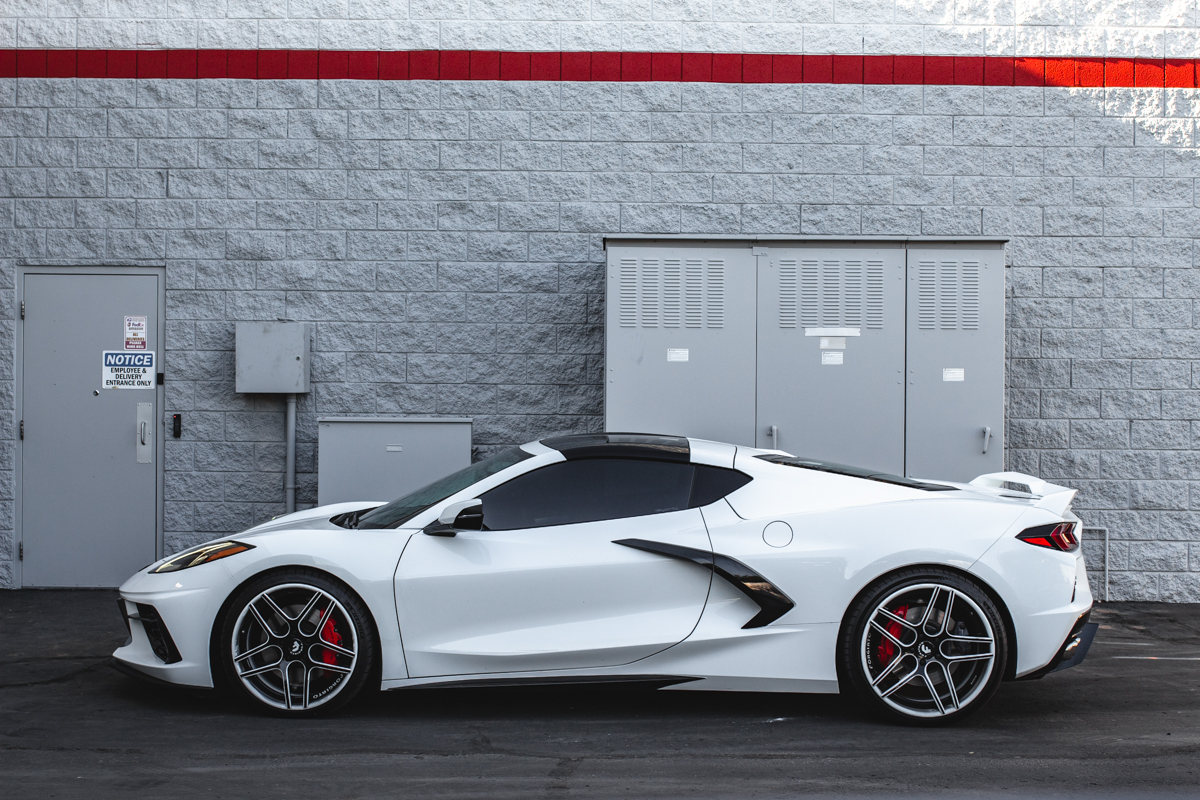
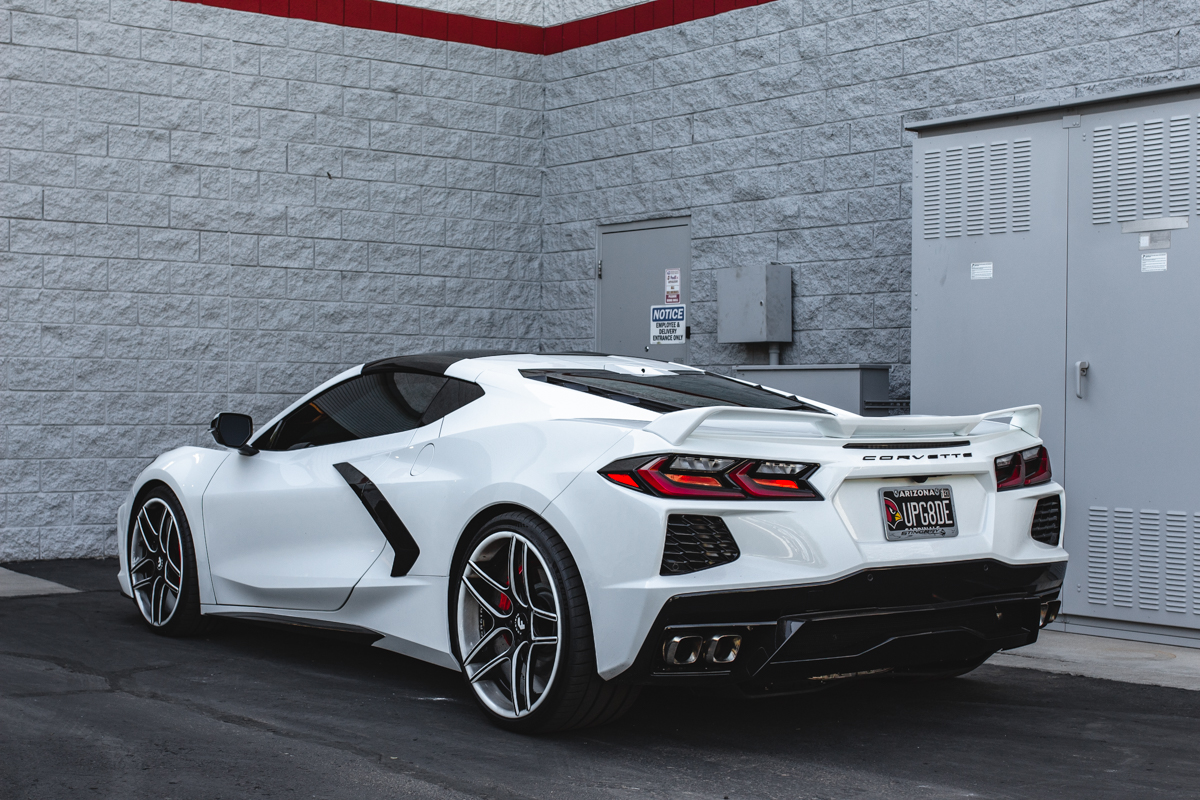
This guide is to assist with the installation of the Vivid Racing Lowering Collars on the 2020-2021 Chevrolet C8 Corvette.
Notes
Professional installation is highly recommended.
Vehicle Alignment is highly recommended after installation.
Always refer to the vehicle service manual for torque specifications on OEM hardware.
Parts included:
Front Lowering Collars
Mag Ride Depin Tool
Tools Needed:
- Torque Wrench to 125ft/lbs
- 1/2″ Ratchet or Breaker Bar
- 3/8″ Ratchet or Breaker Bar
- 3/8″ 3″ Extension
- Spring Compressor
- 21mm Wrench
- 22mm Socket
- 21mm Socket
- 19mm Socket
- 13mm Socket
- 11mm Socket
- Small Flat Head Screwdriver
- Plastic or Rubber Mallet
- Floor Jack or Lift
Optional Tools:
- Sharpie
- Depinning Tool
- Mag Ride Socket
- Drip Pan
Step 1)
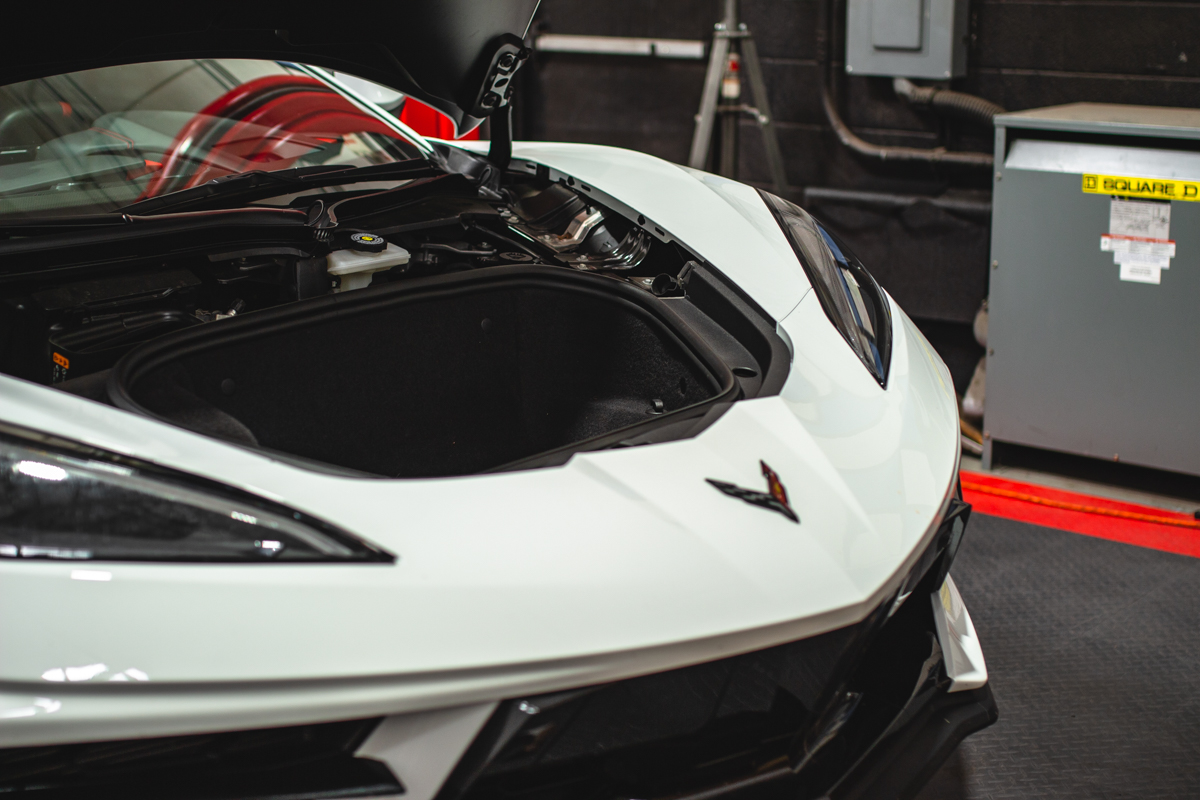
Open the front trunk and remove the plastic trim.

Step 2)
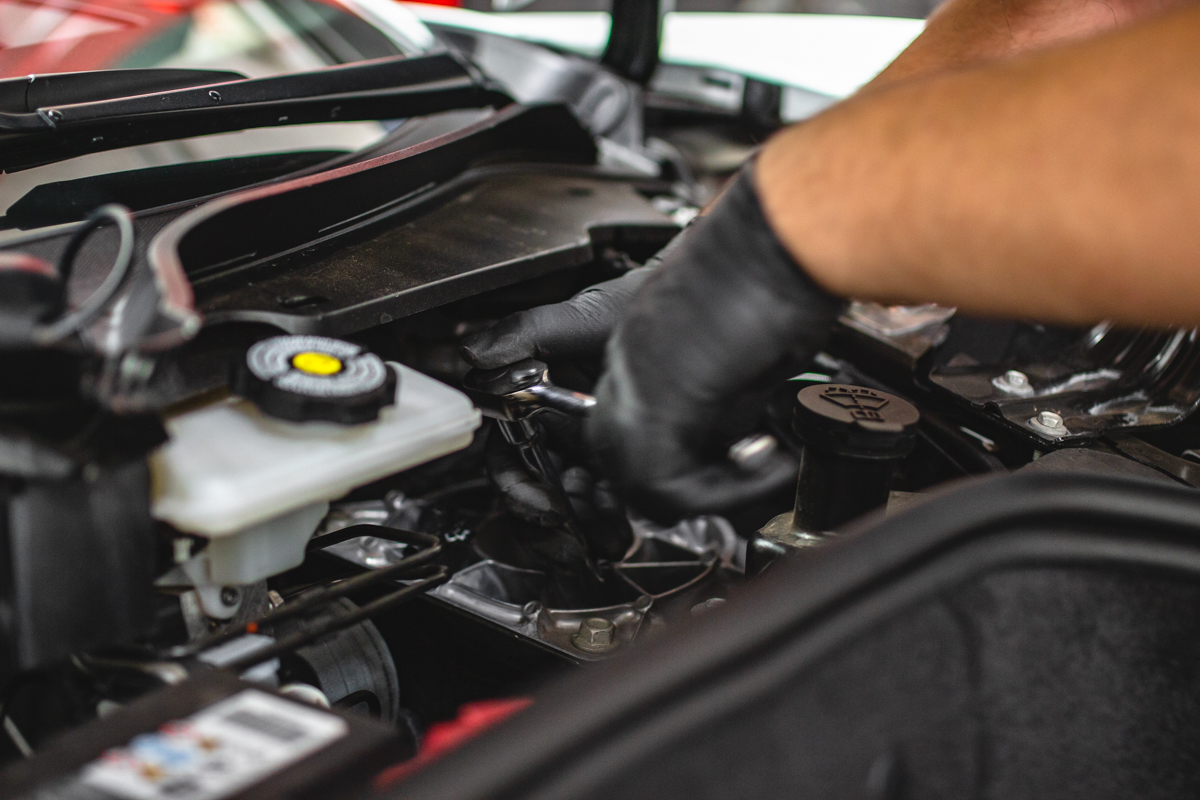
Disconnect the magnetic ride connector at the top of the strut tower and begin to remove two of the 13mm nuts for the strut. Loosen the remaining two but leave hand tight as they will secure the strut until necessary to remove.
Step 3)
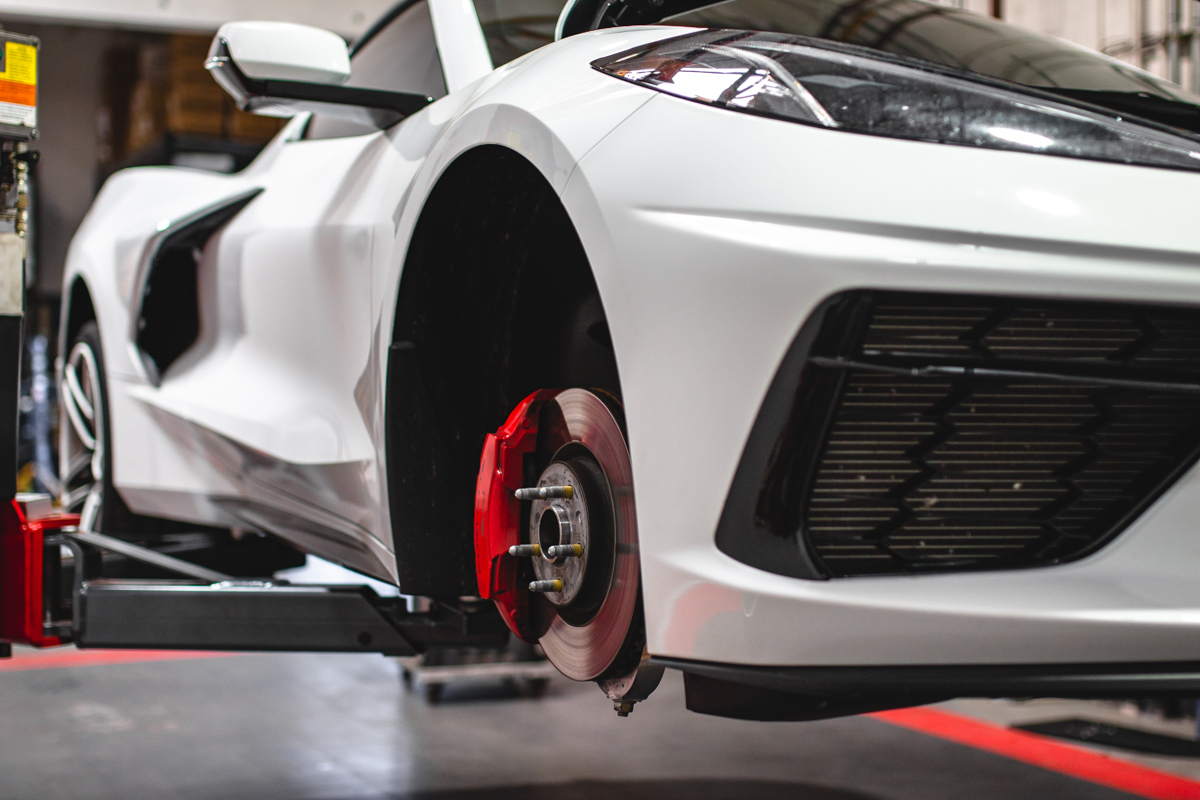
Securely lift the vehicle and remove the front wheels. Refer to your vehicle manual for proper lift (jack) points.
NEVER attempt to work under a vehicle that is not properly secured using jack stands. Failure to do so can result in serious bodily injury or death.
Step 4)
Remove the wheels with a 22mm socket and place a drip pan under the strut assembly to catch any brake fluid that might leak out.
Step 5)
Unclip the front lift sensor and remove the banjo bolt with an 11mm socket.
Step 6)
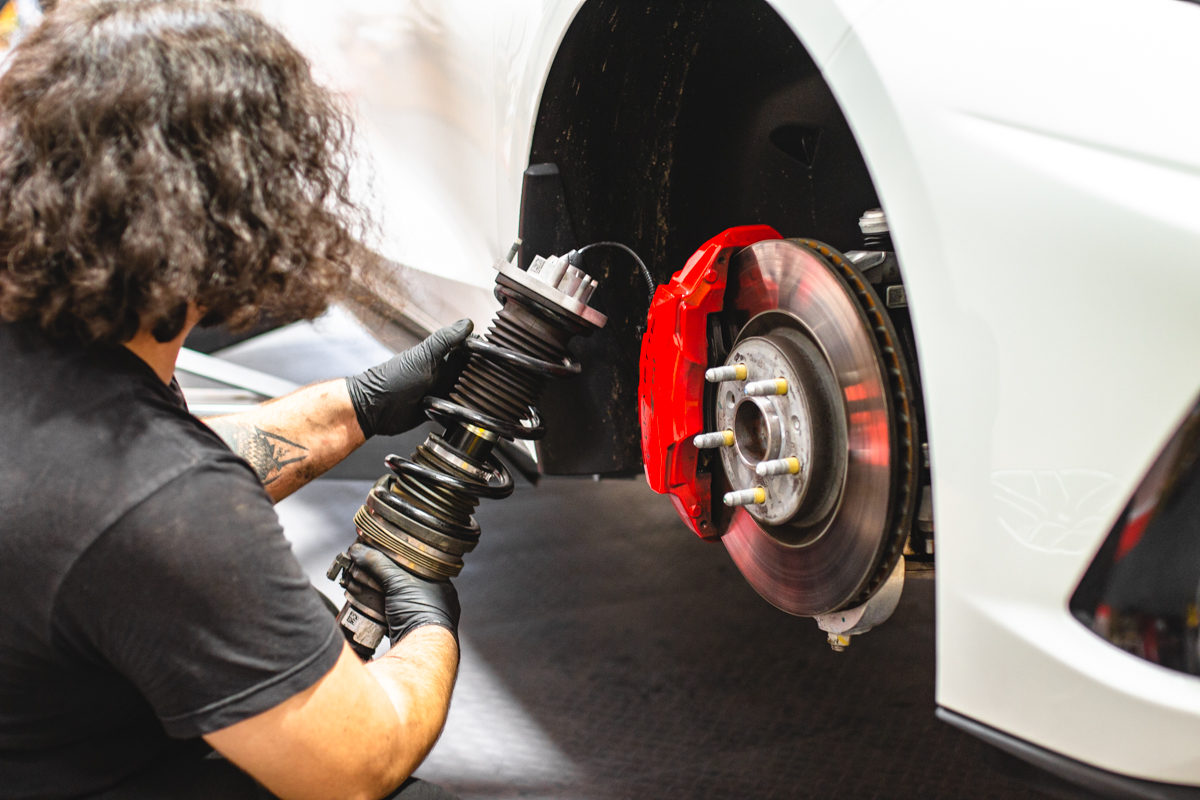
Remove the 21mm bolt holding the strut to the lower control arm. To assist the removal of the bolt, push down on the hub assembly.
Step 7)
Turn the hub assembly to allow more room to remove the strut then while holding the strut, remove the remaining nuts from the top of the strut and completely remove the strut assembly.
Step 8)
Mark the orientation of all components to allow everything to go back together properly.
Step 9)
De-pin the mag ride connector and remove the rubber grommet
Step 10)
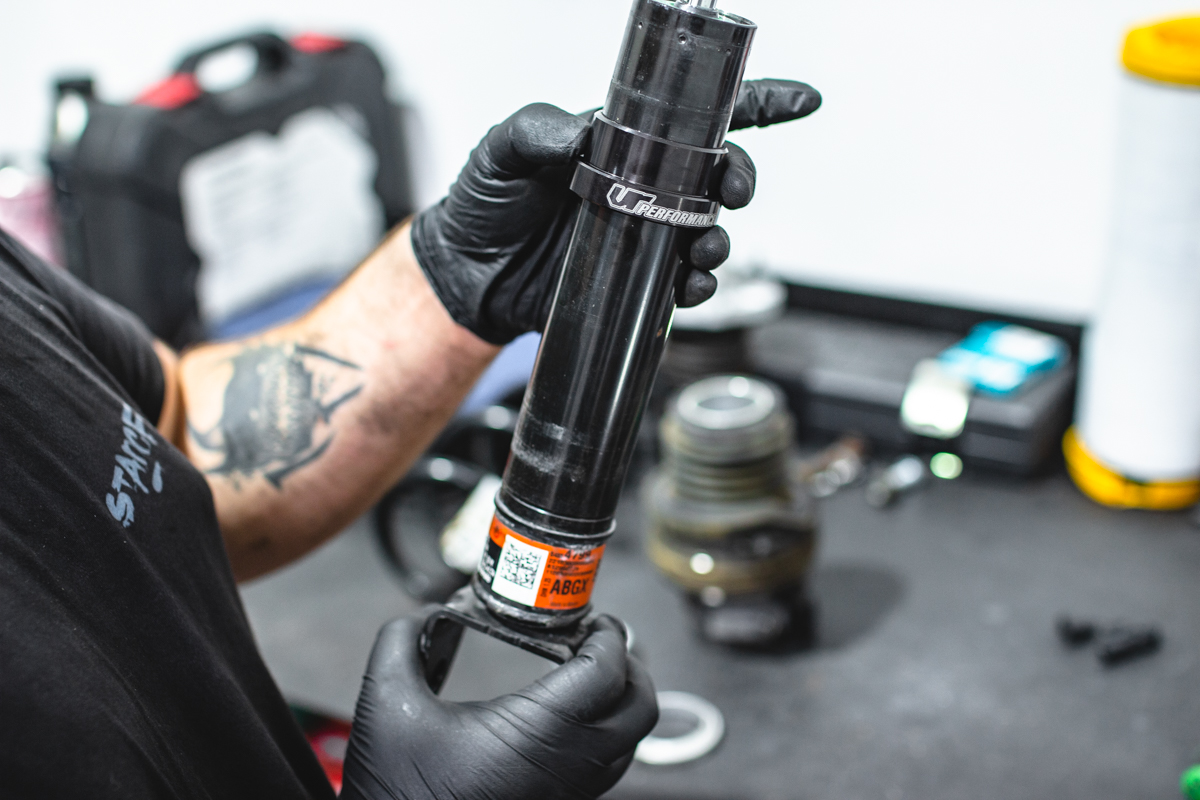
Compress the spring and remove the top hat and spring from the strut.

Step 11)
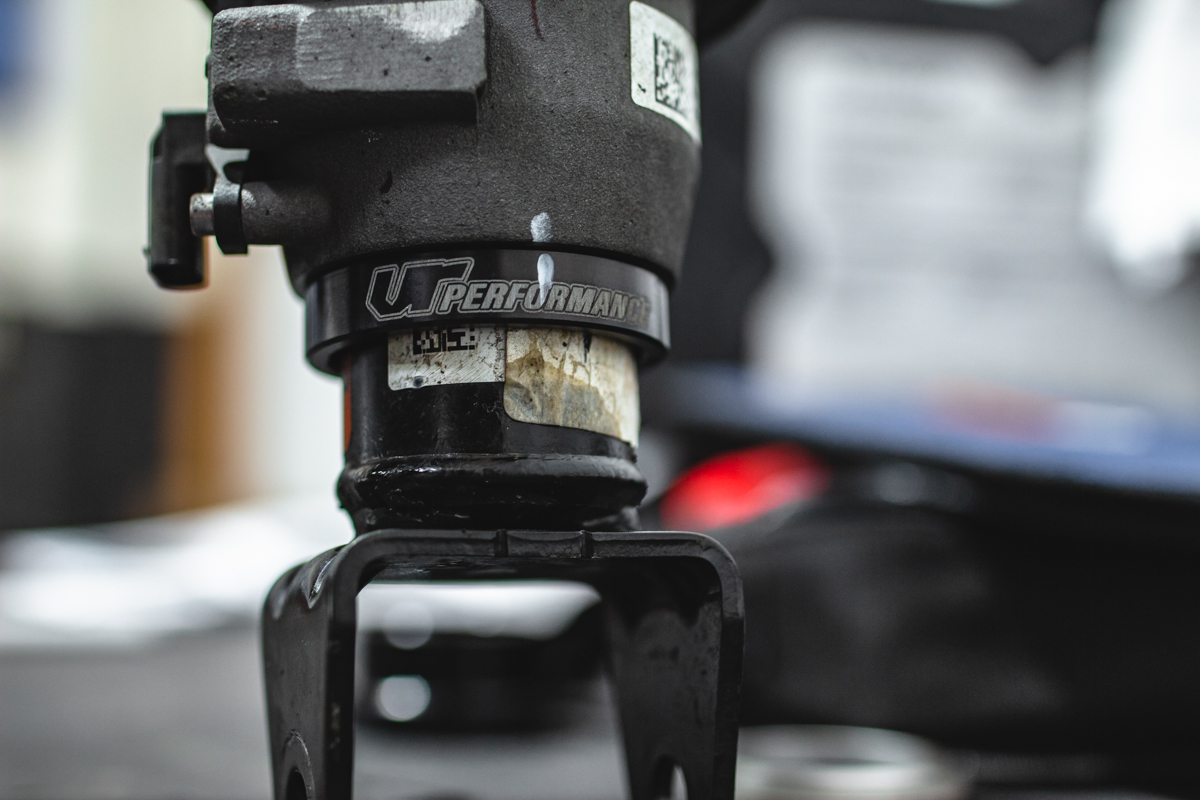
Remove bump stop and bump stop cap.
Step 12)
Remove the Front Lift and OEM collar and install the VR Performance lowering collars.
Step 13)
Reassemble the strut assembly and torque down the top hat nut AFTER the spring compressor has been removed.
Step 14)
Reinstall the rubber grommet and re-pin the mag ride connector.
Step 15)
Reinstall the strut assembly by lining up the top hat, push down on the hub assembly to get the bottom attached to the lower control arm.
Step 16)
Center the hub assembly and reinstall the 21mm strut bolt and torque to 118ft/lbs.
Step 17)
Reinstall the 11mm banjo bolt and torque to 30ft/lbs.
Step 18)
Reclip the front lift connector.
Step 19)
Tighten the top strut bolts and torque to 22ft/lbs.
Step 20)
Top off the brake fluid with DOT 4 fluid.
Step 21)
Reinstall plastic trim and wheels. Torque wheels to 140ft/lbs.
Step 22)
Activate the front lift to bleed the lines and enjoy your lowered C8 Corvette.