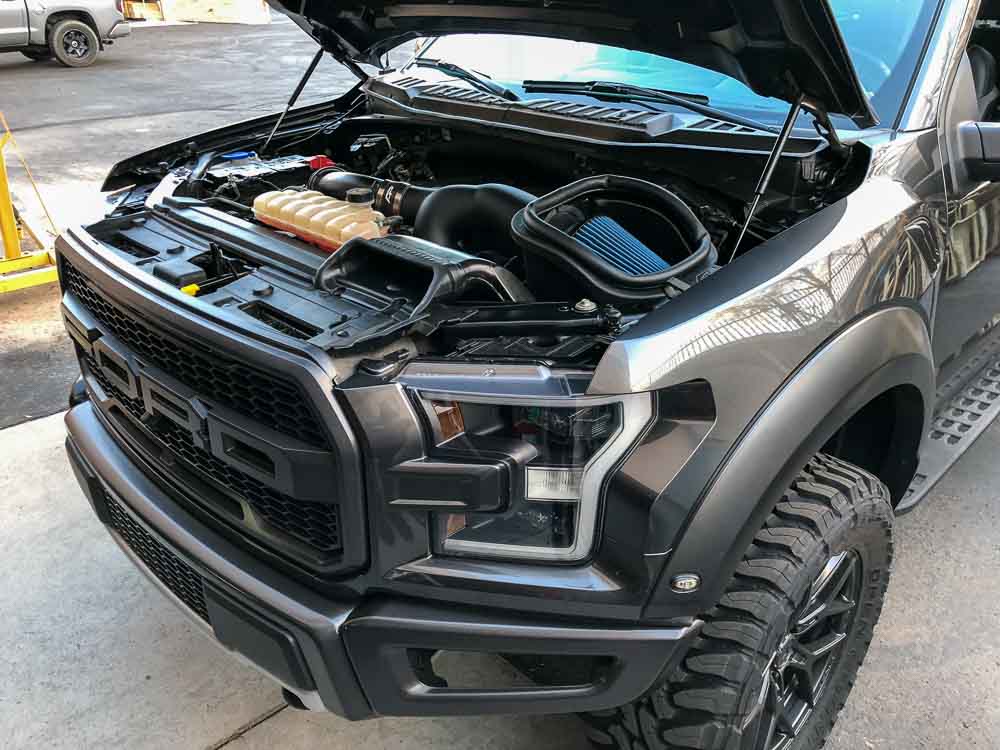
This Install Guide is intended to help with the installation of the VR Performance Cold Air Intake Kit on the 2017-2018 Ford Raptor with 3.5L. Installation should be similar on the 15-18 F-150 2.7L/3.5L EcoBoost and 2018 3.5L Expedition.
Installation Difficulty:

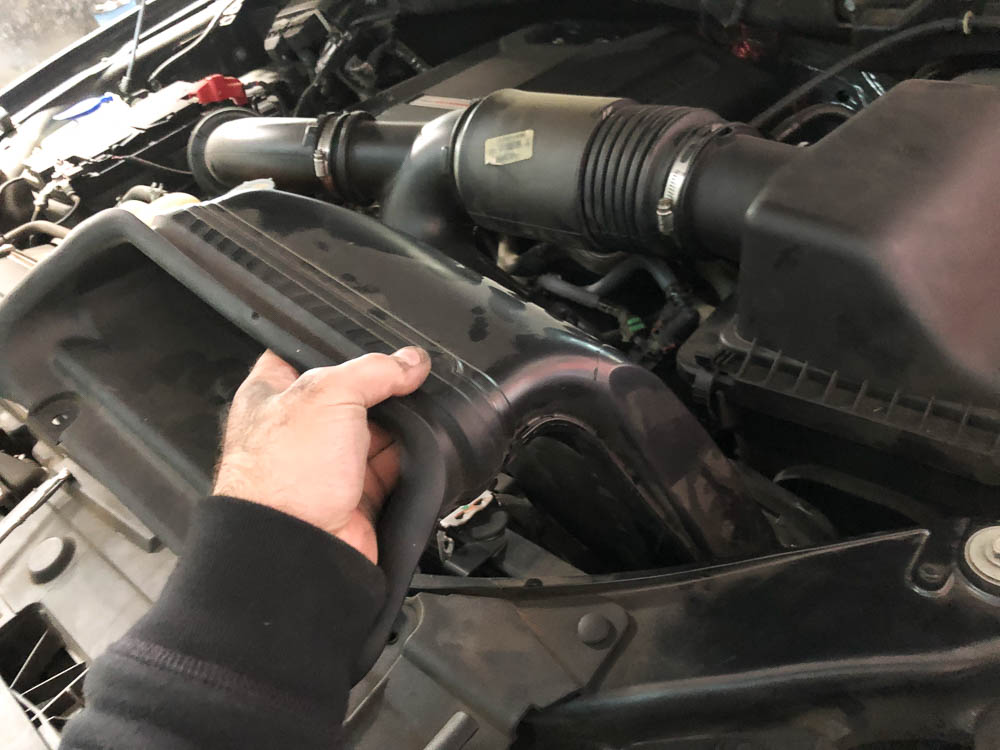
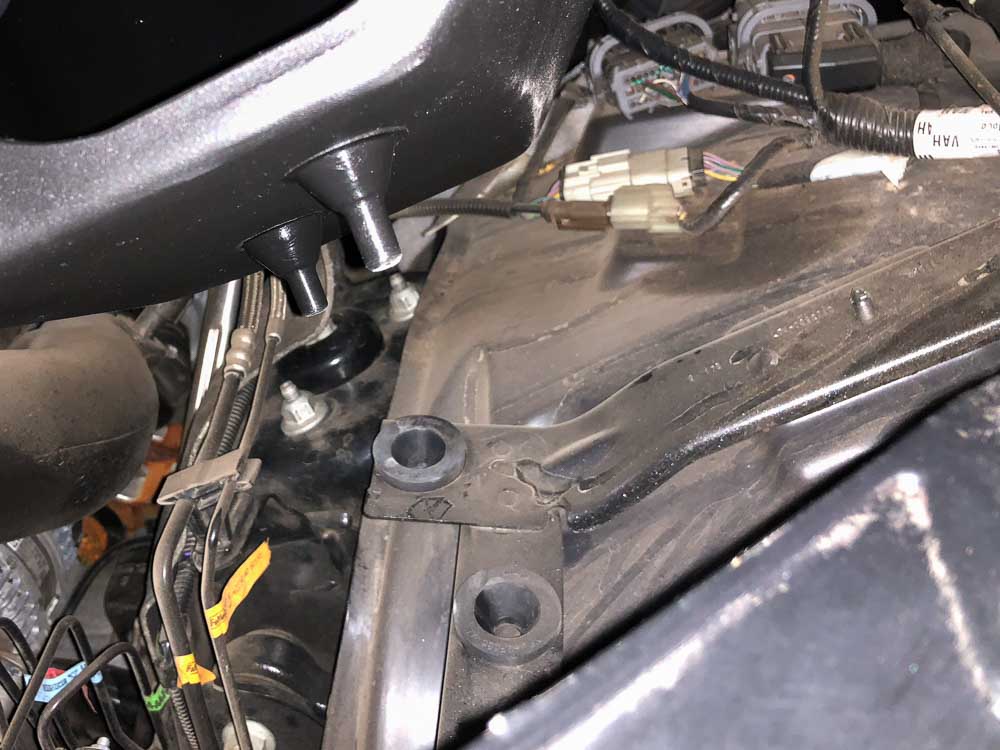
Step 1)
Remove the factory intake tube, scoop, and airbox.


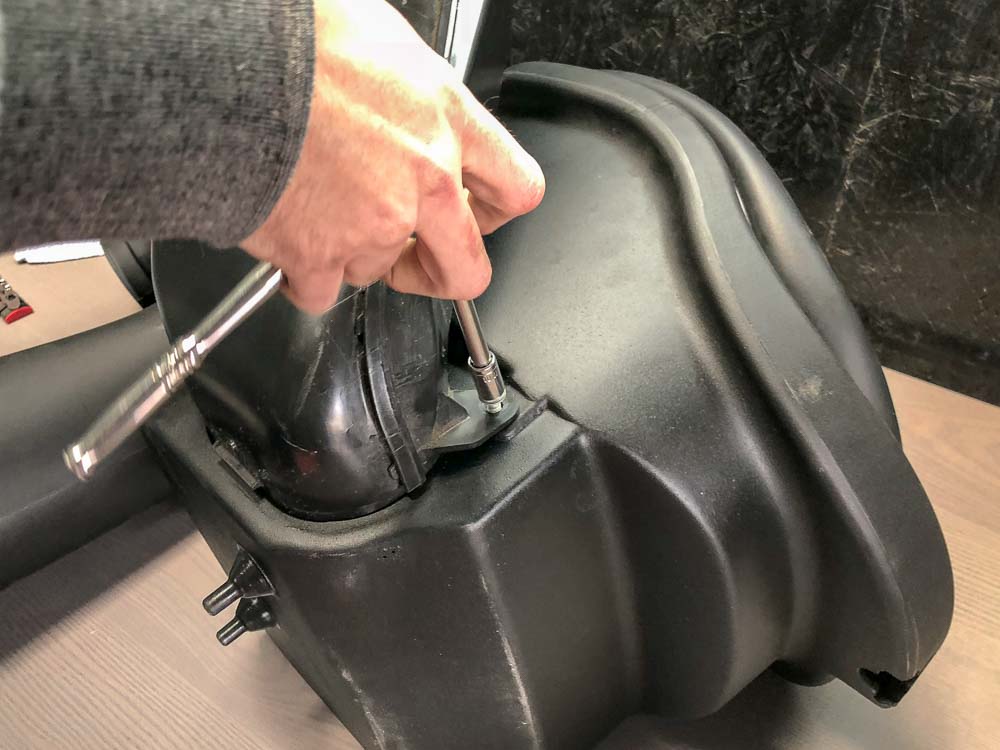
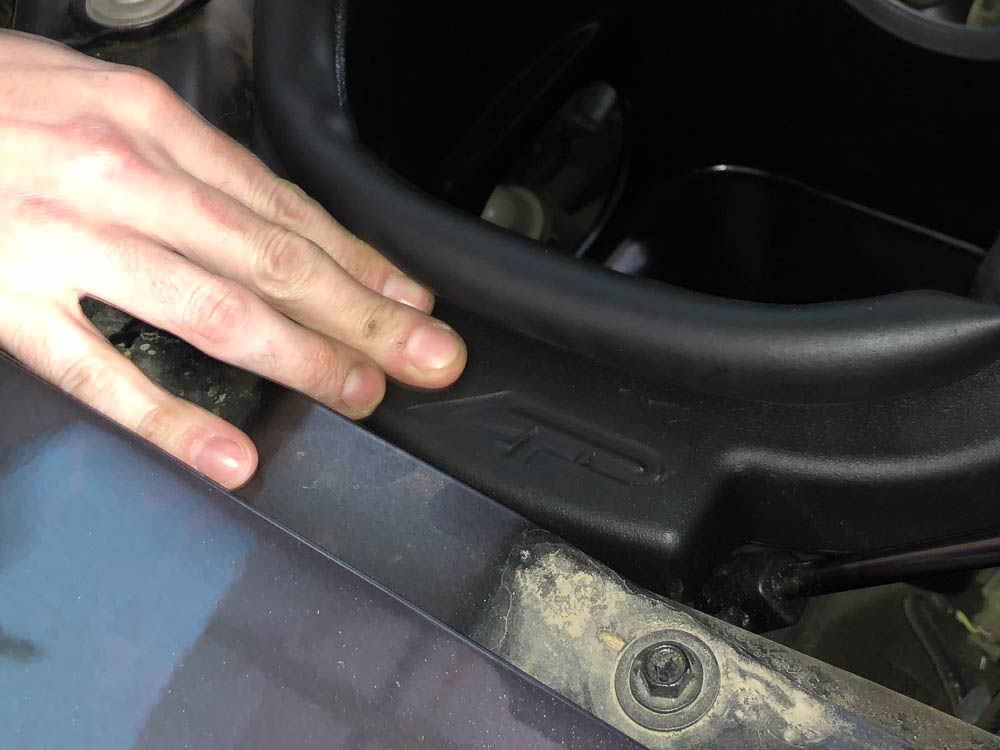
Step 2)
Remove the factory scoop from the airbox. Then attach the removed scoop to the new air tray.
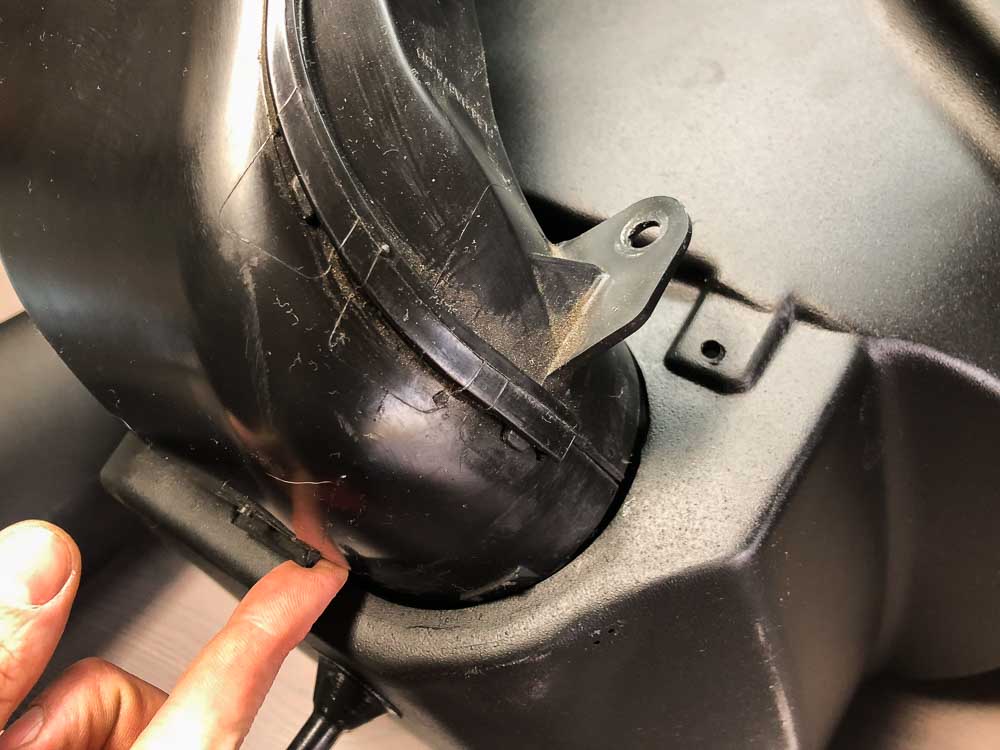
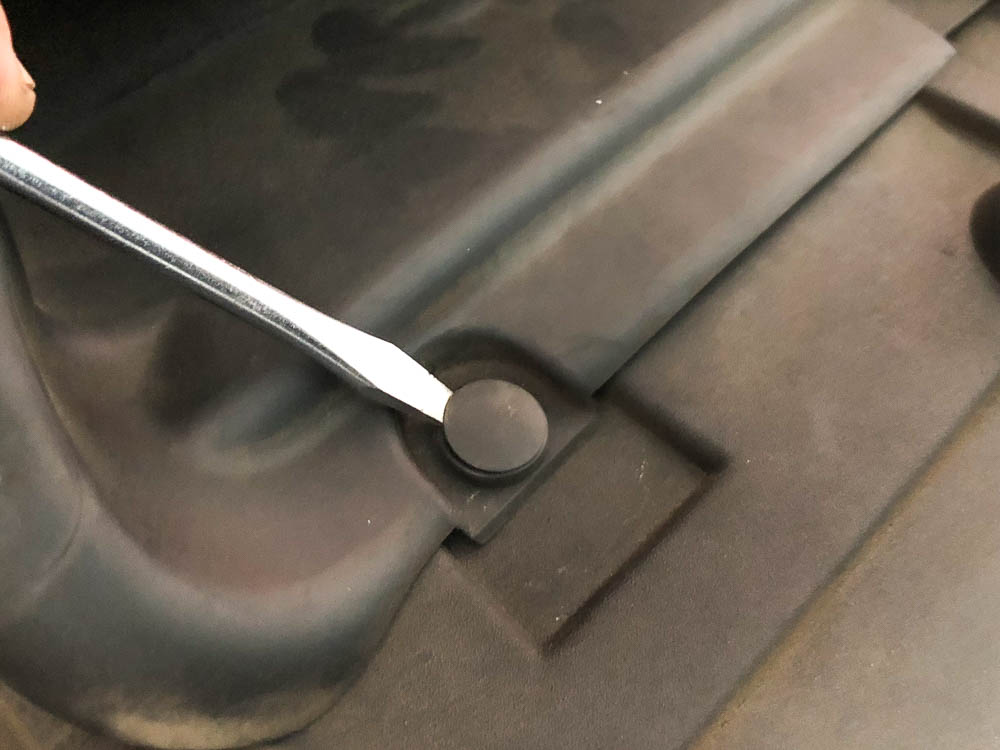
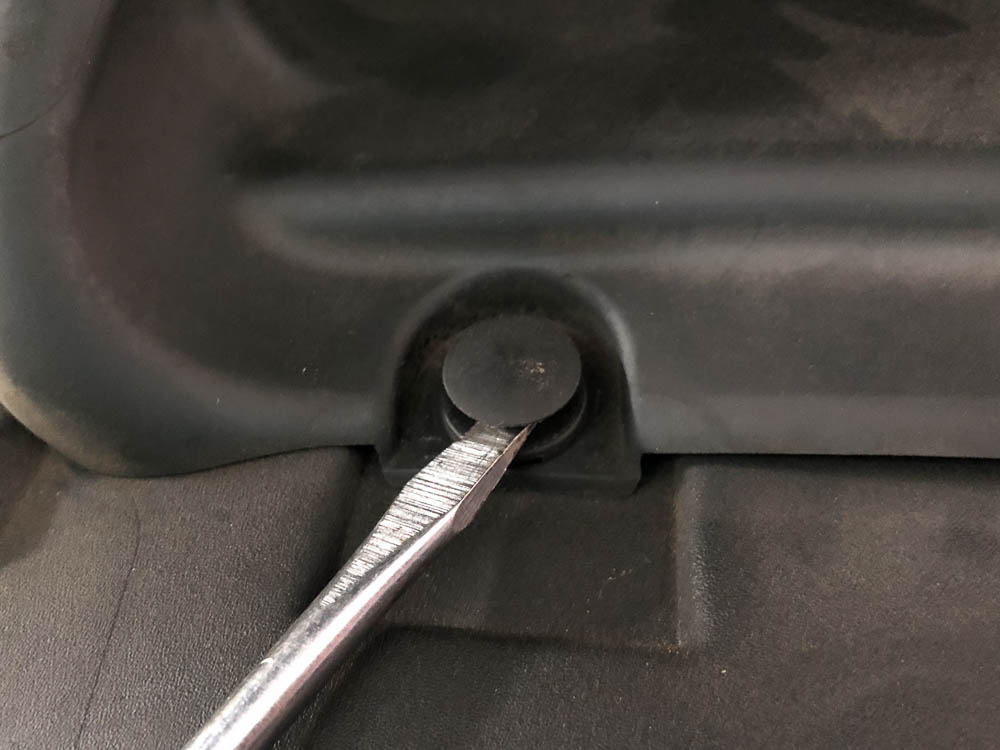
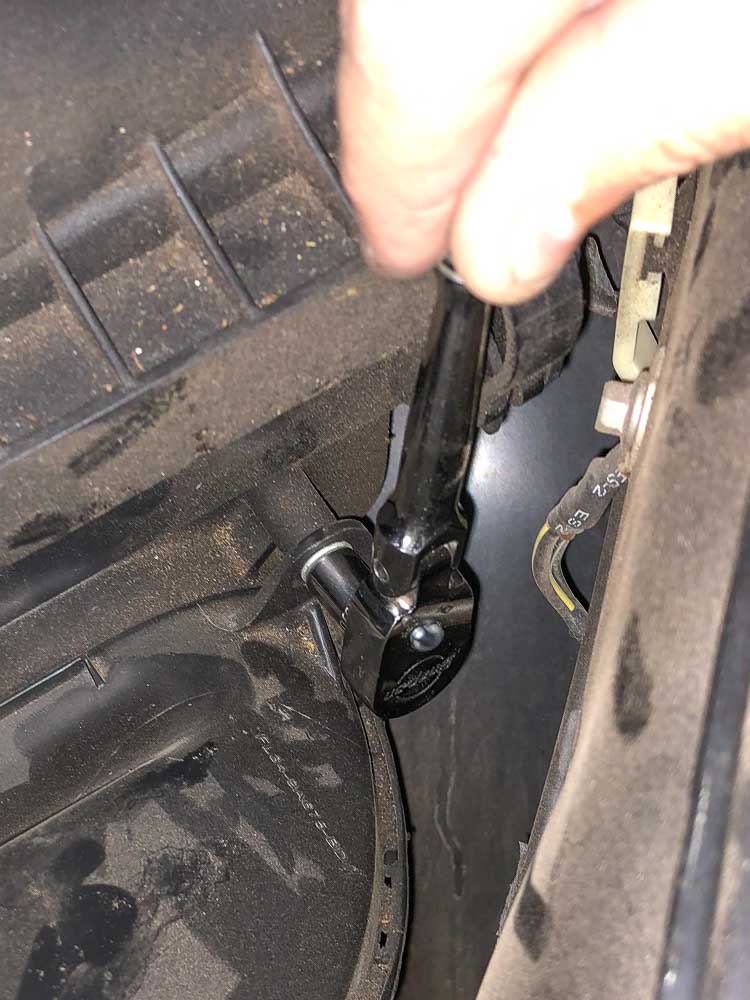
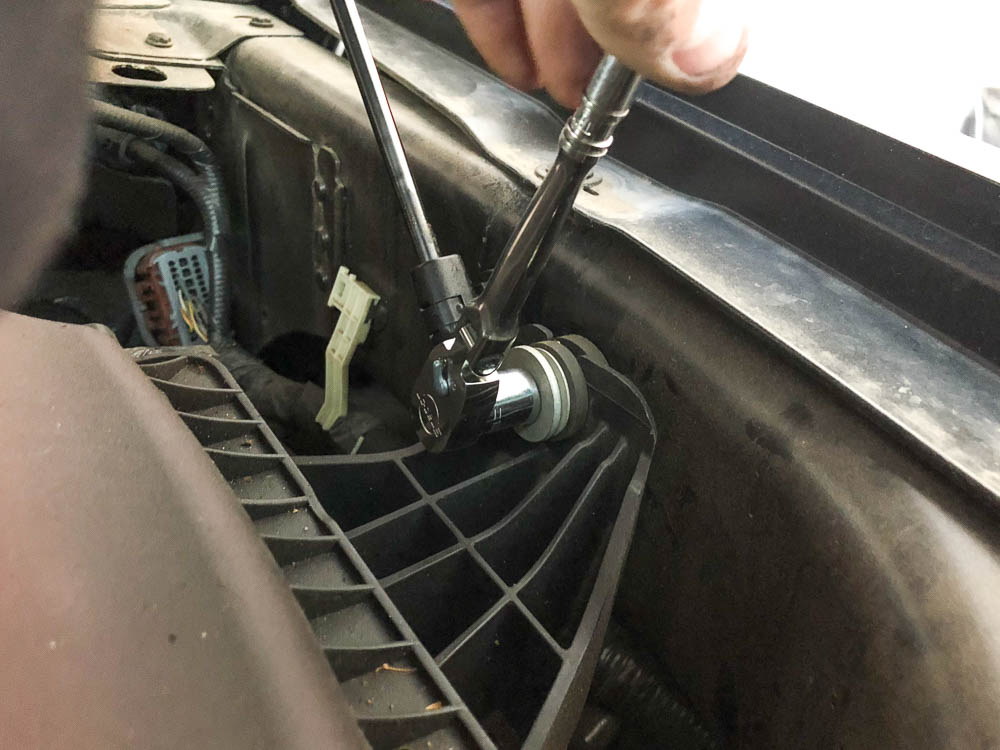
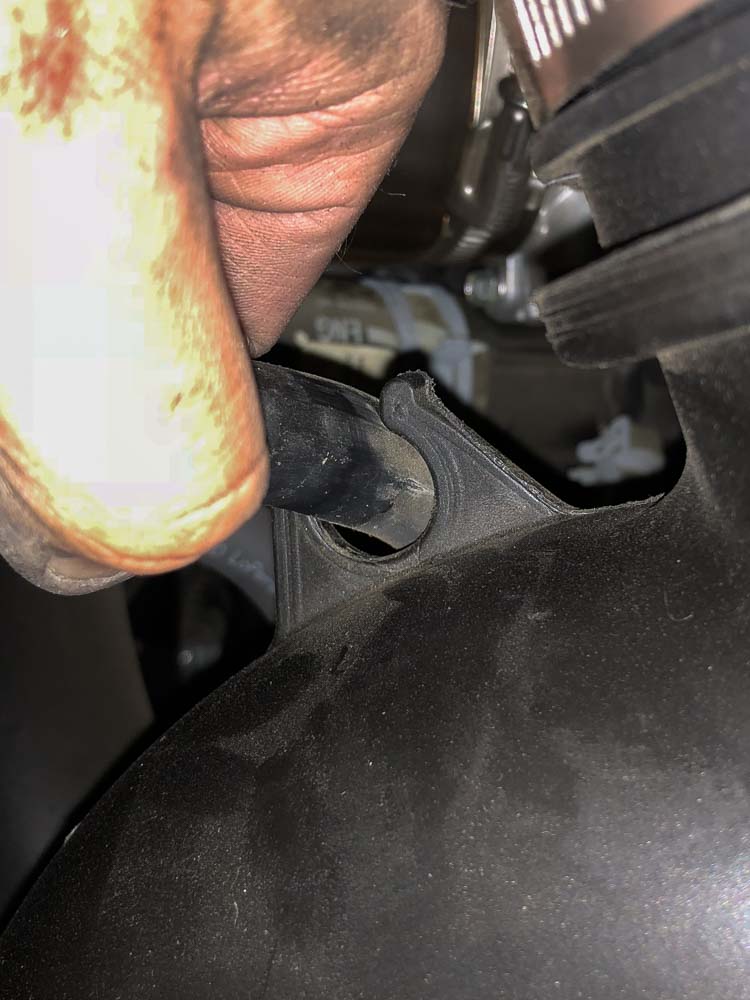
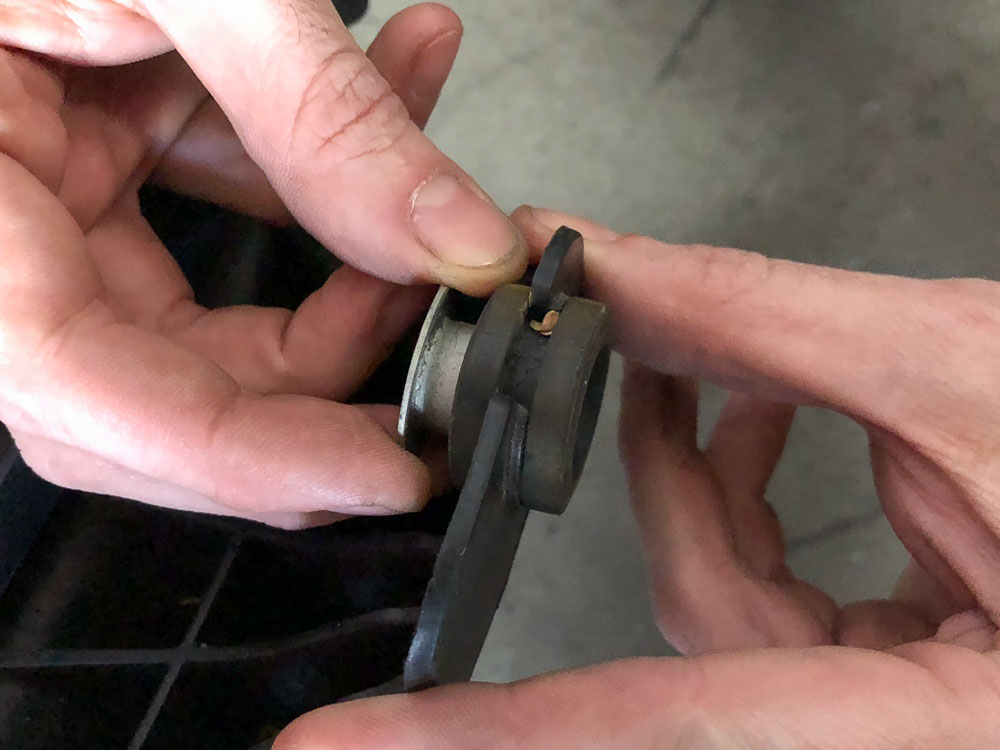
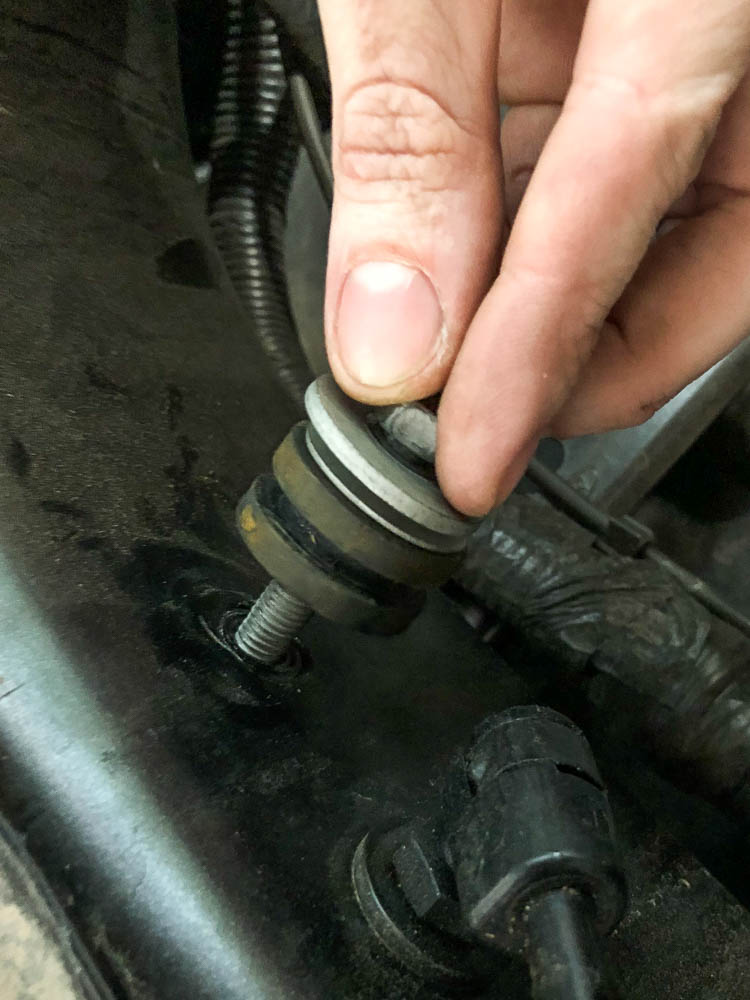
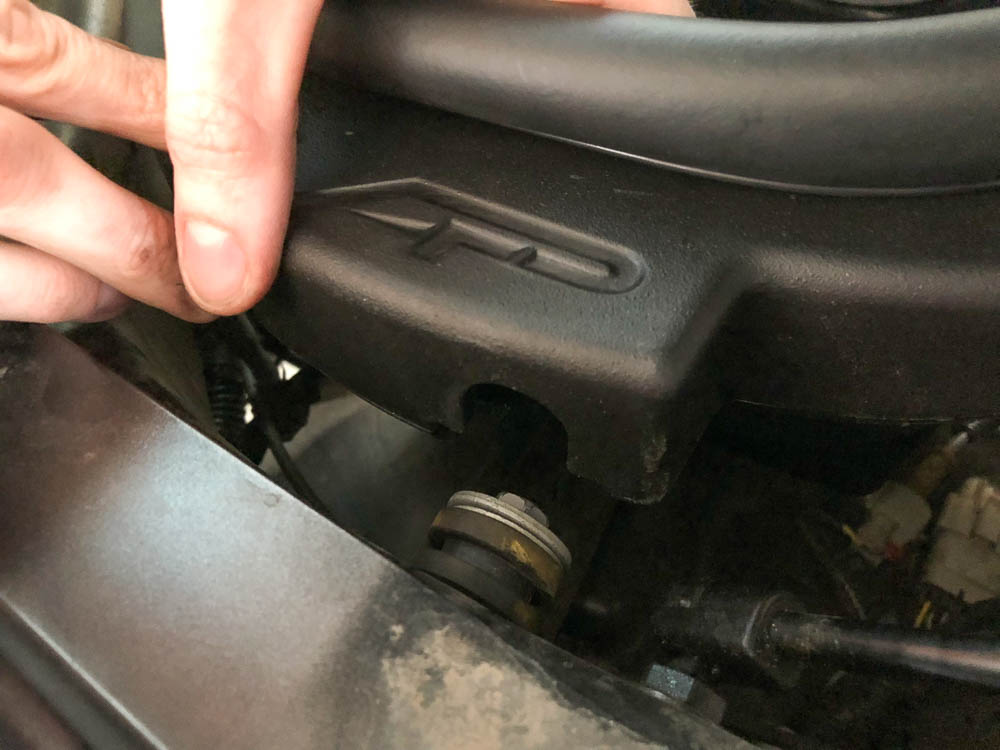
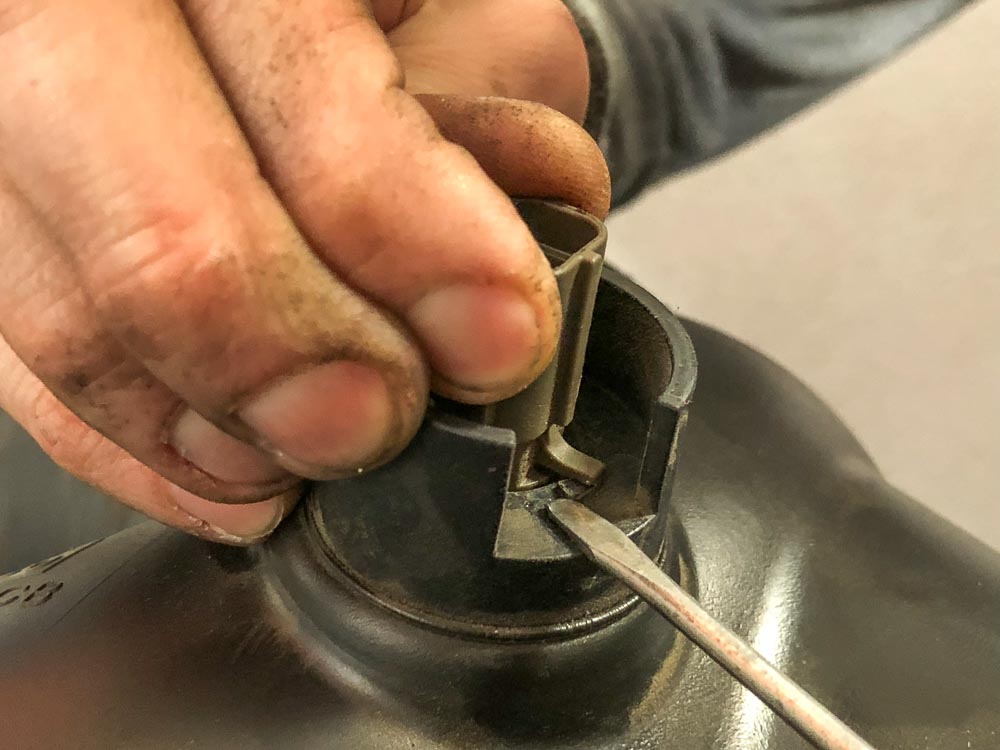
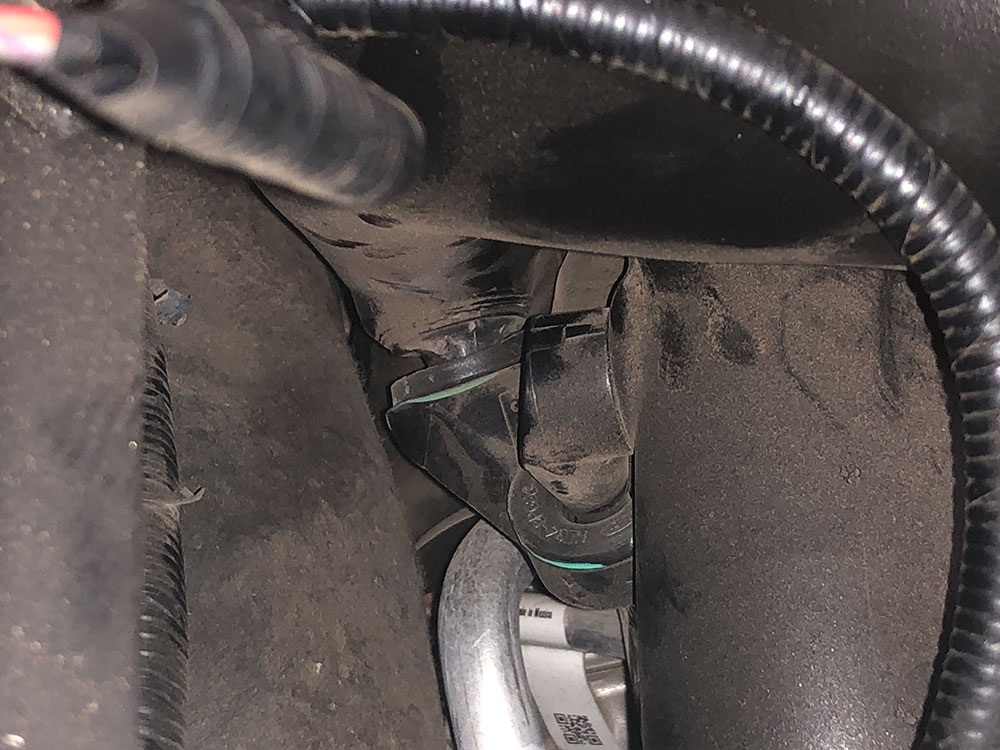
Step 3)
Remove the rubber grommet by first removing the inner sleeve then the grommet. Reinstall the sleeve and insert the bolt with spacers. Insert this into the support and attach the air tray in place.

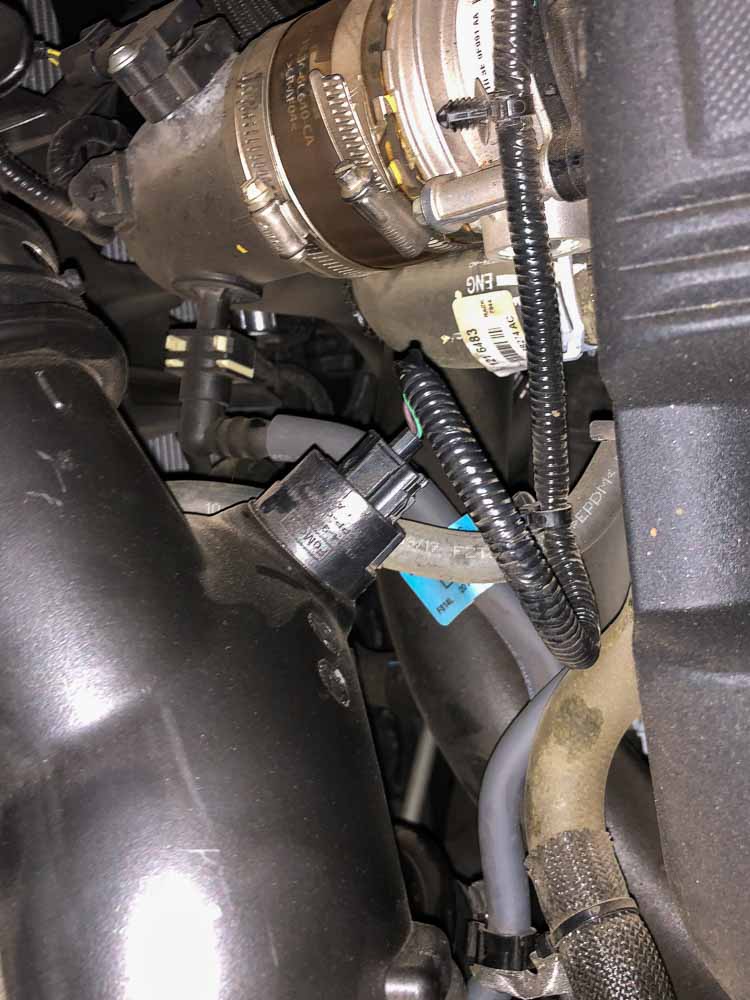
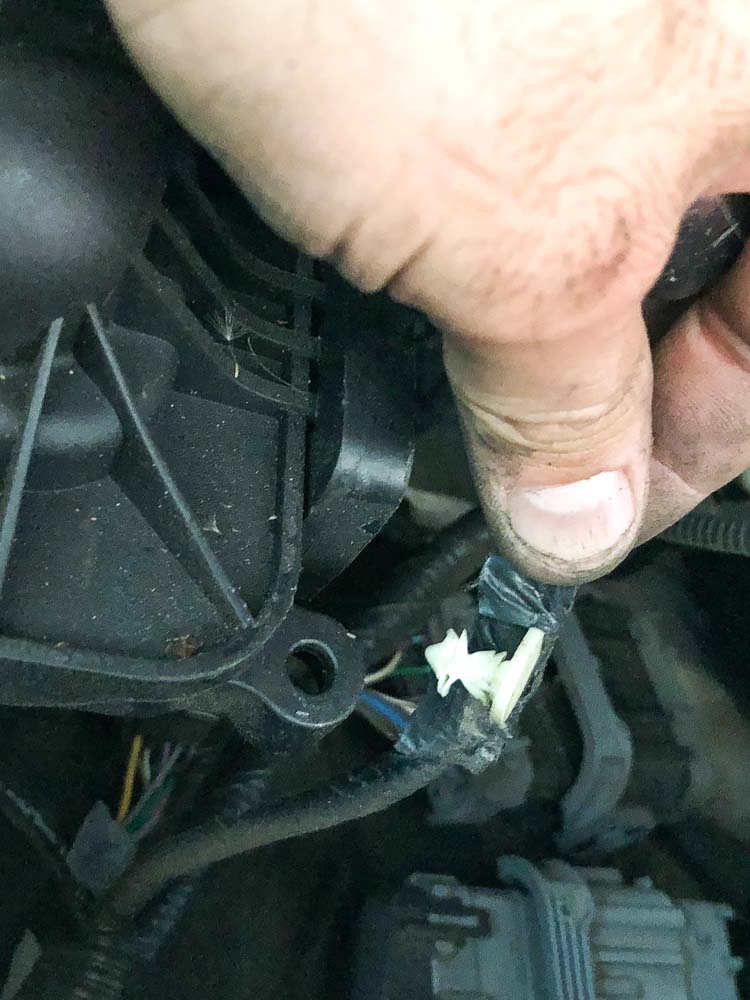
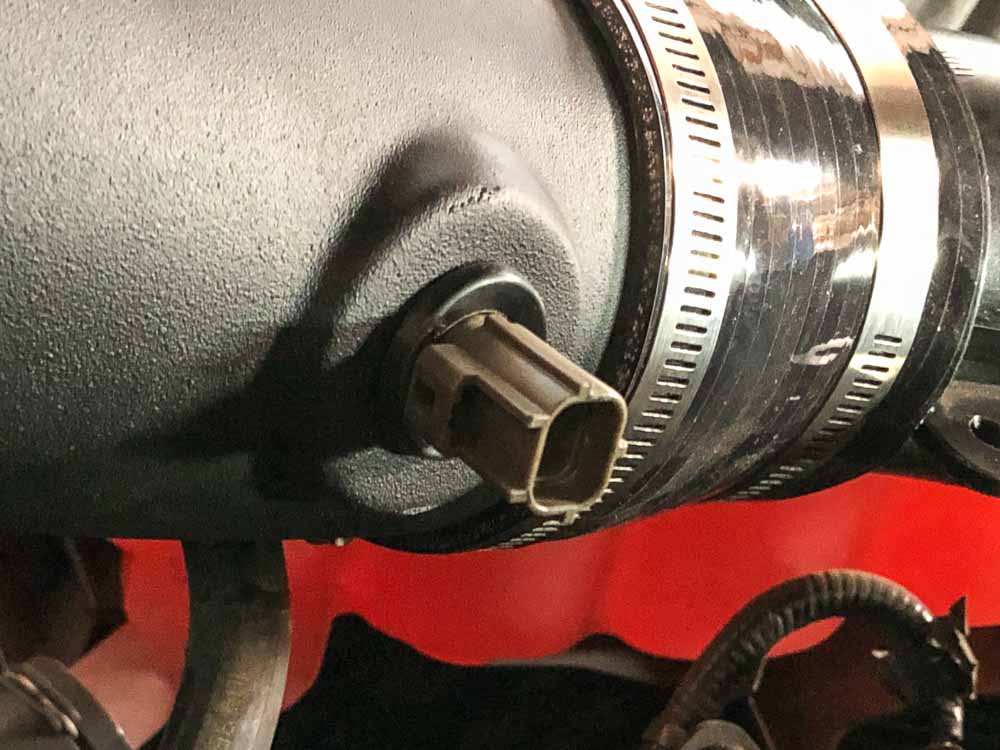
Step 4)
Remove the intake air temperature sensor from the factory tube relocating to the new high flow intake tube.

Step 5)
Insert intake tube into air tray opening.
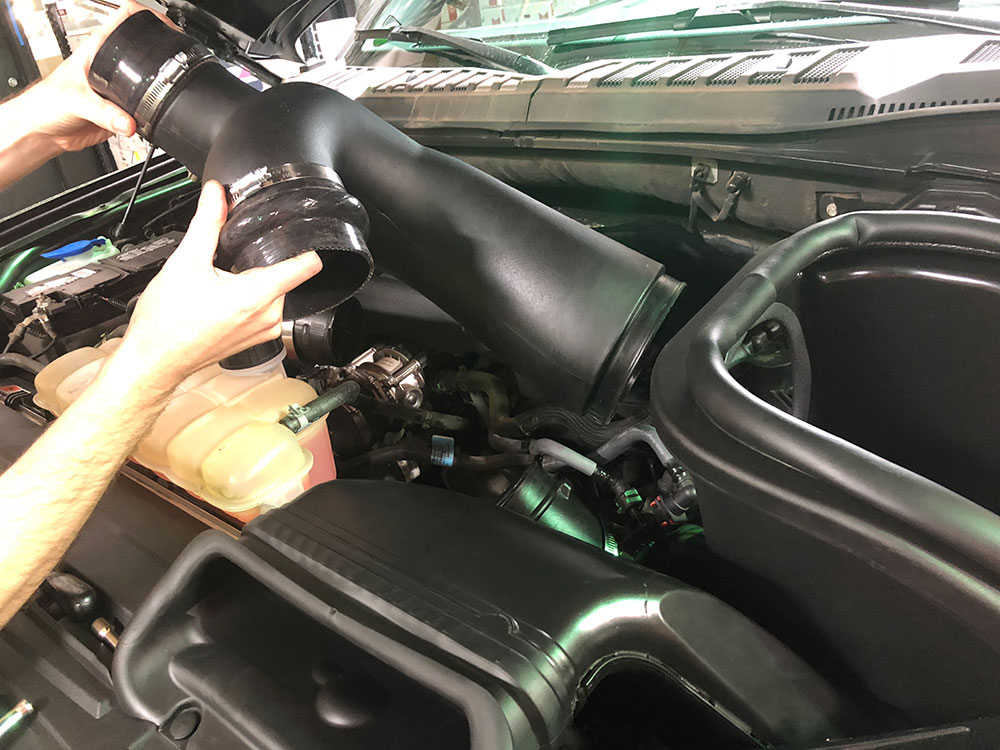
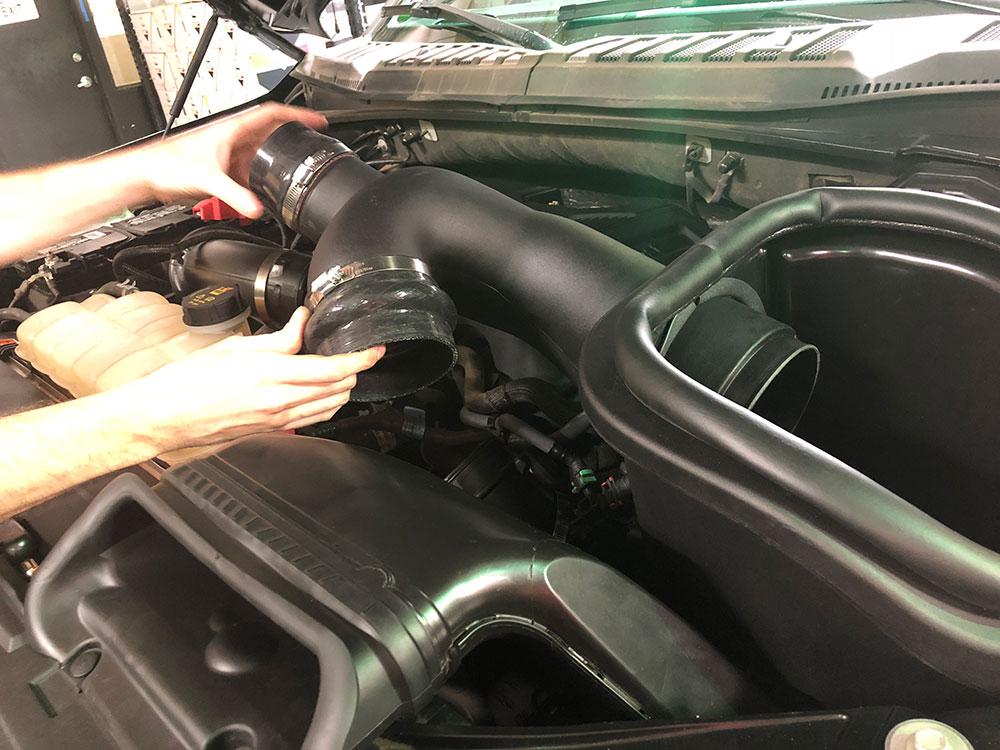
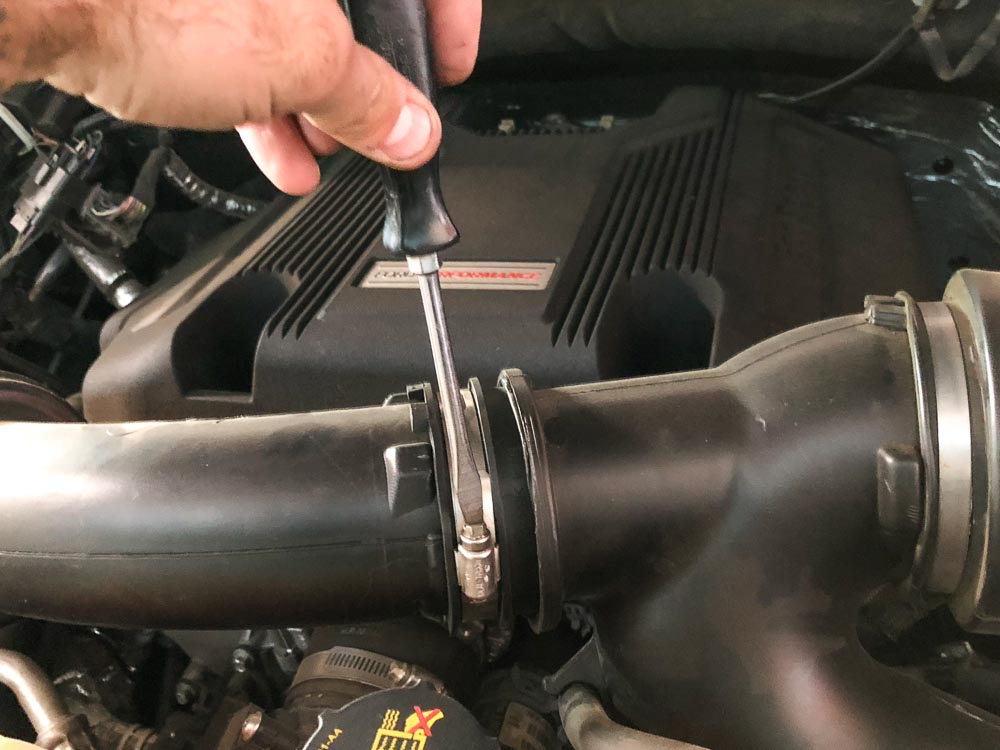
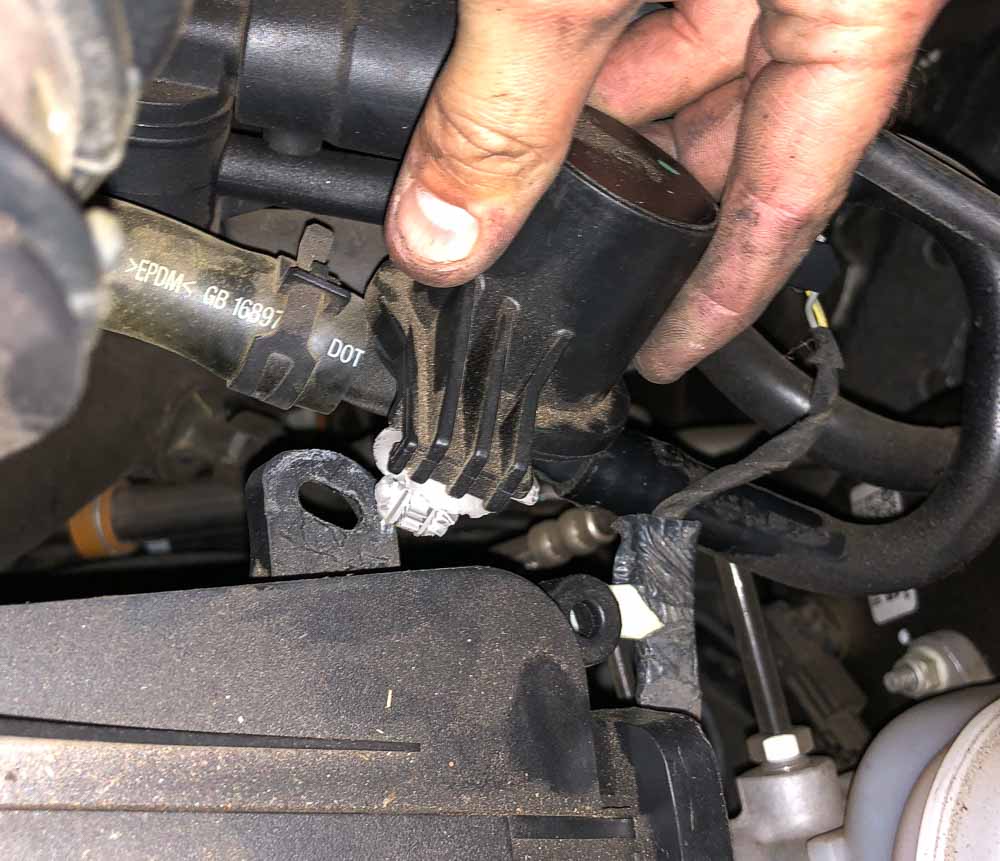
Step 6)
Attach couplers from the intake tubes to factory tubing. To aid in attaching the tube we recommend releasing the factory tube from the support. Be sure to reattach once tubes are installed.


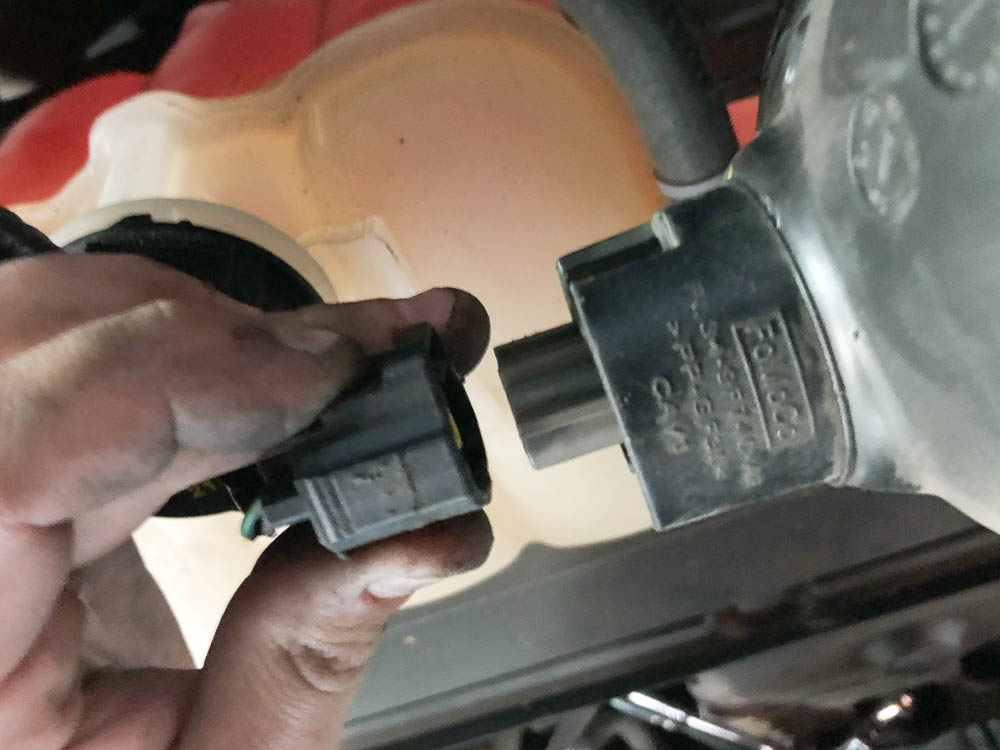
Step 7)
Plug in the intake air temperature sensor.
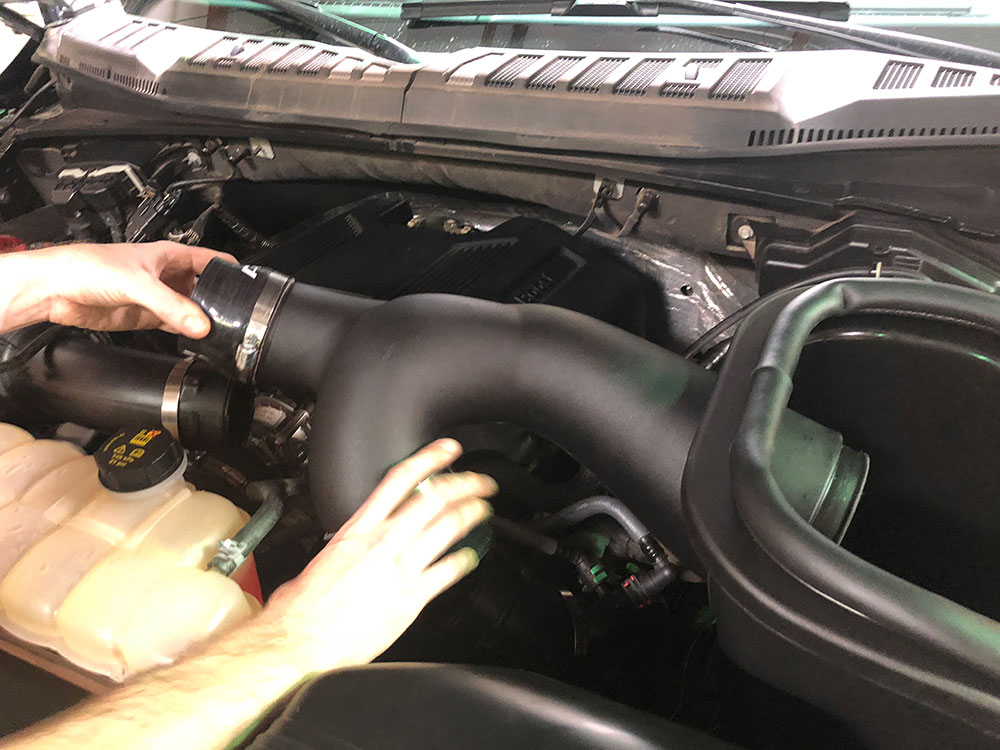
Step 8)
Tighten clamps on couplers.

Step 9)
Install air filter onto the air intake tube.

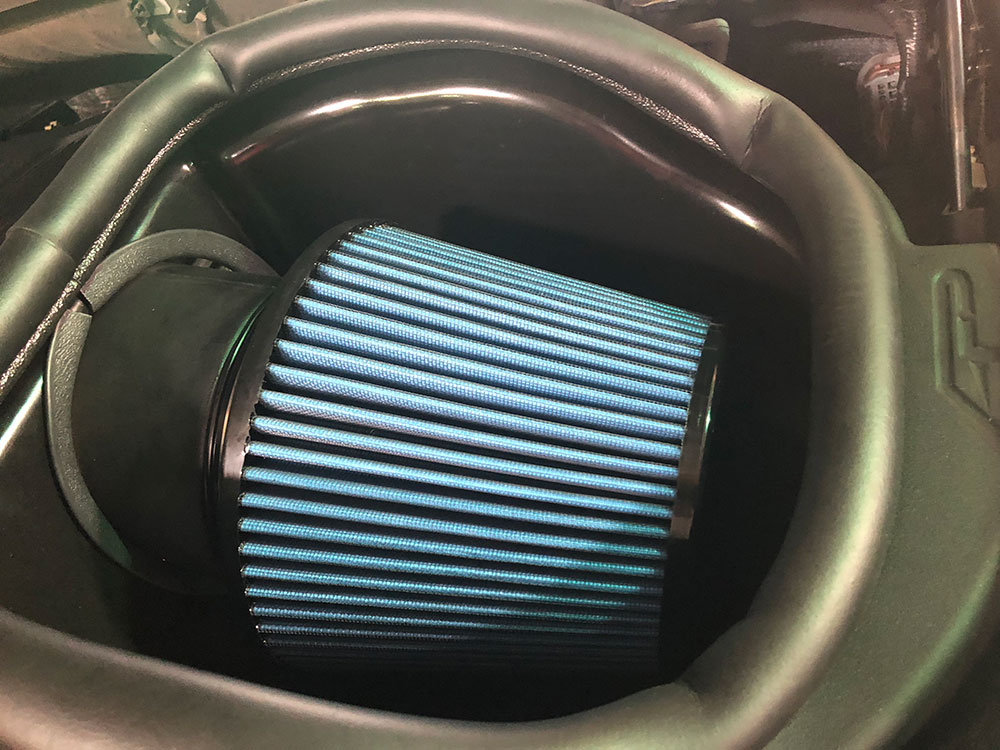
Step 10)
Enjoy your new VR Performance cold air intake!