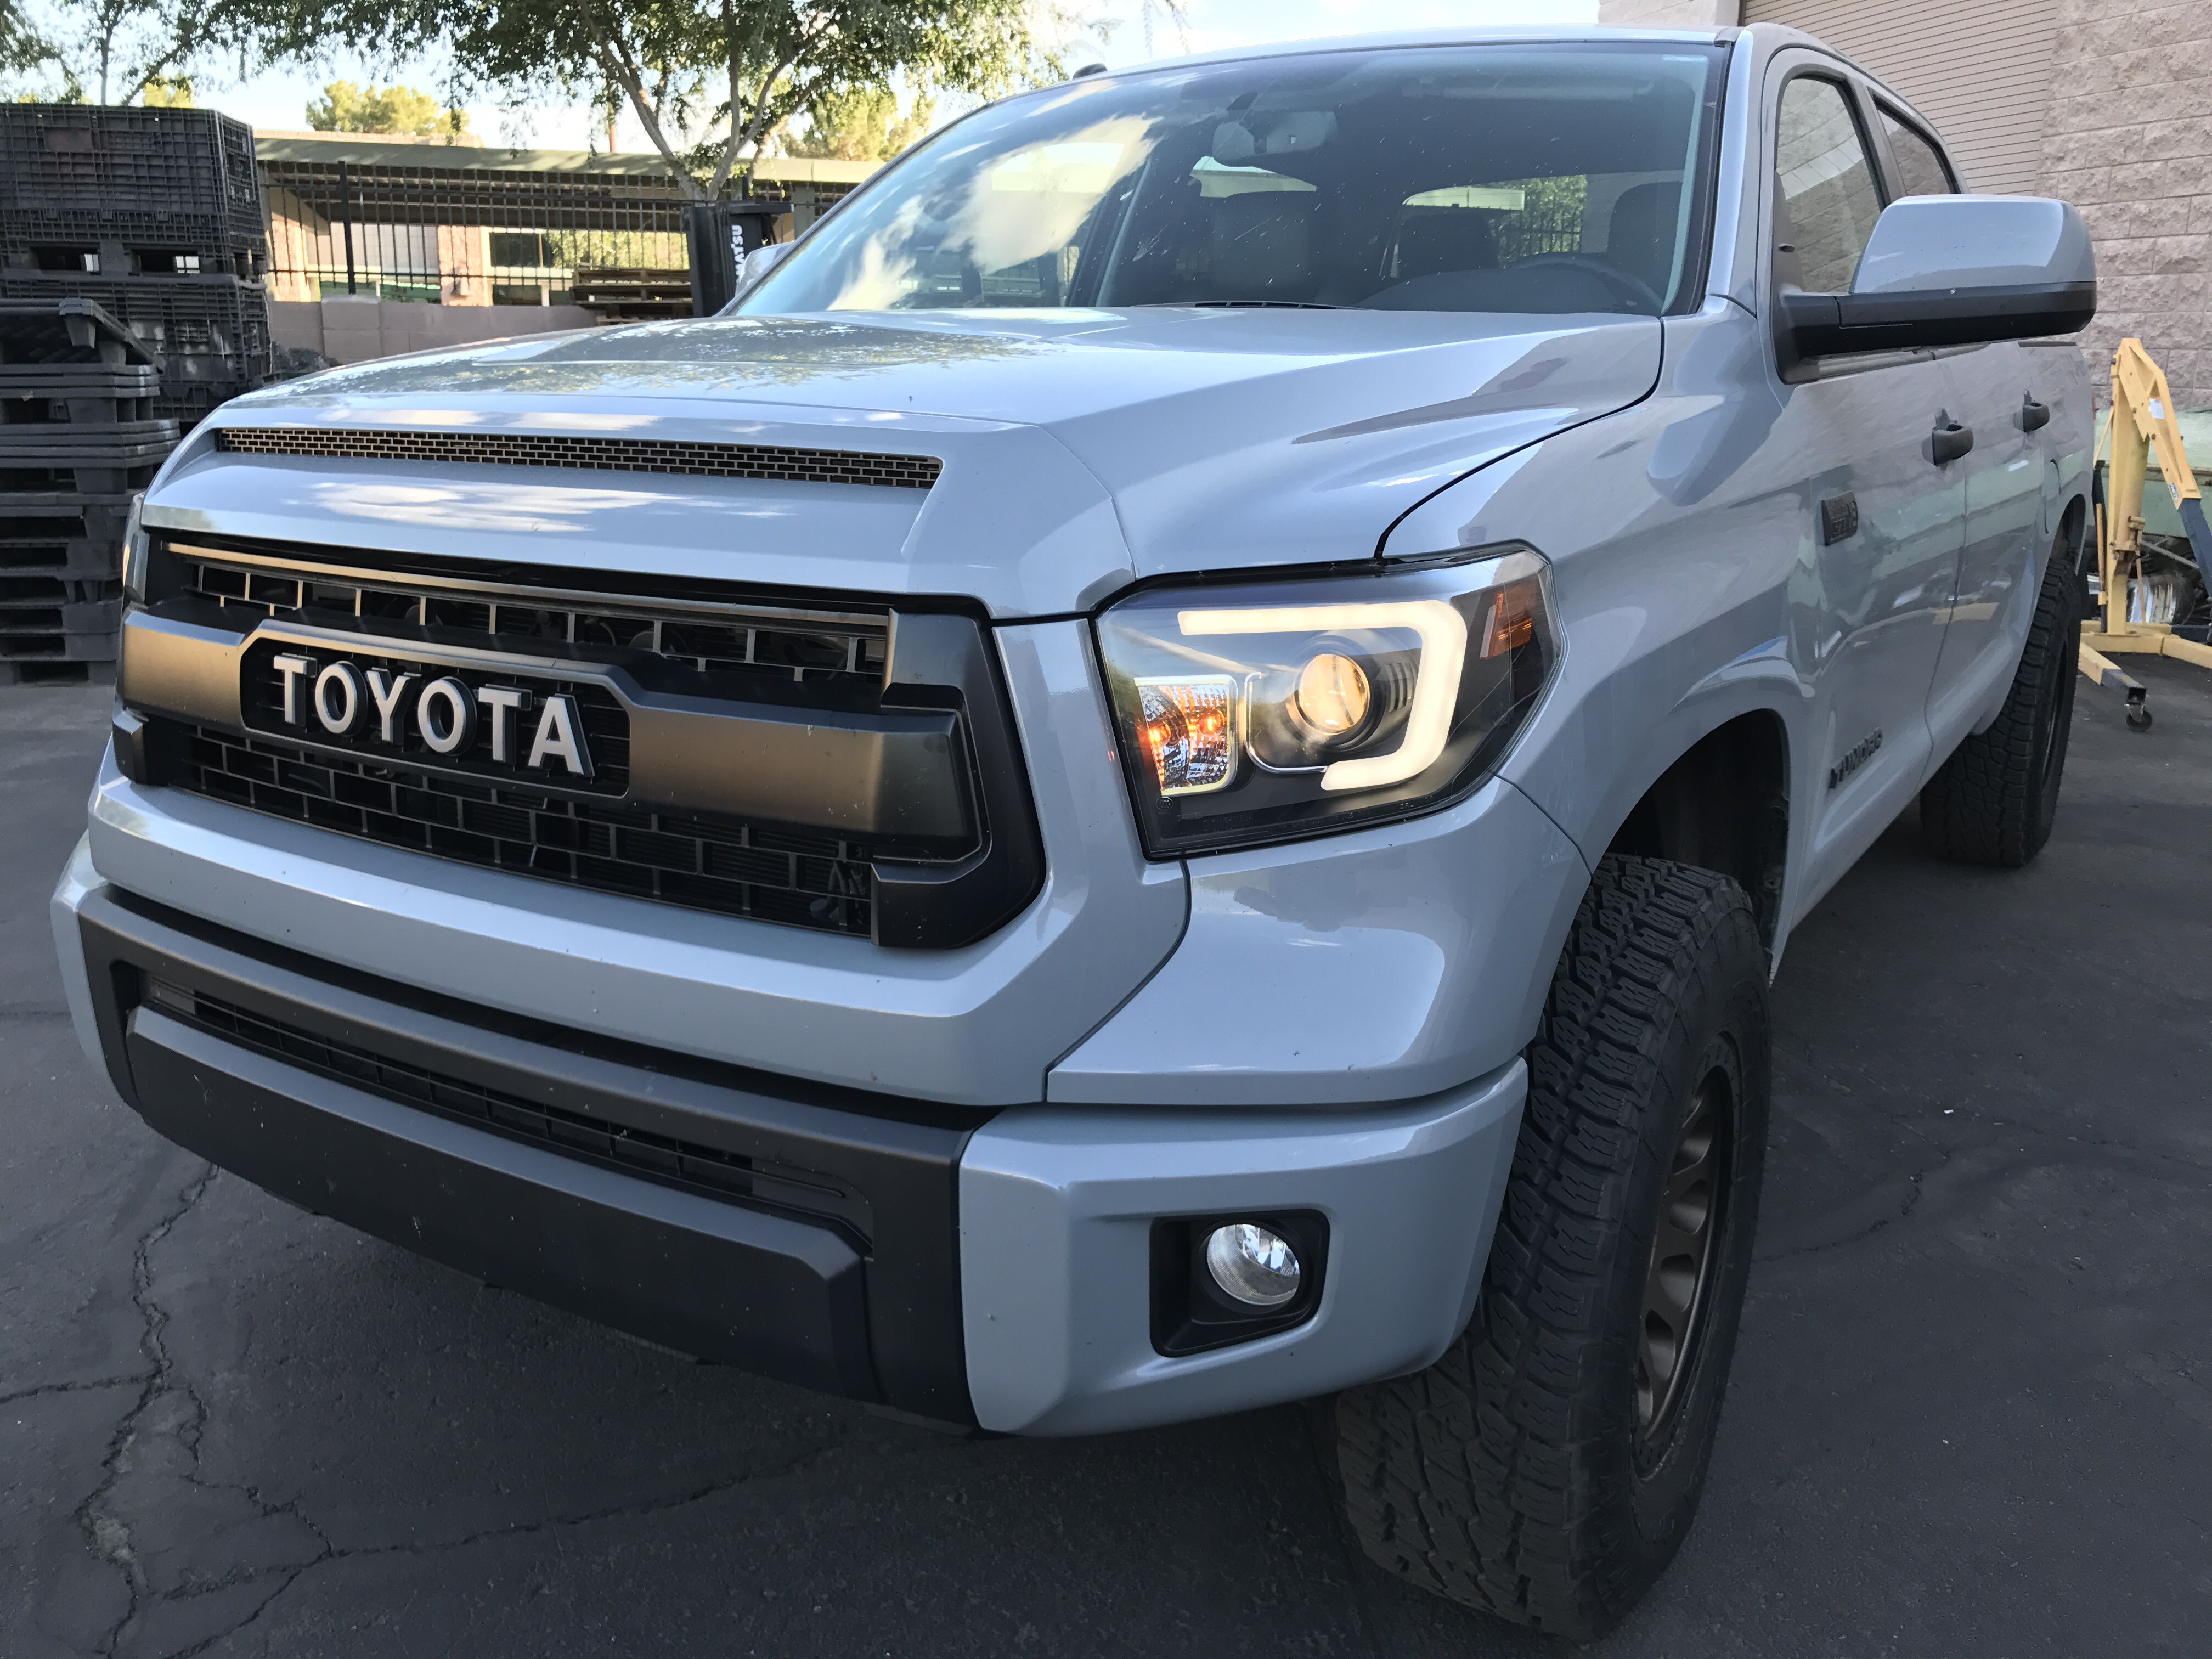
Most people are surprised when I said I was going to put Spyder Lights on my new 2017 Toyota Tundra. Spyder, SpecD, and the other light companies give most people the cringes’ thinking about some uber riced out Honda Civic from 1995. But those days are long gone! The design and technology that these aftermarket light companies put into their products is quite impressive. The stock Tundra comes with headlights that I would expect to see on an old Econoline van. Basic halogen lights with a DRL that is orange doubling as your turn signal. Pretty boring… The younger sibling of the Tundra, the Tacoma, comes with really nice headlights featuring a newer style LED DRL that you would see on most newer vehicles. So the best answer to this was the headlights by Spyder. Manufactured to fit the 2013-2017 Toyota Tundra including this TRD Pro, the headlights are a direct plug and play, well sort of. Everything is easy to connect except Spyder does not take into account the electronic headlight leveling motor. This can easily be swapped from the stock lights to your new Spyder ones. For those of you that are looking to do this upgrade, you can sell your stock TRD headlights with black housings for around $275-$300 to help offset the cost of these new lights.
Check out pricing on the Spyder Headlights, Taillights and Fog Lights Here.
So how does the install go?
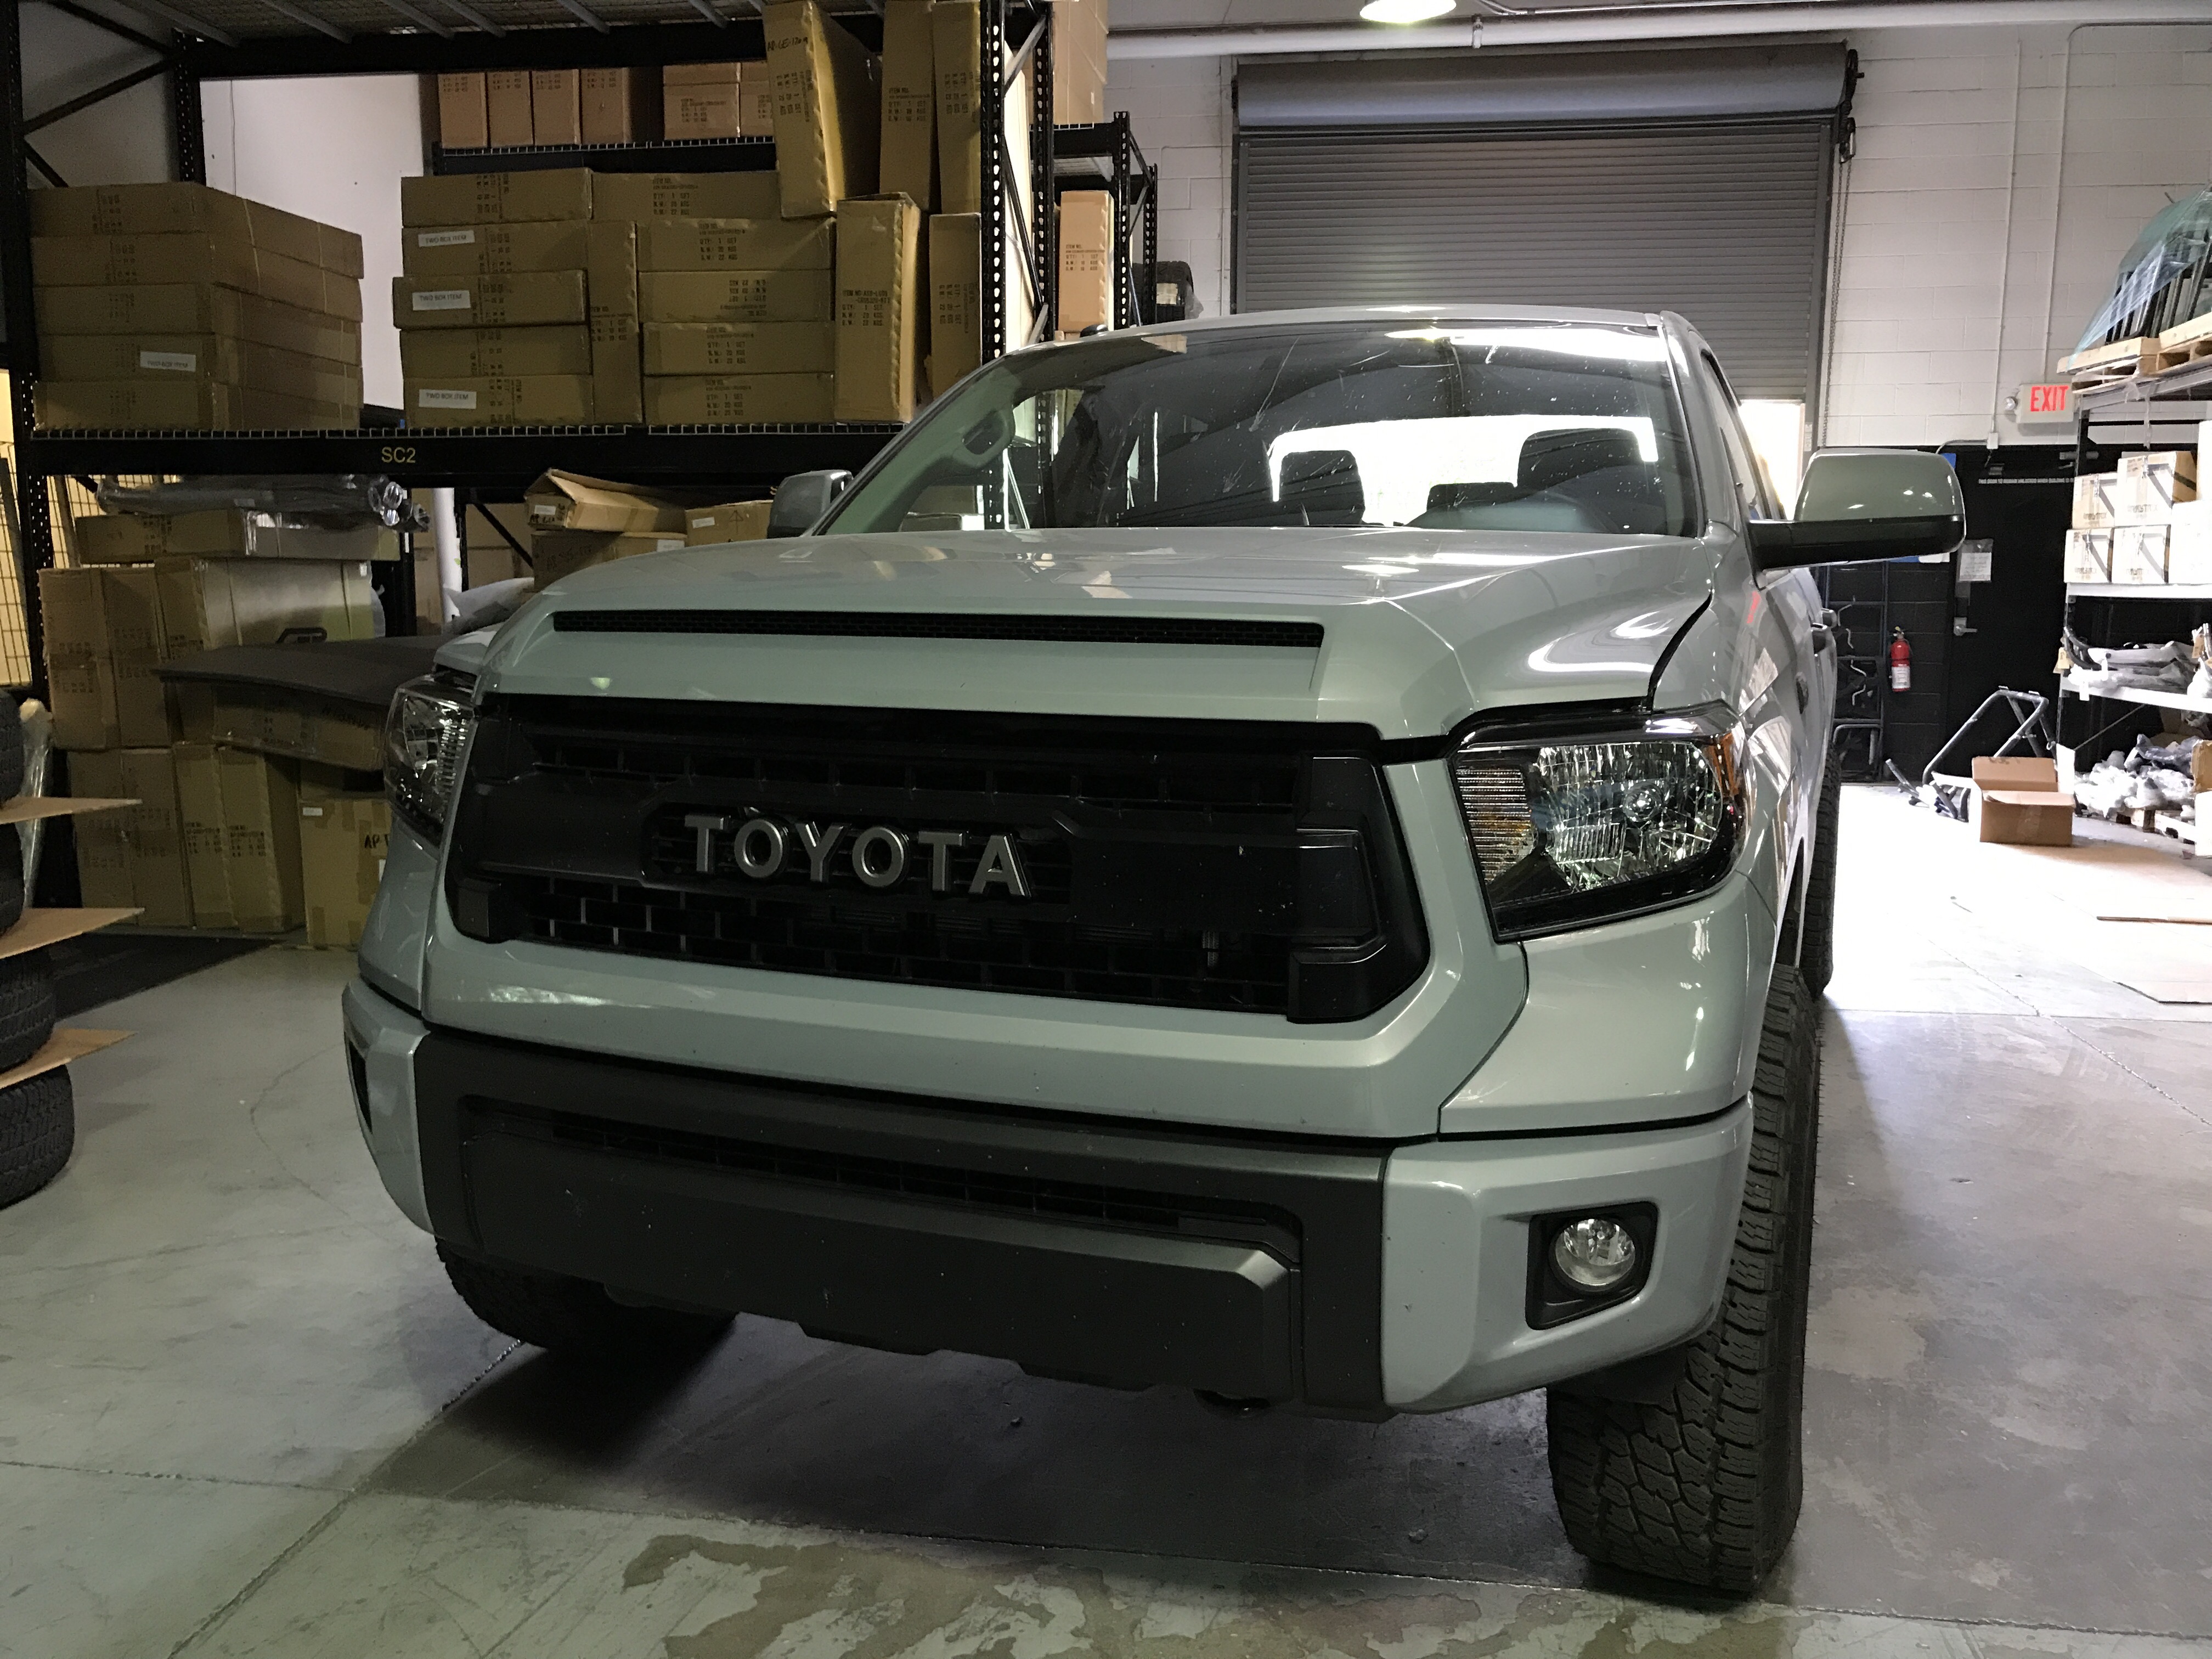
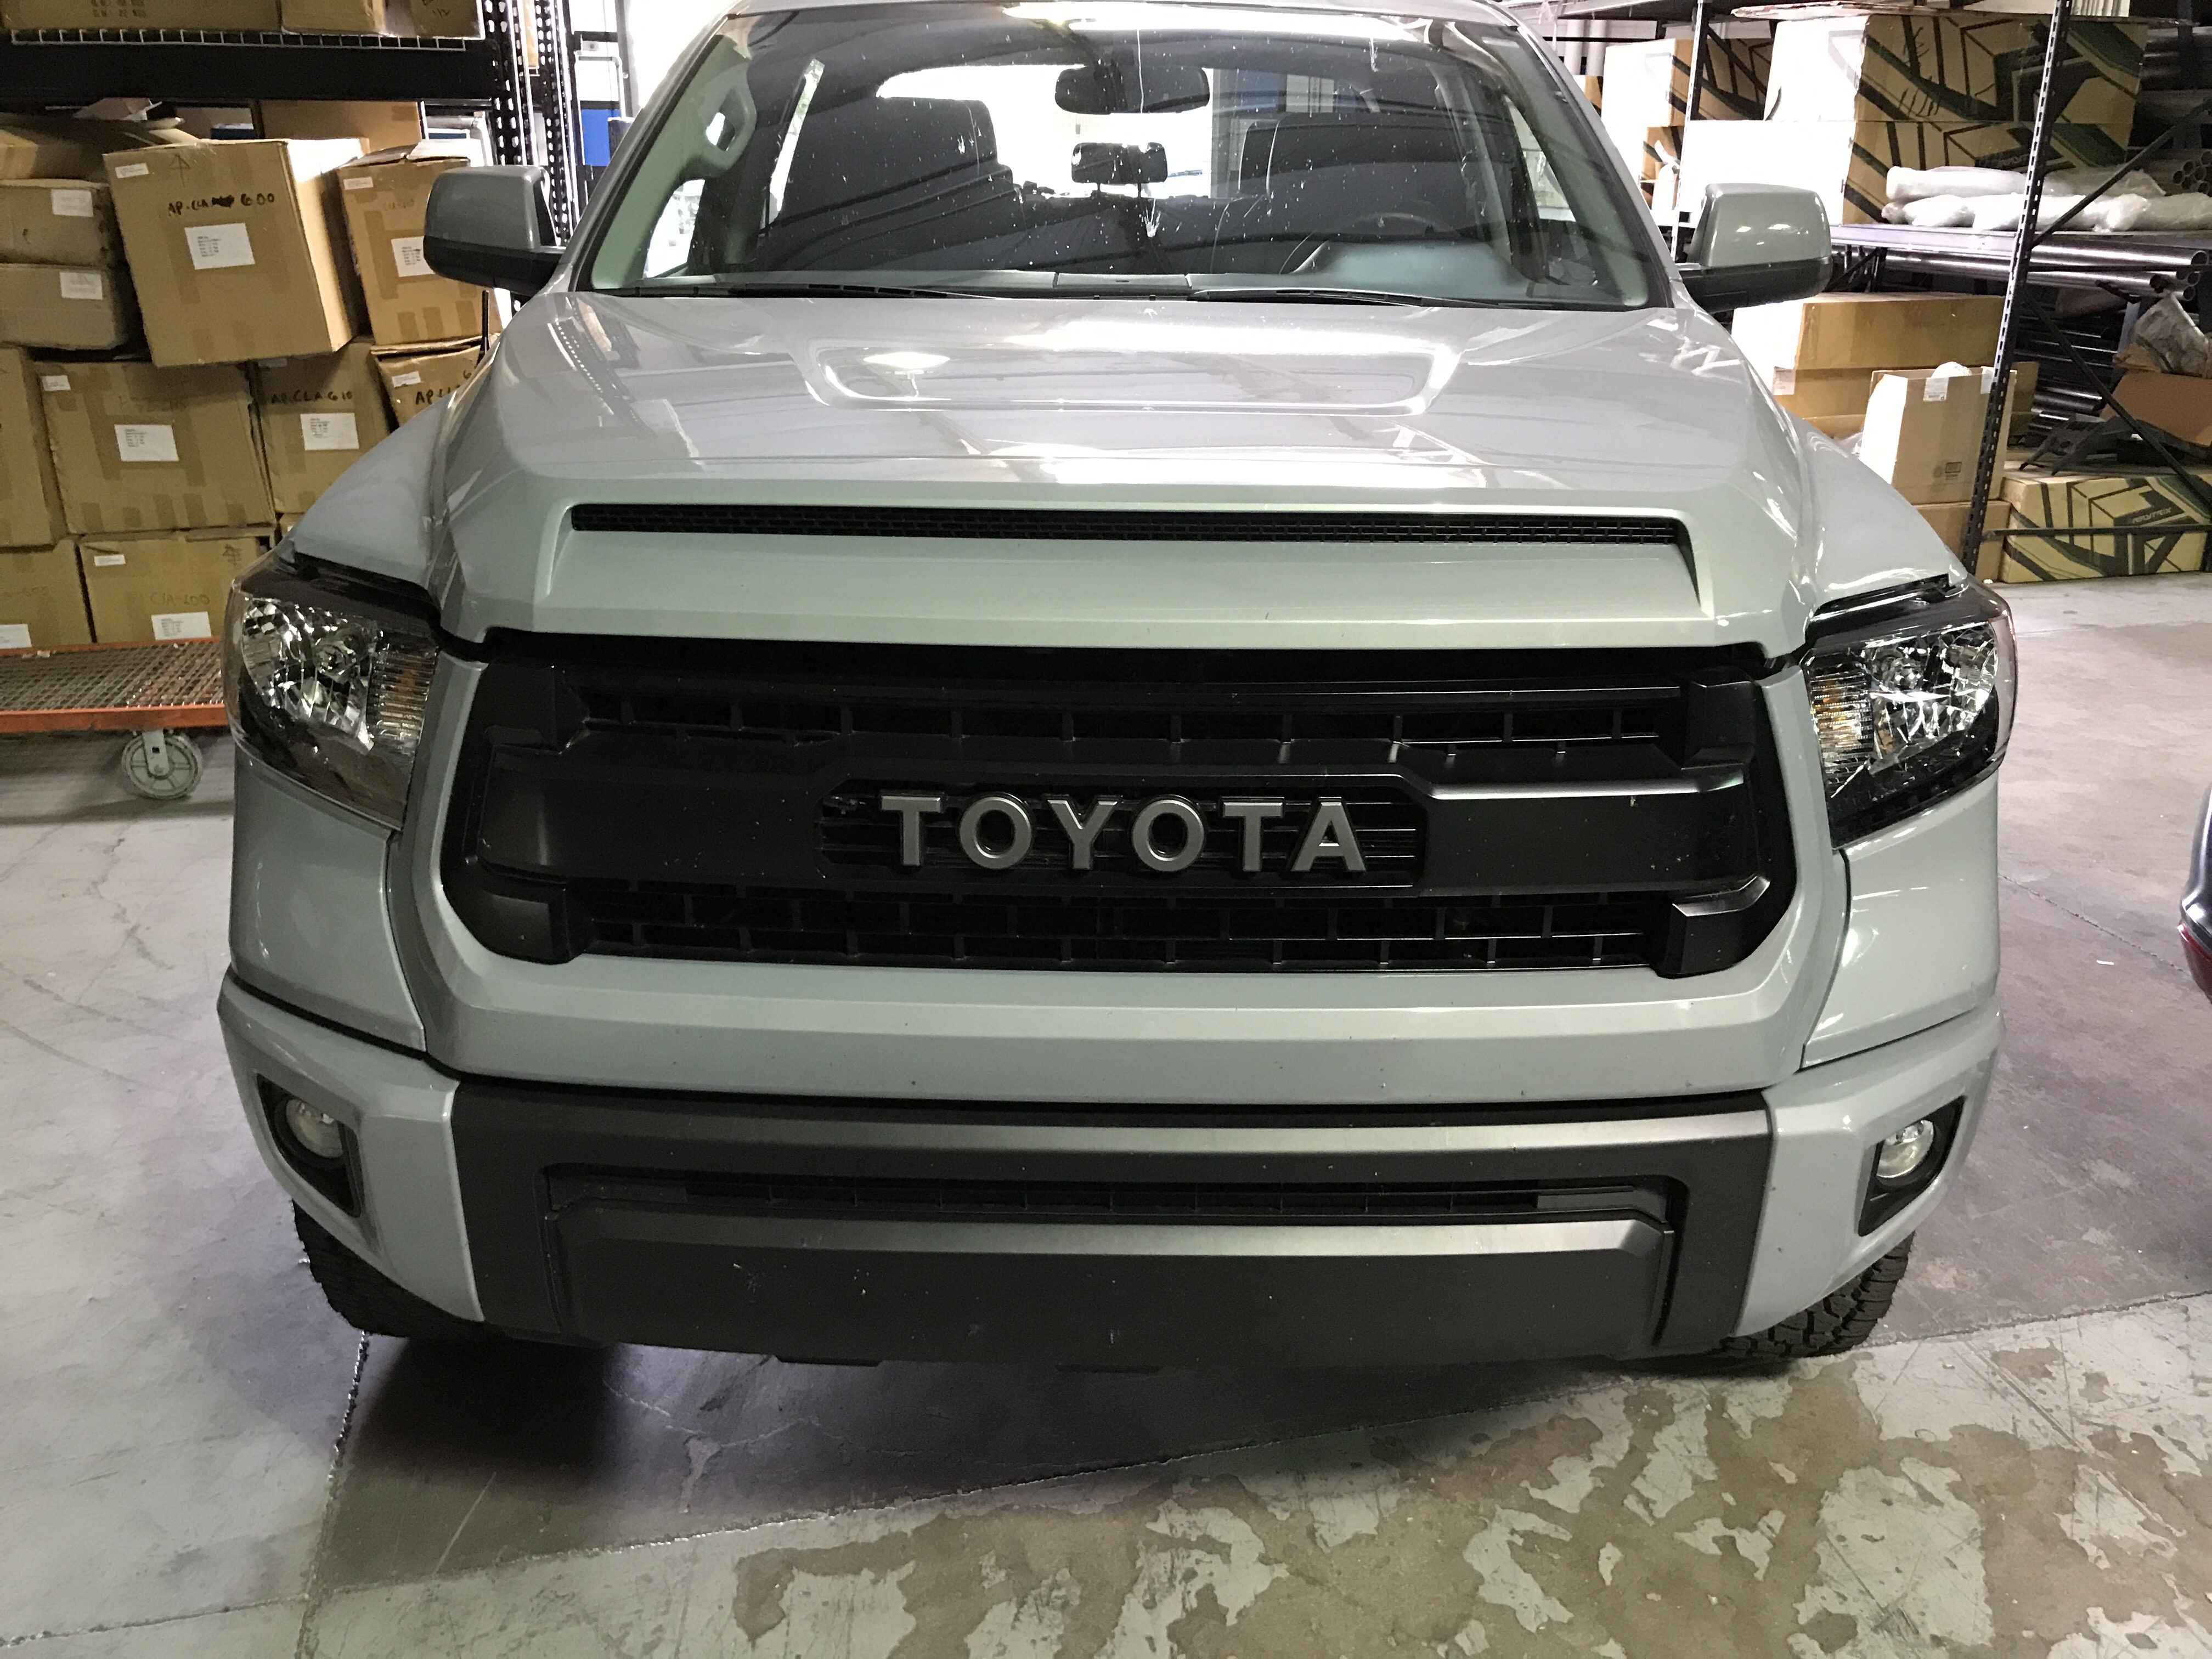
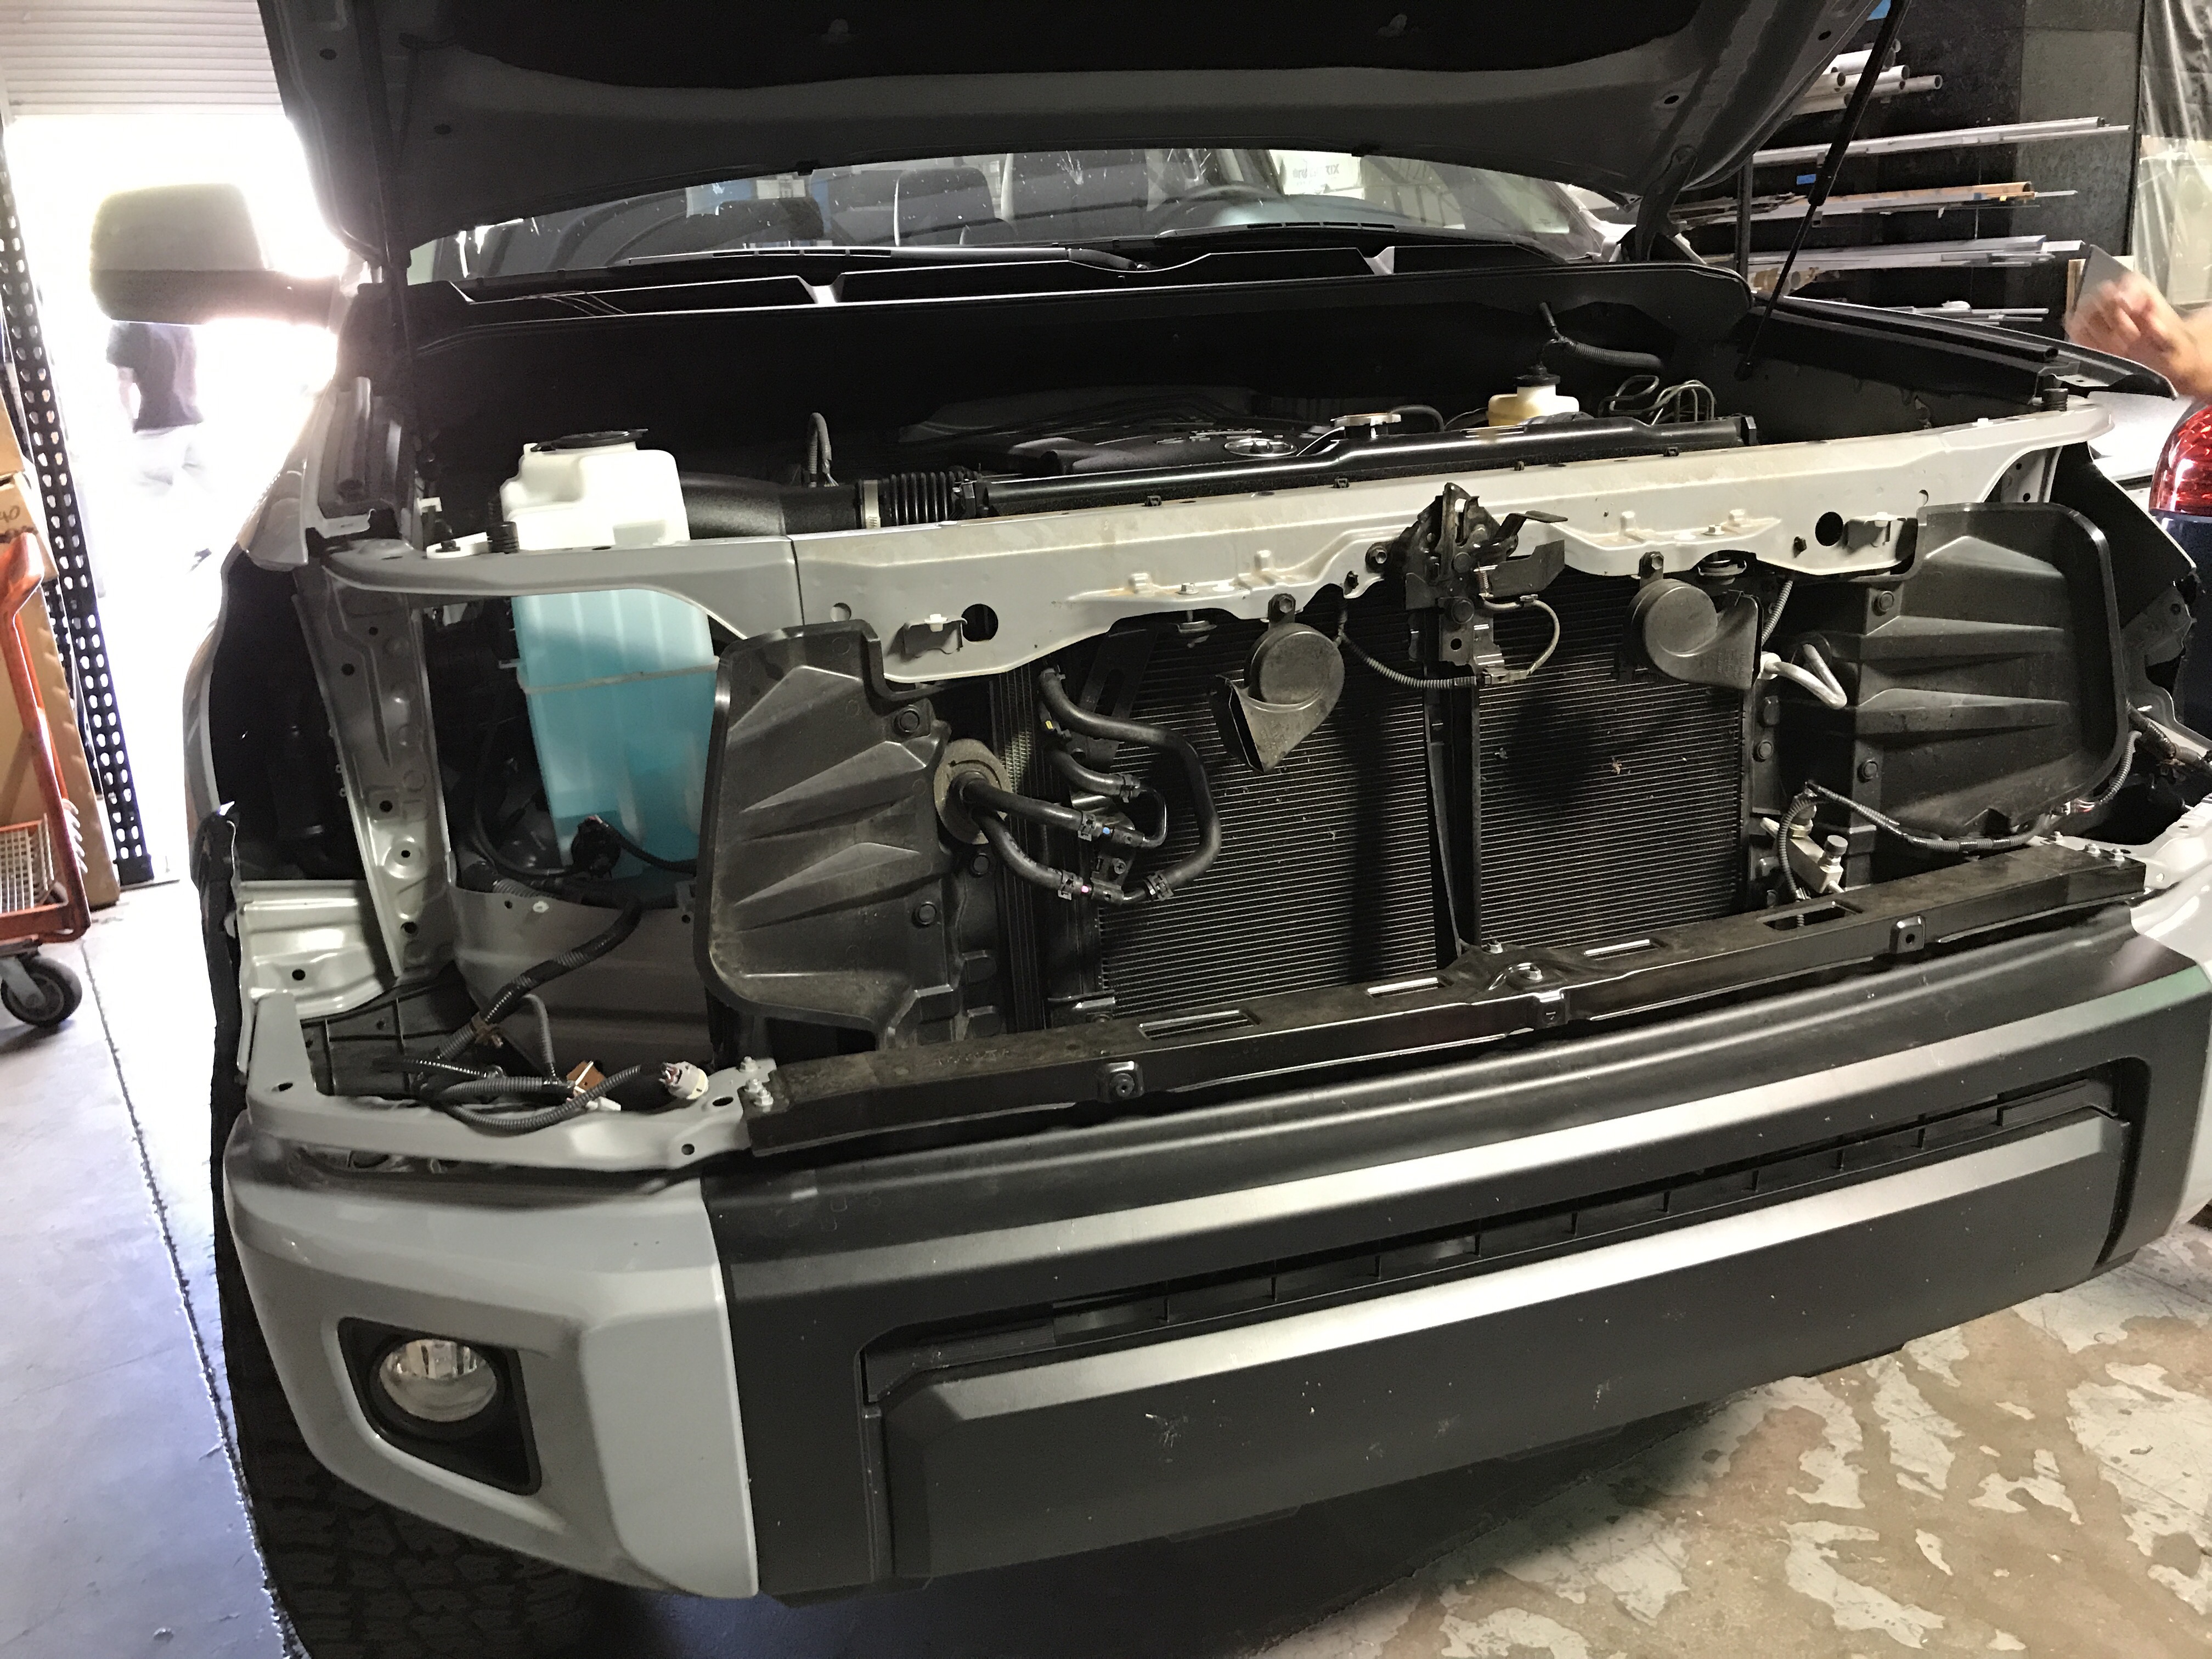
Here is the truck in its stock form. You can see the TRD Pro black housings and the BORING lights.
Straight on look, still boring!
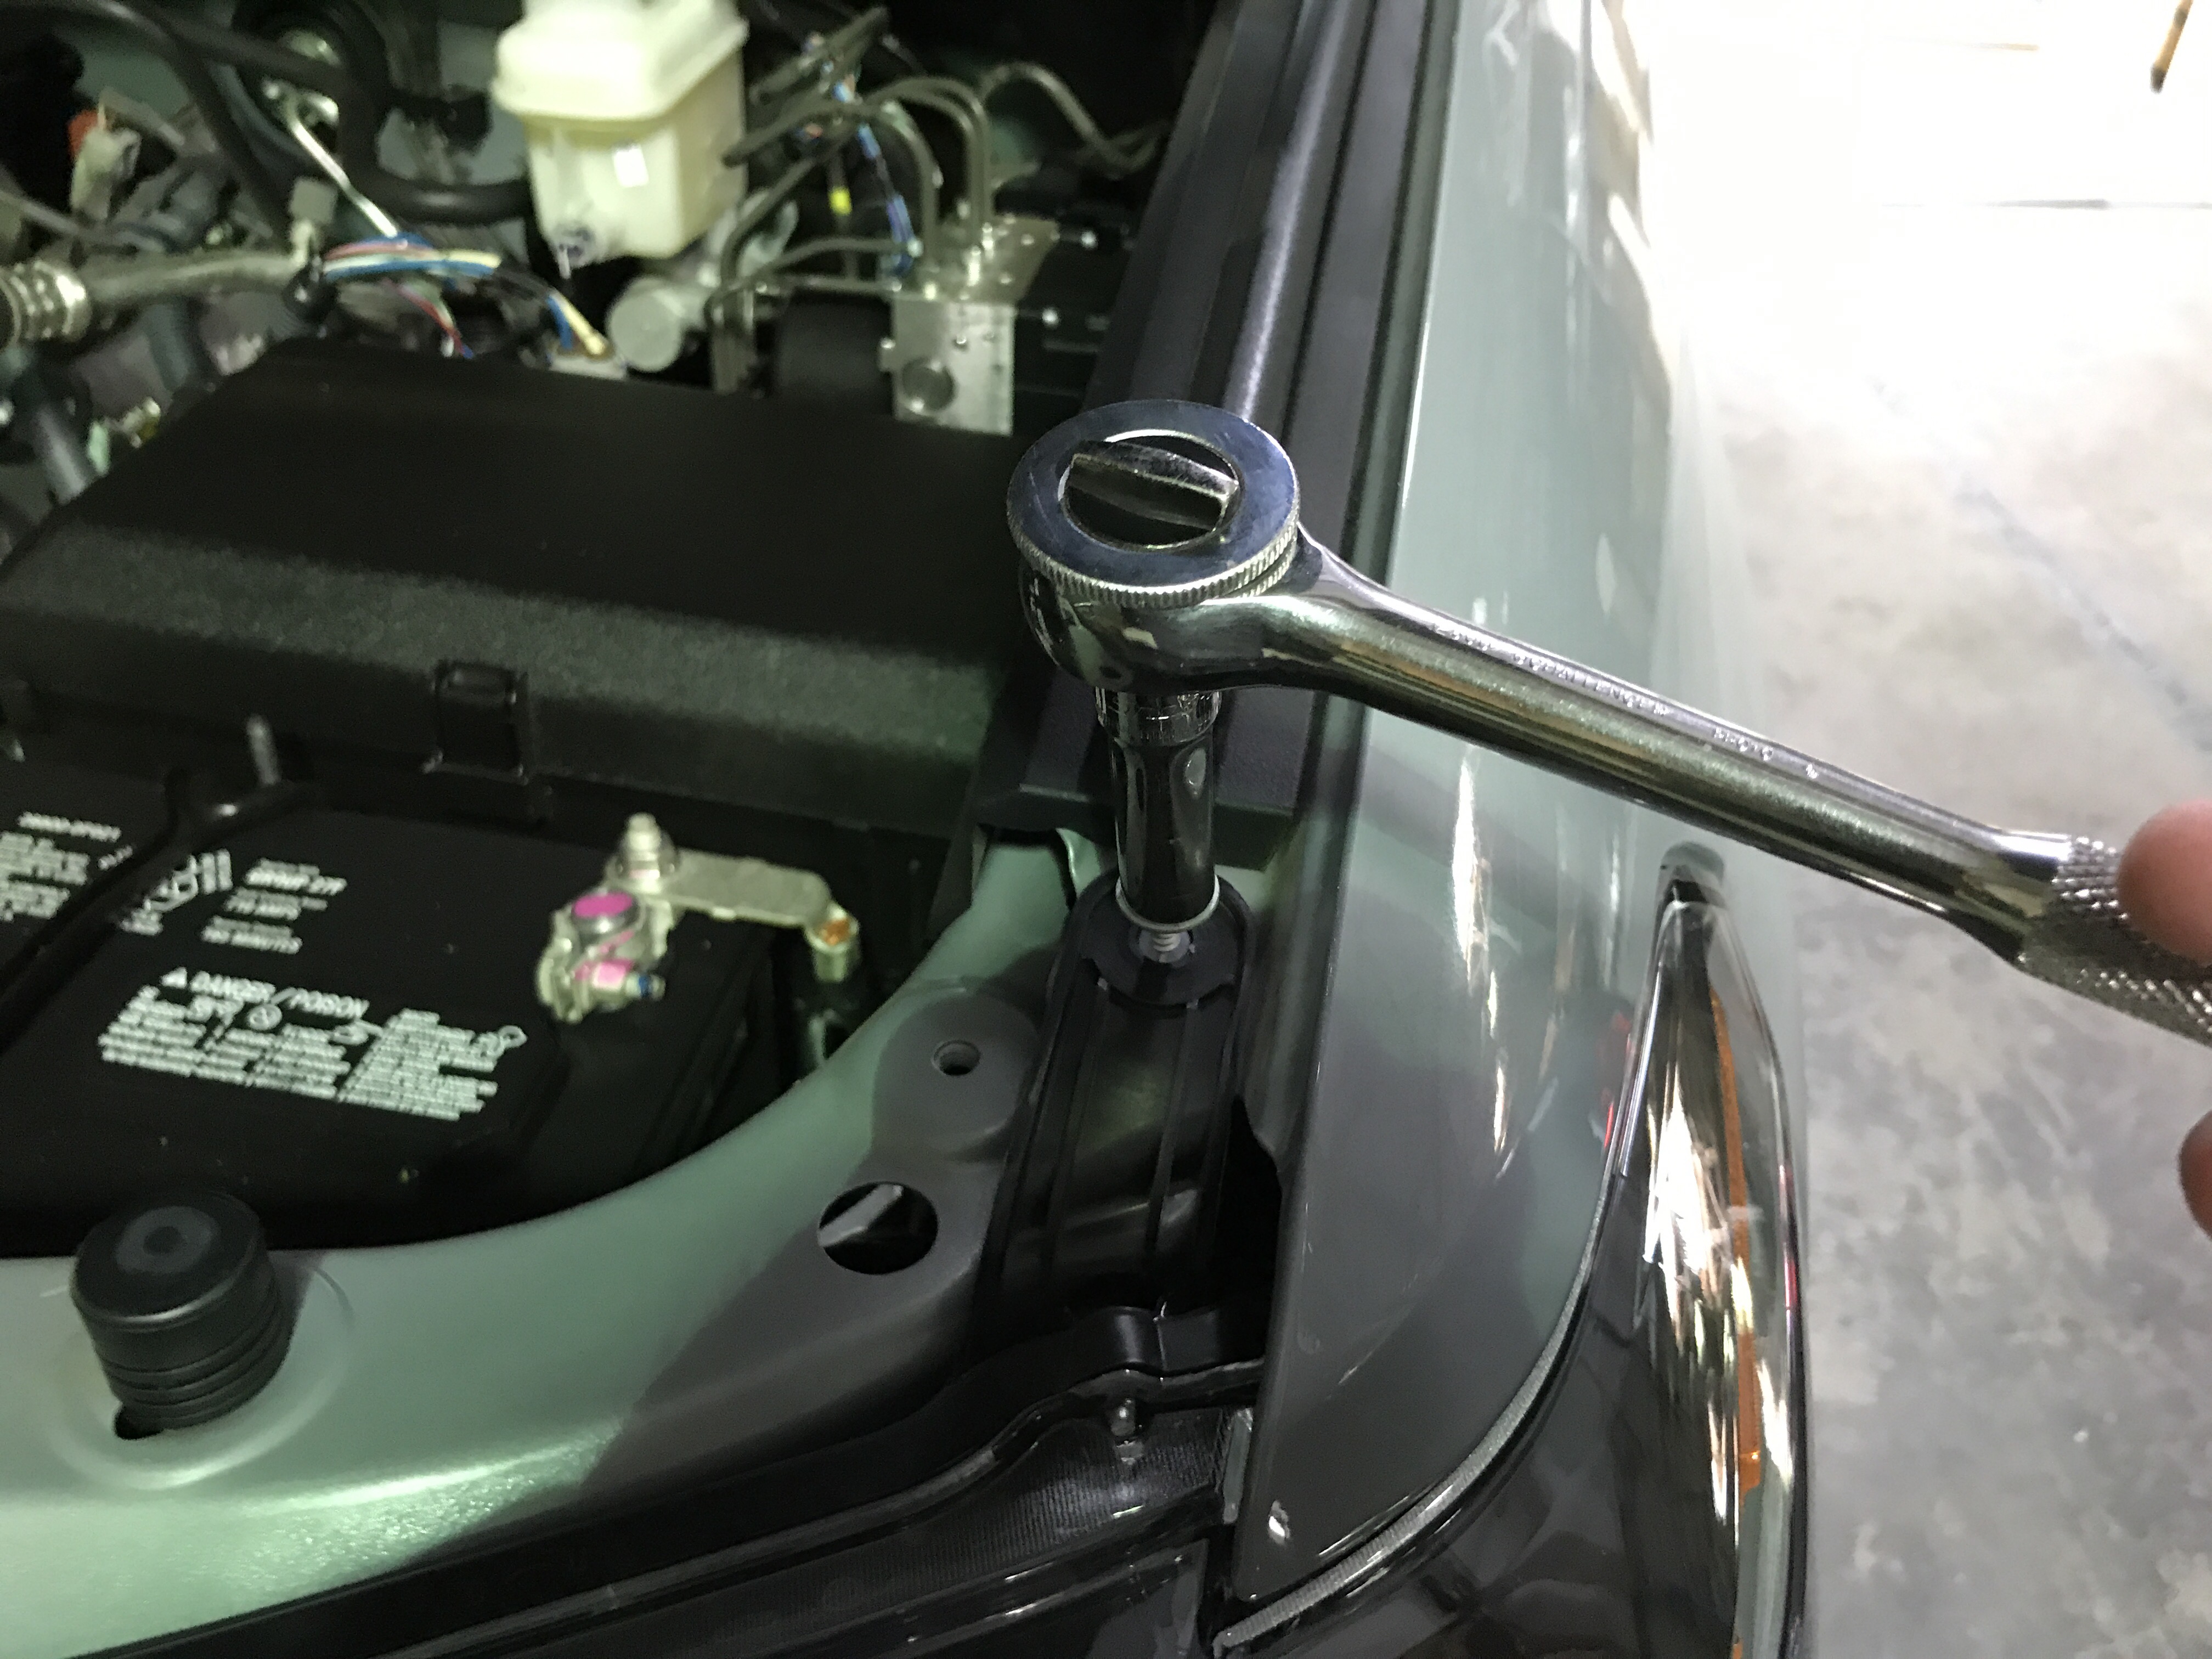
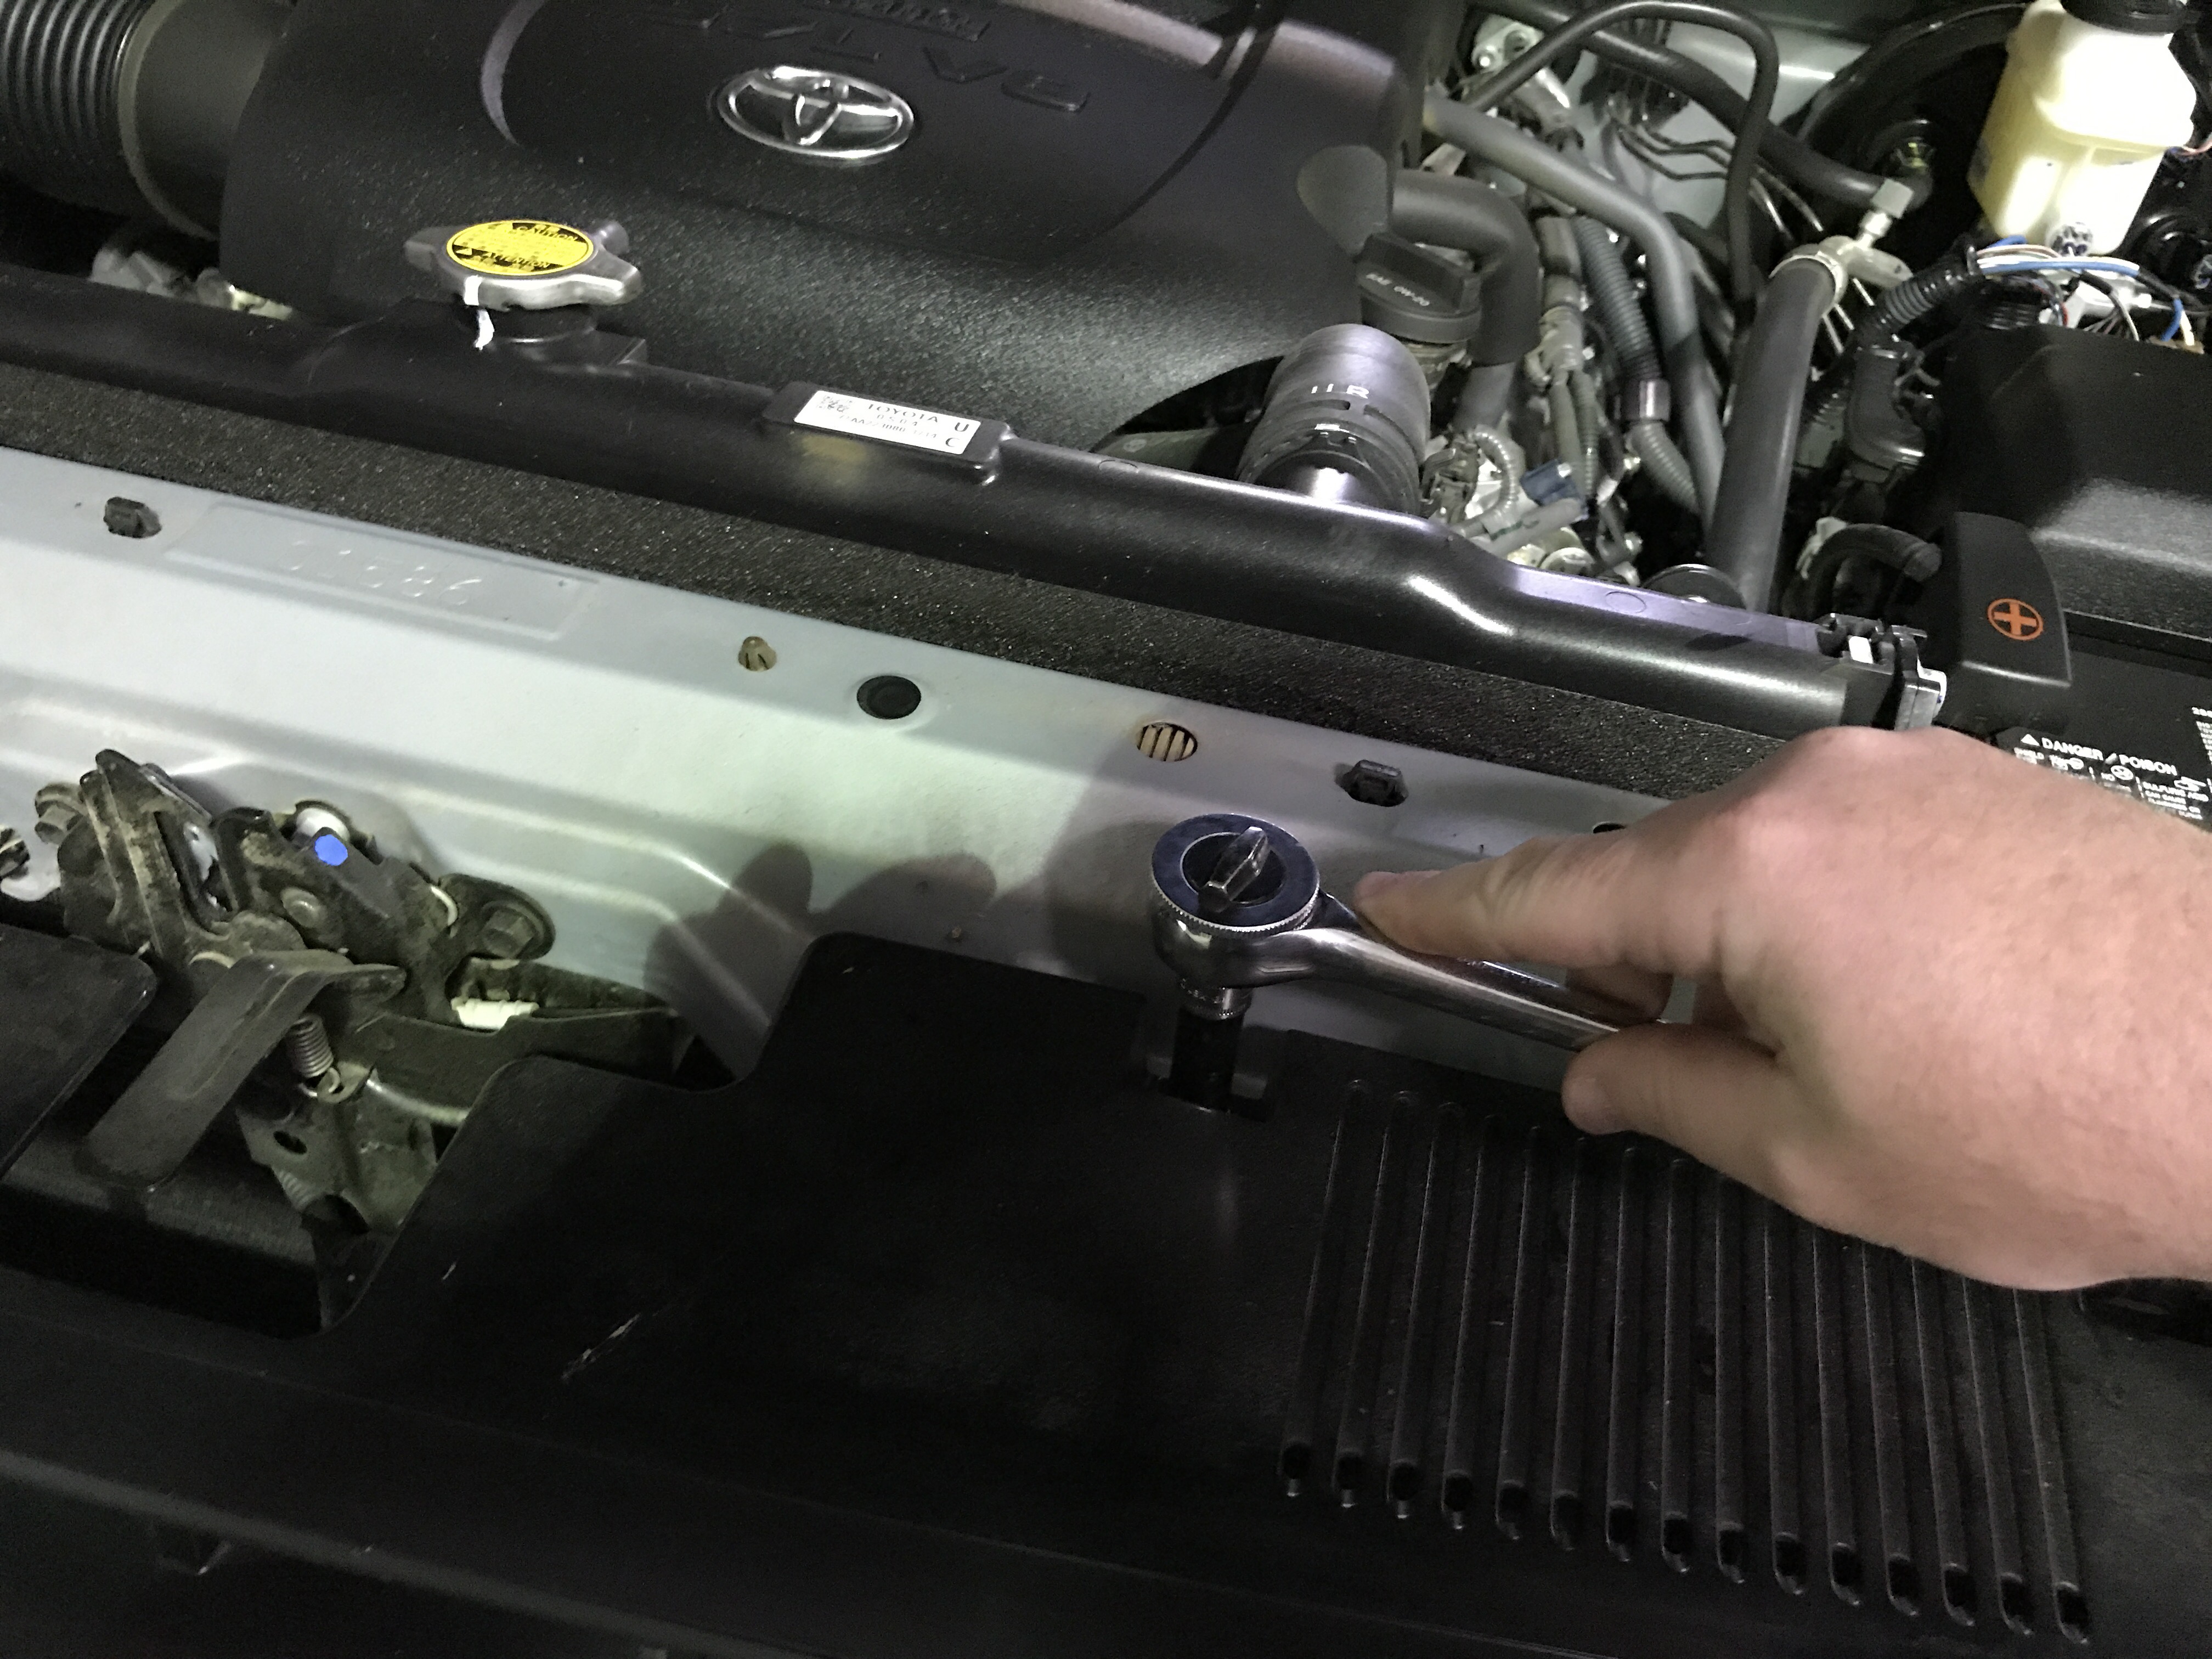
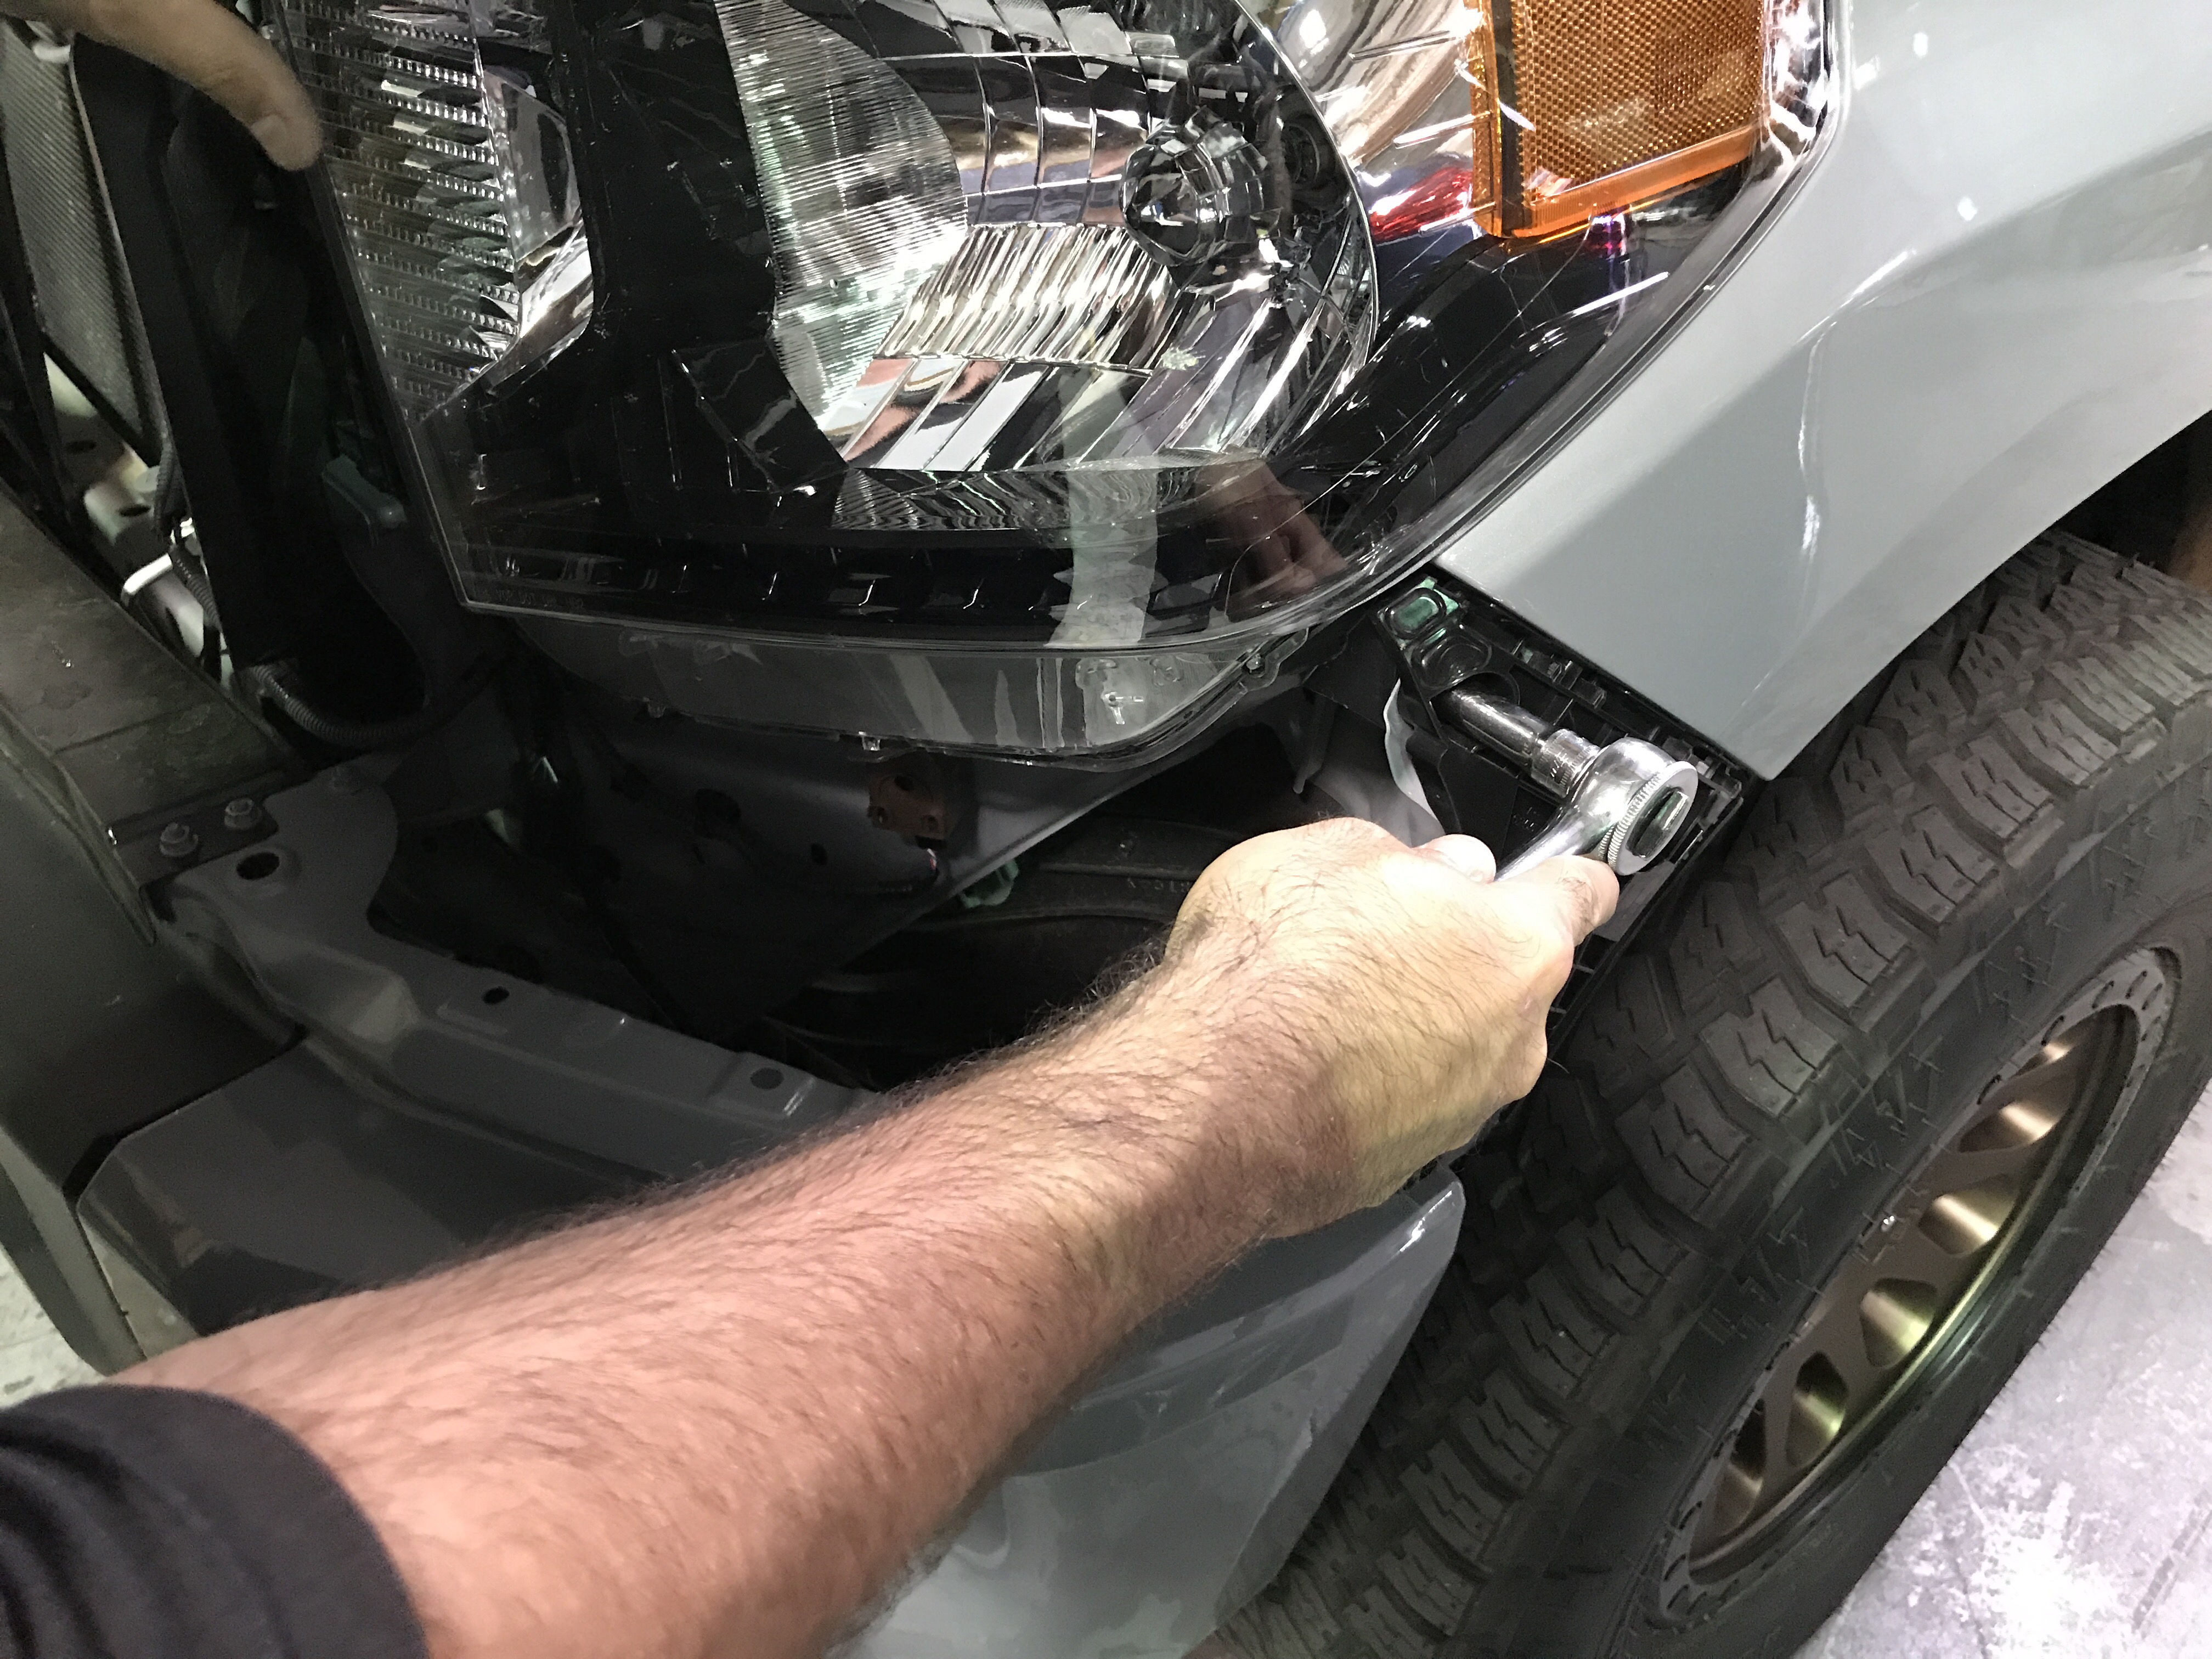
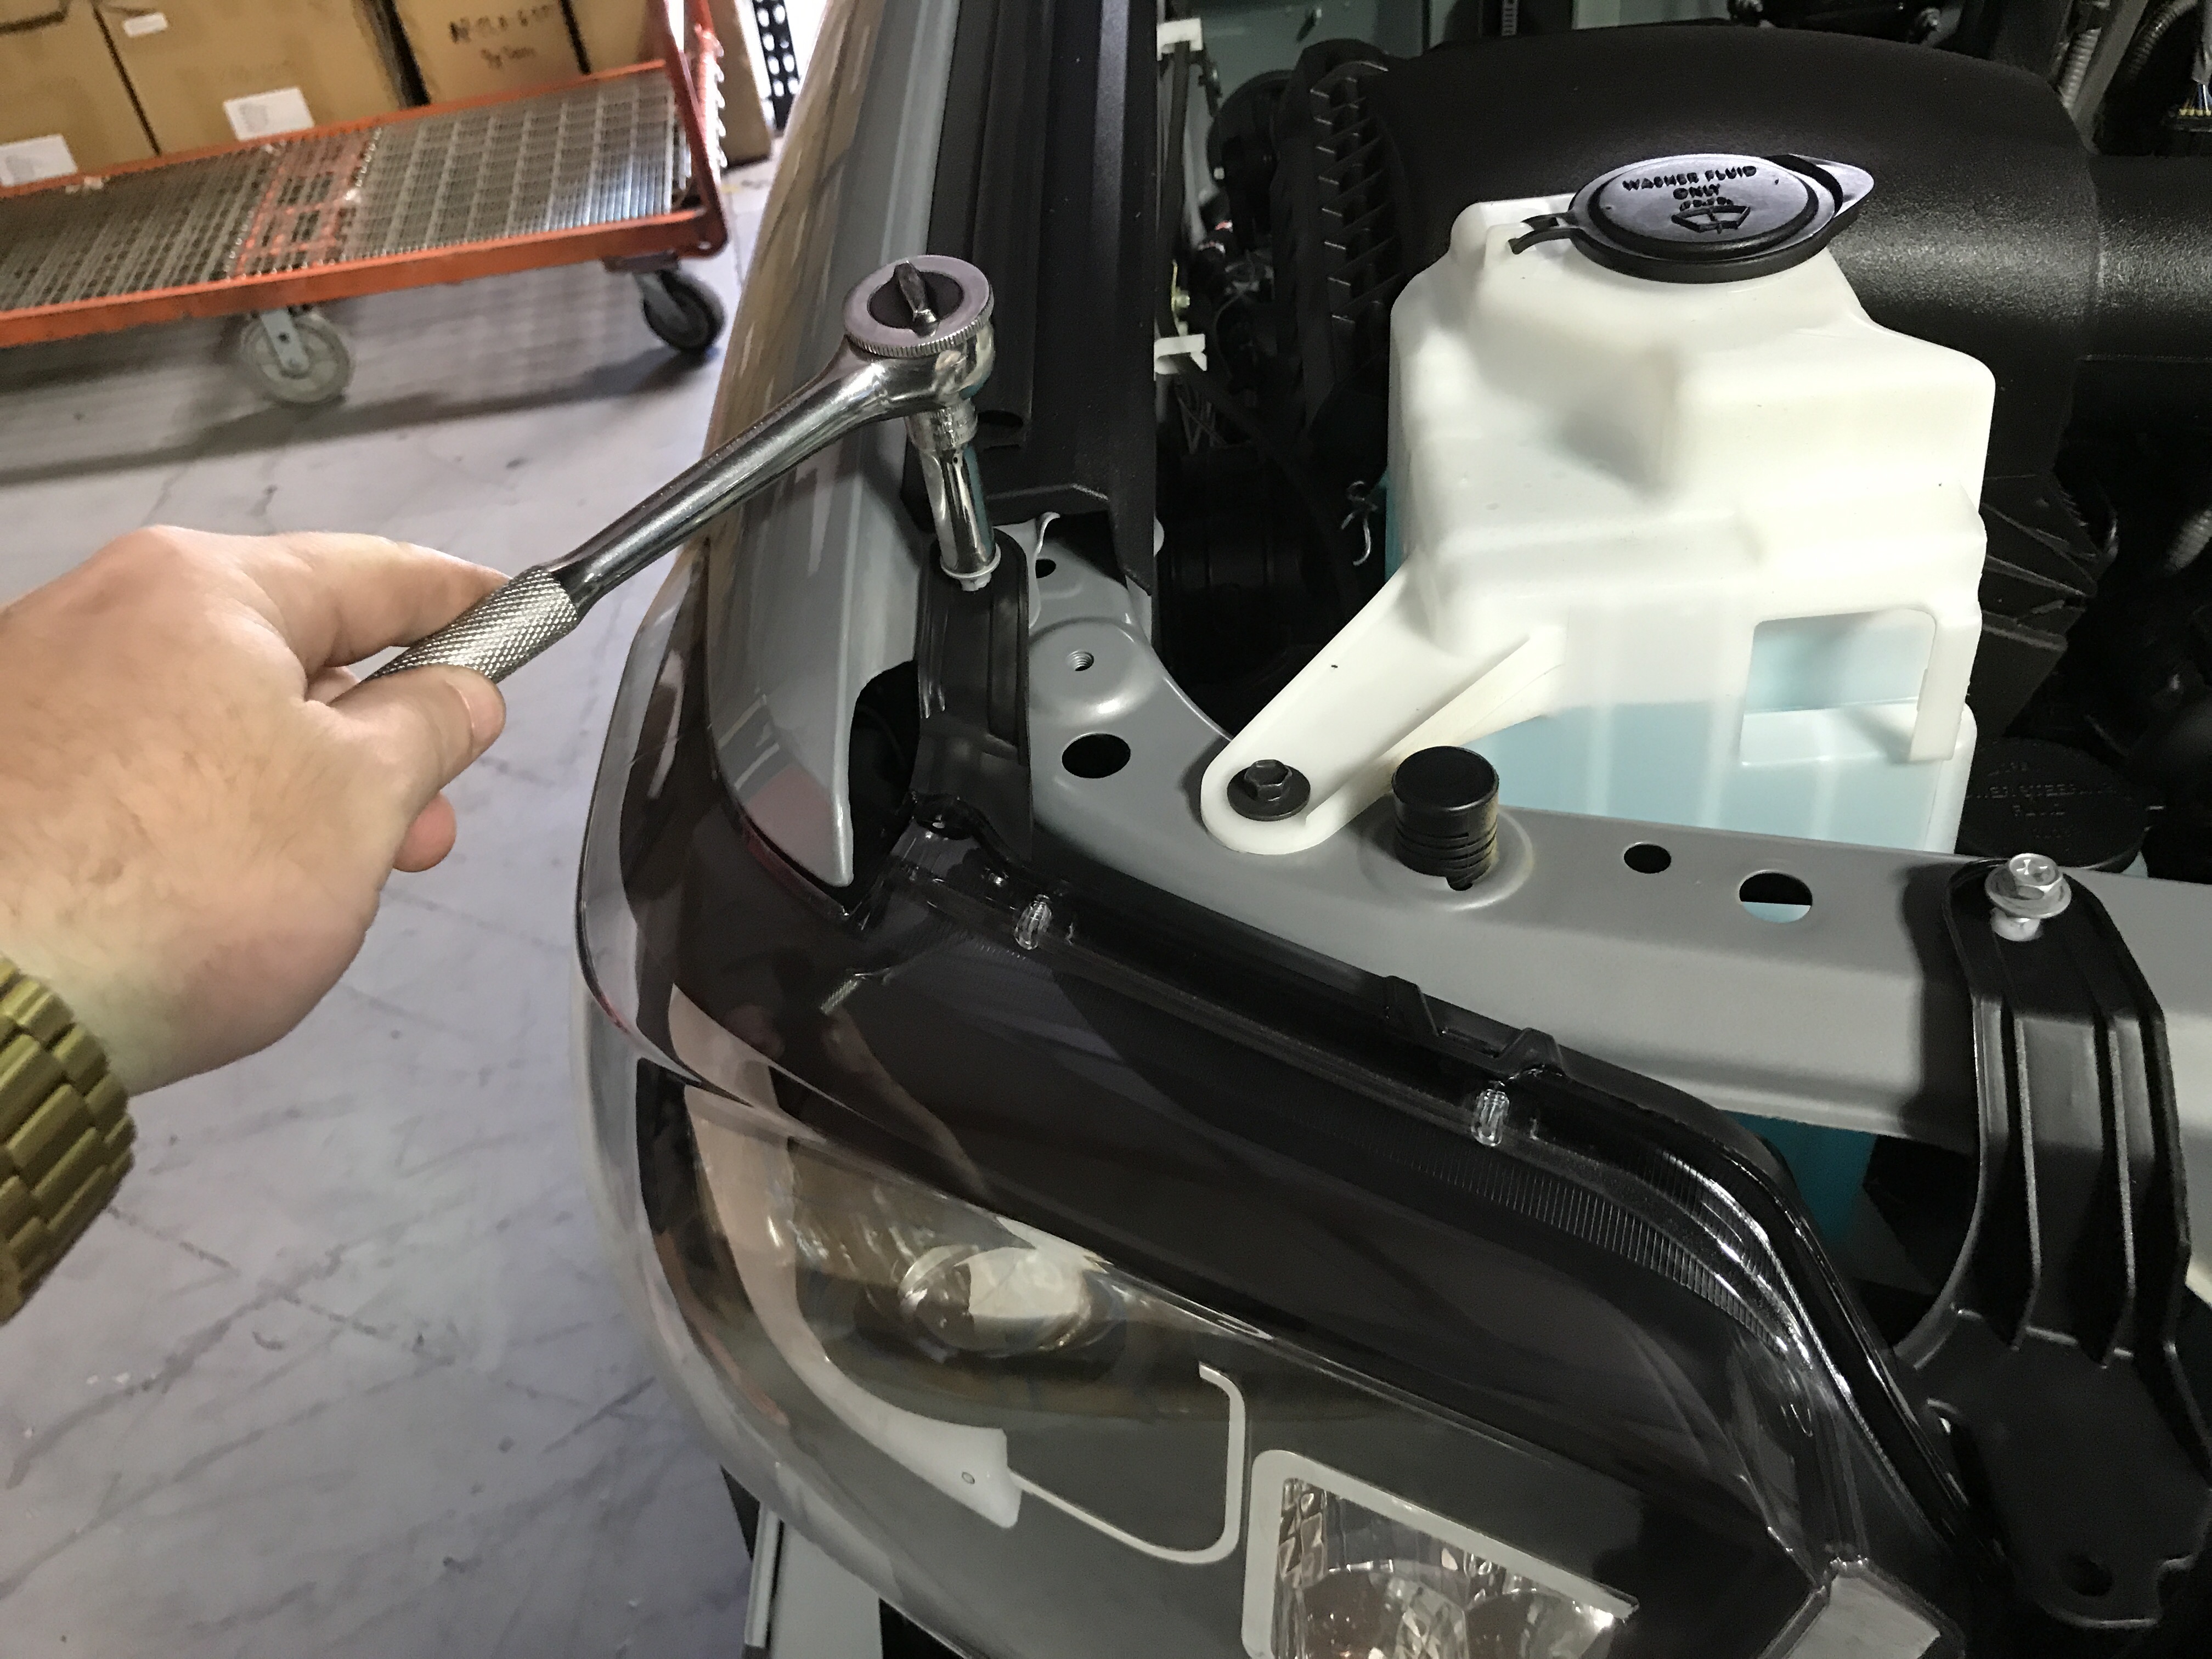
The lights come out very easy. Having been use to trying to install parts on cars like BMW M4, Porsche 991 Turbo, McLaren, this is a throwback. Very easy and no hassle. Pop the hood and there you have the basic bolts you need to undo. A 10mm socket wrench will do the trick.
You can take off the bolts on one side or do both sides. But you need to remove the grill. After you pop out the little clips on the top of the grill using a small flat head screwdriver, reach in below the TOYOTA on the grill and release the clips that are holding in the bottom of the grill.
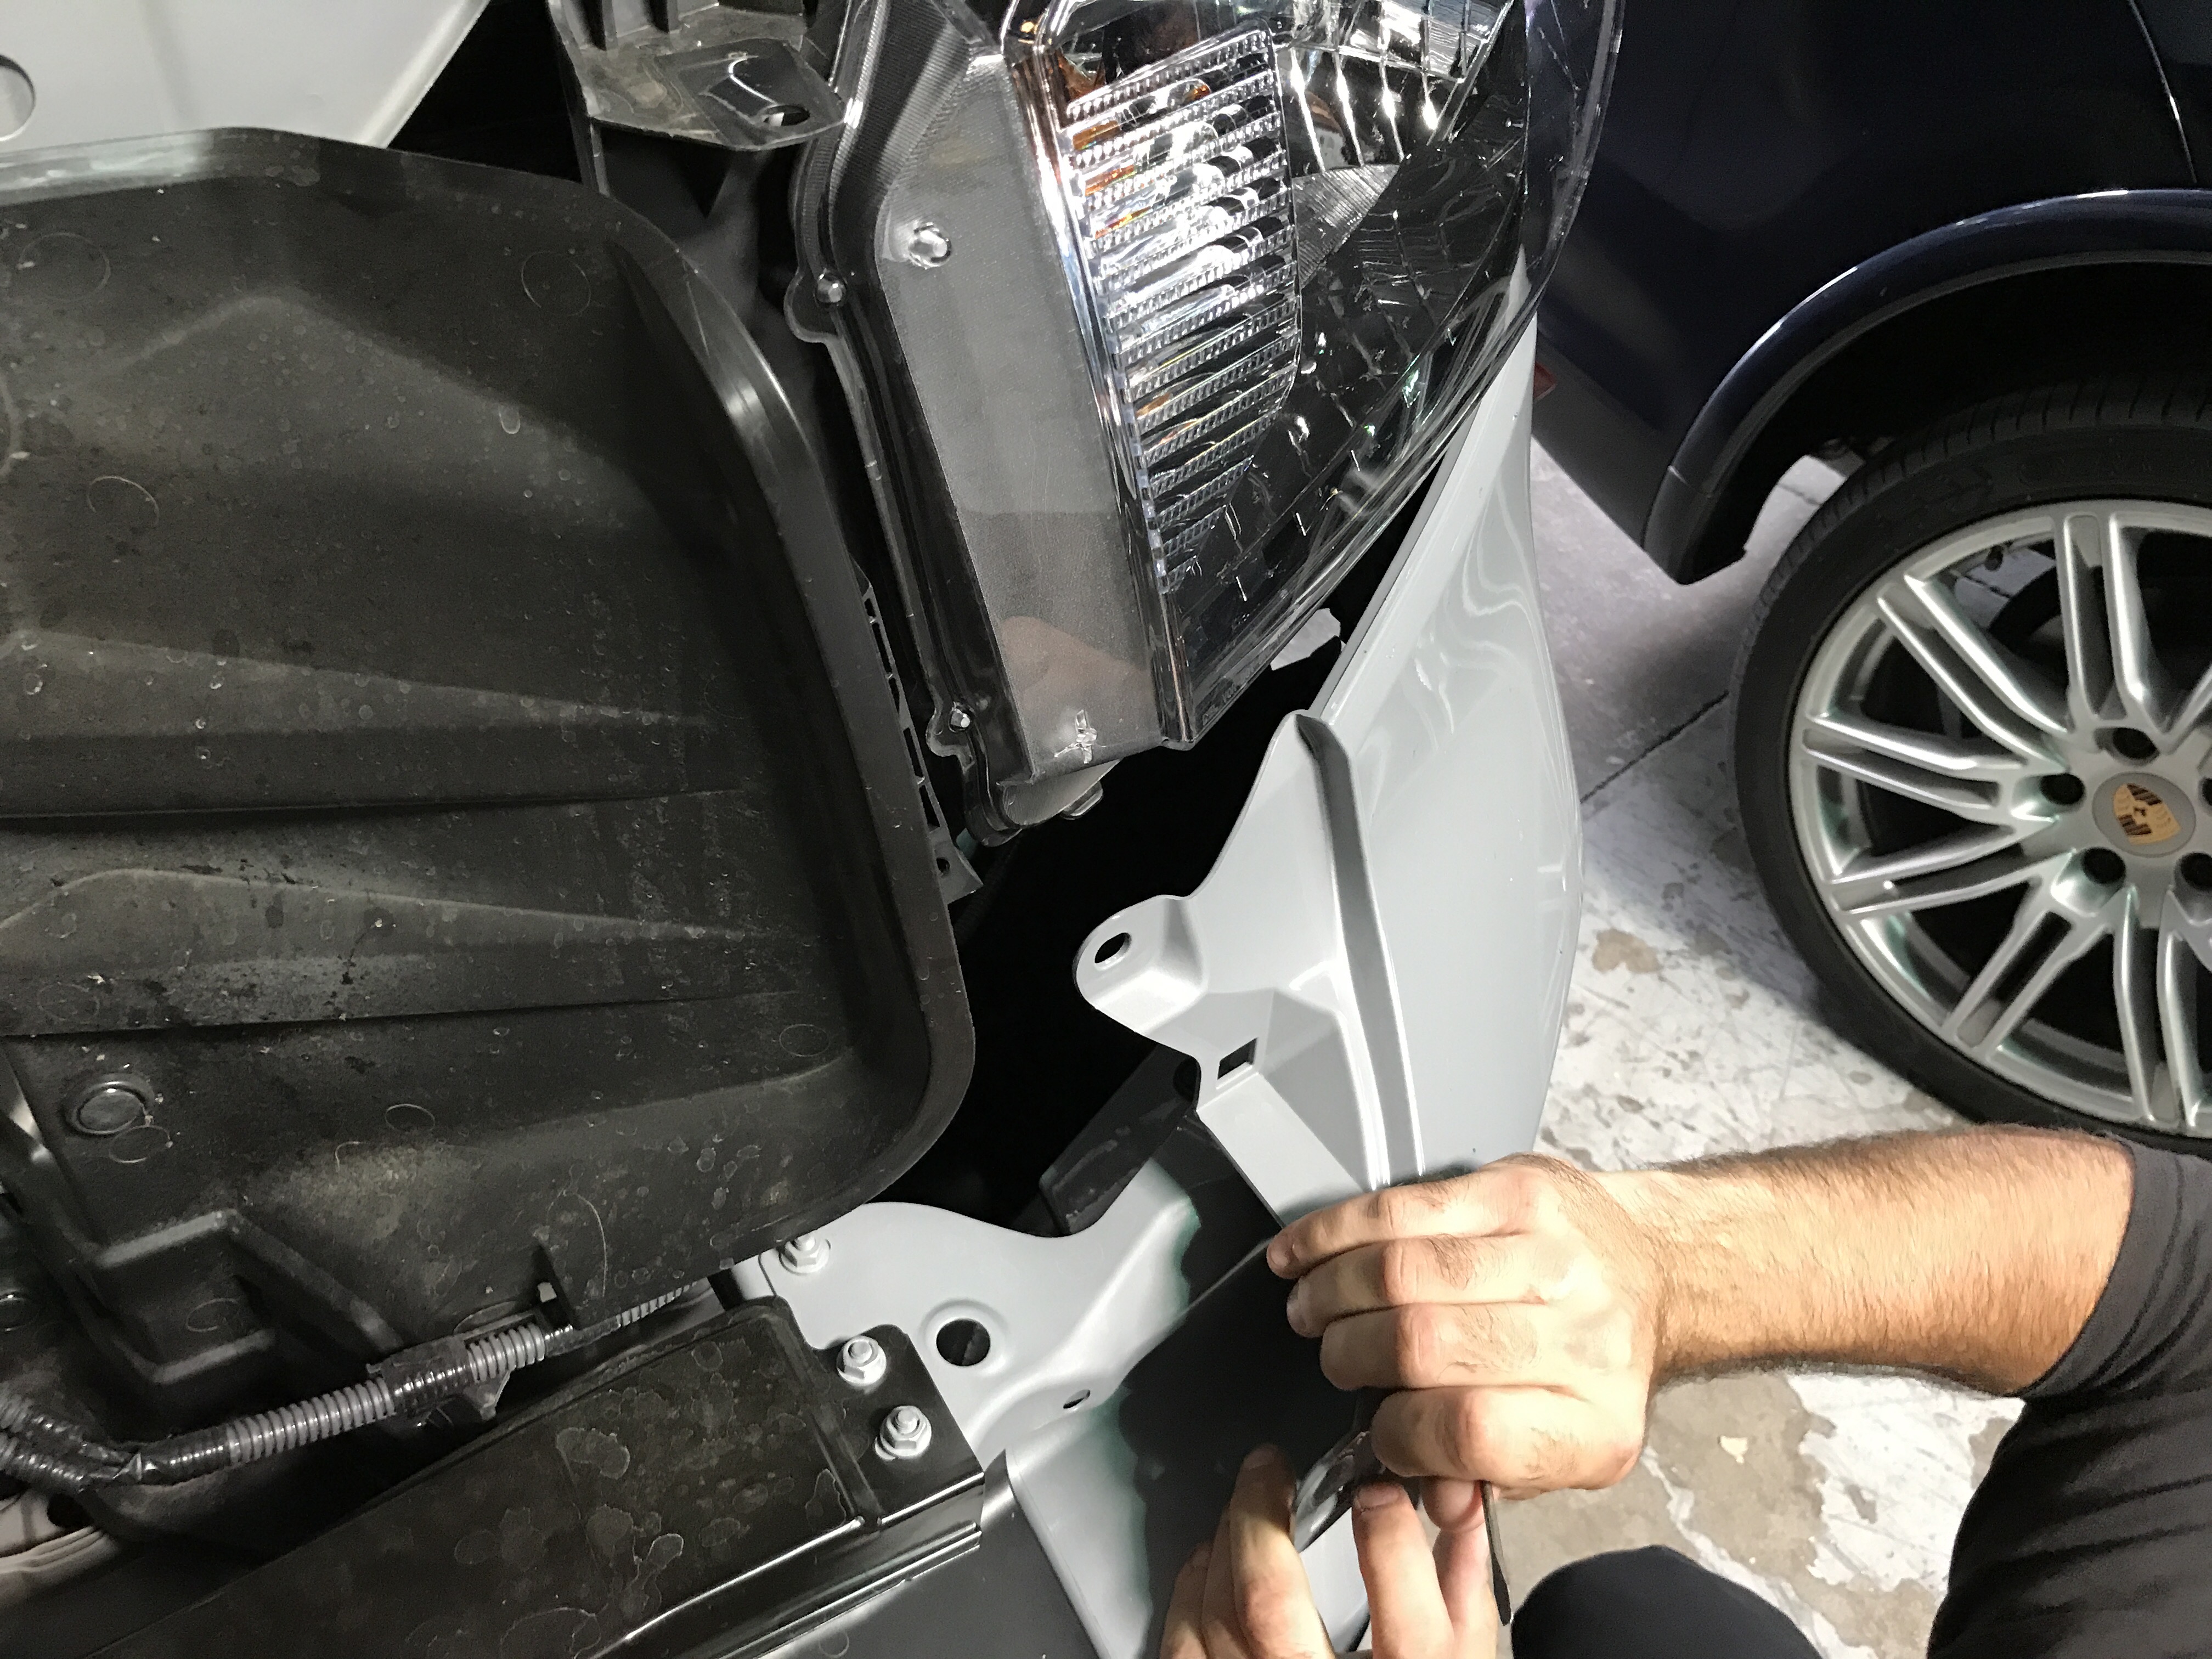
Once the grill is off, you need to remove the plastic bumper trim under each light. These are held on by a clip on the grill side and then pushed into clips on the fender side. The fender side come out with some force by tugging. Dont worry you wont break it.
With all the pieces removed except for the lights, you have one more bolt to take out to get the lights out. Use your 10mm socket again on this side bolt below the fender.
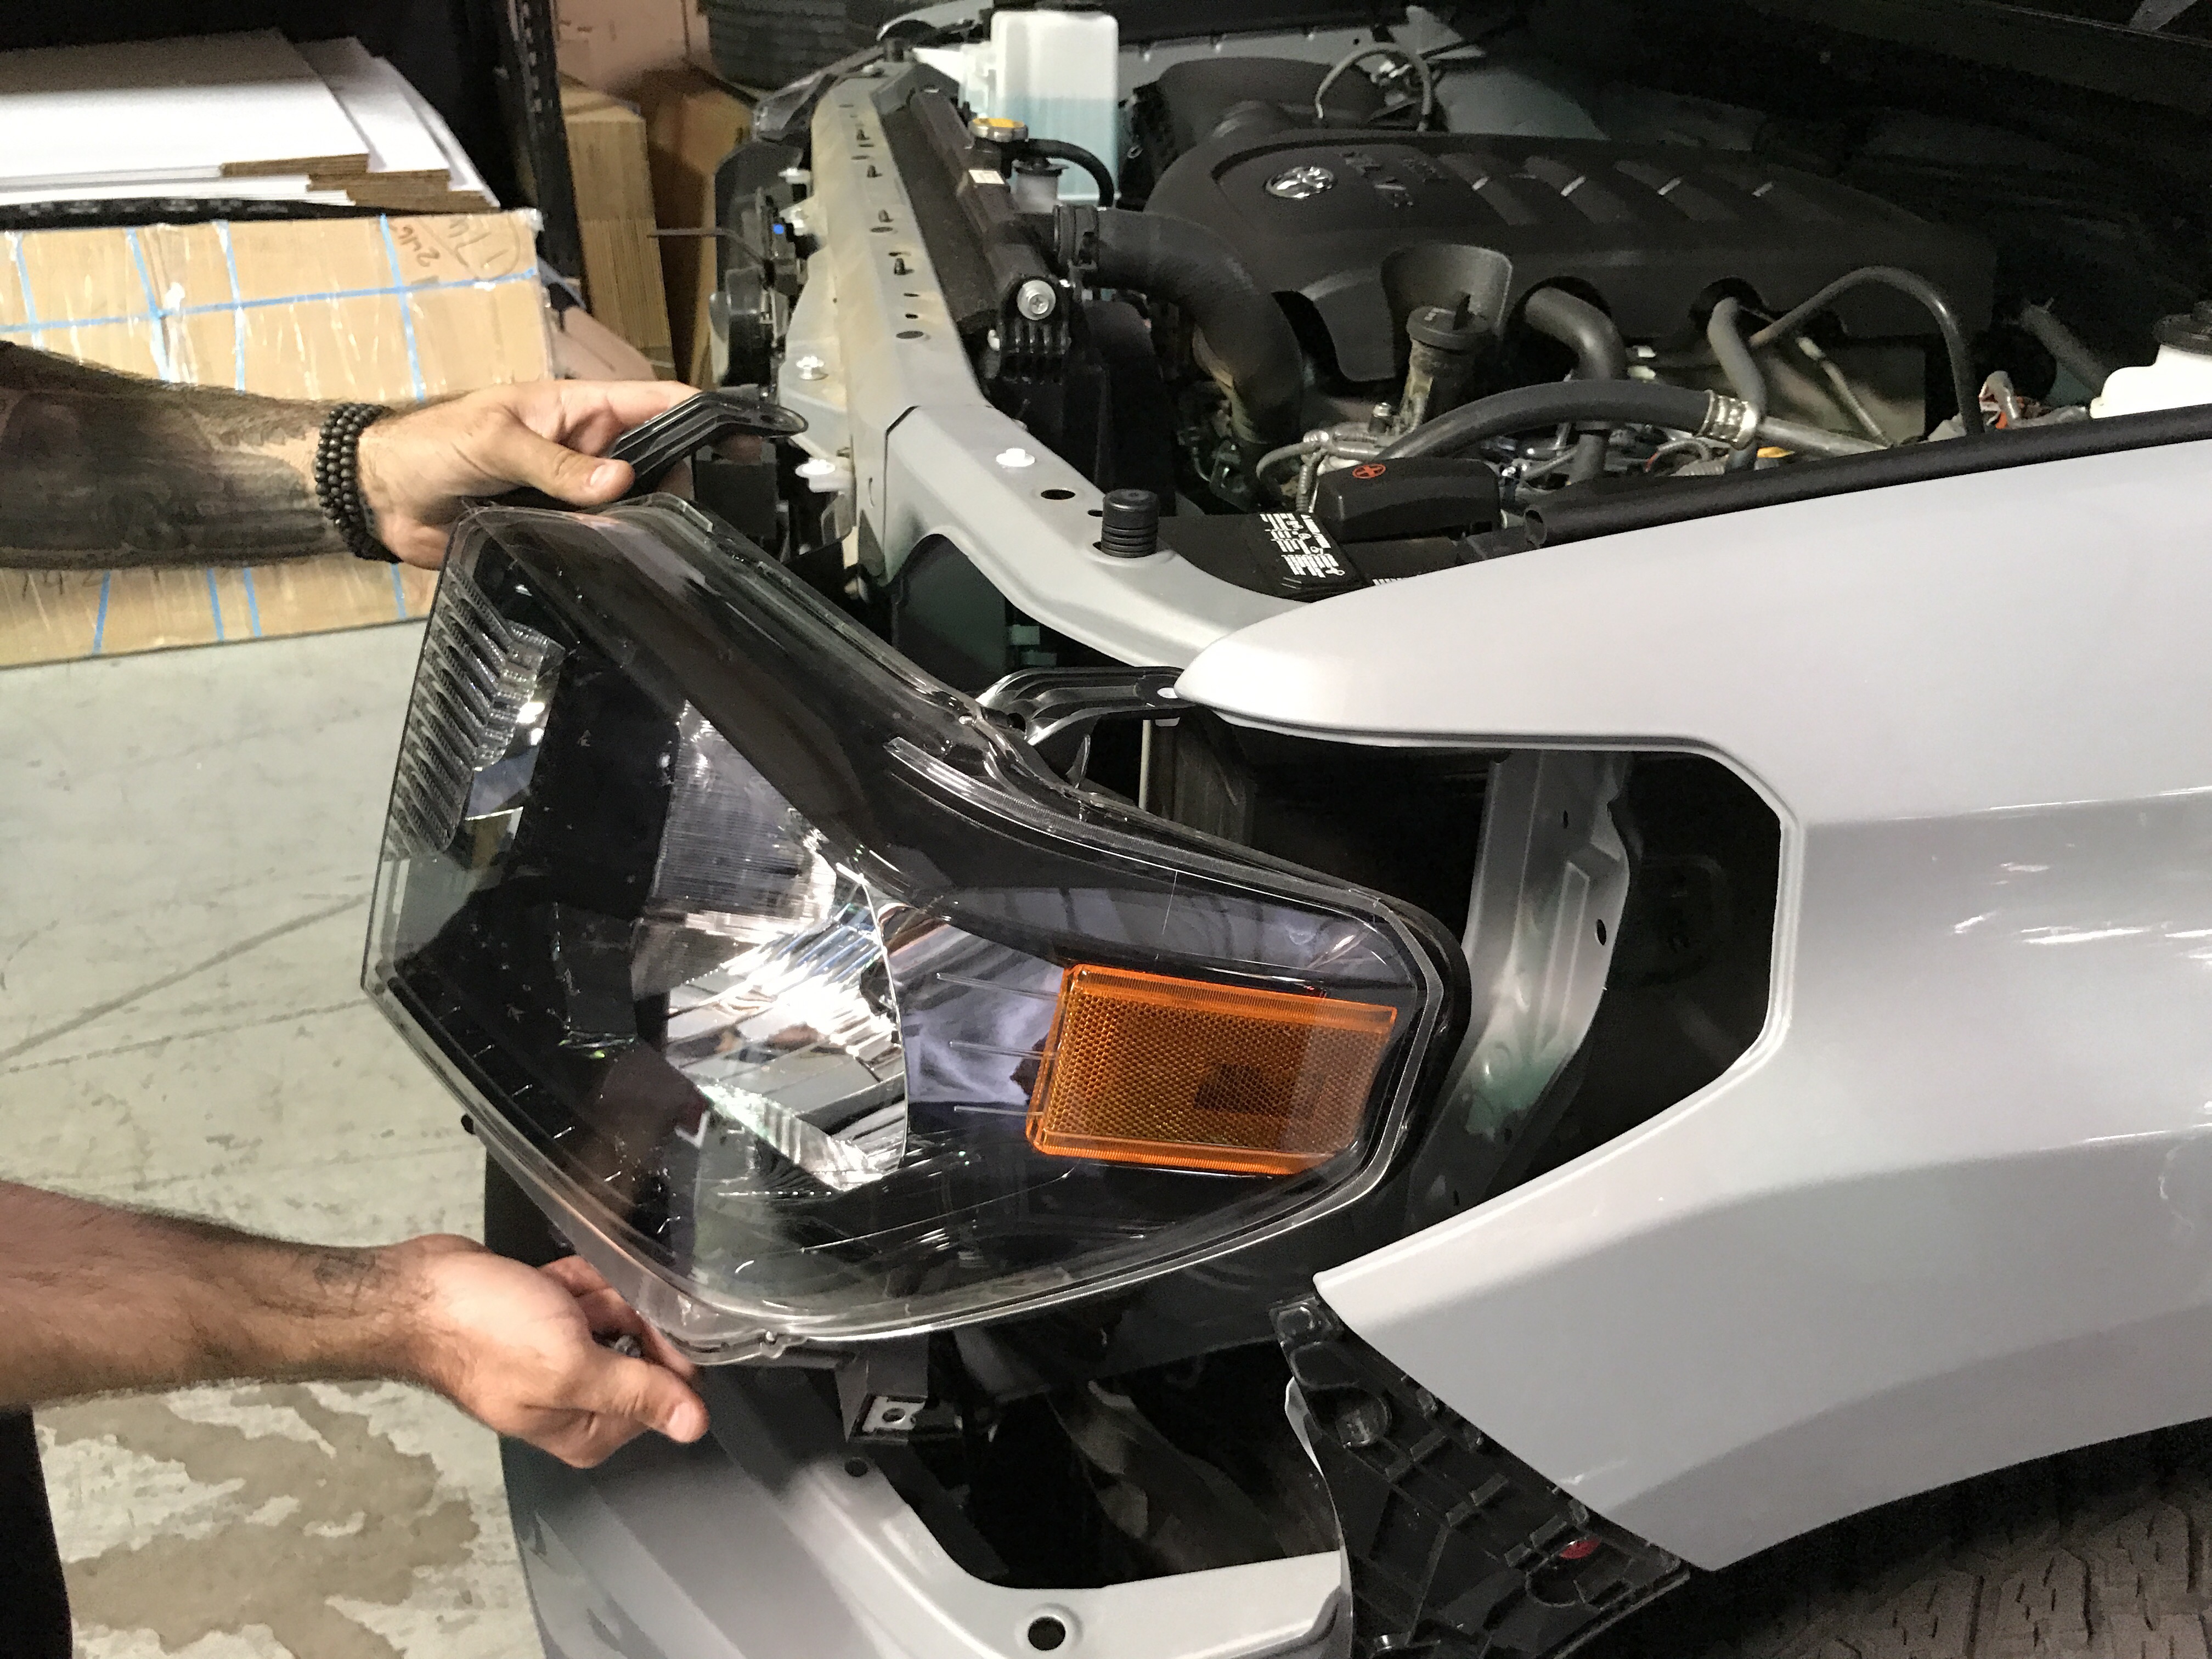
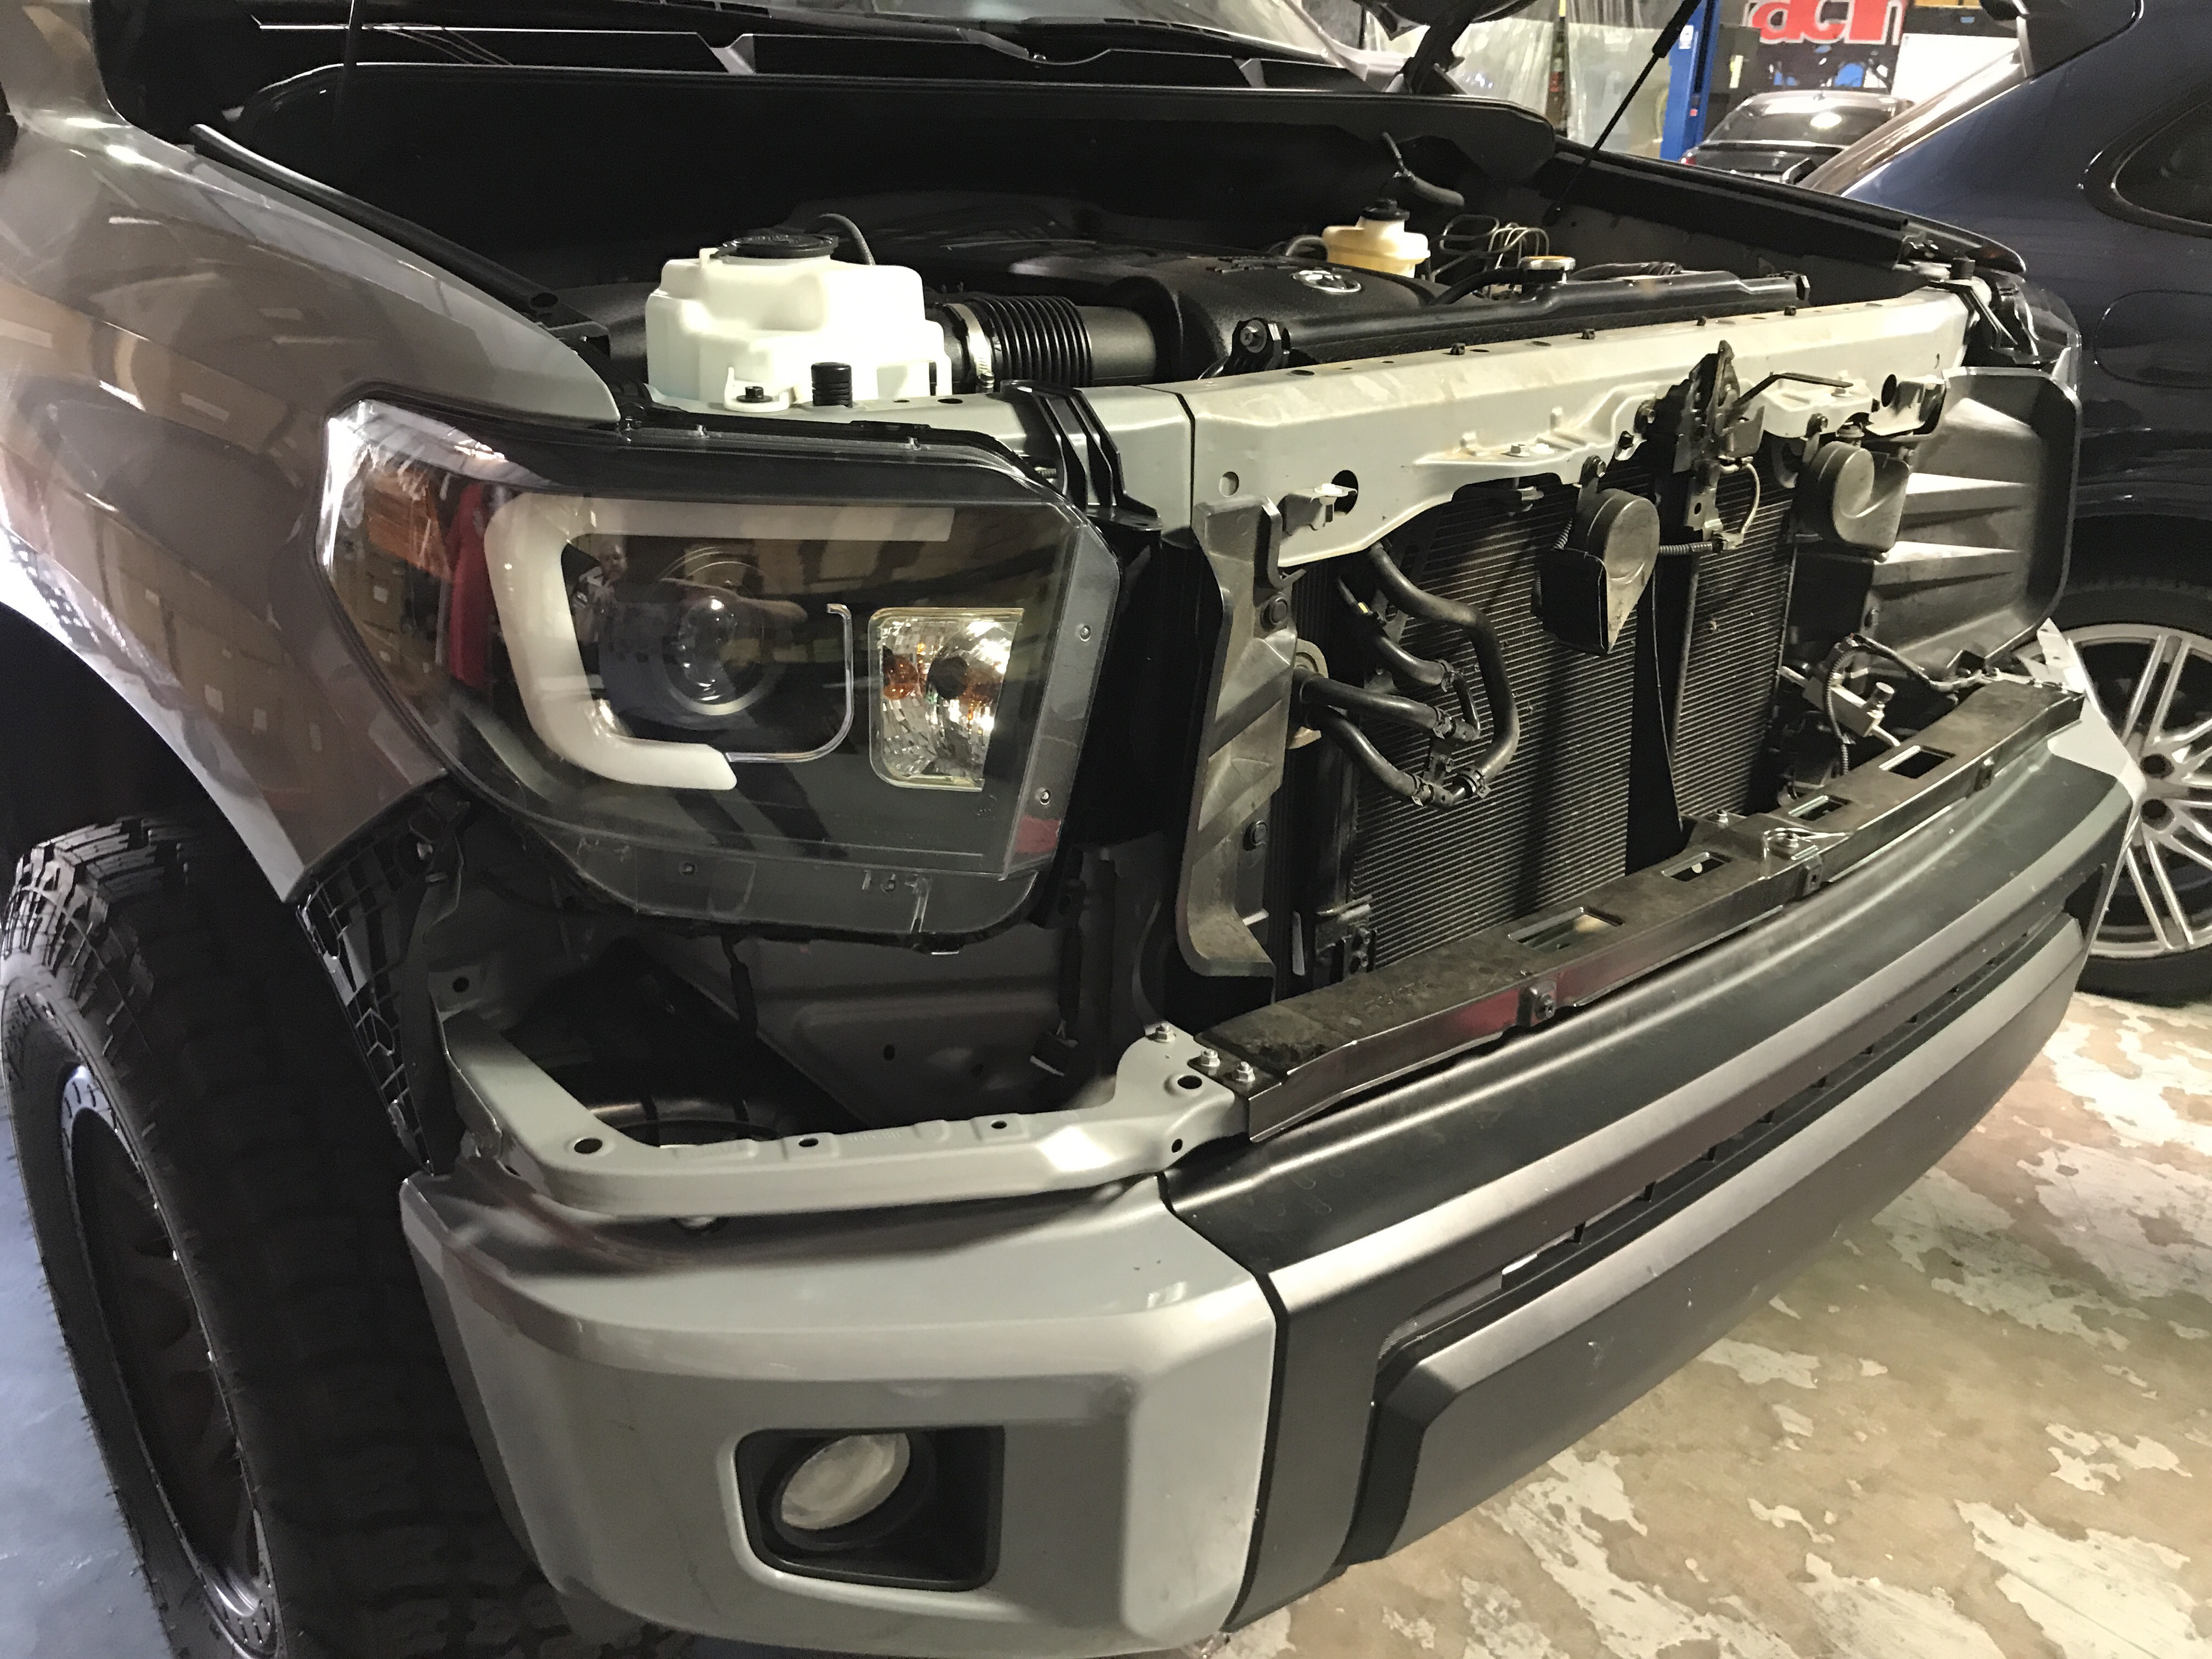
Now you can pull your lights out. When you pull them out, reach behind and unclip the plugs for each light part. These are your typical clip style plugs were you have to press and pull. So an extra set of hands might help.
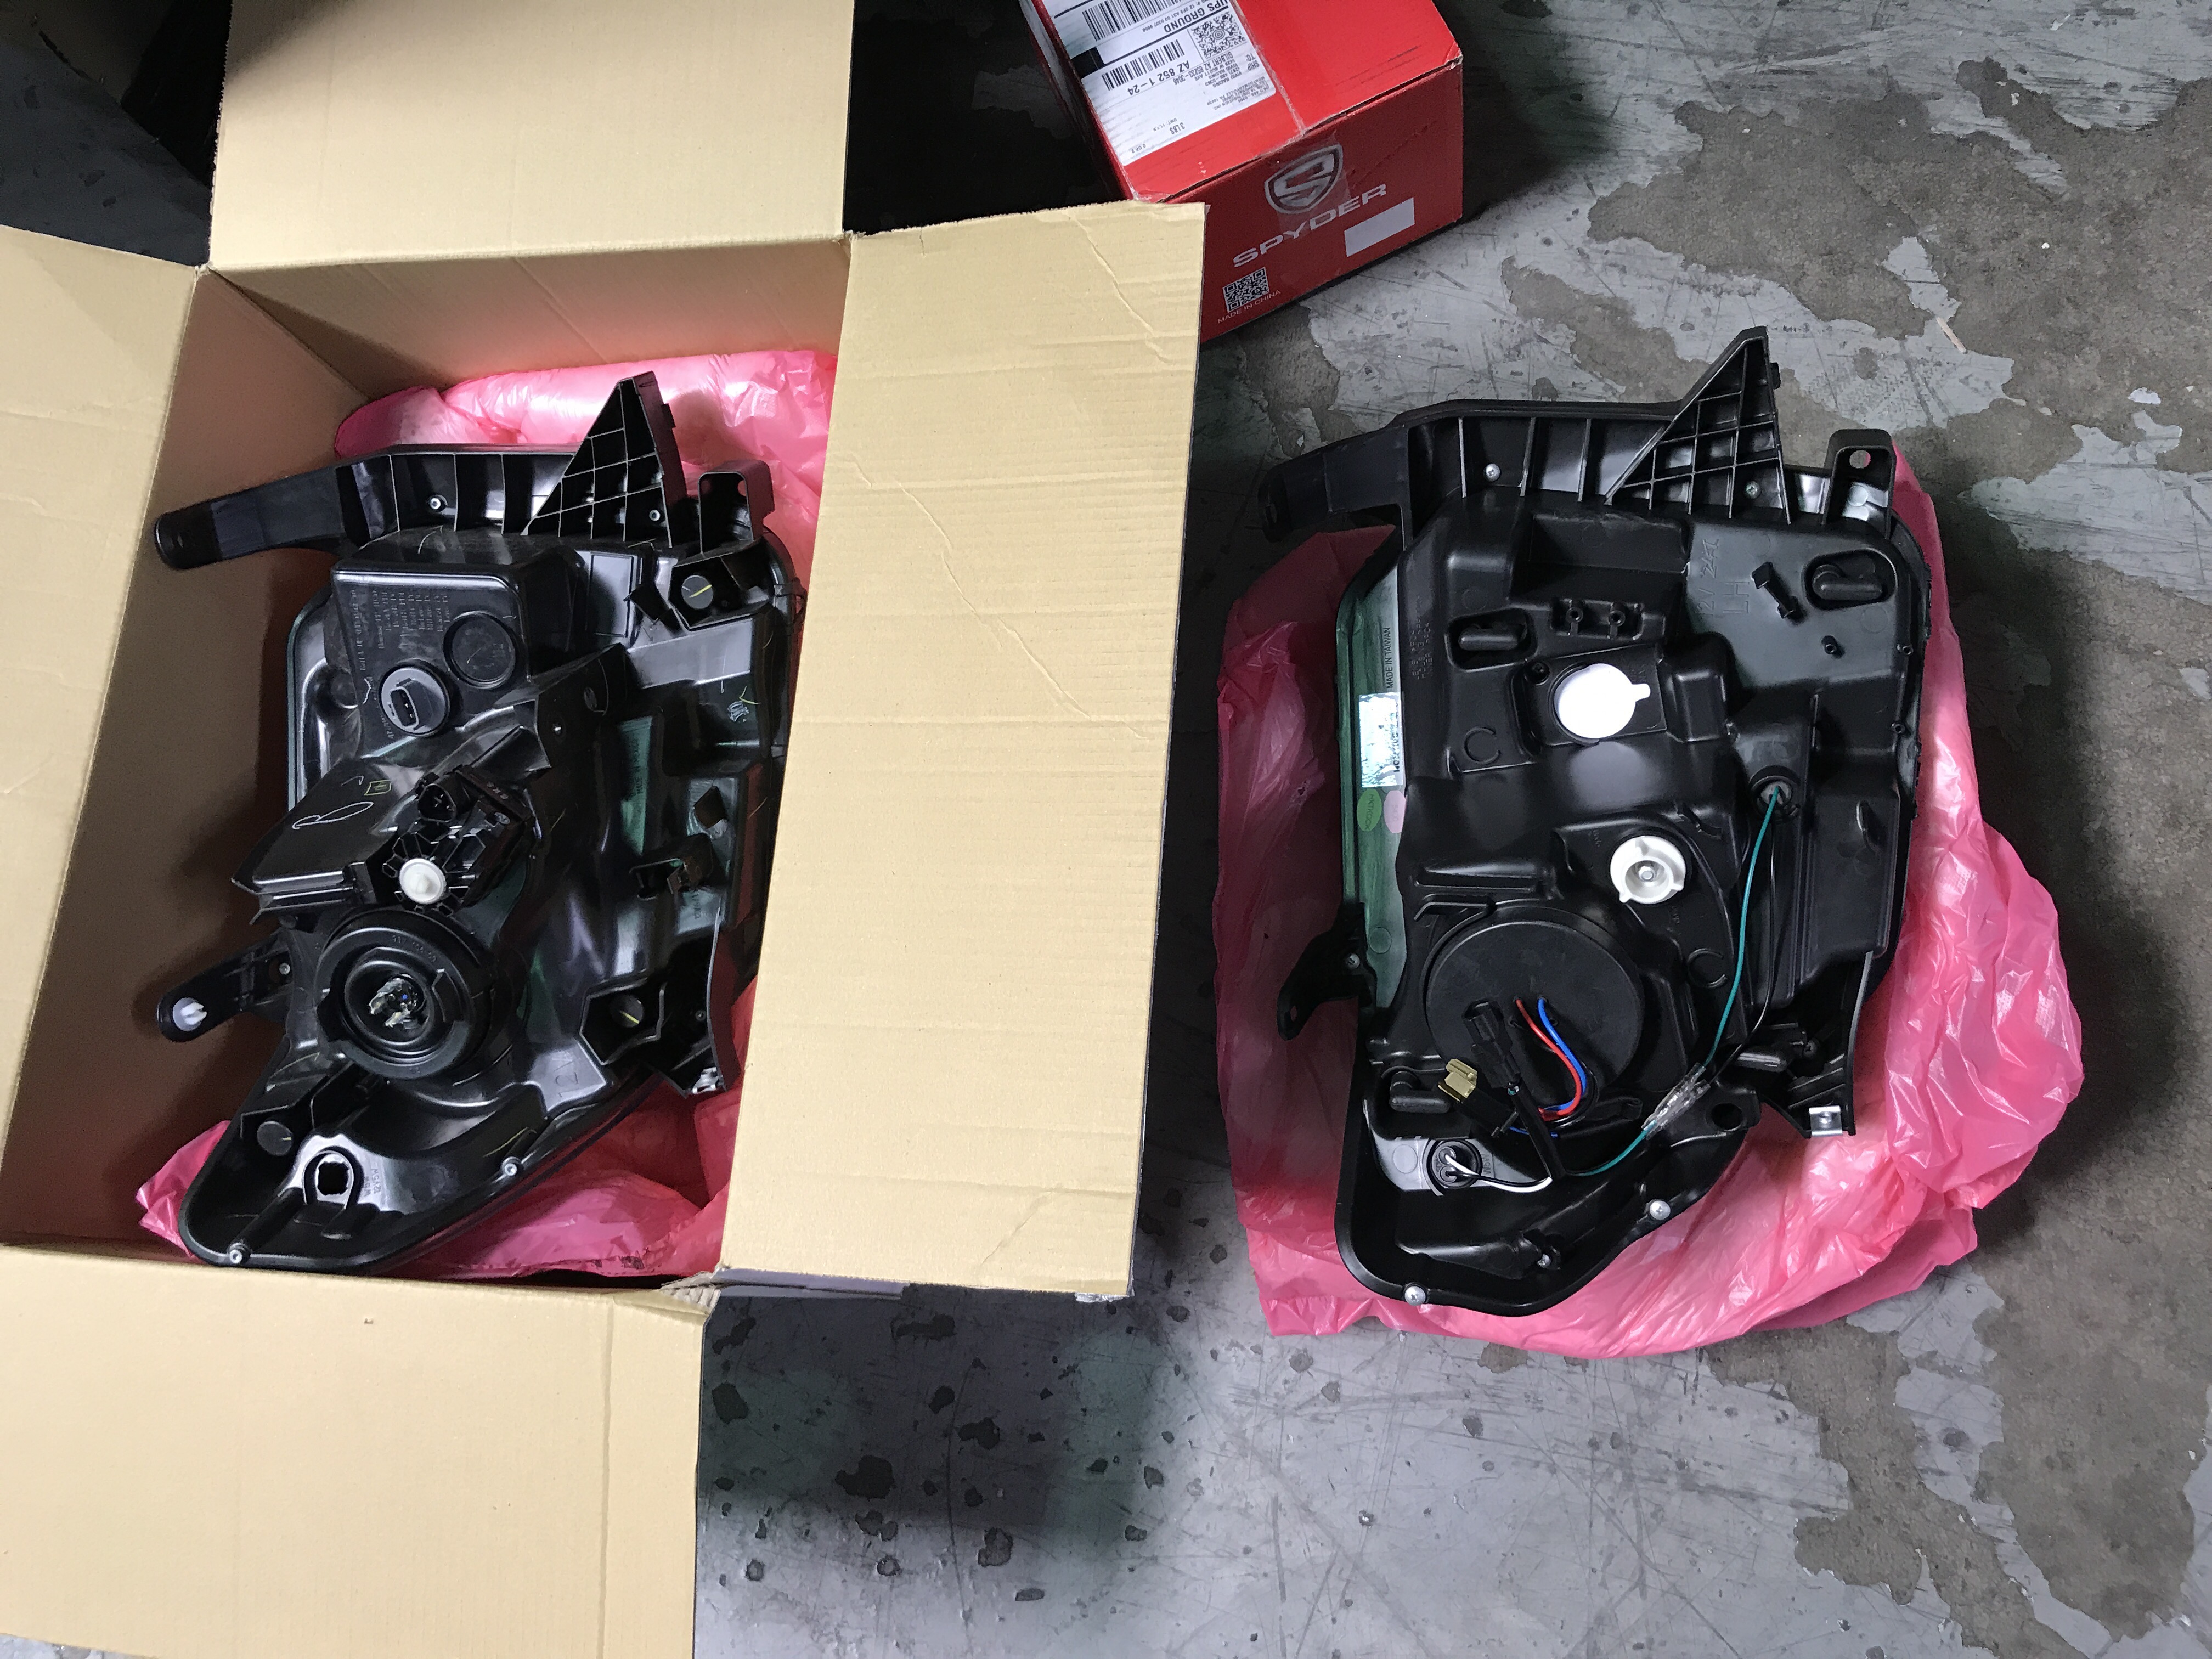
Now with the lights on the ground, you can swap your light bulbs, put in new LED or HID bulbs, and get the the leveling motors moved. This is the part that you will search and search the internet and find nothing. So hopefully this helps. Below is the stock light on the left and the Spyder light on the right. You can see on the stock light there is a white plastic nut above the main bulb housing. This is a 8mm. You need to loosen this nut while holding the leveling motor with your hand. You basically loosen the nut and turn the motor. Its a long shaft that goes down so it will take some turns. Once it is completely out, you simply take out the manual one in the new Spyder light and place it in here. There is no need to disassemble, take apart, cut, hack, etc the level motor. It really just comes out!
Now its time to put the lights back. You just need to plug them back in the same way. There is no need for splicing or cutting. If you choose to run LED or different turn signal “switch back” bulbs, you might need to wire in a resistor.
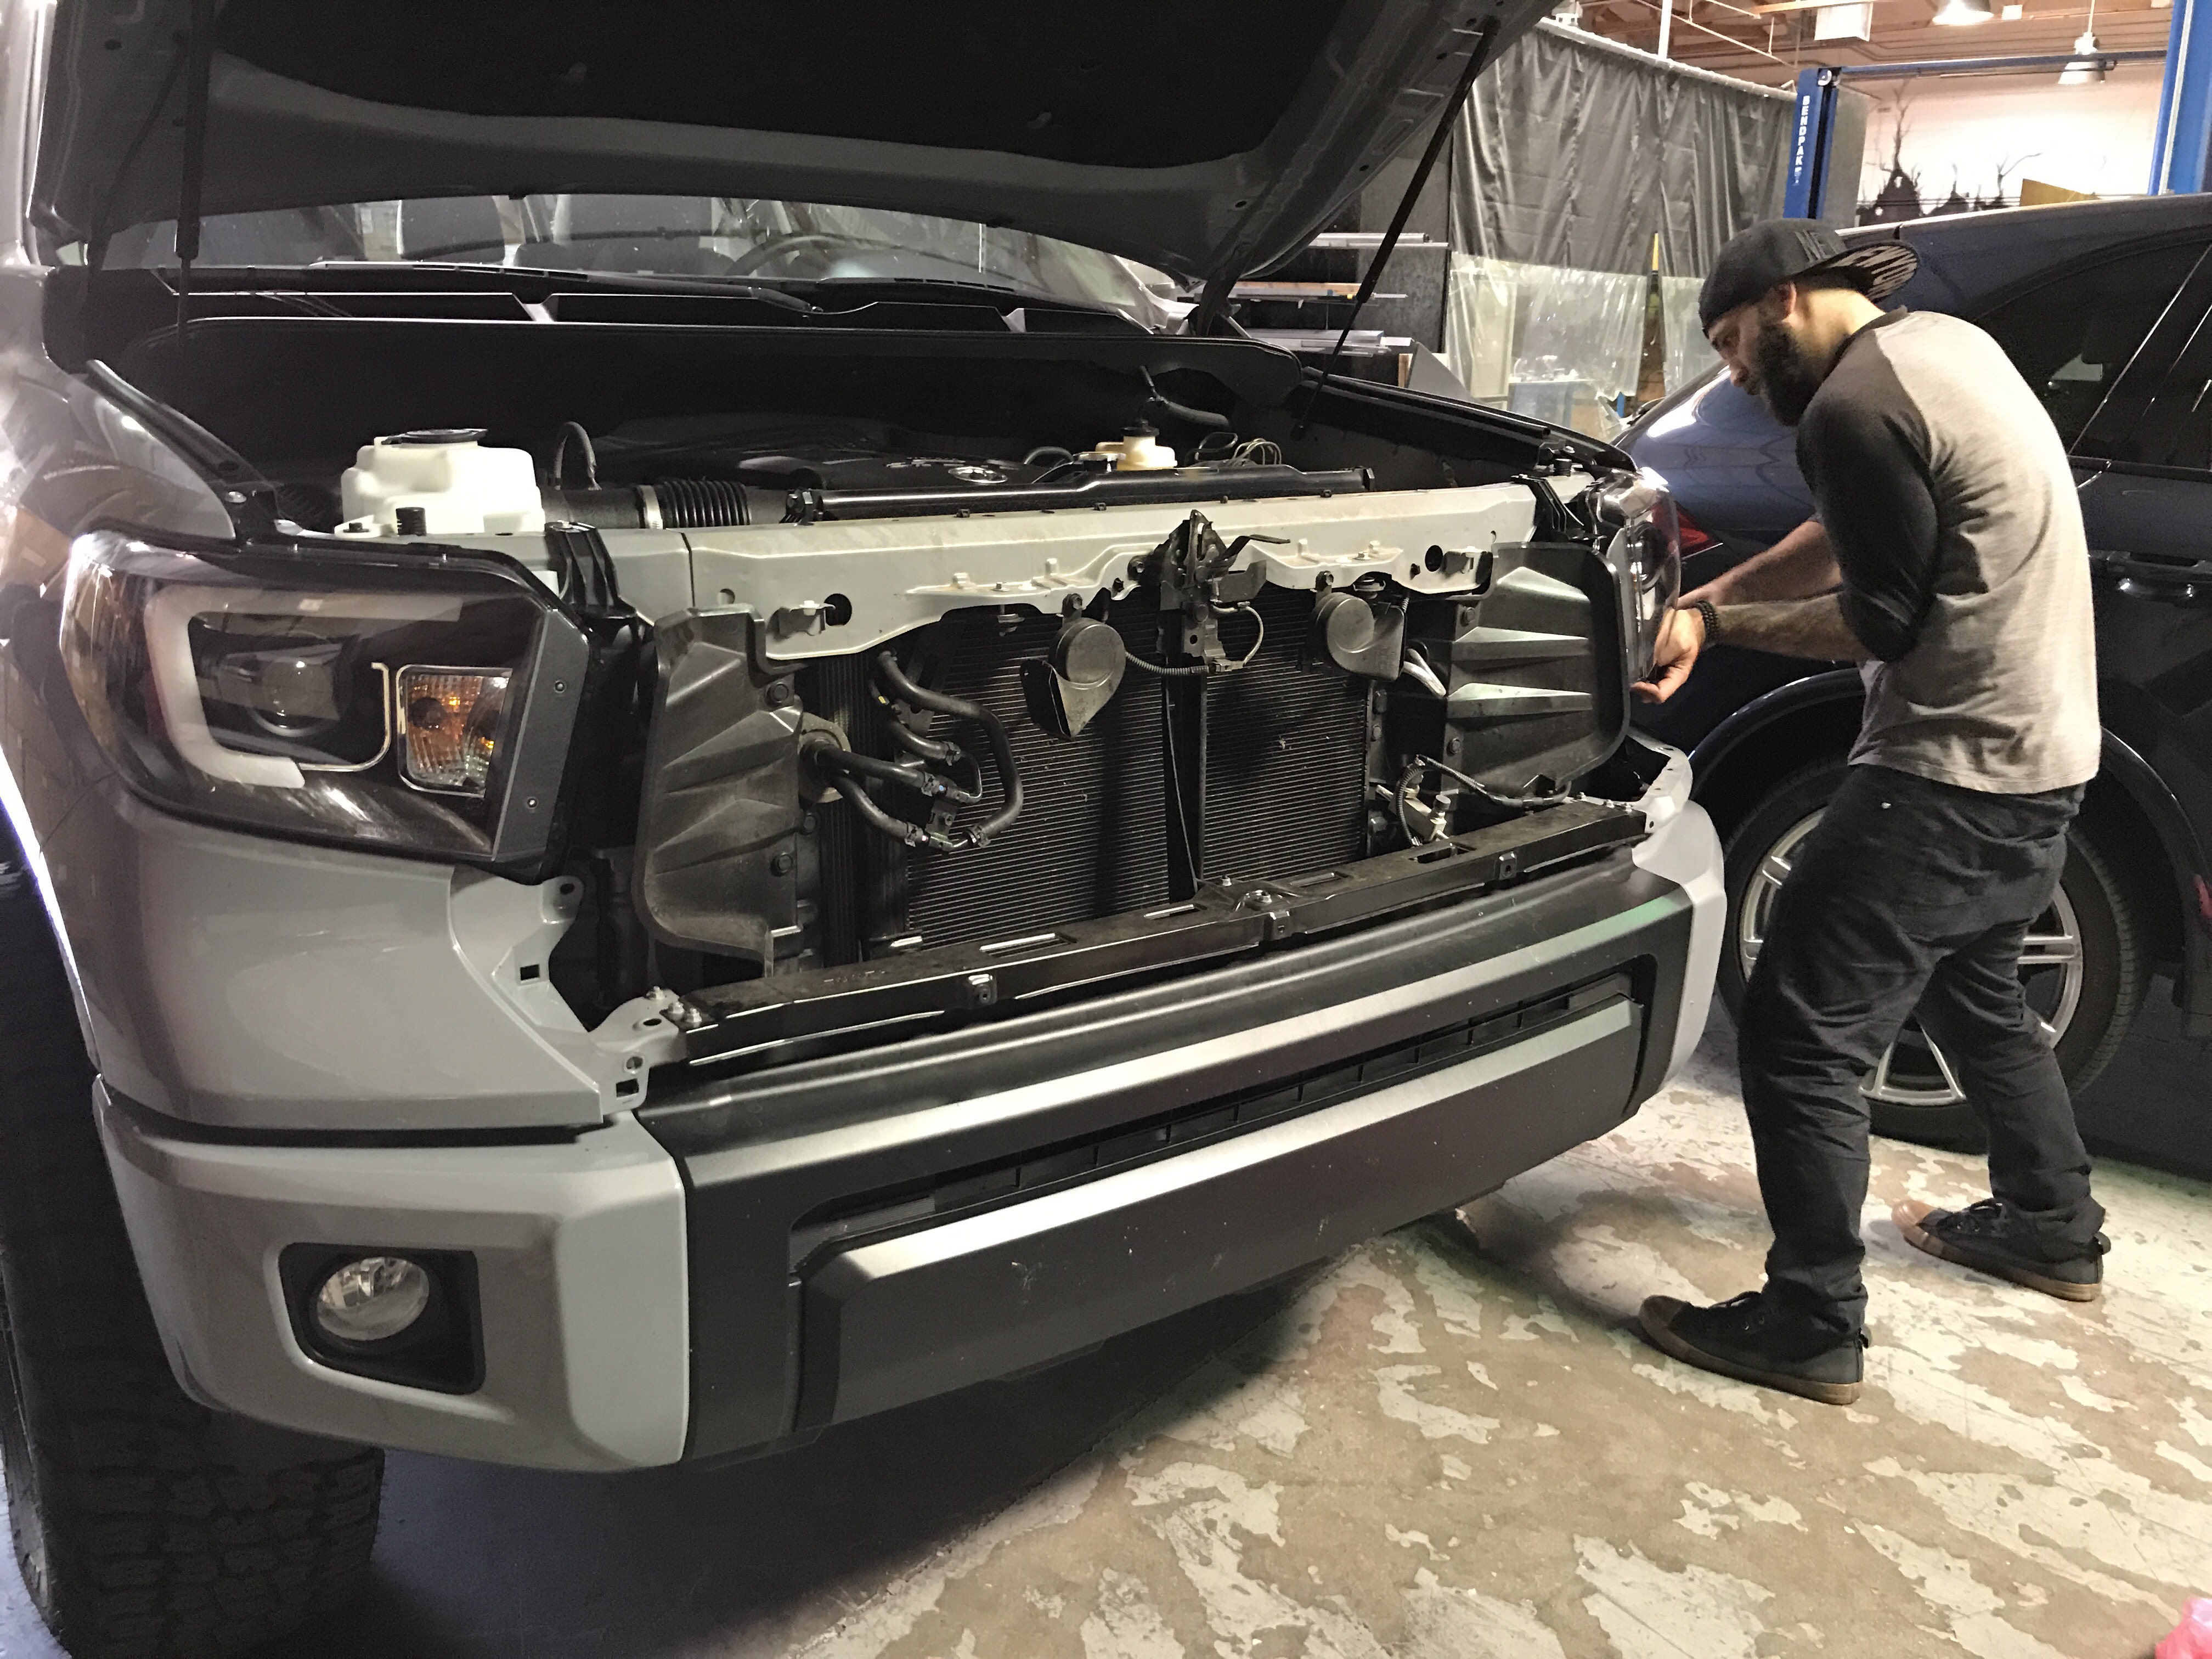
The new lights slide right into place like the stockers. Make sure you get each bolt back into place.
The lights should not have any play at all. Once you get one light in, you can put the bumper trim piece back below the light. This again just snaps into place like you removed it. Dont forget the 2 inner fender bolts and the plastic clip.
With the both lights installed, turn them on to make sure everything works as needed before you button up the rest of the front end.
Oh Snap! You been pimped 🙂 The lights are installed and now you have a fresh new look to your Toyota Tundra.
Remember Vivid Racing carries ALL the Spyder Headlights and Taillights for the Toyota Tundra as well as hundreds of other vehicles. Shop all SPYDER LIGHTS Here.


